This article is about using the php based WP Staging restore script. If you want to work on the command line instead you can use the wp-staging-cli tool. It has the same features as the php based restore tool and a few more powerful features like setting up docker instances automatically. (Coming soon feature) It’s also Go programming language based and faster.
The WP Staging Restore tool is a standalone script written in PHP programming language designed for WP Staging Pro license owners. It functions independently of WordPress and can extract and restore backups and even contains an automatic install WordPress option so that you can setup a WP Staging backup and a new WordPress installation on a new fresh server.
This tool can help you migrate a website to another server or unpack and extract WP Staging backup files to a location of your choice to help you restore particular files or data from it without fixing a whole WordPress website.
Contents
Video: How to use the WP Staging Restore Script
Download and Upload the Restore Script
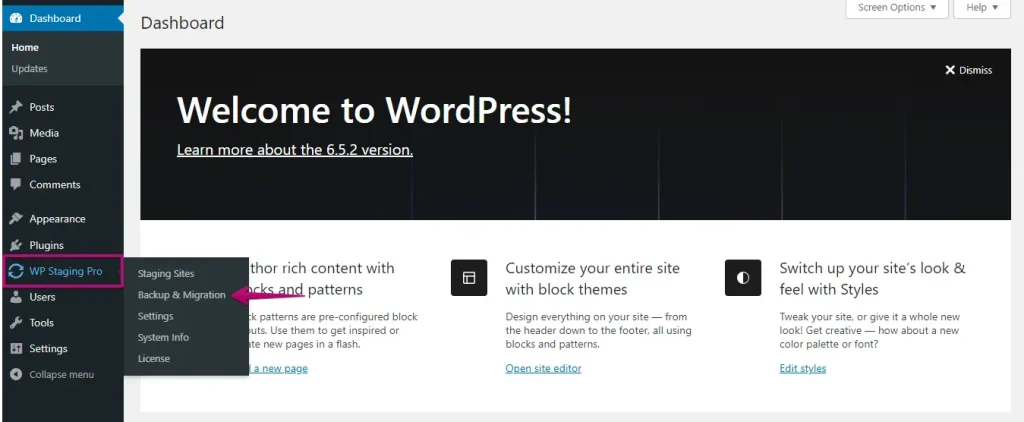
Go to your WordPress dashboard, find WP Staging Pro, and click the ‘Backup & Migration’ tab.
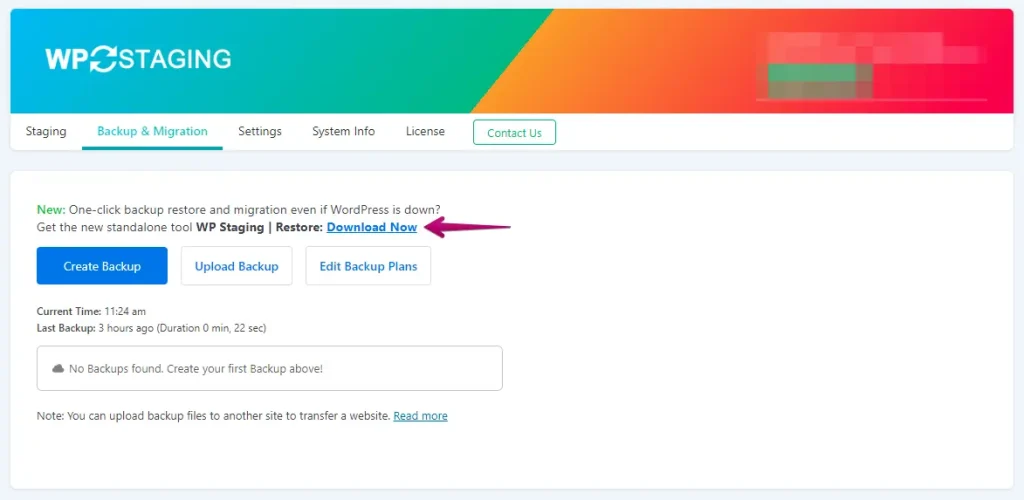
Next, click on the "Download Now" button.
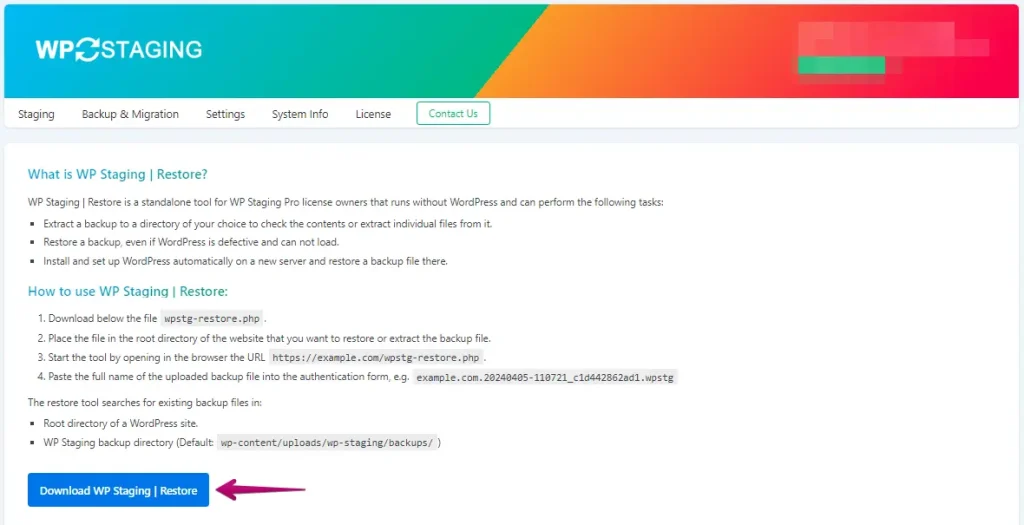
Click the "Download WP Staging | Restore" button to download the wpstg-restore.php file.
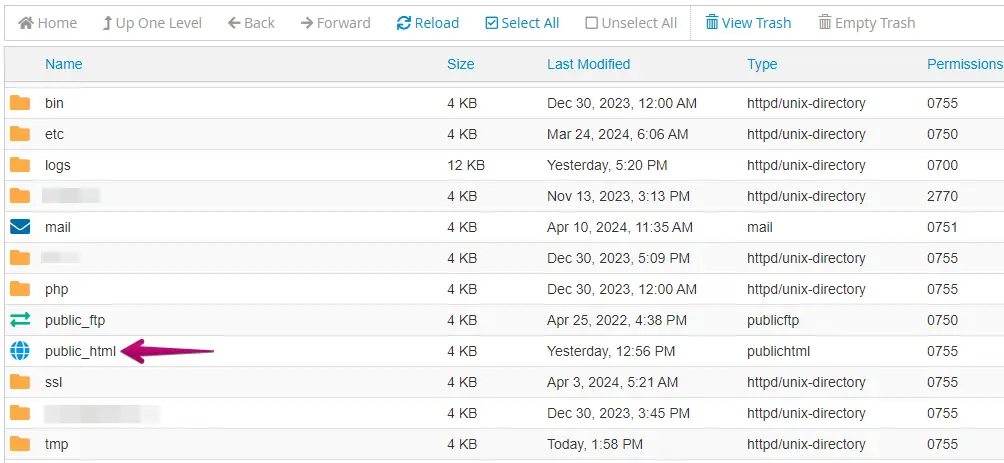
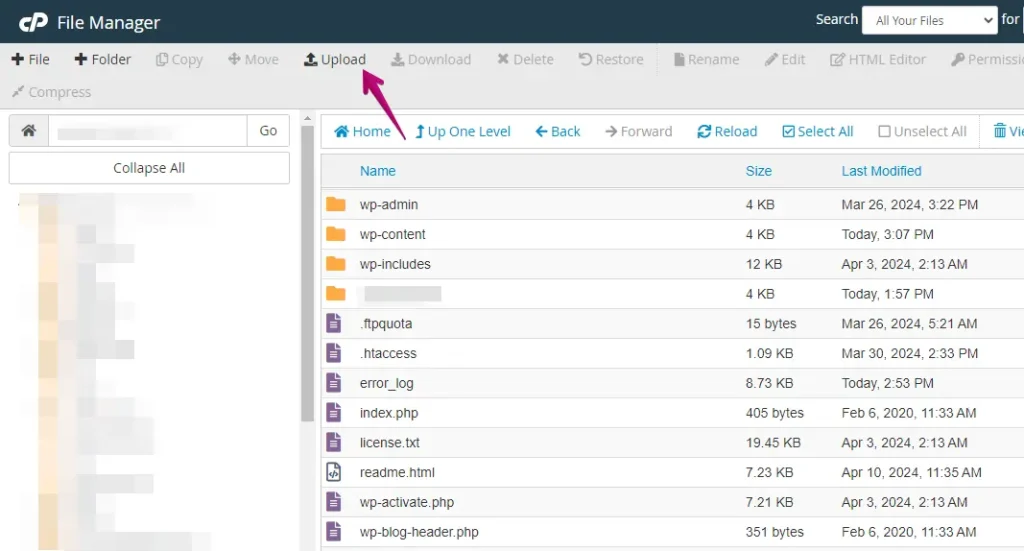
Once downloaded, go to the File Manager in your hosting control panel. Then, navigate to the main directory of your WordPress installation, where you want to use the script, usually named public_html or www.
Find the ‘Upload’ option in the File Manager’s menu and click on it.
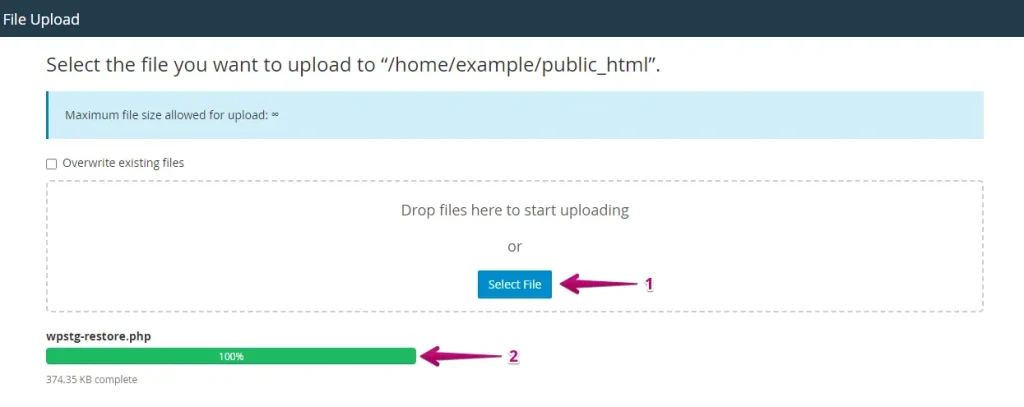
Select the wpstg-restore.php file from your computer and start the upload process. Wait for the upload to complete before proceeding.
Run and Use the Restore Script
Open a web browser and navigate to https://yourdomain.com/wpstg-restore.php (replace yourdomain.com with your actual domain name).
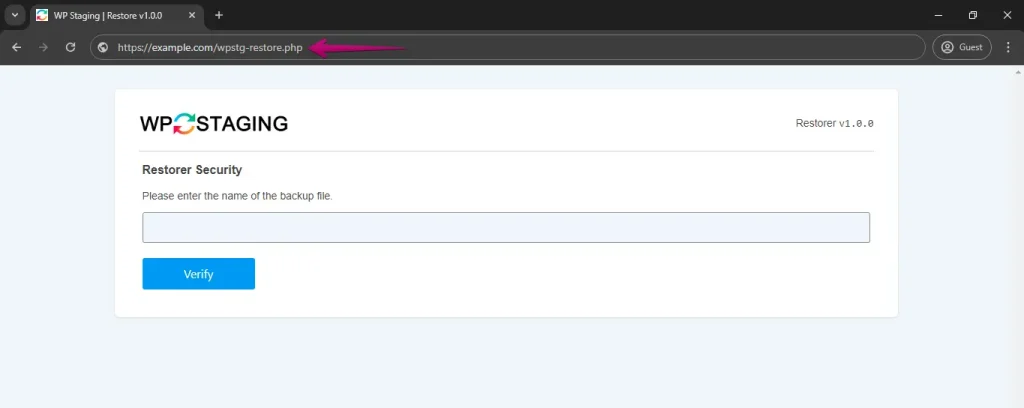
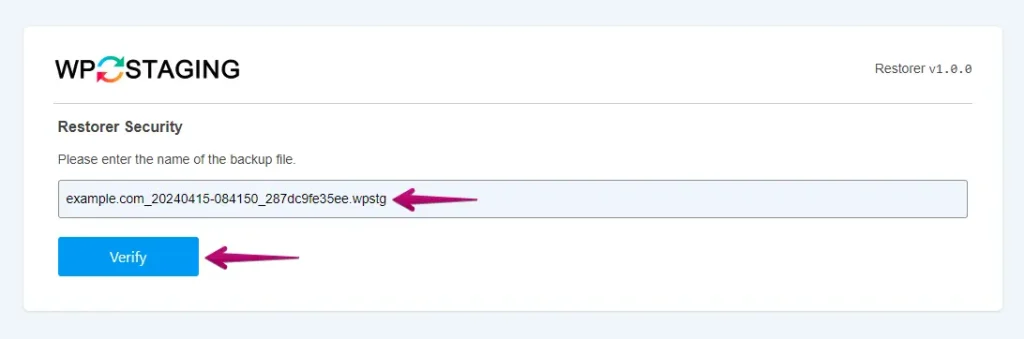
The script will prompt you to enter the full name of the backup file you wish to restore. Input the backup file’s name accurately, including its extension (for example, example.com.20240405-110721_c1d442862ad1.wpstg).
Tip: These backup file names are usually very long, so you can click with right mouse button on the file and then select the “rename” command. This will give you the option to press Ctrl+C to copy the file name. After that you can use Ctrl+V to paste the name into the WP Staging | Restore form field. Don’t rename the backup file name, and keep it as it is!
- After entering the name, click on the "Verify" button.
The script will then search for the backup file in the following locations:
- The root directory of your WordPress site.
- The default WP Staging backup directory, usually
wp-content/uploads/wp-staging/backups/.
Install WordPress Core (optional)
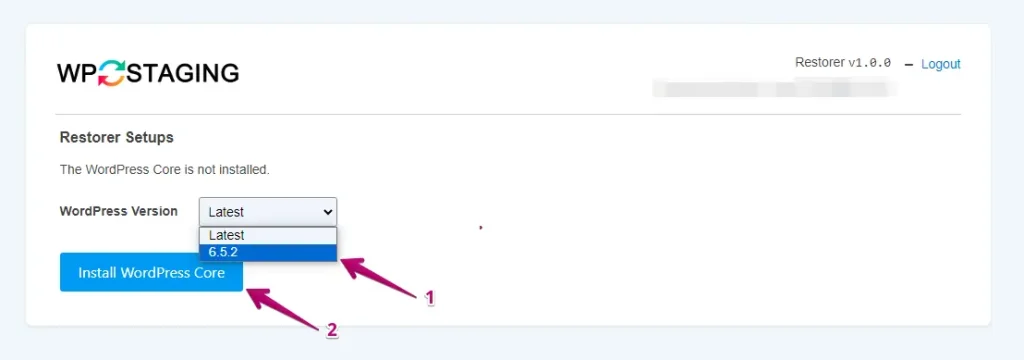
If WordPress does not exist in that location and you want to install it, you can use the "Install WordPress Core" option. Select the latest version of WordPress and click on the "Install WordPress Core" button.
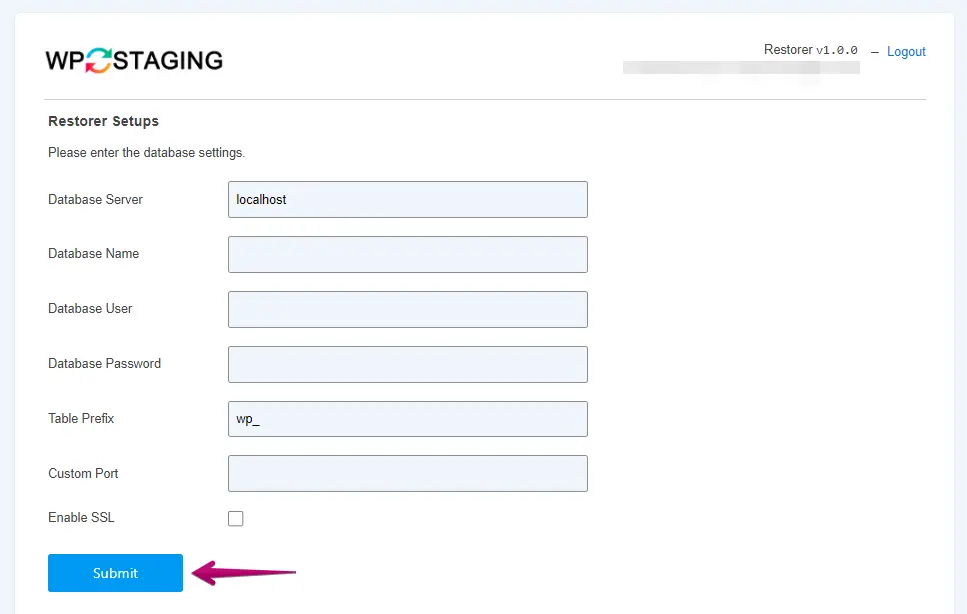
Now fill out your database details, including Database Server, Database Name, Database User, Database Password, and Table Prefix. If you want to add a custom port, fill out the port field; otherwise, leave it blank. If your database uses an SSL connection, check the checkbox for SSL and then click on "Submit."
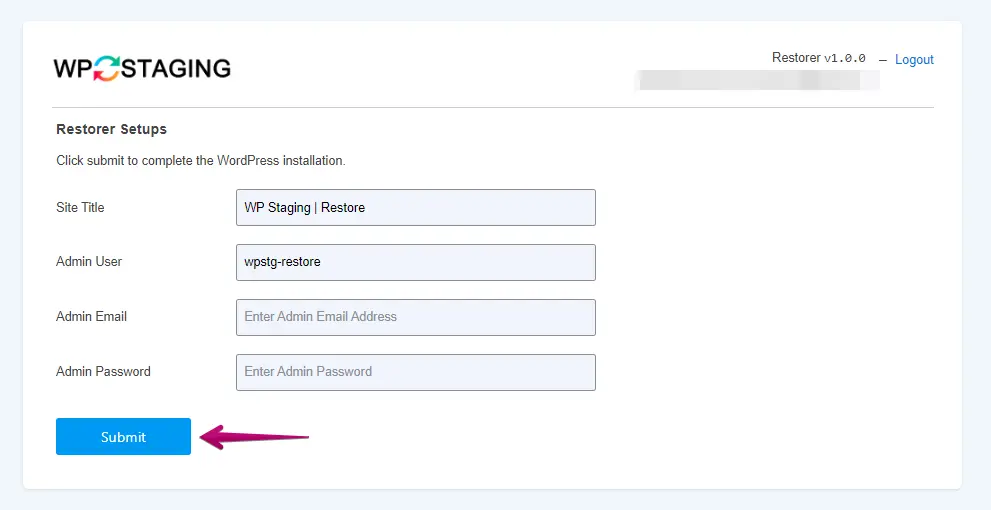
Next, enter your WordPress site details, including Site Title, Admin User, Admin Email, and Admin Password. Once done, click on the "Submit" button.
Extract Backup or Restore WordPress Process
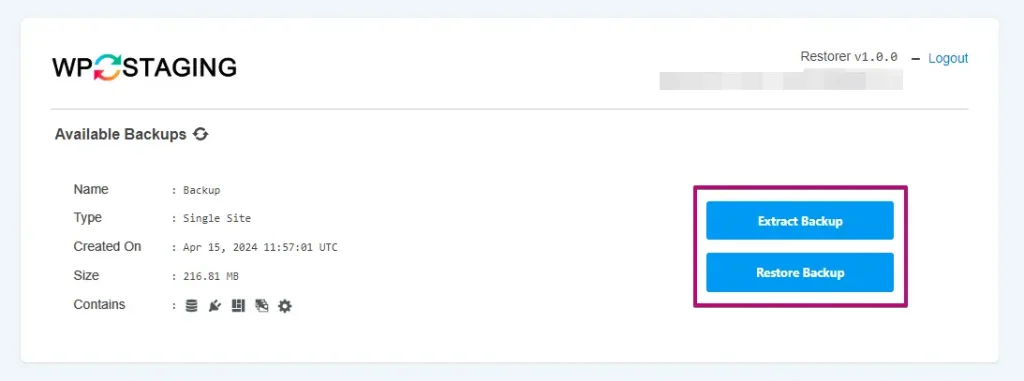
Now that WordPress is installed, you’ll see two buttons. If you only want to view or extract your backup file, click the "Extract Backup" button. If you’re ready to restore your WordPress website backup, click the "Restore Backup" button. So, I’ll click on the "Extract Backup" button for now.
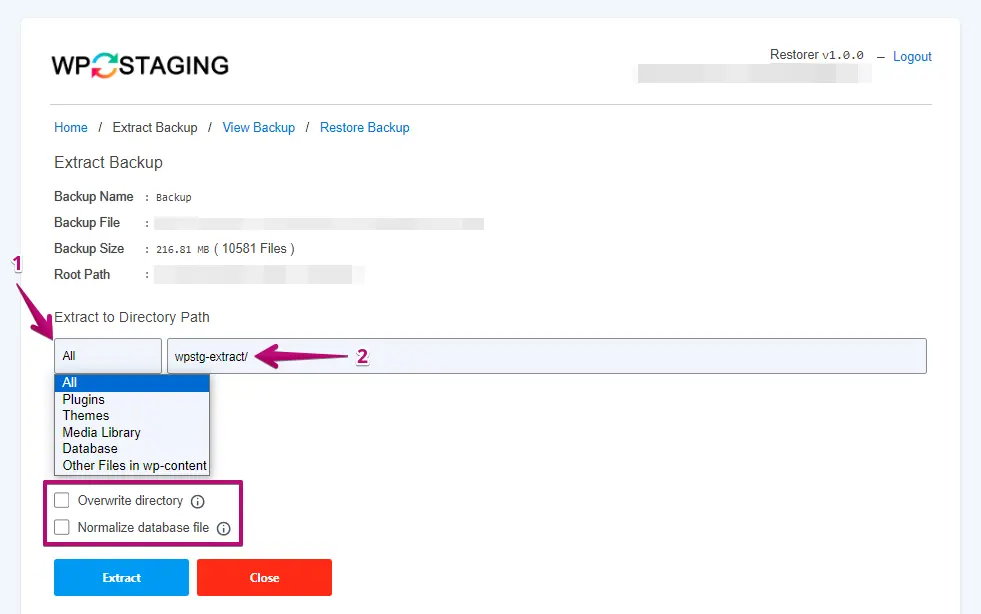
You’ll first see a dropdown menu in the "Extract Backup" option. Choose the file you want to extract from this dropdown.
Next, you’ll notice an input field where you can enter the directory path. If you want to overwrite the existing directory, check the "Overwrite directory" checkbox.
WP Staging stores the SQL database data in a slightly modified format where placeholders replace all prefixes. (This is required for technical and migration reasons)
So, if you want to normalize the database file and convert all of these placeholders into regular table prefixes, activate the option "Normalize database file" checkbox. (This option will slow down the extraction process, but it allows you to restore the SQL file with phpmyadmin or adminer later on)
Once you’ve made your choice, click the "Extract" button.
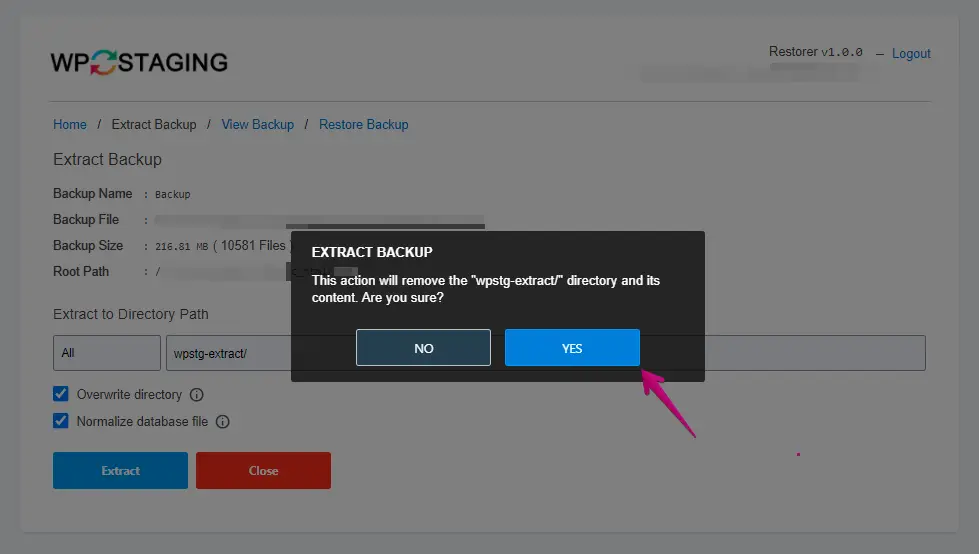
A popup box will now appear. Click on the "Yes" button to proceed to the next steps.
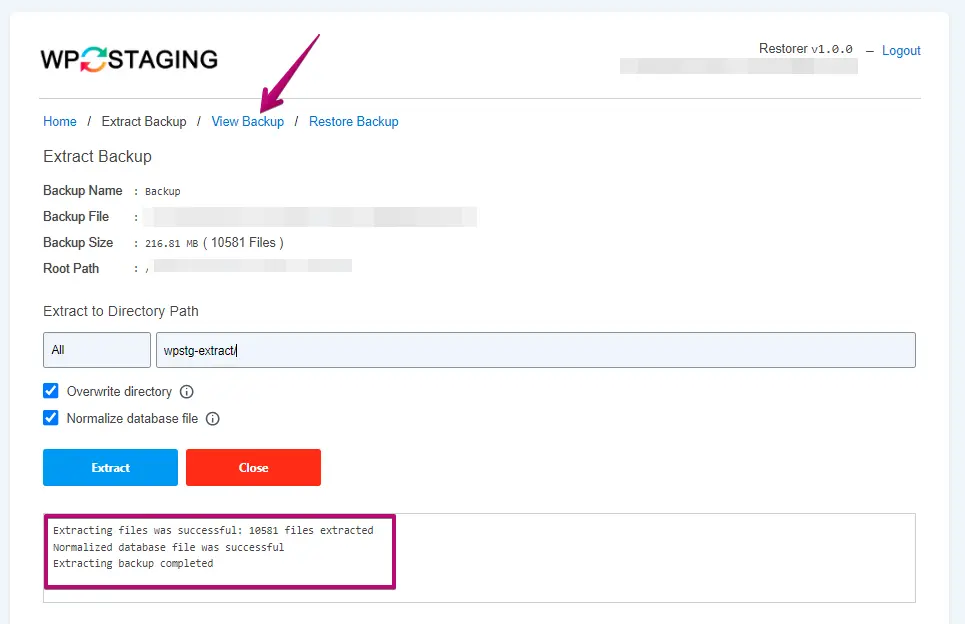
You’ll see a success message confirming that your files have been successfully extracted. Next, click on "View Backup."
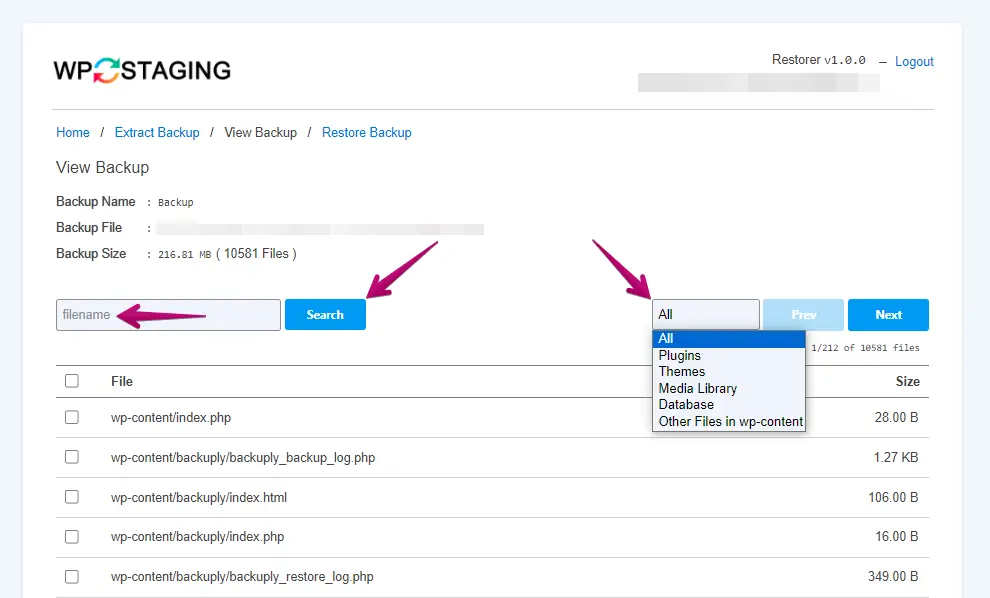
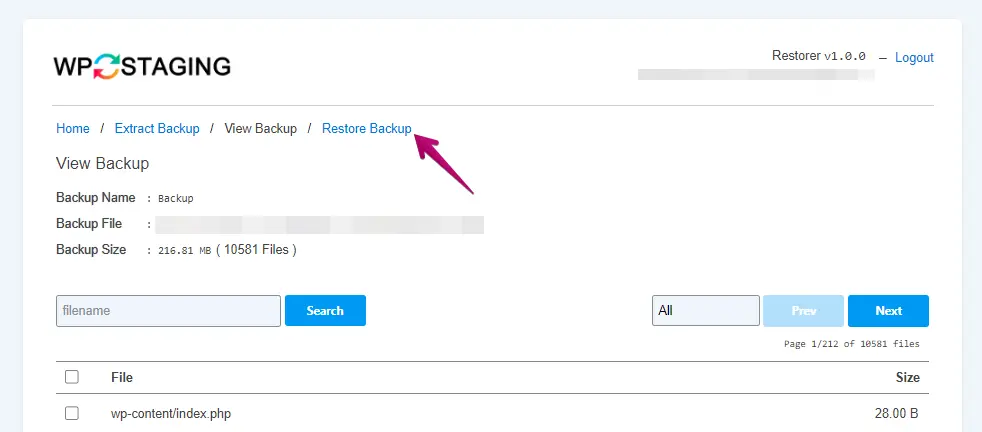
If you want to view a specific file, such as plugin files, enter "plugin" in the input field and click the "Search" button. You can also select filters to refine your search further.
Next, click on "Restore Backup."
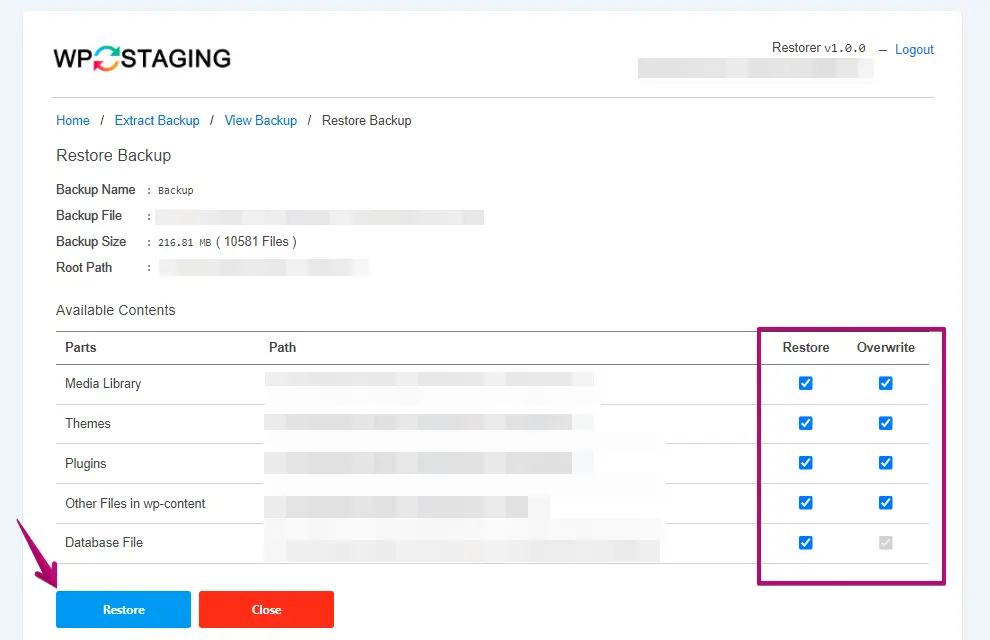
Now, you can see the available content. The available contents section provides options like Media Library, Themes, Plugins, Other Files in wp-content, and Database File.
If you want to restore only, check the "Restore" checkbox. If you want to restore and overwrite, check both the "Restore" and "Overwrite" checkboxes. Make sure to uncheck the "Overwrite" checkbox if you don’t want to overwrite any existing files. Once you’ve made your selections, click the "Restore" button.
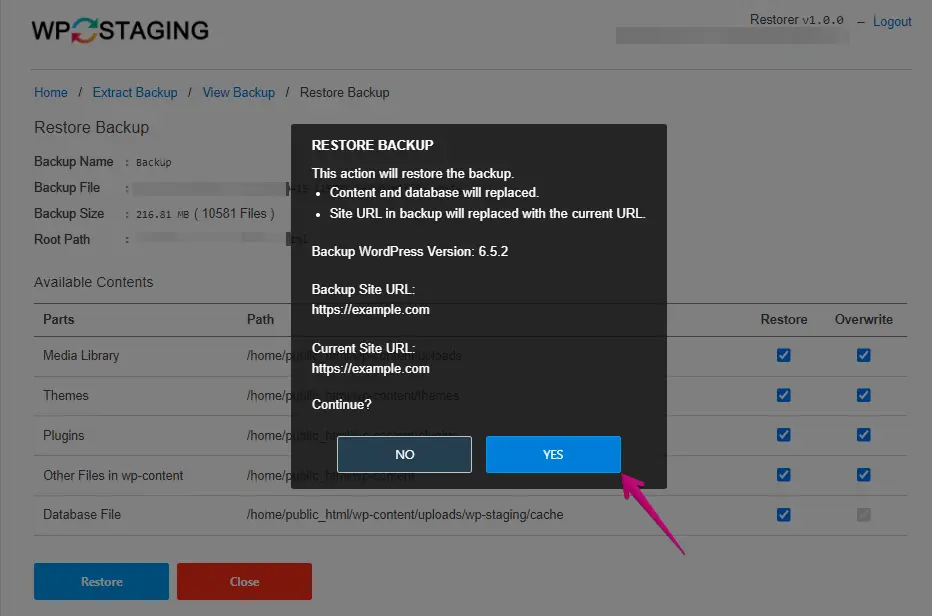
A popup box will now appear. Click the "Yes" button to proceed with the backup restoration process.
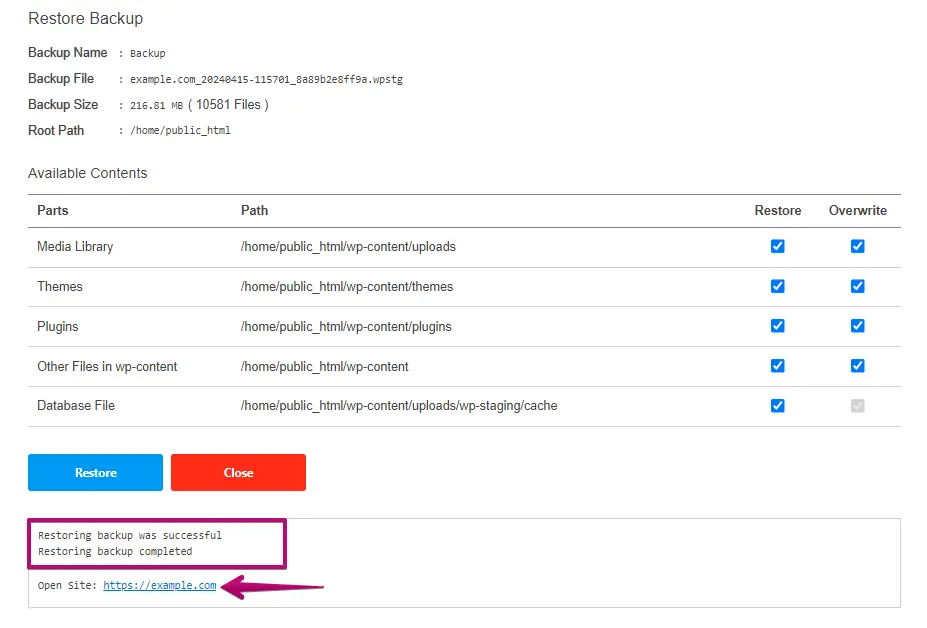
You’ll see a success message confirming that your backup has been restored. Next, click on the site URL.
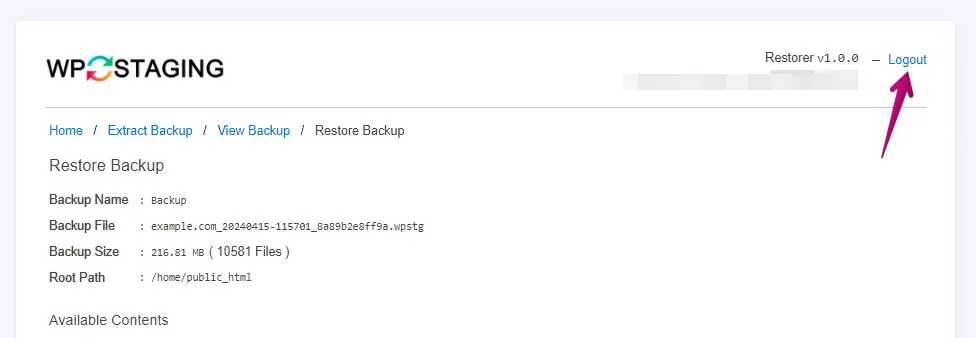
Logout from the Restore Script
After completing the restoration process, click on the "Logout" button for website security.
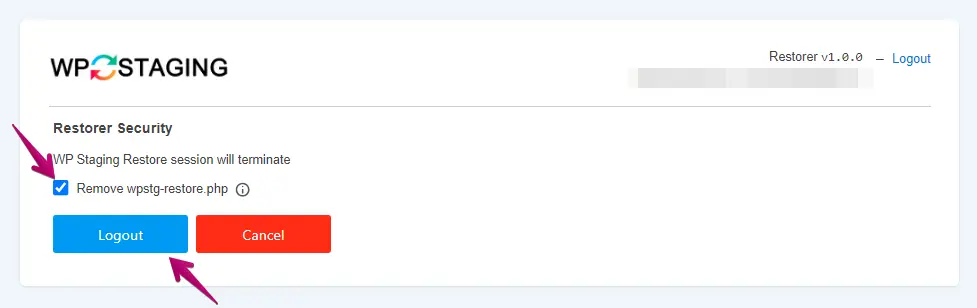
Check the checkbox for "wpstg-restore.php" to remove it, then click on the "Logout" button.
Now that you’ve successfully logged out, click the "Close" button.
