The ERR_NAME_NOT_RESOLVED error occurs when your browser fails to resolve the DNS address of a website. DNS (Domain Name System) errors might stem from issues on the client side (e.g., your computer or router), the network, or the server hosting your DNS records.
When you see the ERR_NAME_NOT_RESOLVED error on your WordPress site, it usually indicates a DNS problem that’s preventing your browser from locating your website’s IP address.
This blog post will guide you through various steps to pinpoint and solve this issue, helping ensure that your WordPress site remains accessible to visitors.
Contents
What Causes the ERR_NAME_NOT_RESOLVED Error?
The ERR_NAME_NOT_RESOLVED error typically arises from DNS issues that stop your browser from linking your website’s domain name to its IP address. Here are some common causes:
- DNS Cache Issues: If the cache storing DNS info becomes outdated or corrupt, it can lead to errors.
- Incorrect DNS Settings: Misconfigured DNS settings at your domain registrar or provider can prevent proper website resolution.
- Expired Domain: An expired domain name leads to DNS resolution failure because the domain is no longer active.
- Network Issues: Problems with your local network, including router or modem issues, can block DNS access.
- ISP DNS Problems: DNS servers from your ISP might occasionally fail to resolve certain domain names due to connectivity issues.
- Firewall or Security Software: Firewalls or security applications may block DNS server access, causing resolution errors.
5 Quick Fixes for ERR_NAME_NOT_RESOLVED in WordPress
- Check Your Internet Connection
- Clear Browser Cache
- Flush DNS Cache
- Reset Your Firewall Settings
- Change Your Computer’s DNS Server
1. Check Your Internet Connection
If you see the ERR_NAME_NOT_RESOLVED error on your WordPress site, first make sure your internet connection is working. Try opening other websites to check if they load properly. If they don’t, the problem might just be your internet. Restarting your router or switching to a different network can quickly fix this issue and get your site back online.
2. Clear Browser Cache
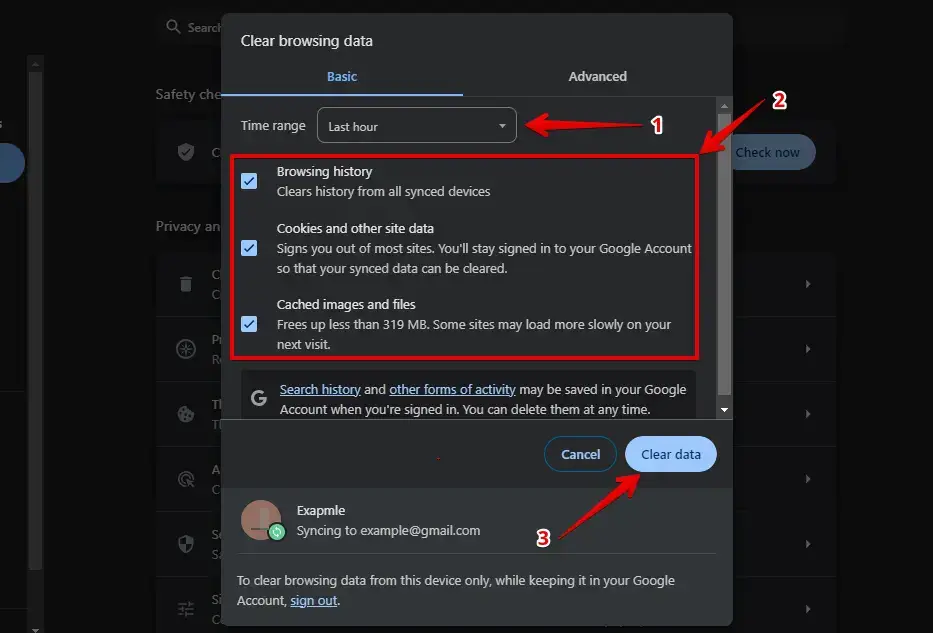
Clearing your browser cache is a simple and effective method to fix the ERR_NAME_NOT_RESOLVED error when you encounter it on your WordPress site. Here’s how to do it:
Google Chrome: Press Ctrl + Shift + Delete, select the desired time range, and click “Clear Data.”
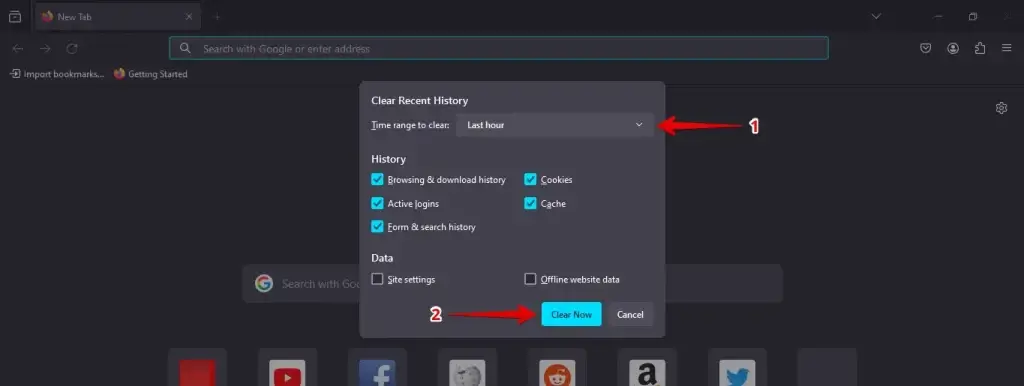
Mozilla Firefox: Press Ctrl + Shift + Delete, choose the appropriate time range, and click “Clear Now.”
After clearing the cache, close and reopen your browser to ensure the changes take effect. This can resolve the ERR_NAME_NOT_RESOLVED error by forcing the browser to fetch the latest DNS information from your WordPress site.
3. Flush DNS Cache
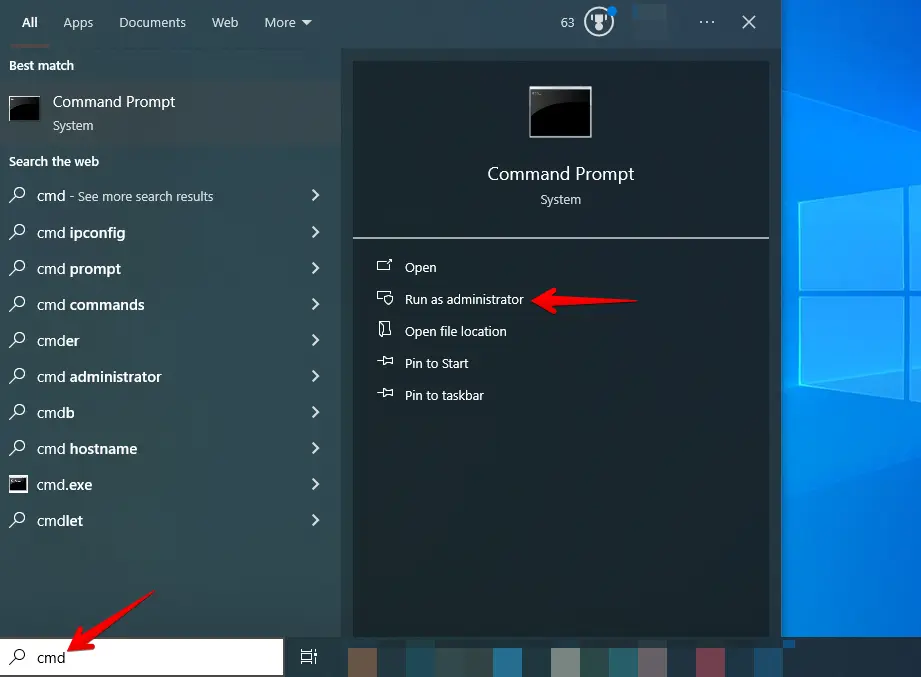
Flushing your DNS cache is another effective method to resolve the ERR_NAME_NOT_RESOLVED error on your WordPress site. This process clears out stored DNS address information from your computer, which can become outdated or corrupt, leading to website accessibility issues. Here’s how to do it:
Type cmd in the search bar, right-click on Command Prompt and select “Run as administrator.”
Type the following command and press Enter:
ipconfig /flushdns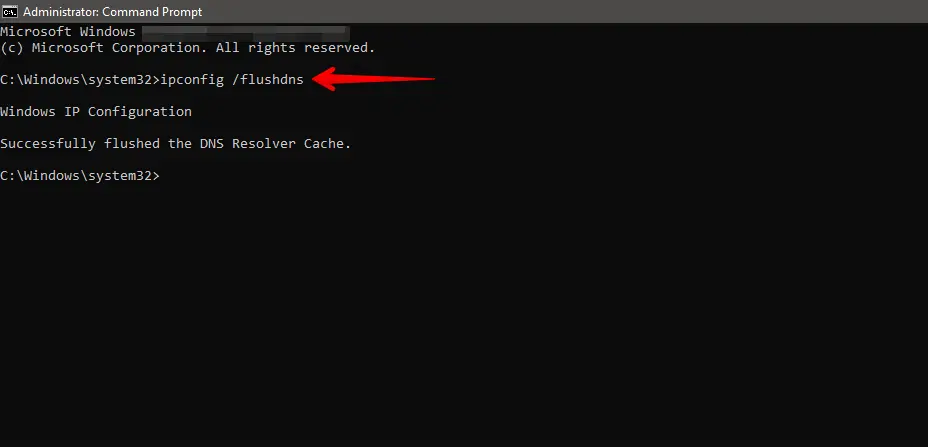
After flushing the DNS cache, try accessing your WordPress site again. This should solve any ERR_NAME_NOT_RESOLVED errors caused by faulty DNS data.
4. Reset Your Firewall Settings
Resetting your firewall settings can be helpful if you’re encountering the ERR_NAME_NOT_RESOLVED error on your WordPress site. Firewalls can block or restrict DNS communications, which are needed to resolve domain names. Here are the steps to do it:
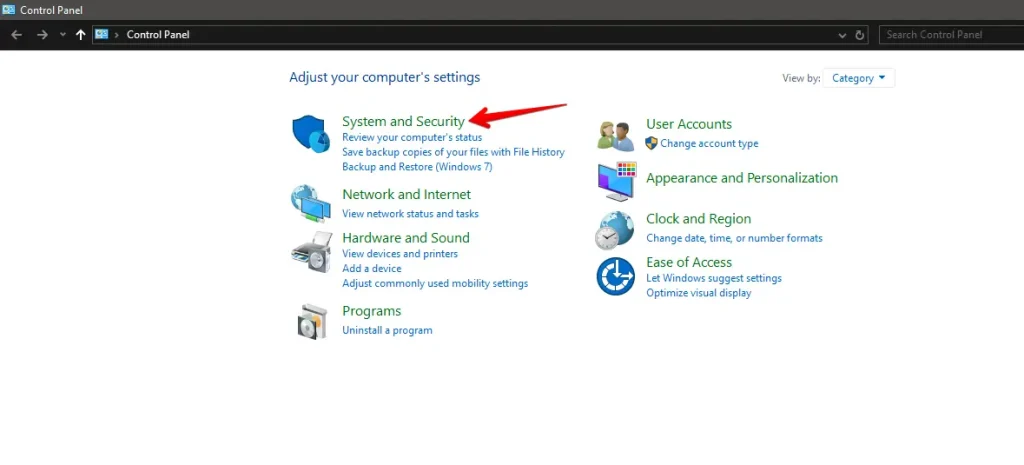
Open the Control Panel and click on “System and Security.”
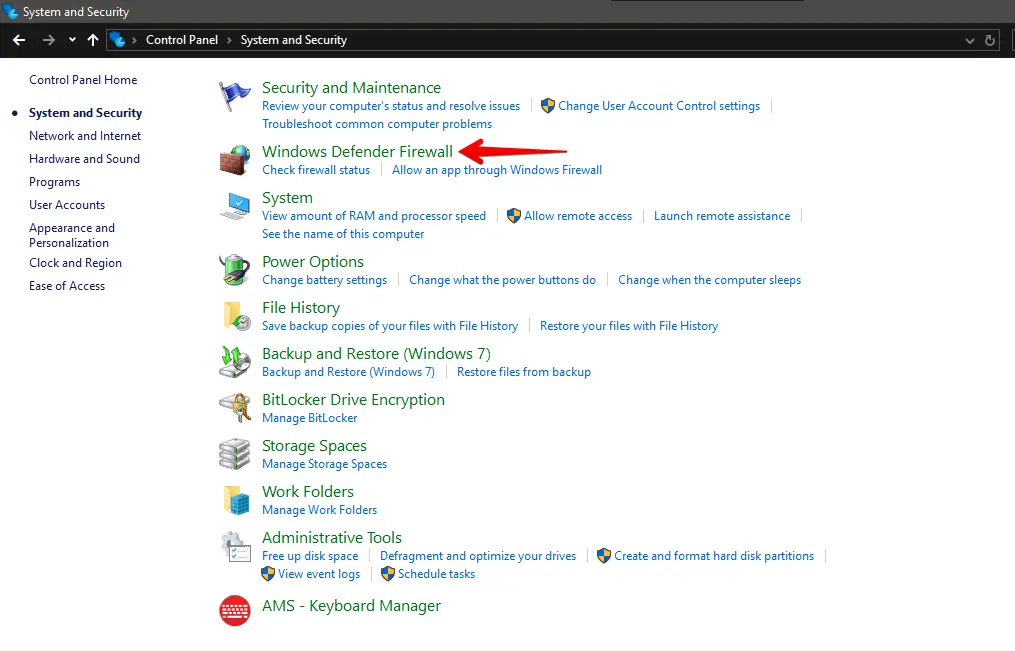
Click on “Windows Defender Firewall.”
On the left pane, click “Restore defaults.”
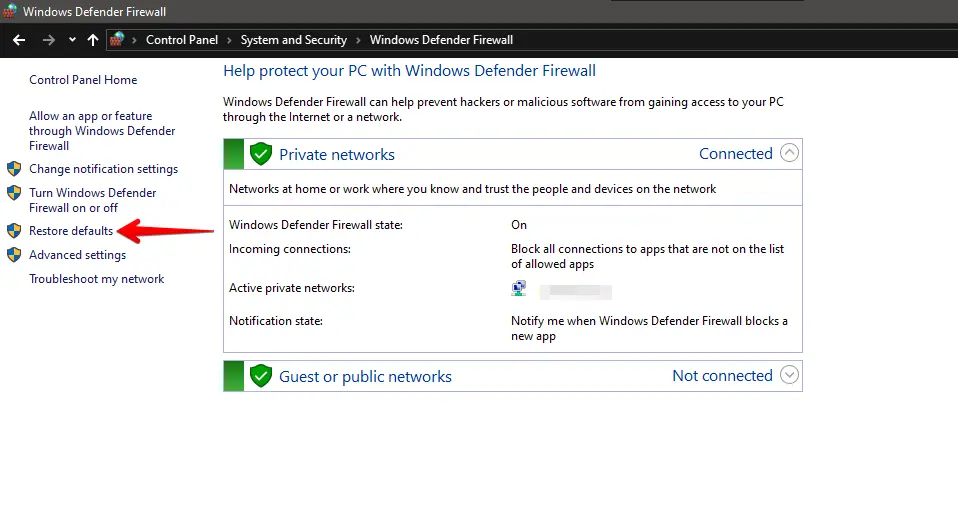
Click the “Restore defaults” button.
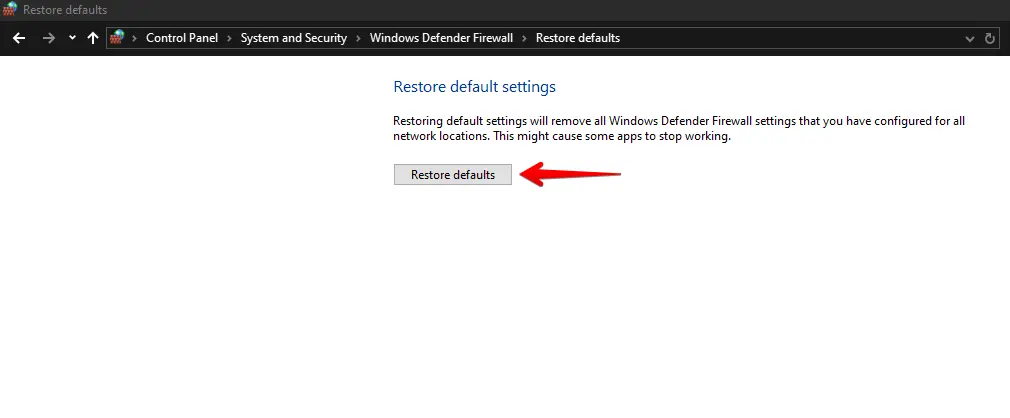
This will revert all your firewall settings to their original defaults set by Windows. Be aware that this might remove any custom rules you have set. After resetting your firewall settings, it’s a good practice to check if the ERR_NAME_NOT_RESOLVED error persists.
5. Change Your Computer’s DNS Server
Changing your computer’s DNS server can help resolve the ERR_NAME_NOT_RESOLVED error on your WordPress site. This issue often arises from problems with your ISP’s DNS server. Switching to a more reliable server like Google DNS or Cloudflare could improve your DNS resolutions. Here’s how to do it:
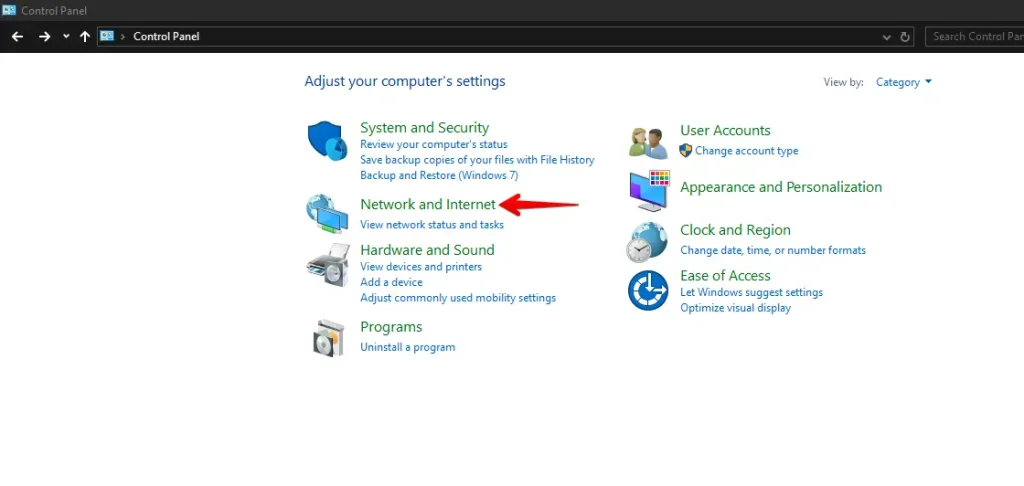
Open the Control Panel and click on “Network and Internet.”
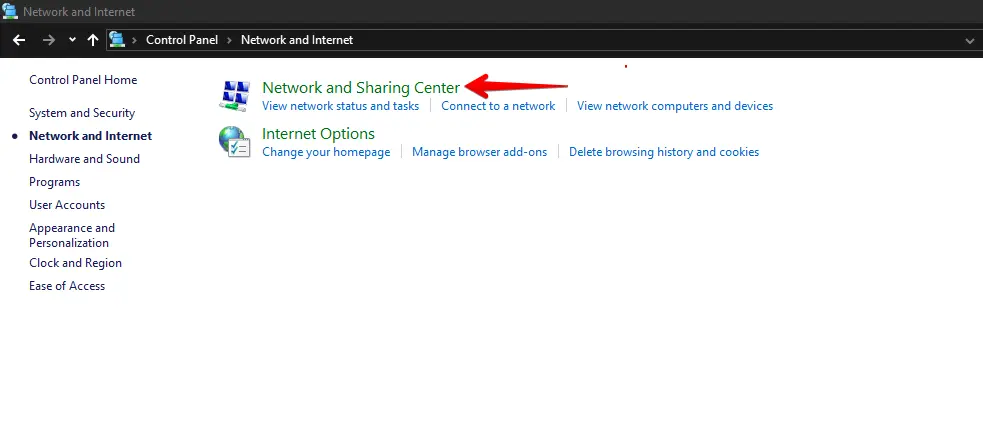
Click on “Network and Sharing Center”.
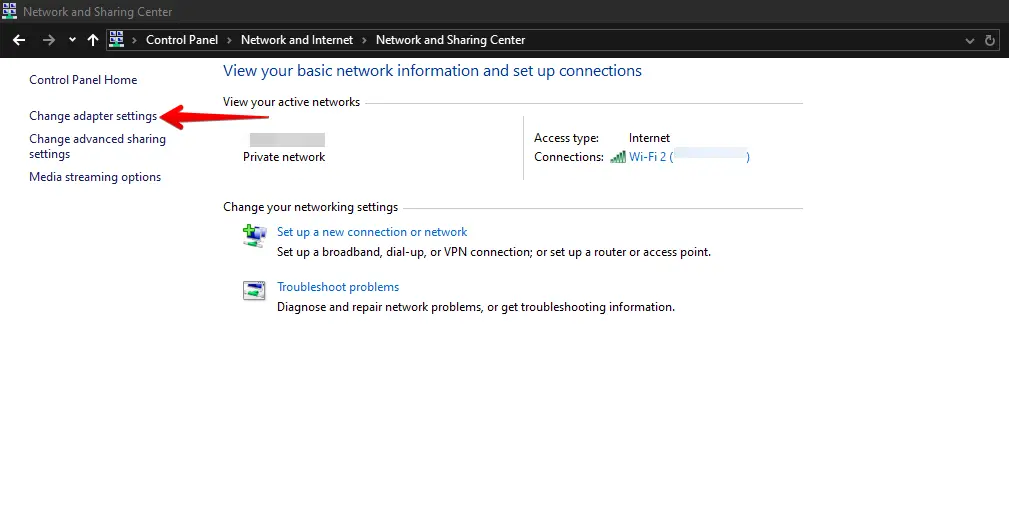
After that, click on “Change adapter settings” on the left-hand side.
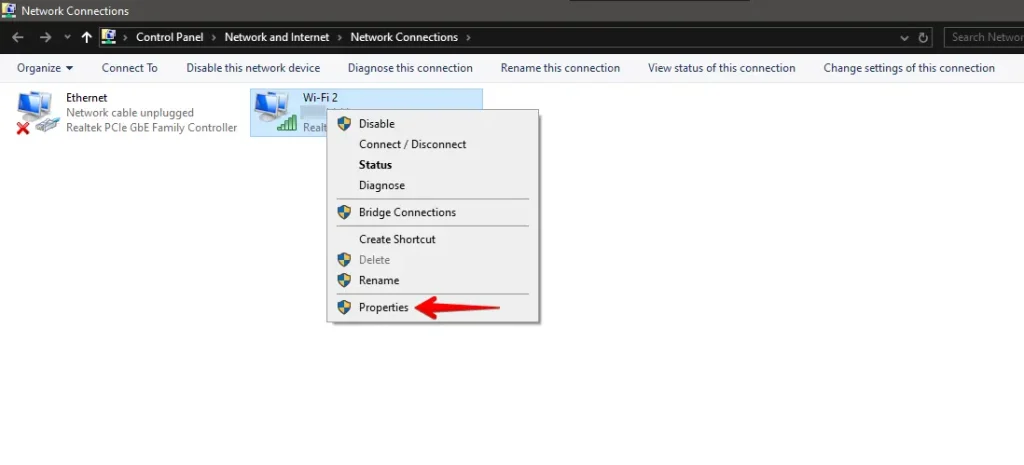
Right-click your active network connection (like Wi-Fi or Ethernet) and select “Properties.”
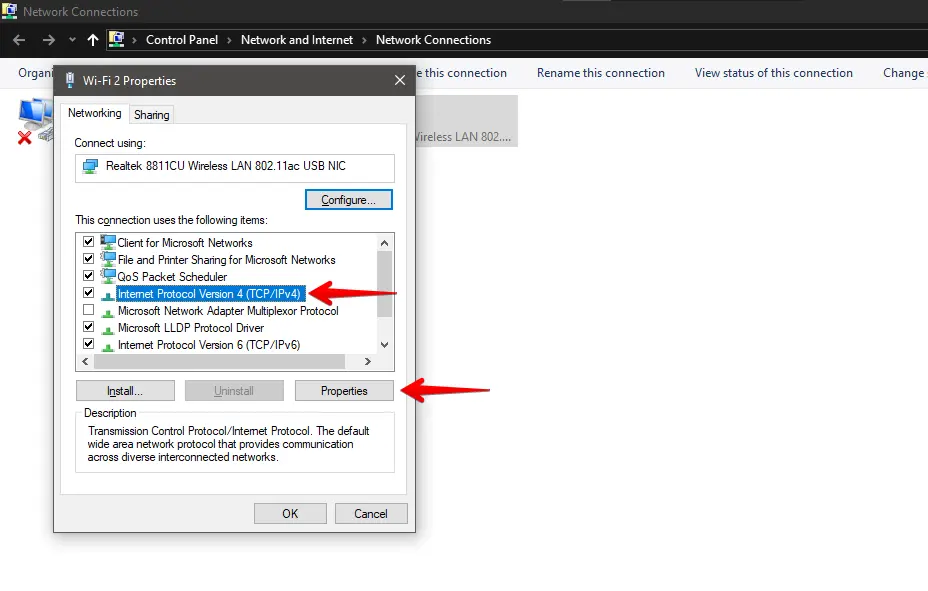
Scroll down to “Internet Protocol Version 4 (TCP/IPv4),” click it, then click “Properties.”
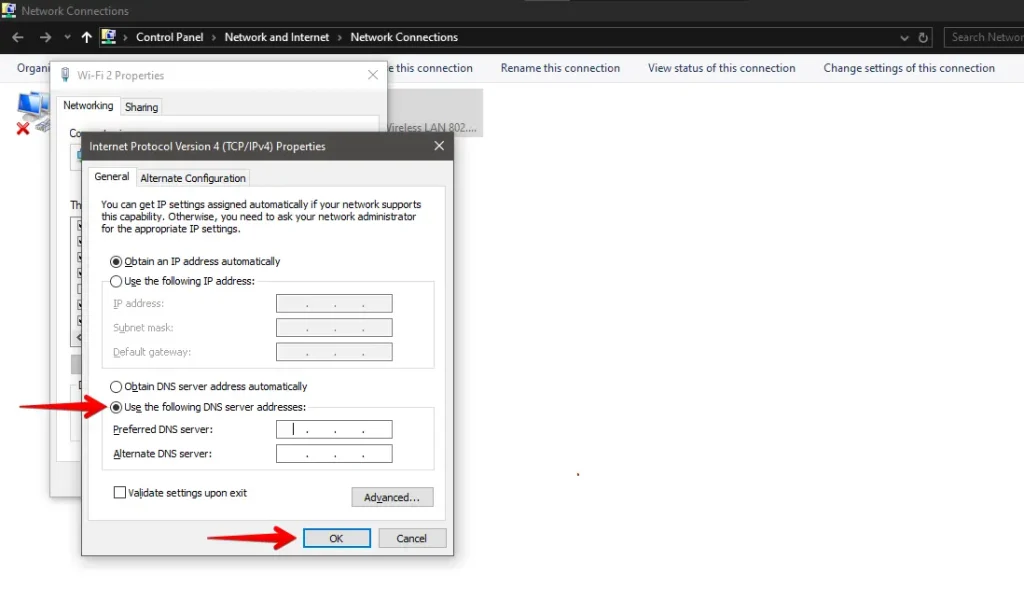
Select “Use the following DNS server addresses” and enter the DNS servers you wish to use. For example, for Google DNS, use 8.8.8.8 and 8.8.4.4, then Click “OK” to save and exit.
After changing your DNS settings, clear your DNS cache to help your system use the new server immediately. This can fix the ERR_NAME_NOT_RESOLVED error and speed up your internet.
Conclusion
The ERR_NAME_NOT_RESOLVED error might just be a small glitch, or it could point to a bigger problem with your DNS settings. By following the steps we’ve laid out, you can usually figure out what’s wrong and fix it yourself.
Don’t forget it’s important to keep regular backups and keep an eye on your site’s accessibility. This way, you can prevent these problems or fix them quickly when they pop up.