WP STAGING disables the cache on the staging site as the default option to ensure that the cloned site does not interfere with the cache from the original site and make sure that you can log in to the staging site immediately after cloning.
It does so by setting the constant WP_CACHE to false in the file wp-config.php.
You can revert this step after the first login:
Option 1: Deactivate & Activate Cache Plugin
Go to your caching plugin settings and deactivate and activate the cache. Most caching plugins then will set the constant WP_CACHE to true then. There is
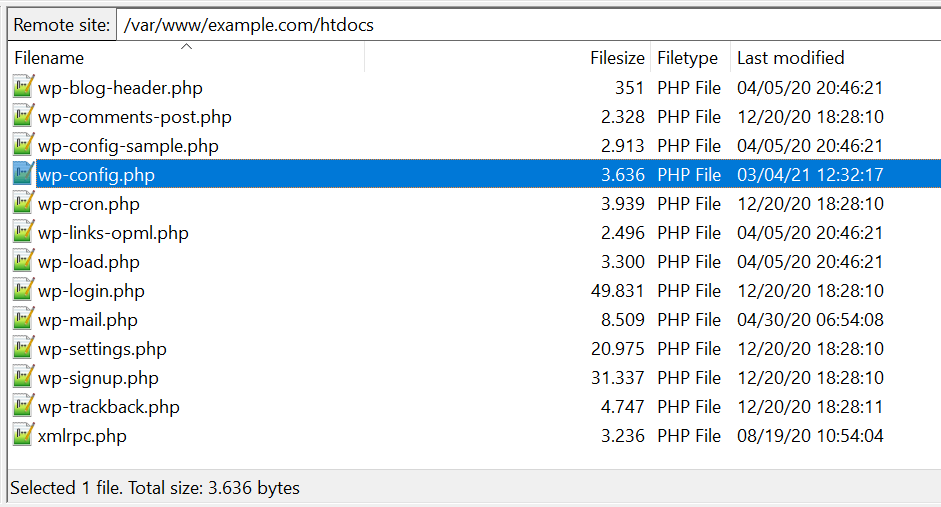
Option 2: Adjust wp-config.php
Change the value of the constant WP_CACHE to true in the file wp-config.php, which you find at the root of your website.
Edit the line that says:
define('WP_CACHE', false);
and change it to
define('WP_CACHE', true);
You can modify this file using FTP or a file manager plugin from within the WordPress admin page.
As a general rule of thumb:
For development purposes, it’s not recommended to have a caching plugin like WP Super Cache, or WP Rocket activated at all on a development site.
Update and develop your site and when you are done, activate the cache! This is usually the correct order to ensure that you do not run into any caching issues while working on your website.