
Fixing the mixed content error in WordPress is vital for a secure browsing experience. This error occurs when a website loads over HTTPS but contains insecure HTTP elements.
Resolving this inconsistency ensures data integrity, enhances security, and builds trust. In this guide, we’ll explore methods for effectively fixing the mixed content error in WordPress.
Contents
Reasons Behind Mixed Content Errors
The “Mixed Content Errors” error can occur due to various reasons:
- Insecure URL references: HTTP links instead of HTTPS within the WordPress site can trigger mixed content errors.
- Theme or plugin issues: Themes or plugins that load external resources over HTTP instead of HTTPS can cause mixed content errors.
- Database inconsistencies: If the WordPress database contains HTTP URLs instead of HTTPS URLs, it can result in mixed content errors.
- Hard-coded HTTP URLs: Manually inserting HTTP URLs within WordPress templates or content can lead to mixed content errors.
- External embeds or iframes: Embedding external content, such as videos or social media widgets, with HTTP URLs can generate mixed content errors if not properly configured for HTTPS.
Identifying the specific cause of the mixed content error and taking appropriate actions can help resolve the issue and ensure a secure browsing experience for your WordPress website visitors.
Top 3 Methods to Fix “Mixed Content Error“
- Test in Different Browsers
- Update Insecure URLs
- Use a Plugin
Method 1: Test in Different Browsers
Here is a step-by-step guide to test your website in different browsers to ensure that the mixed content error is resolved:
- For testing, select popular browsers like Chrome, Firefox, Safari, Edge, and Opera.
- Download and install the chosen browsers if you don’t have them already.
- Open each browser and enter your website’s URL in the address bar.
- Navigate through different pages and sections of your website.
- Look for any mixed content warnings in the browser’s address bar.
- Click on the warning icon/message to identify the insecure resources.
- Update the URLs or find alternative sources for the insecure resources.
- Revisit each browser to ensure the changes have resolved the mixed content errors.
- Repeat the same steps on mobile devices or simulators if applicable.
- Check for any other layout or functionality issues across browsers and devices.
By following these steps, you can efficiently test your website in different browsers, address mixed content errors, and ensure a seamless browsing experience for your visitors.
Method 2: Update Insecure URLs
Here is a step-by-step guide to updating Insecure URLs to fix the mixed content error in WordPress
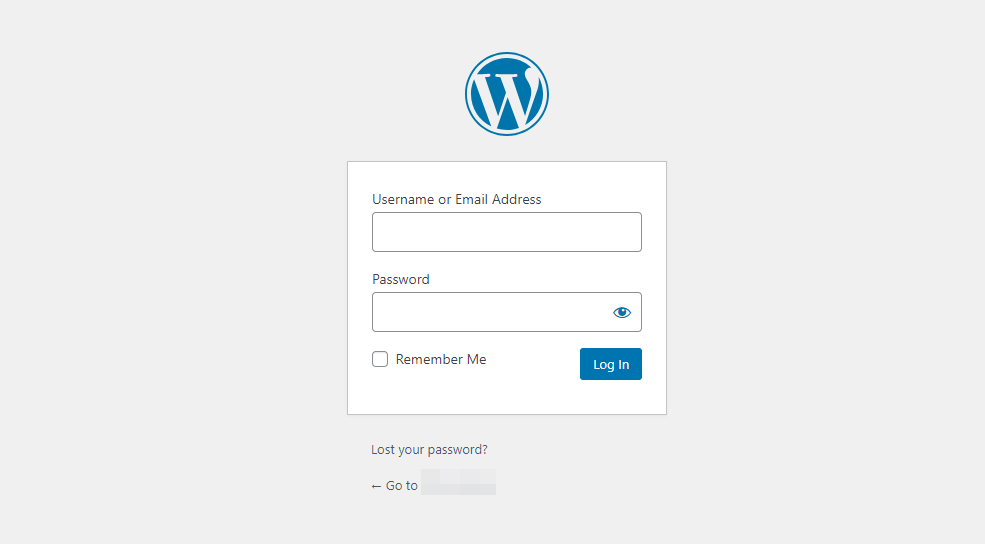
- Log in to your WordPress site’s admin area by entering your credentials.
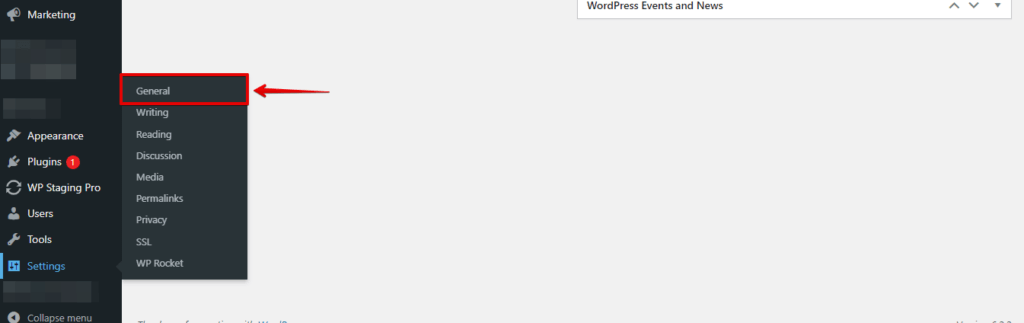
- Once logged in, locate the left-hand sidebar menu and hover over the "Settings" option.
- From the expanded "Settings" submenu, click on the "General" option. This will take you to the General Settings page.
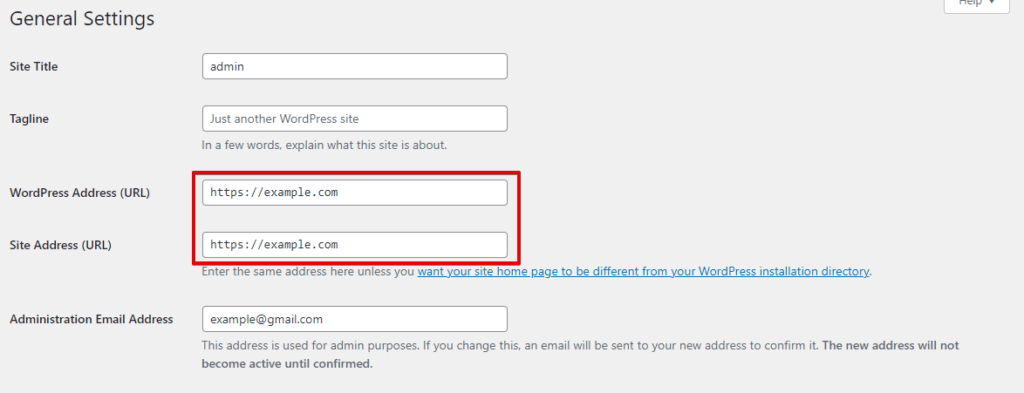
- On the General Settings page, you’ll find the fields for "WordPress Address (URL)" and "Site Address (URL)." Ensure that both URLs begin with "https://" instead of "http://." If they don’t, update them accordingly.
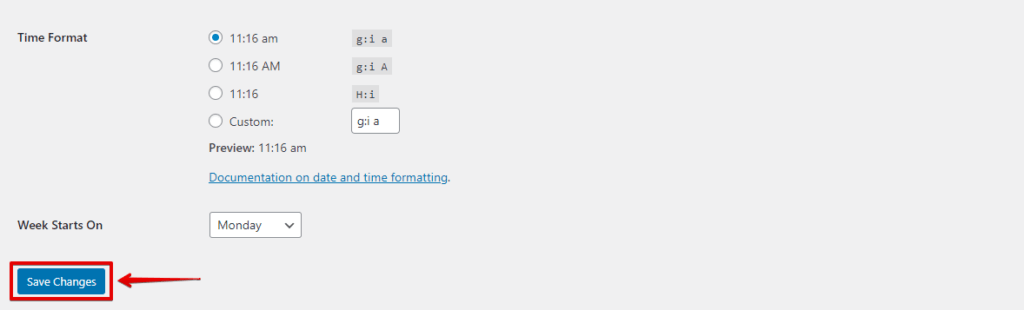
- After updating the URLs, scroll down to the bottom of the page and click on the "Save Changes" button to save the updated settings.
Following these step-by-step instructions, you can successfully update insecure URLs and fix the mixed content error in WordPress, providing a secure browsing experience for your website visitors.
Method 3: Use a Plugin
Here is a step-by-step guide to Using a Plugin to fix the mixed content error in WordPress:
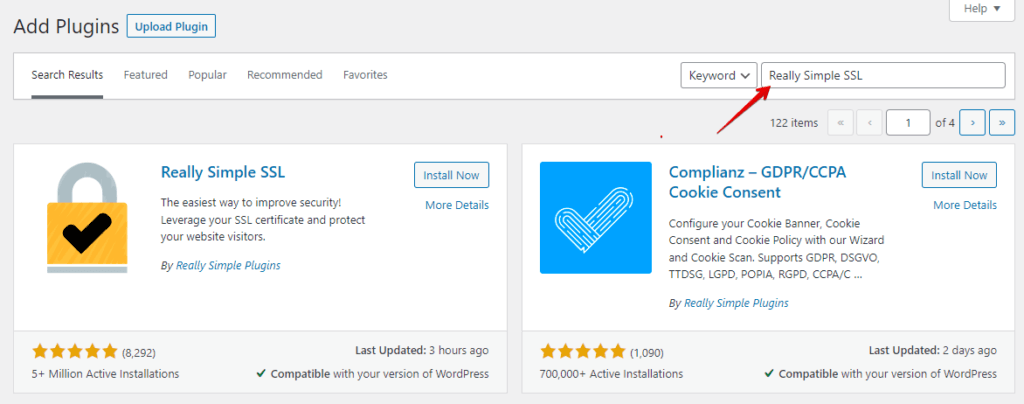
- Start by researching and identifying a reliable plugin that explicitly addresses and fixes mixed content errors in WordPress. Popular options include "Really Simple SSL" and "SSL Insecure Content Fixer."
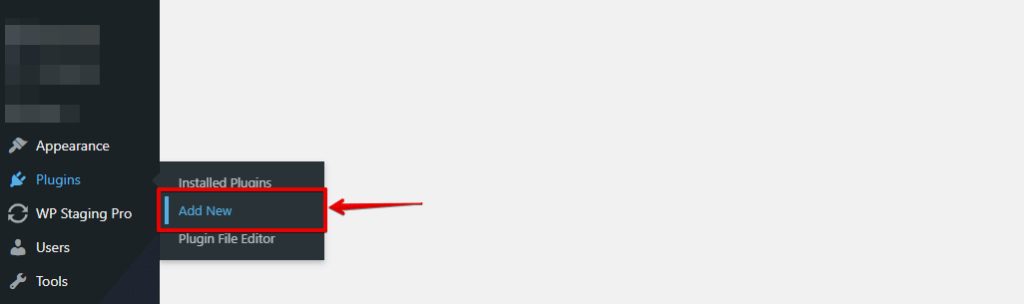
- Access the WordPress Dashboard and navigate to the "Plugins" section on the left-hand sidebar. Click on "Add New" to access the plugin installation interface.
- In the plugin installation interface, enter the name of the plugin you chose in the search field. Hit the "Enter" key or click the "Search" button to initiate the search.
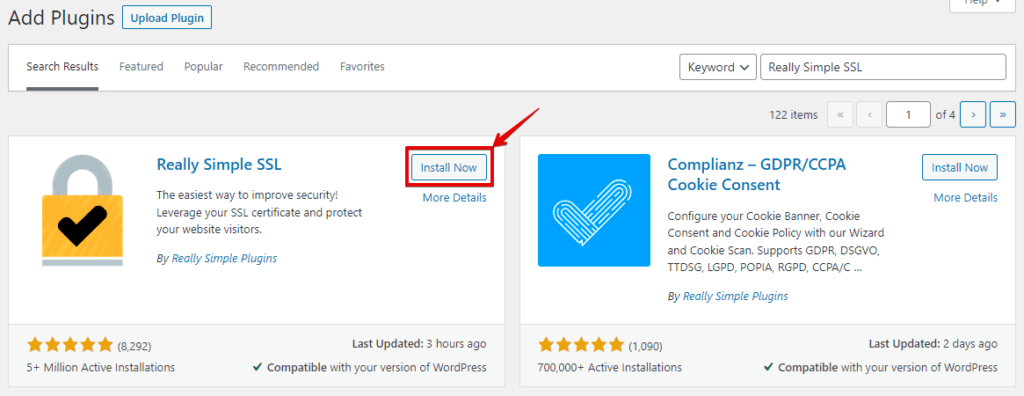
- Locate the desired plugin from the search results and click on the "Install Now" button next to it. WordPress will automatically download and install the plugin.
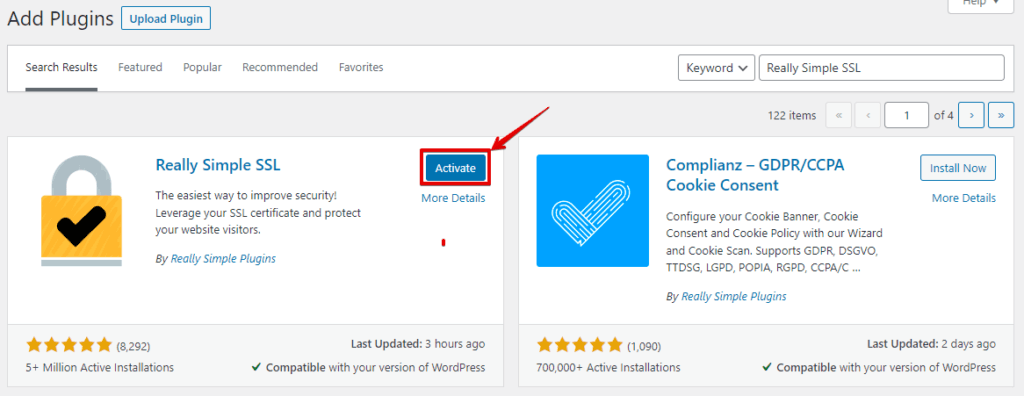
- Once the installation is complete, click the "Activate" button to activate the plugin. This enables its functionality and allows you to fix the mixed content error.
- After activation, the plugin may require some initial configuration. This usually involves going to the plugin’s settings page, accessible from the WordPress Dashboard’s sidebar menu or under the "Settings" section. Follow the plugin’s documentation or on-screen instructions to configure it appropriately.
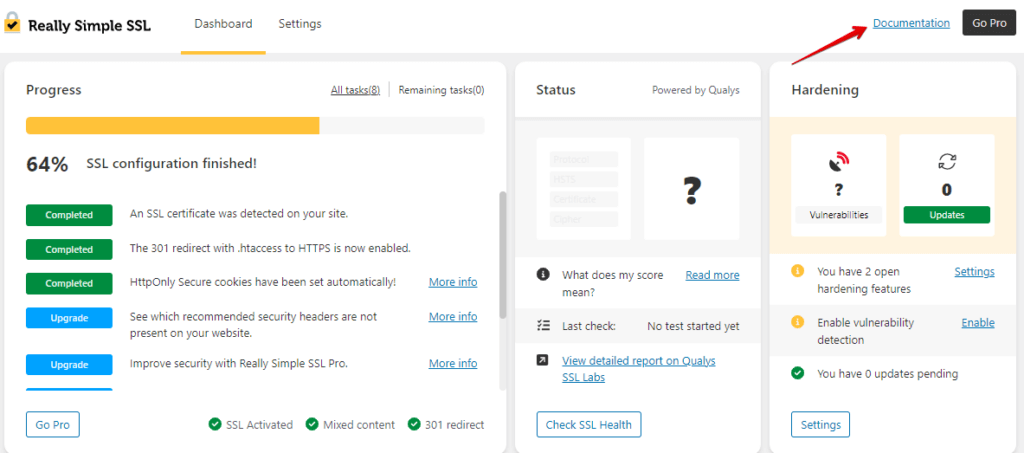
- After running the Really Simple SSL plugin, thoroughly test your website to ensure that all resources are now being loaded securely over HTTPS. Check different pages, images, scripts, and stylesheets to confirm that the mixed content error has been resolved.
Using a dedicated plugin simplifies the process of fixing mixed content errors in WordPress by automating the detection and replacement of insecure URLs. It can be an efficient solution, especially if you have a large site with numerous instances of mixed content.
Conclusion
By updating URLs, using plugins, inspecting theme and plugin files, implementing a Content Security Policy (CSP), and updating CDN and caching settings, you can effectively fix the Mixed Content Error in WordPress. Thorough testing, monitoring, and regular maintenance are essential to ensure a secure browsing experience for your website visitors.