WordPress is a widely used and renowned platform for managing content management systems (CMS) that millions of website owners worldwide use. It’s essential to have a backup of your WordPress database in case your website goes down or if you need to move it to a new server. This article will show you how to back up your WordPress database.
Contents
Two Methods to Backup Your WP Database
Backup WP Database Manually
The following instructions outline the process of manually creating a backup of your WP database using phpMyAdmin:
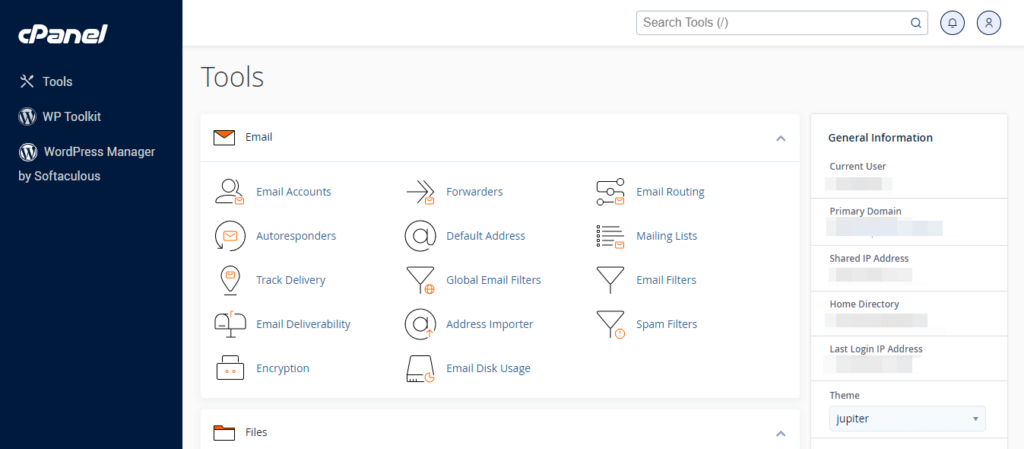
- Log in to your cPanel account.
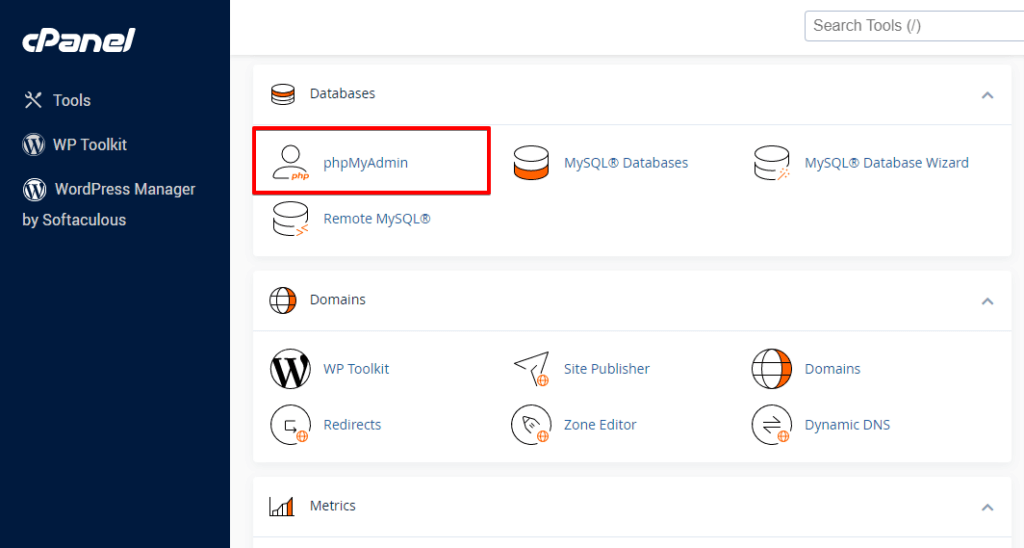
- Navigate to the “Databases” section and click on “phpMyAdmin.”
- Select the database associated with your WP installation from the list of databases on the left-hand side of the screen.
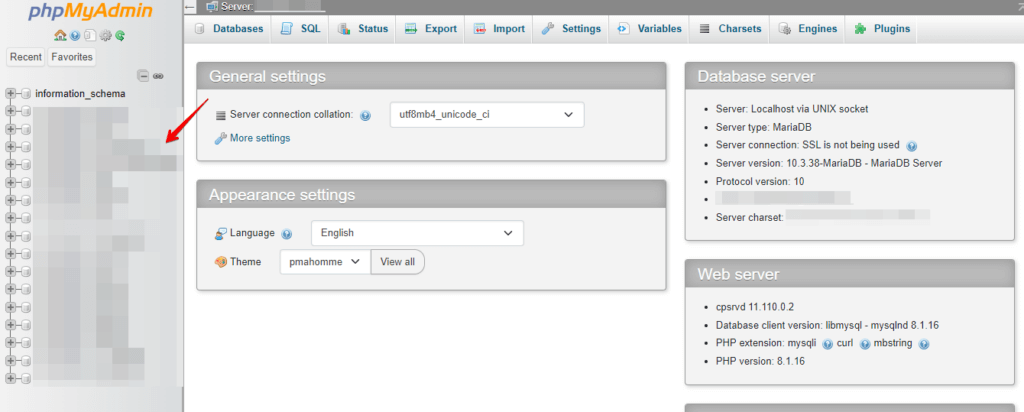
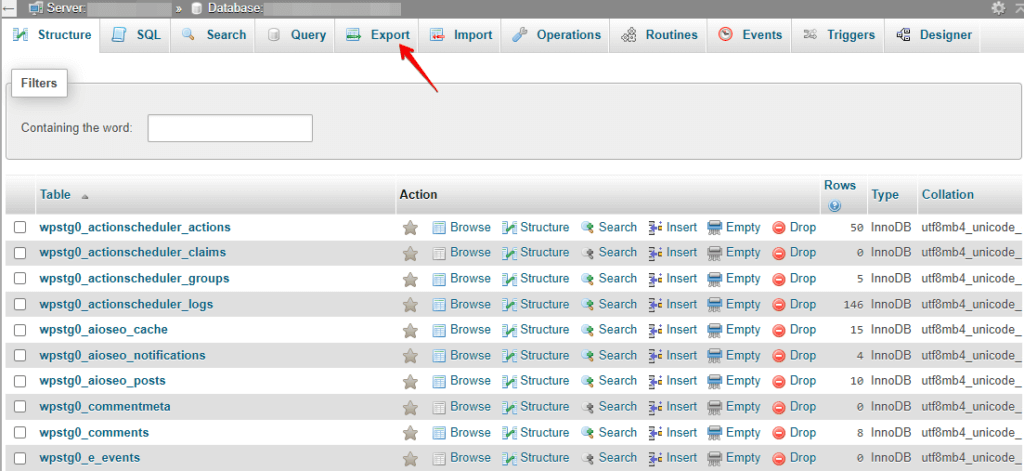
- Click on the Export tab at the top of the page.
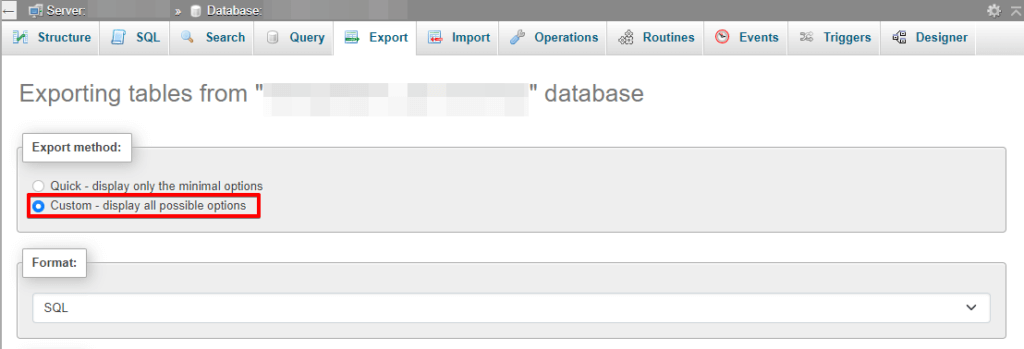
- Choose the export method as “Custom” from the export method options.
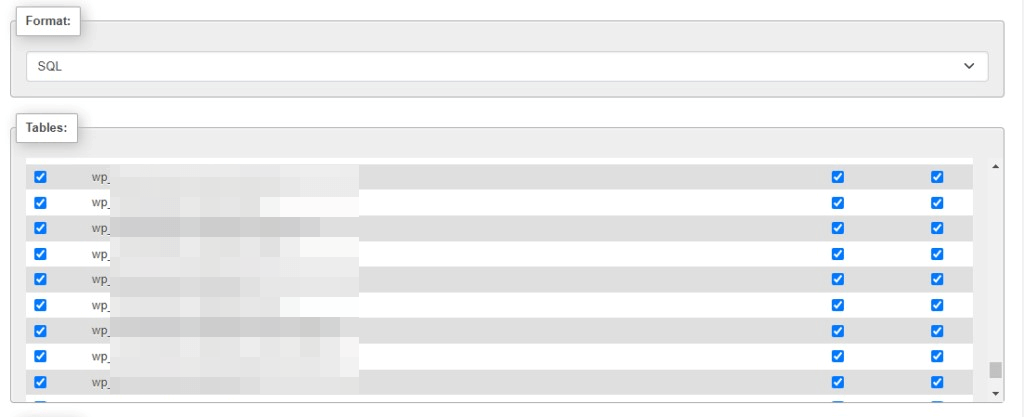
- Choose the output format for the backup file, such as SQL or ZIP.
- Select the tables you want to back up by selecting them from the list of tables.
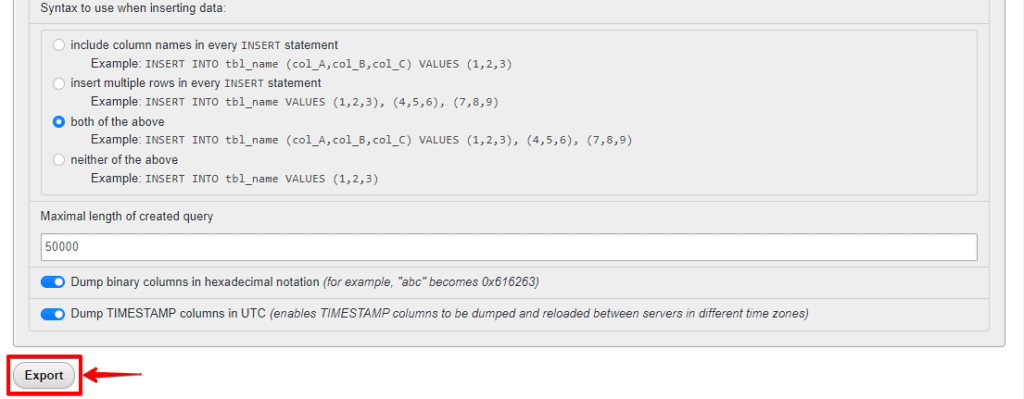
- Click on the Go button to start the export process.
That’s it! You have successfully created a backup of your WordPress Site.
Backup Database with WP Staging
WP Staging can also back up your WordPress database and files. It allows you to upload your backups to numerous cloud storage services automatically, including popular services like Google Drive, Amazon S3, DigitalOcean, SFTP, etc. This means you can easily store and access your backups in various locations, providing added security and peace of mind.
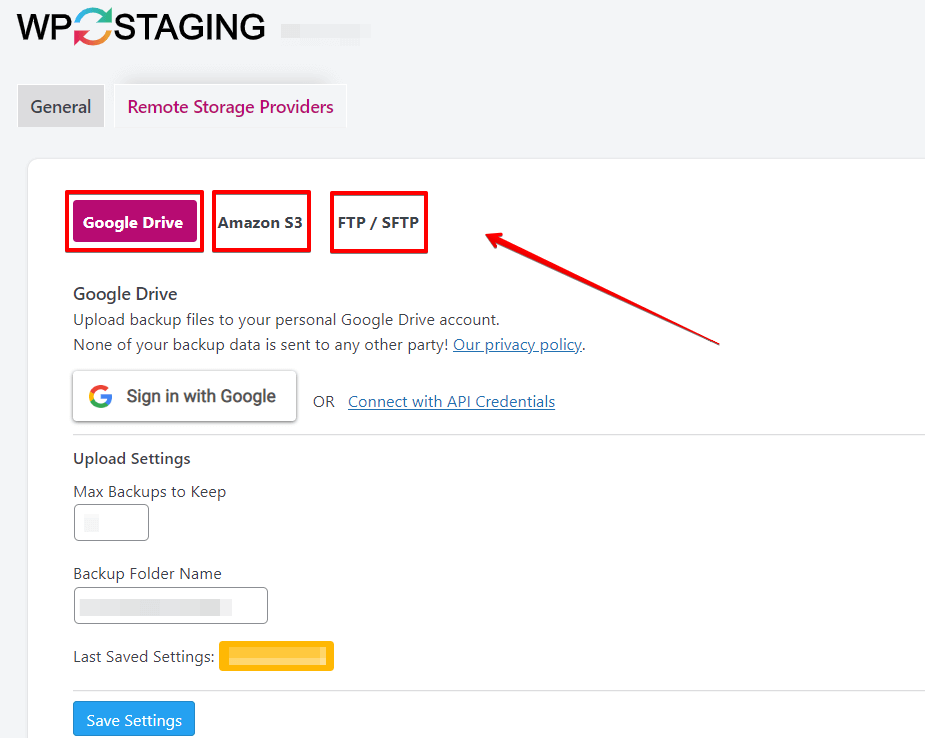
Here’s a Step-by-step Guide On How To Backup Your Database Using WP Staging:
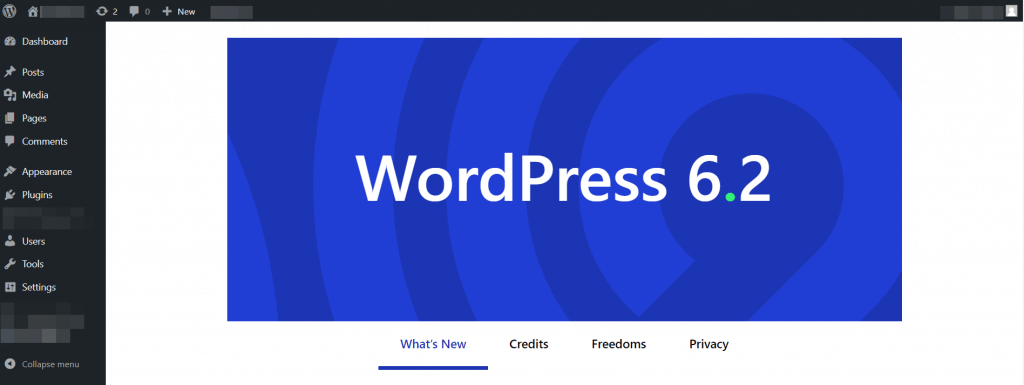
- First, go to your WordPress Dashboard.
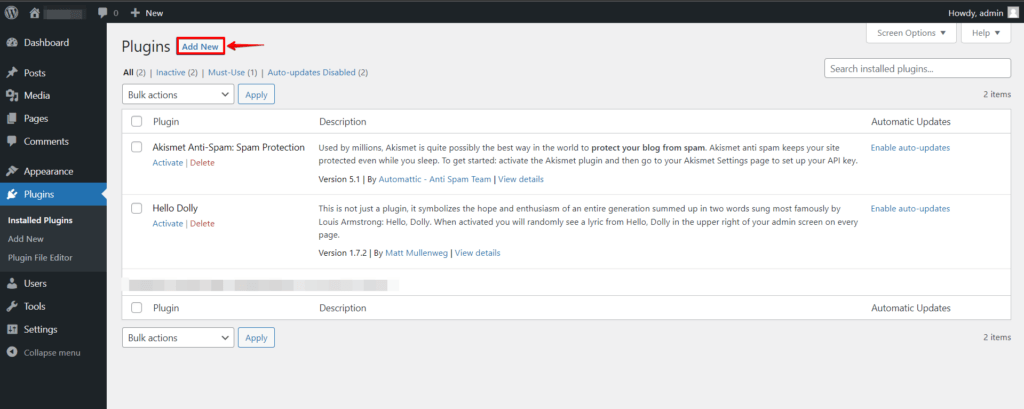
- Navigate to the “Plugin” section and click the “Add New” button.
- Search for “WP Staging” and “Activate” the plugin.

- After activating the plugin, click the “WP Staging” option in the left-hand menu and click the “Backup & Migration” option.
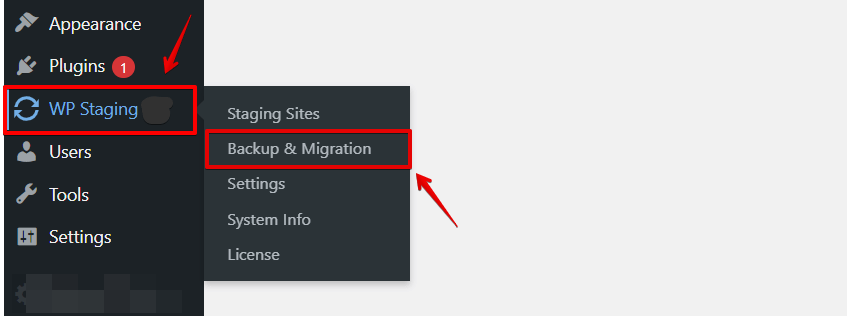
- After clicking the “Backup & Migration” option, you will see the menu of the “Backup & Migration” options. Then, click the “Create New Backup” option.
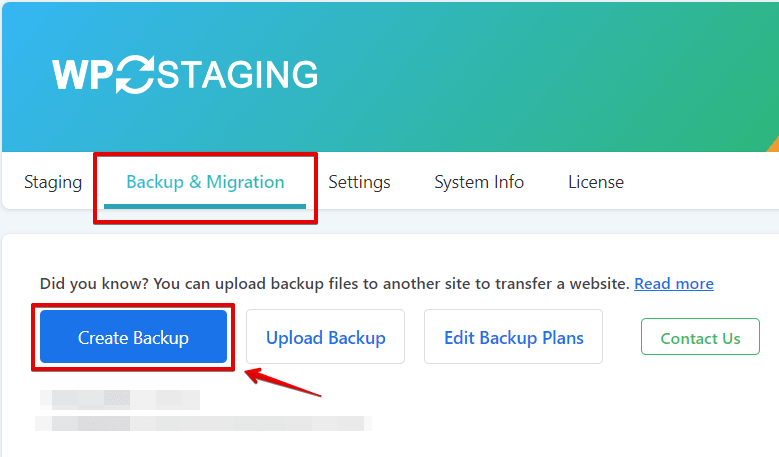
- Once you click the “Create Backup” option, a new section will appear, and then choose your option which type of Backup you want.
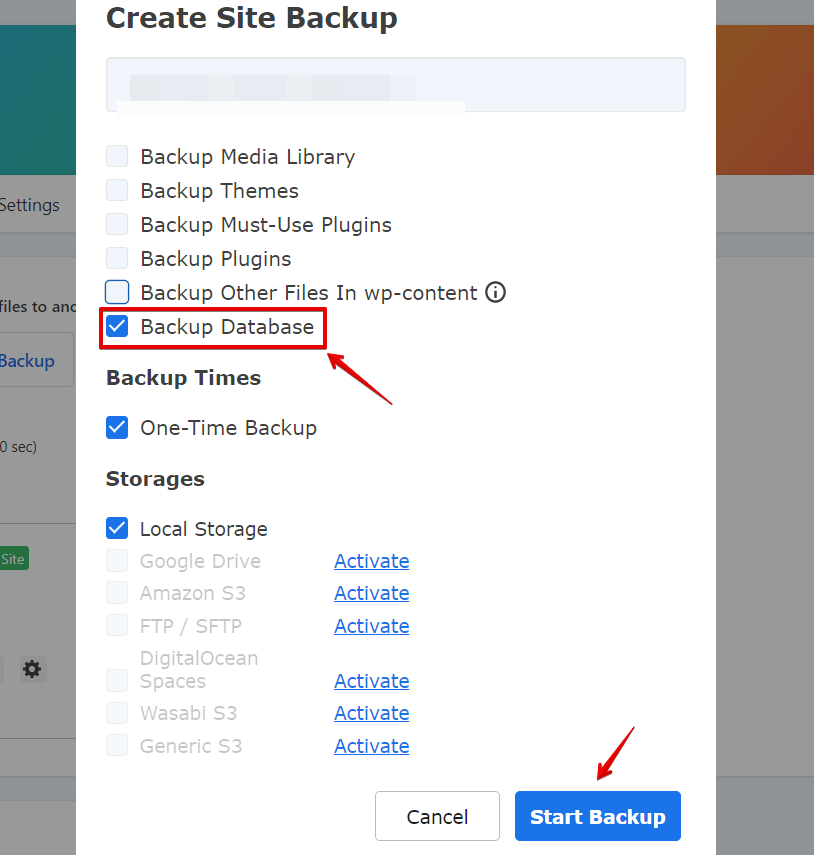
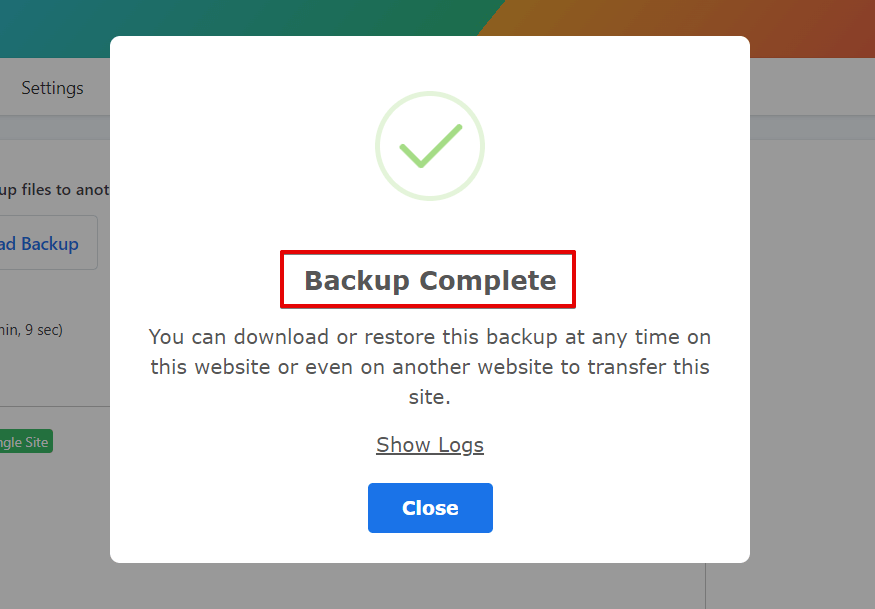
- After selecting the type of backup you want, click the “Start Backup” button.
Conclusion
Backing up your WordPress database is crucial for website safety and security, as well as for data safety.
Export it as an SQL file and store it securely for easy restoration and protection against data loss or corruption or use WP Staging to automatically create a full database and file backup.

