The WordPress REST API is what lets the block editor, plugins, and external tools communicate with your site’s data. When it breaks, you’ll typically see one of two messages in the block editor: "The REST API encountered an error" or "The REST API encountered an unexpected result" — both point to the same class of problem.
From WP STAGING support tickets, a permalink flush resolves the error in most cases. When that doesn’t work, the underlying cause is usually a plugin conflict, a .htaccess rule, a security plugin firewall, or a server-level configuration issue. This guide covers all of them.
Contents
TL;DR: Quick-Fix Checklist
If you need a fast answer, start here. These five root causes account for most REST API errors in WordPress:
| Root cause | 1-click fix |
|---|---|
| Plugin conflict | Deactivate all plugins → reactivate one by one |
| Permalinks need flushing | Settings → Permalinks → Save Changes (no edits needed) |
Security plugin blocking /wp-json/ |
Whitelist /wp-json/ in the plugin’s firewall settings |
.htaccess rewrite rule corruption |
Regenerate .htaccess via Settings → Permalinks → Save Changes |
| SSL/HTTPS mismatch | Confirm siteurl and home in wp-config.php both use https:// |
Use the decision table below to match your exact symptom to the most likely cause before going step by step.
What Causes REST API Errors?
Check your WordPress debug log for REST API errors first — the log typically names the plugin or function that threw the exception and saves you from guessing.
Common causes include:
- Plugin or theme conflicts: Incompatible or poorly coded plugins and themes are the most frequent cause. In our testing, deactivating all plugins resolves the error in the majority of cases.
- Permalink structure problems: WordPress routes REST API requests through the same rewrite rules as post permalinks. Corrupted or un-flushed rewrite rules block
/wp-json/entirely. - Authentication and permission failures: Missing or invalid credentials, as well as WordPress permission errors that affect the REST API, prevent REST requests from completing.
- Server configuration issues: Problems with
mod_rewrite, limited PHP memory, or PHP configuration limits that can break the REST API — such as a lowmax_input_varssetting — cause REST API failures. - Security plugin firewall rules: Wordfence, iThemes Security, and All-In-One Security all have firewall modes that can block
/wp-json/requests when configured too aggressively. We’ve seen this fail silently — no PHP error, just a blocked request. - SSL and HTTPS mismatches: After migrating to HTTPS, a mismatch between
siteurl,home, and the server’s SSL configuration can trigger REST API errors. - Database issues: Corruption in the WordPress database tables the REST API reads from can produce "unexpected result" errors even when all plugins and themes are clean.
The official WordPress REST API Handbook is the authoritative reference for understanding what a specific endpoint should return.
Troubleshooting Decision Table
Match your exact symptom to the most likely cause:
| What you see | Most likely cause | Fastest fix |
|---|---|---|
| Error on front-end only; block editor works | Caching or CDN serving a stale response | Purge all caches; confirm /wp-json/ is excluded from CDN cache rules |
| Error in wp-admin block editor only | Plugin conflict or un-flushed permalinks | Flush permalinks; then deactivate plugins one by one |
| Error appears immediately after installing a plugin | Plugin conflict with the new plugin | Deactivate the new plugin; test; reactivate and confirm |
| Error after migrating to HTTPS or a new host | SSL/HTTPS mismatch or .htaccess corruption |
Update siteurl/home; regenerate .htaccess via Permalinks |
| Error on staging or localhost only | Self-signed SSL or local DNS resolution | Accept the self-signed cert in the browser, or for local dev add define('ALTERNATE_WP_CRON', true); to wp-config.php |
404 from /wp-json/ |
Permalink rewrite rules not flushed | Settings → Permalinks → Save Changes |
403 Forbidden from /wp-json/ |
Security plugin or host firewall blocking the endpoint | Whitelist /wp-json/ in the firewall settings |
Top 5 Methods to Fix the WordPress REST API Error
The five fixes below cover the most common causes. Work through them in order — they go from the fastest to the most involved.
Check for Conflicting Plugins
Plugin conflicts are the most common cause of REST API errors. We’ve seen this fail especially when a security plugin’s firewall excludes /wp-json/ from its whitelist, leaving WordPress unable to process block editor requests.
Here’s a step-by-step guide on how to check for conflicting plugins:
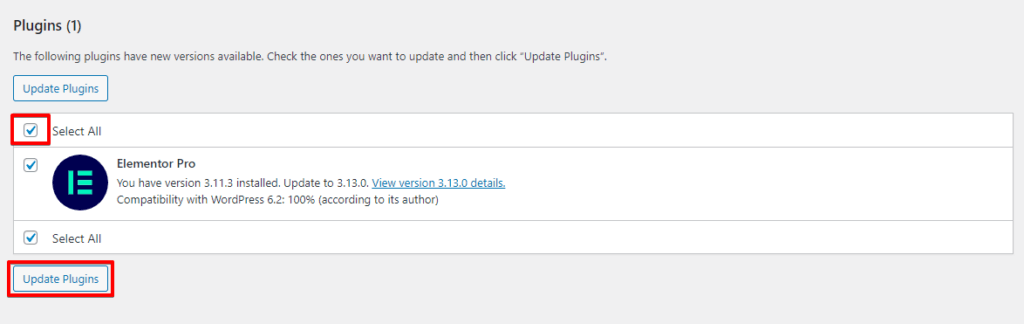
- Login to your WordPress admin dashboard.
- Navigate to the "Plugins" section in the sidebar menu.

- You can deactivate all the plugins on your website by selecting them and choosing the "Deactivate" option from the "Bulk Actions" dropdown menu, or you can deactivate them one by one.
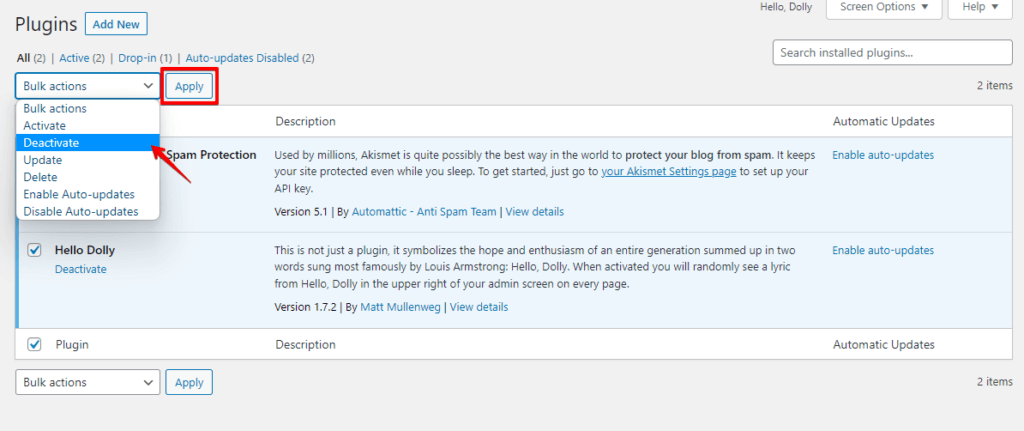
- Test the REST API functionality on your website to see if the error persists. If the error is resolved, it indicates that one of the plugins was causing the conflict.
Reactivate the plugins individually and test the REST API after each reactivation. This helps identify the specific plugin causing the conflict.
To avoid affecting your live site while testing, test your REST API fix safely on a staging site before making changes in production.
Update WordPress and Plugins
Outdated WordPress core files or plugins can introduce compatibility issues that break the REST API. Keeping everything up to date is one of the simplest preventive steps.
Here’s a step-by-step guide on how to update WordPress and plugins:
- Log in to your WordPress admin dashboard.
- Click on the notification or go to the "Updates" menu to access the update screen.
- You will see the updates for WordPress core, plugins, and themes on the update screen.
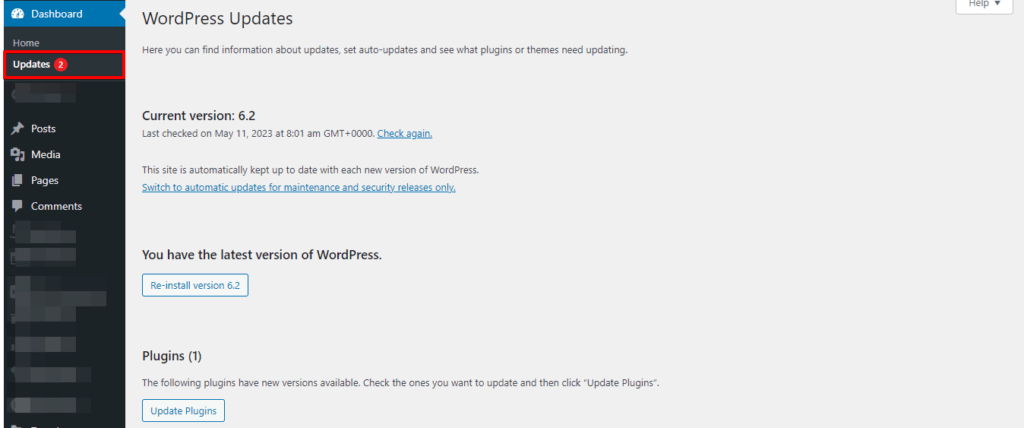
- Check the boxes next to the items you want to update. To update everything, select all items.
- Click the "Update Now" button to initiate the update process.
- WordPress will begin downloading and installing the updates. Depending on the size and number of updates, you might need to wait a few moments.
- Once the update process is complete, you will see a success message.
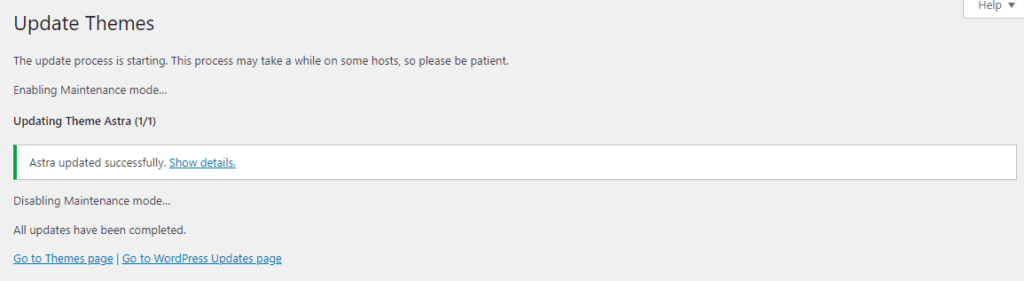
Verify that the REST API errors have been resolved by testing the API functionality on your website.
Verify URL Structure and Flush Permalinks
A corrupted .htaccess file or un-flushed rewrite rules are a leading cause of 404 errors on /wp-json/. WordPress writes its REST API routing rules through the same permalink system that handles post URLs — see WordPress’s permalink documentation for the technical details of how rewrite rules work.
Here’s a step-by-step guide on how to verify the URL structure:
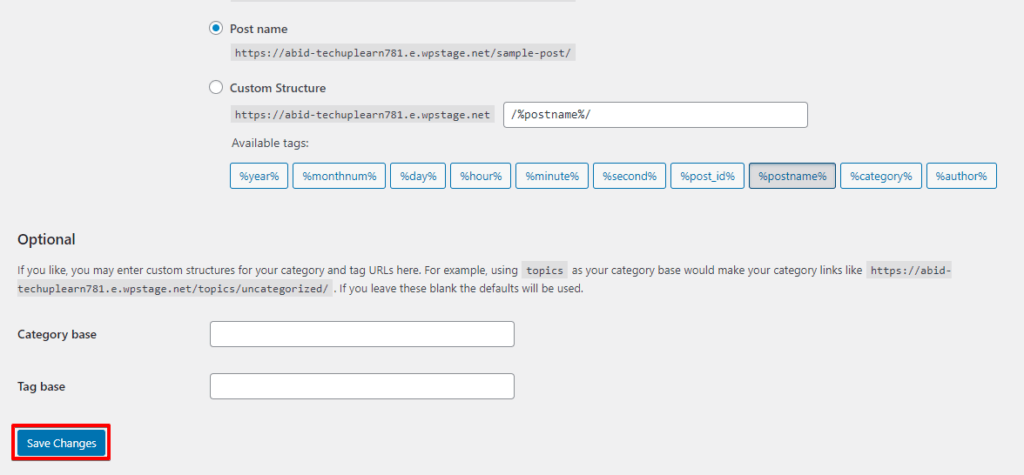
- Log in to your WordPress admin dashboard.
- Go to the "Settings" section in the sidebar menu and click "Permalinks."

- Check the current permalink structure and ensure it is set to a valid format. WordPress provides several options for permalink structures, such as "Plain," "Day and name," "Month and name," "Post name," etc.
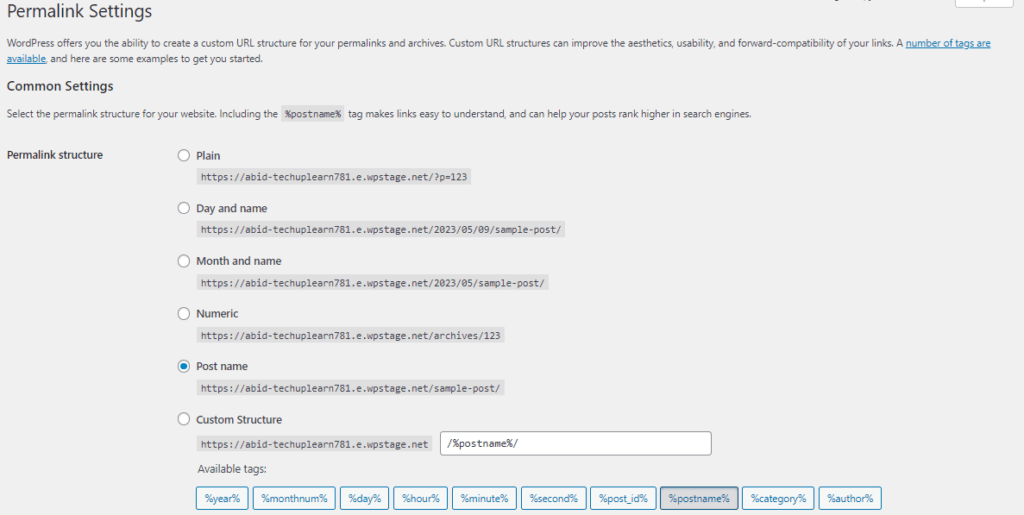
- If the permalink structure appears incorrect or you suspect it may be causing REST API errors, select a different permalink structure option.
- Once you’ve chosen a new permalink structure, click the "Save Changes" button to update the settings.
Test the REST API functionality on your website to see if the REST API error persists. You may need to investigate other potential causes, such as PHP memory limit or cache issues.
Increase PHP Memory Limit
PHP memory exhaustion frequently surfaces as a REST API error, particularly in the block editor. PHP memory exhaustion breaking the REST API is a pattern we see often on sites running memory-intensive plugins alongside a page builder.
Here’s a step-by-step guide on how to increase the PHP memory limit:
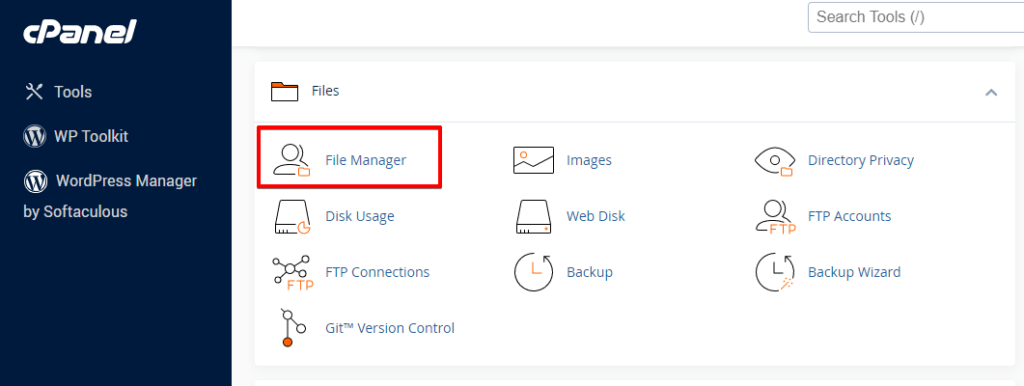
- Access your WordPress files through FTP or a file manager provided by your hosting provider.
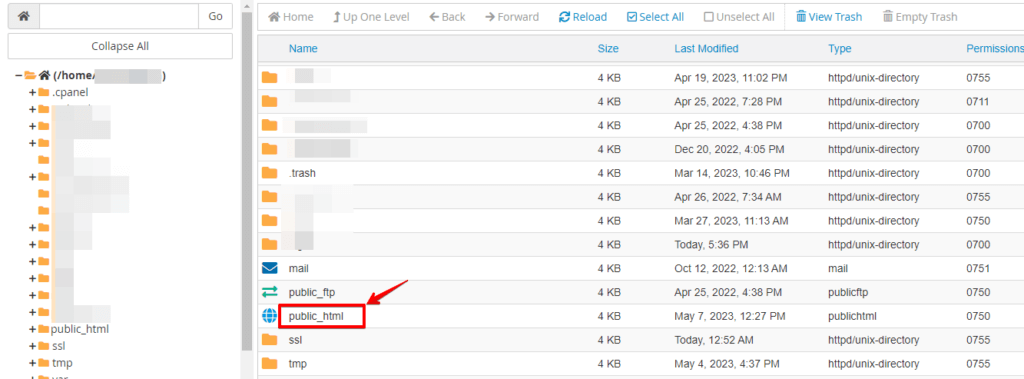
- Locate the root directory of your WordPress installation (usually named "public_html" or "www").
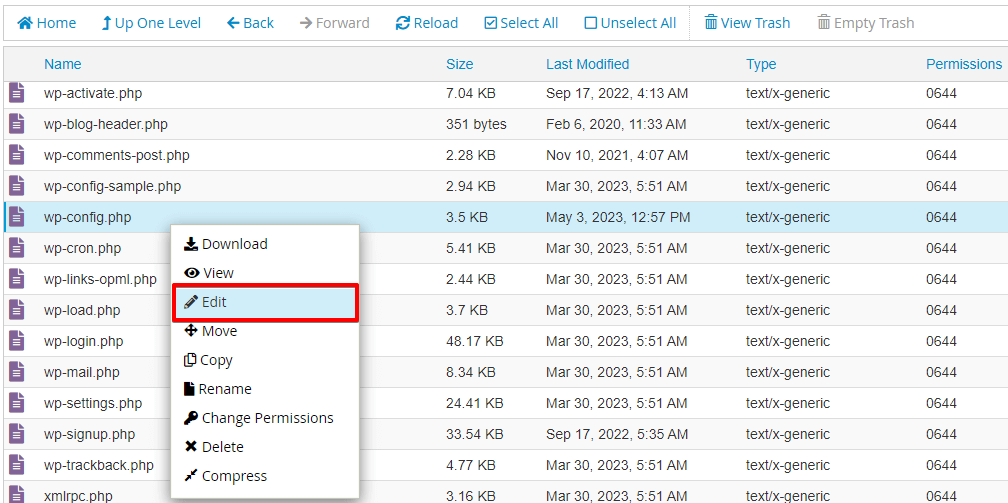
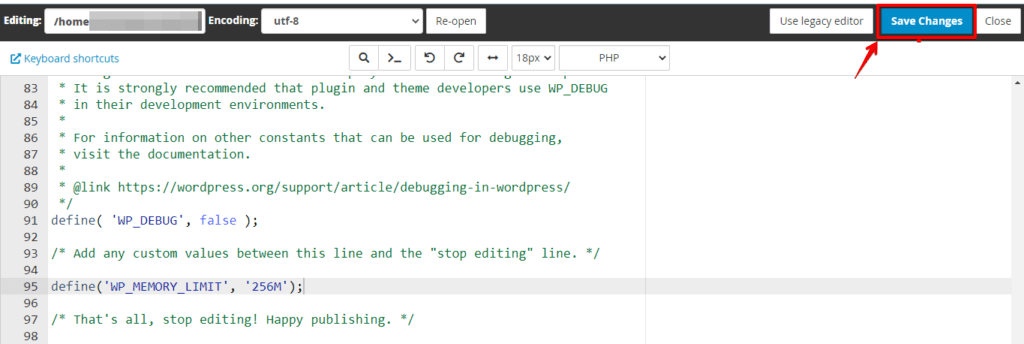
- Look for the wp-config.php file and open it.
- Scroll down to the section that contains the PHP settings.
- Add the following line of code just above the line that says, "That’s all, stop editing! Happy blogging."
define('WP_MEMORY_LIMIT', '256M');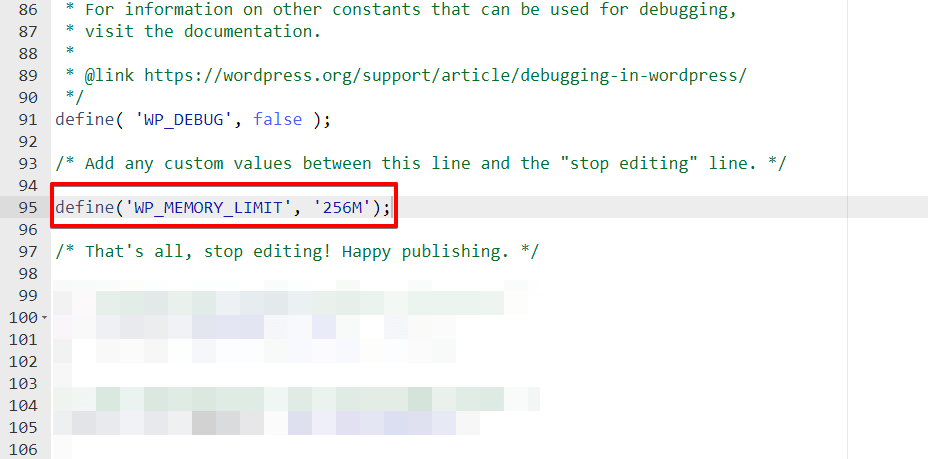
You can adjust the memory limit value (e.g., ‘256M’) based on your specific requirements.
- Save the changes to the wp-config.php file.
Test the REST API functionality on your website to see if the error is resolved. Increasing the PHP memory limit can help prevent memory-related errors.
Clear Cache
Caching plugins and server-side caches can serve stale REST API responses or block /wp-json/ requests entirely. Clearing both your browser cache and any WordPress caching plugin resolves this class of error.
Here’s a step-by-step guide on how to clear the browser cache:
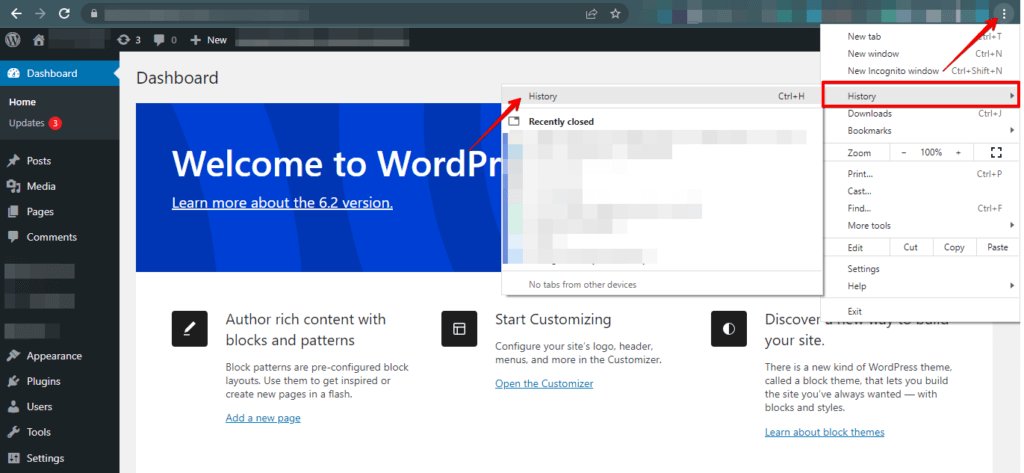
- Open your web browser and access the settings menu.
- Navigate to the browsing history or privacy settings option.
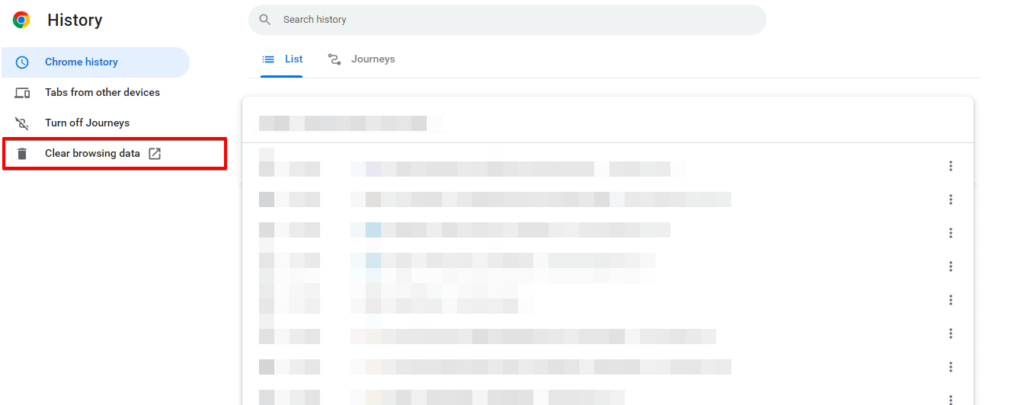
- Look for an option to clear the cache and select it.
- Select the time range for which you want to clear the cache.
- Choose the cache type you want to clear, such as cookies or browsing history.
- Click the "Clear data" or "Clear cache" button to remove the selected data.
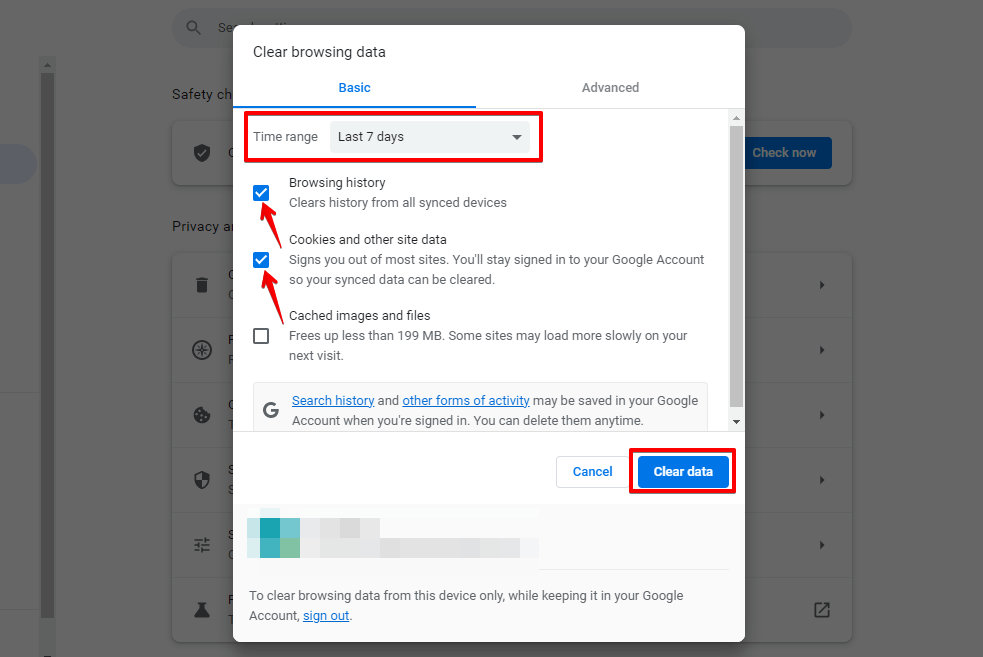
- Restart your web browser to ensure the changes take effect.
These steps eliminate outdated or corrupted cached data that may be causing the REST API error. Also clear any WordPress caching plugins (W3 Total Cache, WP Super Cache, LiteSpeed Cache) and purge your CDN cache if you use one.
Note that clearing the cache removes other saved data too, including login information and site preferences.
When the Standard Fixes Don’t Work
If you’ve worked through all five methods and the REST API error persists, the problem is likely at a deeper layer. From WP STAGING support tickets, these are the most common remaining causes.
Still Broken After Deactivating All Plugins
If deactivating every plugin doesn’t resolve the error, switch your active theme to a default WordPress theme such as Twenty Twenty-Four. A theme’s functions.php can hook into REST API requests and cause failures independently of plugins.
If the error clears with the default theme, your active theme is the cause. Check the theme’s changelog for known REST API compatibility issues or contact the theme developer.
Still Broken After Switching Theme
At this point the issue is likely at the server level: a host firewall rule, a web application firewall (WAF), or a corrupted .htaccess. Run a direct HTTP request from the command line to check the server response:
curl -I https://yoursite.com/wp-json/wp/v2/A 200 OK means the REST API endpoint is reachable and the problem is inside WordPress. A 403 Forbidden means a server-side rule is blocking the request — contact your host with the curl output. A 404 Not Found means the rewrite rules haven’t been flushed.
Also check for WordPress connection refused errors and cURL timeouts that block REST API calls — both can look like REST API failures but originate at the network layer.
For first troubleshooting steps for WP STAGING REST API errors specific to the plugin, see our dedicated troubleshooting guide.
Check Site Health
WordPress has a built-in REST API check under Tools → Site Health → Info → REST API. This shows whether the REST API is accessible from WordPress itself and often points directly at the failing component.
Conclusion
Fixing REST API errors — whether you see "The REST API encountered an error" or "The REST API encountered an unexpected result" — comes down to systematically eliminating the most common causes: plugin conflicts, permalink rewrite rules, security plugin firewall settings, .htaccess corruption, and PHP memory limits.
If 414 Request-URI Too Large errors in WordPress accompany your REST API failures, that’s a separate HTTP error that usually indicates a server-side URL length limit rather than a REST API configuration issue.
By working through the troubleshooting steps in this guide — from the quick-fix checklist through to the server-level curl diagnostic — you can identify and resolve the error without guesswork.
🔥GET STARTED WITH WP STAGING TO EFFICIENTLY MANAGE BACKUPS & CREATING STAGING ENVIRONMENTS.