If you’re currently hosted on WordPress.com and considering a move to IONOS (formerly known as 1&1 IONOS) for a more tailored hosting experience, you’re in the right place.
This comprehensive guide will walk you through the entire process, ensuring a smooth transition without compromising your website’s integrity.
Contents
Step 1: Getting Ready for Migration
Before implementing any modifications, creating a backup of your current content on WordPress.com is essential.
This measure guarantees the security of your data throughout the entire migration process. Here is a detailed guide on accomplishing this crucial step:
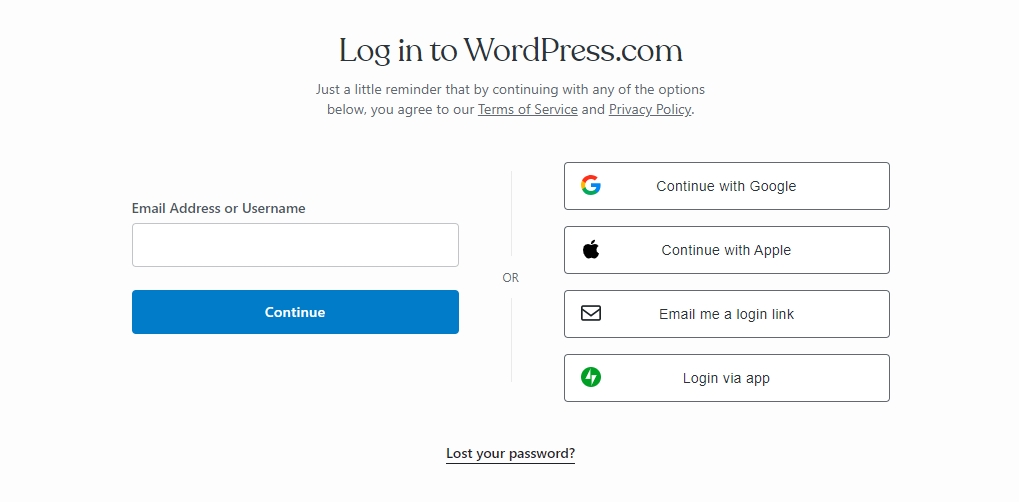
- Log into your WordPress.com account.
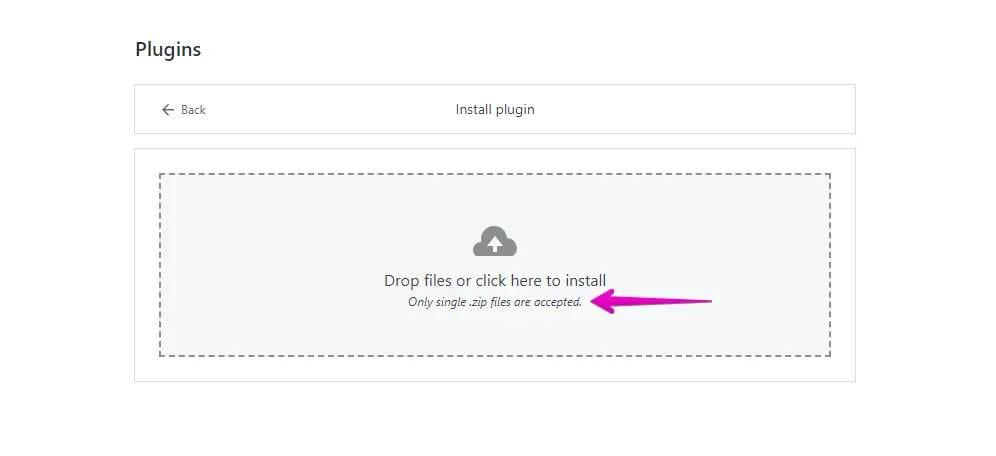
- Navigate to the “Plugins” section within the WordPress dashboard and click the “Upload” button.

- Subsequently, proceed with uploading your WP Staging | Pro.
- Upon installation and activation, navigate to the “Backup & Migration” section in the WordPress dashboard under “WP Staging | Pro.”
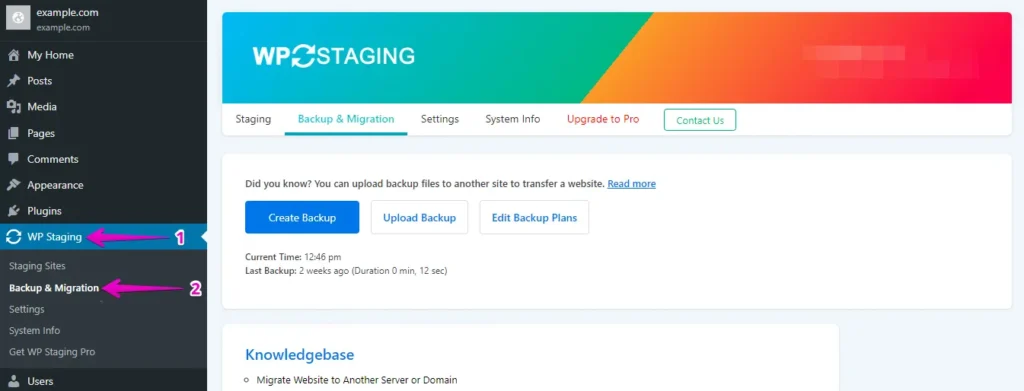
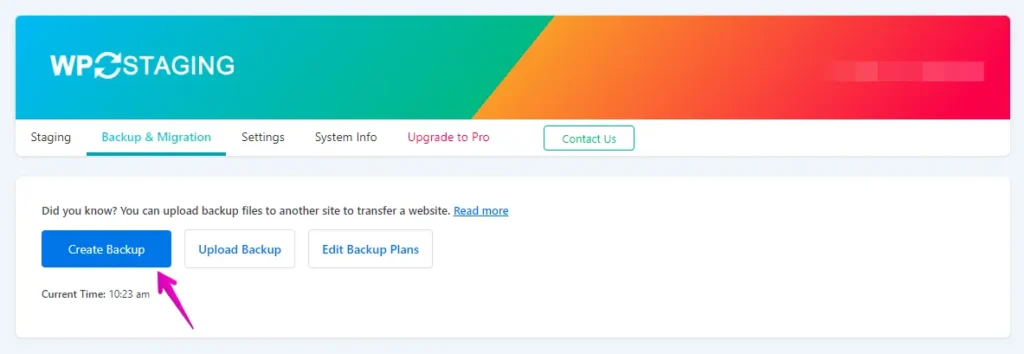
- If you already possess a current backup, that is excellent. Otherwise, click the “Create Backup” button to generate a new backup.
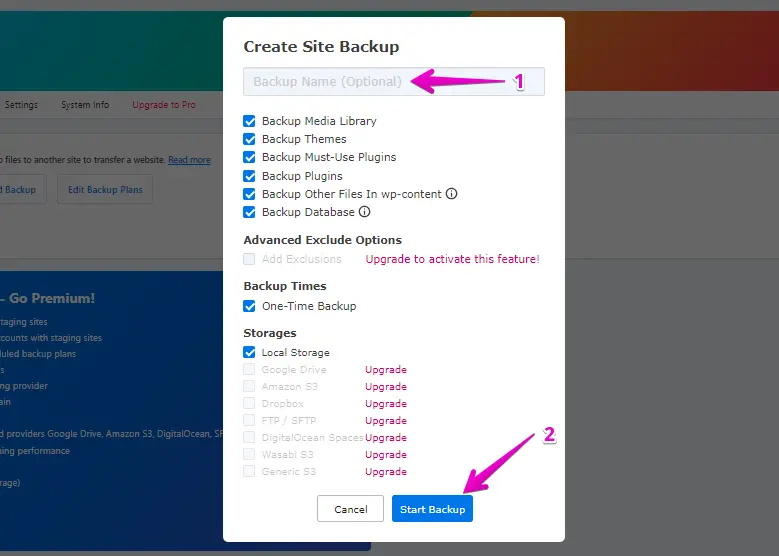
- Provide a name for your backup, and then click the “Start Backup” button.
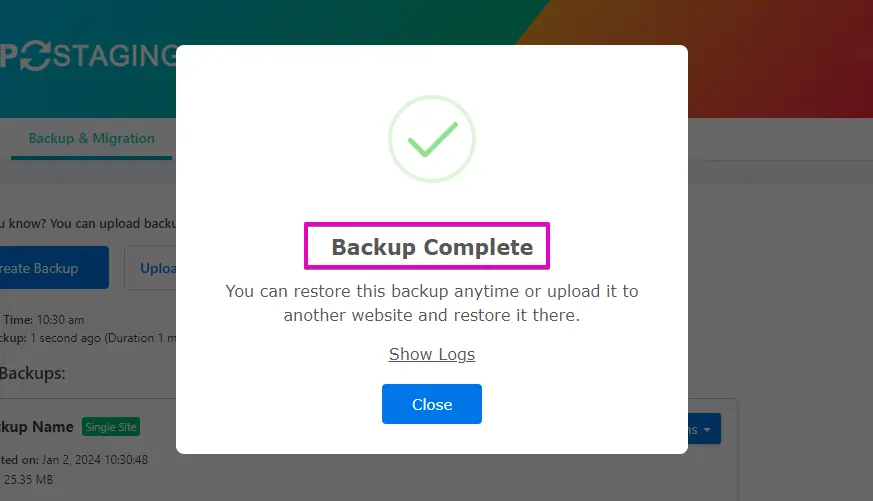
- The backup process has been completed successfully.
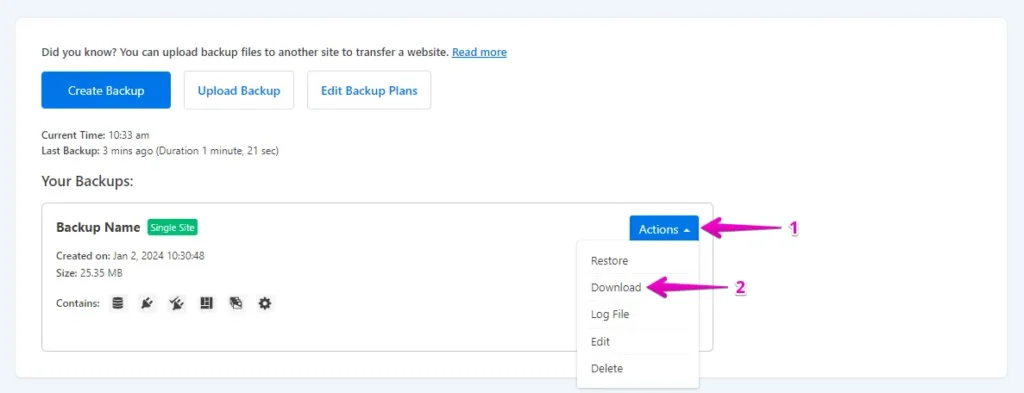
- Once the backup process is complete, you’ll usually encounter a “Download” option under the “Action” button. Ensure that you store this backup file on your computer securely.
Step 2: The Migration Process
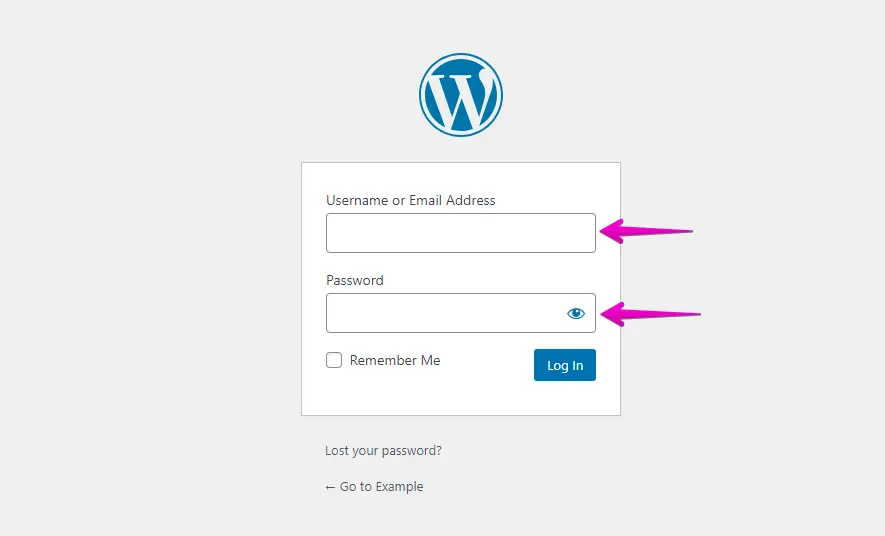
- Access your IONOS WordPress website by entering your username and password.
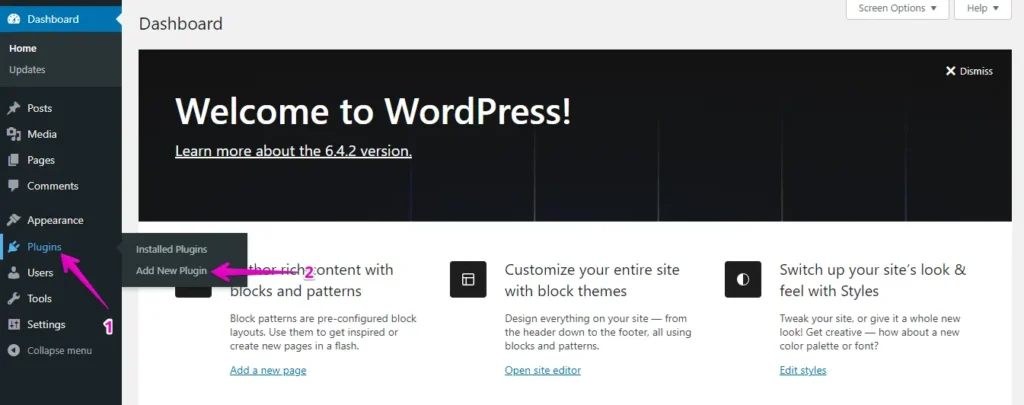
- Go to the left-hand menu, click “Plugins,” and click “Add New.”
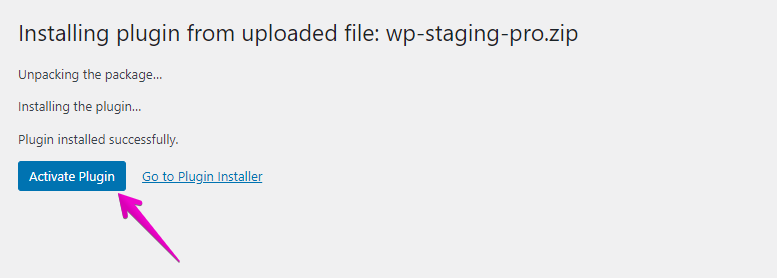
- Click the “Upload Plugin” button, and then “Choose File” to upload the WP Staging Pro plugin.

- Subsequently, click the ‘Install Now’ button.

- Once the plugin is installed, proceed to activate it.
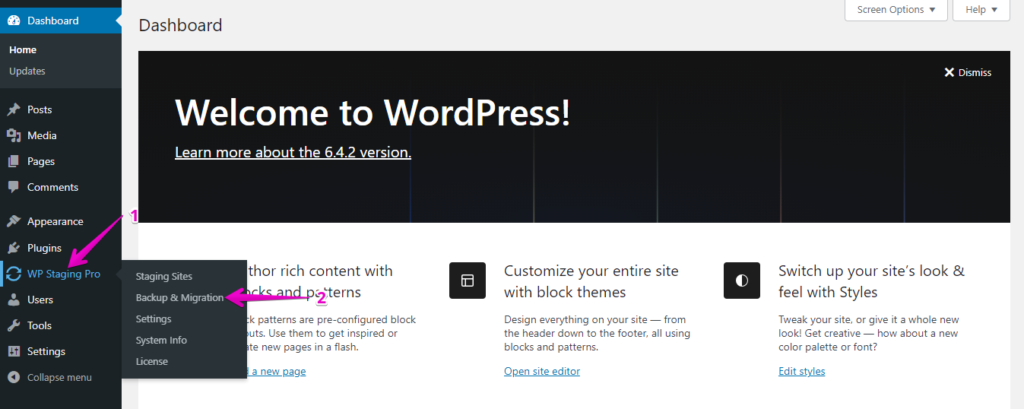
- Go to the menu on the left, find ‘WP Staging Pro,’ and choose the ‘Backup & Migration’ option.
- Then, click the ‘Upload Backup’ button.
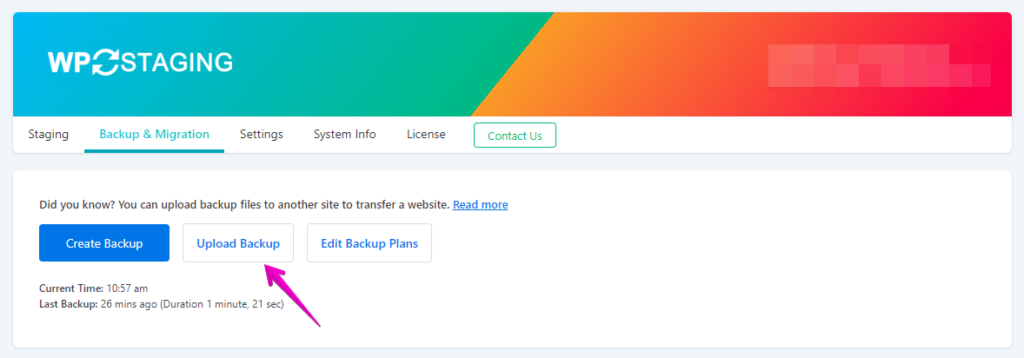
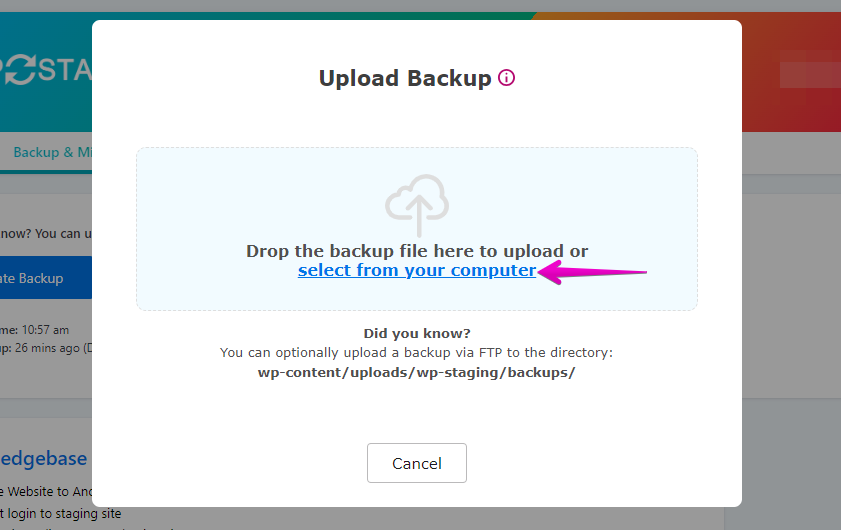
- Upload the backup file you exported from your WordPress.com website.
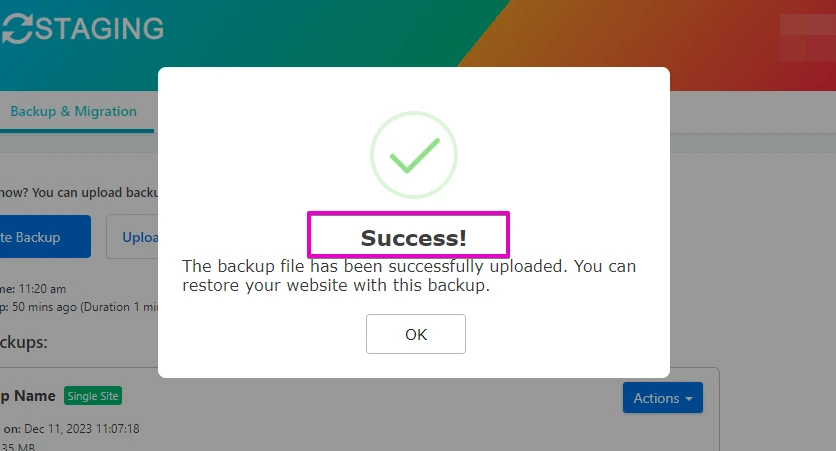
- The backup has been successfully uploaded.
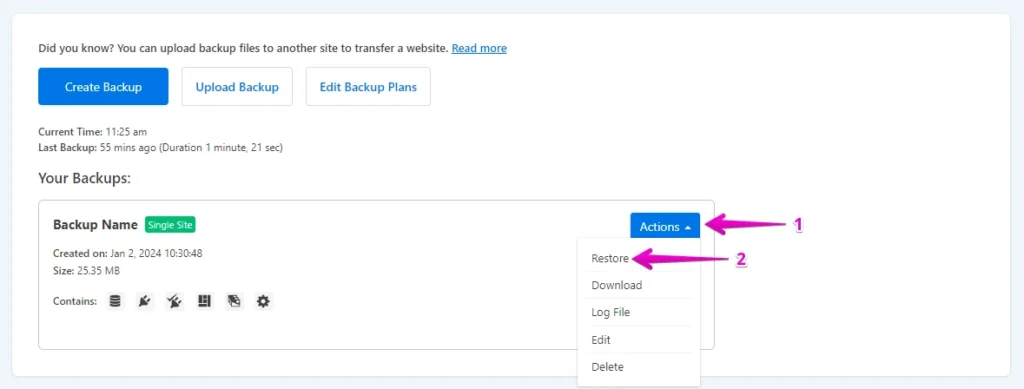
- Then, click the ‘Action’ button and choose the ‘Restore’ option.
- Click the ‘Next’ button.
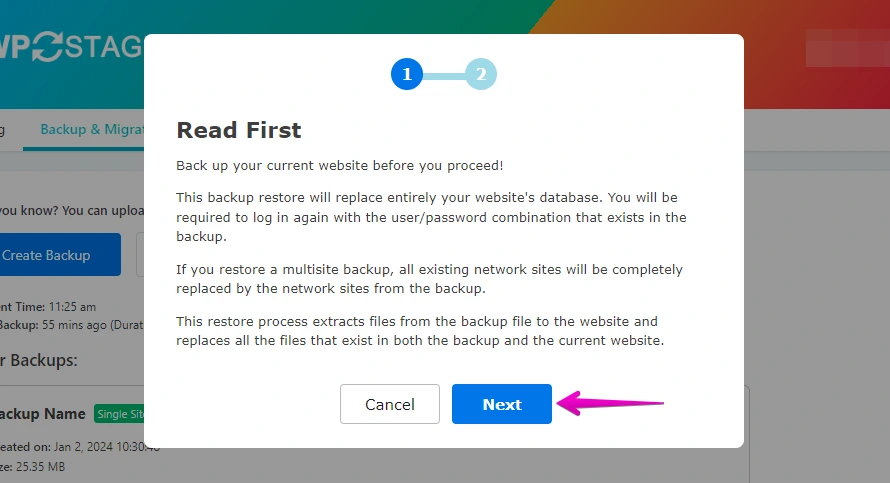
- Next, click the ‘Restore’ button.
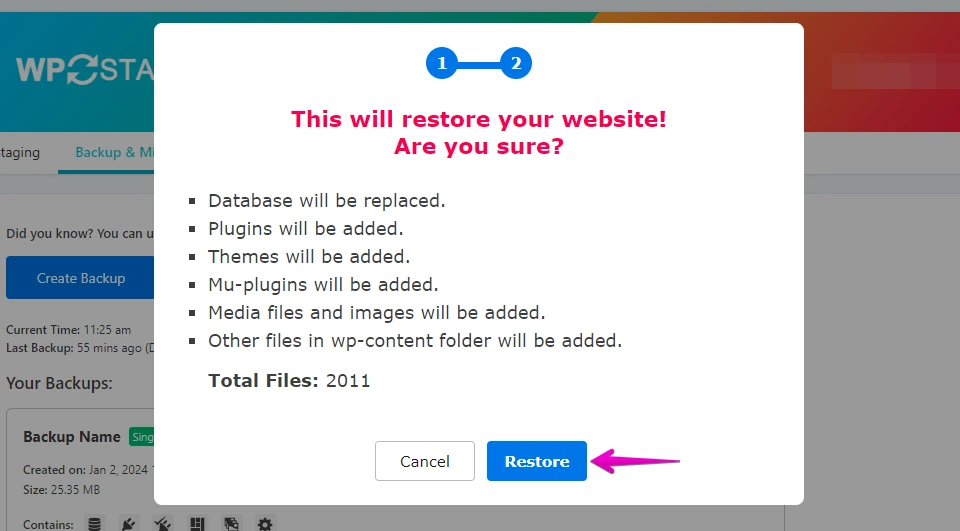
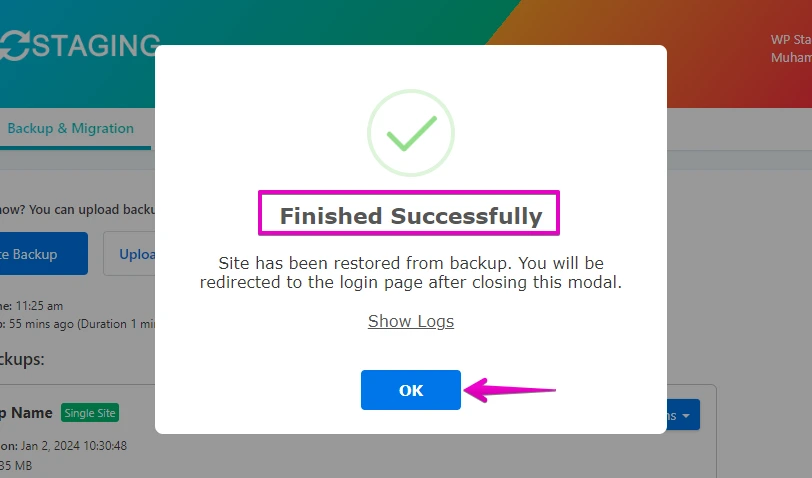
- The restoration process is complete.
- Click the “OK” button.
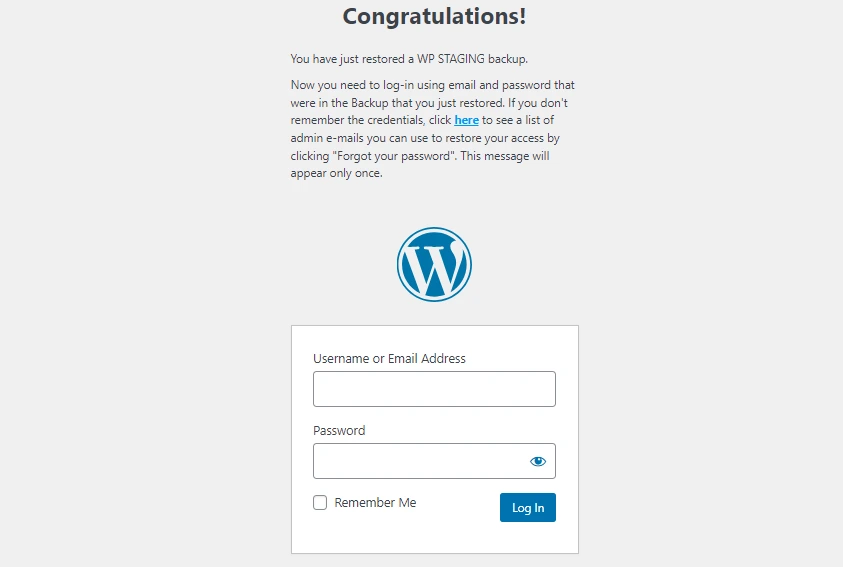
- Access your WordPress website again.
Perform thorough testing of your website’s functionality on IONOS. Check for broken links, forms, and interactive elements to ensure a flawless user experience.
Important
Remember that the exact steps and process may vary depending on your specific Ionos hosting plan and the features they provide, so it’s essential to refer to Ionos’ documentation or contact their support for specific guidance if needed. Additionally, always back up your data before making significant changes to your website.
FAQs
Is there any benefit of migrating from WordPress.com to IONOS?
Compared to WordPress.com, IONOS is a self-hosting service that provides dedicated support for eCommerce and large-scale websites. We advise you to conduct proper research before making any decision.
Why do I Choose WP Staging for this purpose?
With WP Staging, you can easily migrate your WordPress website from WordPress.com to IONOS. Not only migration, it can help you create staging sites, maintain automatic backups, and more. It’s highly cost-effective and provides great value for money.
If you face any difficulty in using WP Staging Pro, feel free to contact customer support.

