If you are on a web server with limited capacities and not much free available disk space, you have several options to reduce your WordPress site’s size.
If you are going to clone your website with WP Staging, you can choose the options below to lower your file system’s size.
Contents
Freeing Up Disk Space on a WordPress Site
1. Remove Unnecessary Media Files
Over time, your wp-content/uploads folder accumulates images, videos, and other media files that may no longer be needed.
- Exclude Old Media Files: Before cloning your site, exclude older yearly folders under wp-content/uploads/YEAR if they contain outdated media.

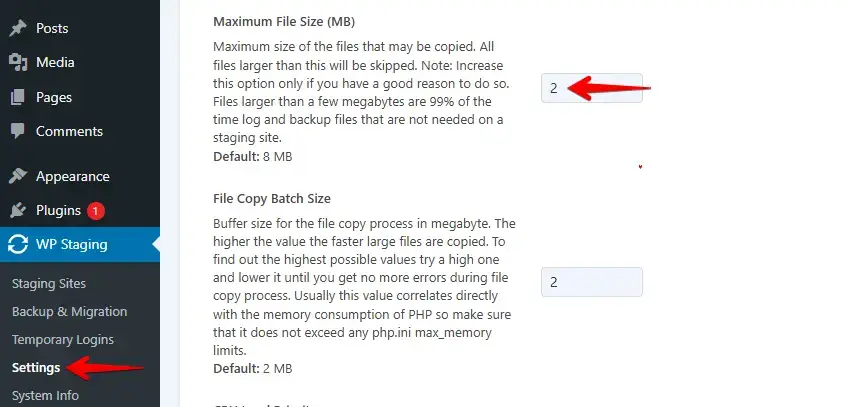
- Limit File Upload Size: Lower the max file size limit in WP Staging to 1–2 MB to avoid copying large files, such as backups.
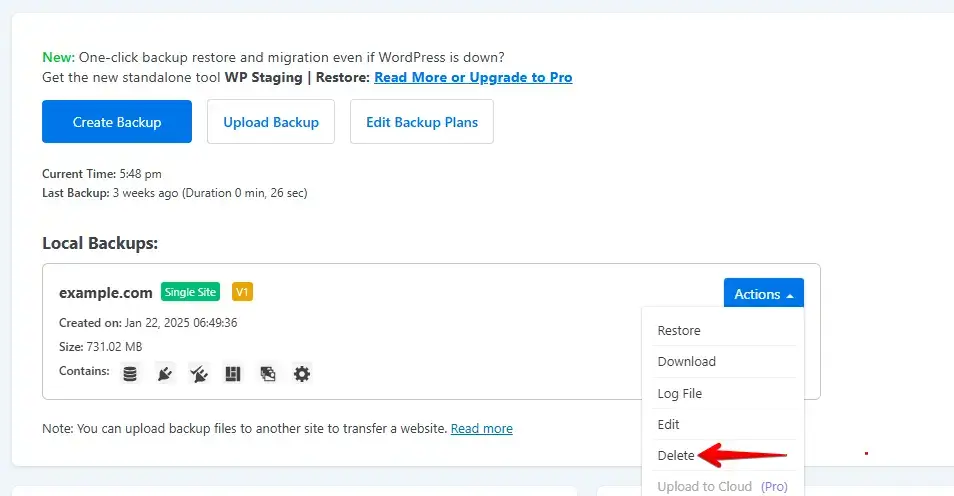
- Delete Unused Backups: Remove old backup files stored on your server to free up space.
2. Optimize Media Storage
Large media files can quickly fill up your disk space. Optimize how you store and manage them.
- Host Videos Externally: Instead of uploading videos to your WordPress media library, embed them from YouTube or Vimeo.
- Use External Audio Hosting: Store audio files on platforms like SoundCloud instead of uploading them directly.
- Compress Images: Reduce image file sizes by using plugins like Smush or Imagify. Convert images to WebP format for better compression.
- Optimize PDFs: If you store PDF files on your site, compress them to reduce their size.
3. Manage Themes and Plugins
Unused themes and plugins take up storage space and may slow down your website.
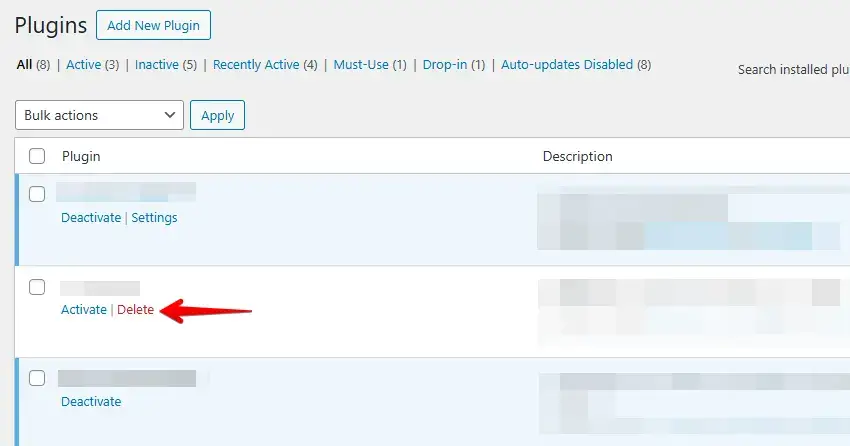
- Delete Unused Plugins: Remove plugins that are inactive or no longer needed.
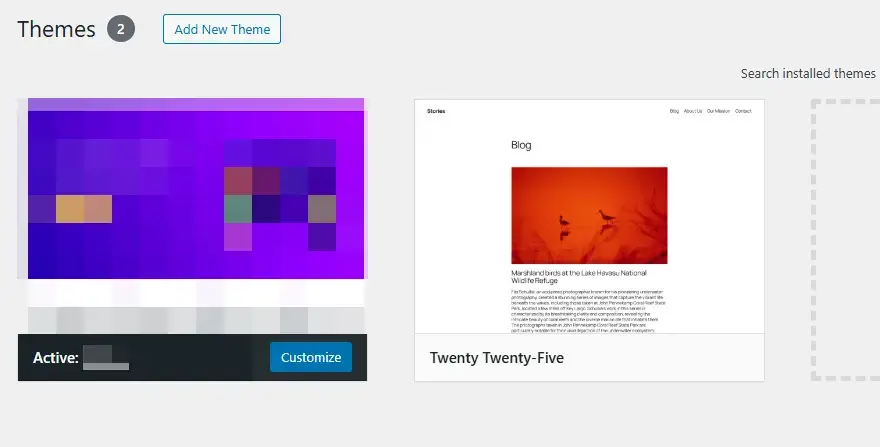
- Keep Only Two Themes: Retain your active theme and one default WordPress theme as a backup.
4. Limit Staging Site Clones
Creating multiple staging sites can quickly consume disk space since each clone includes a copy of your database, media files, plugins, and themes. This can be a problem, especially if your hosting plan has limited storage.
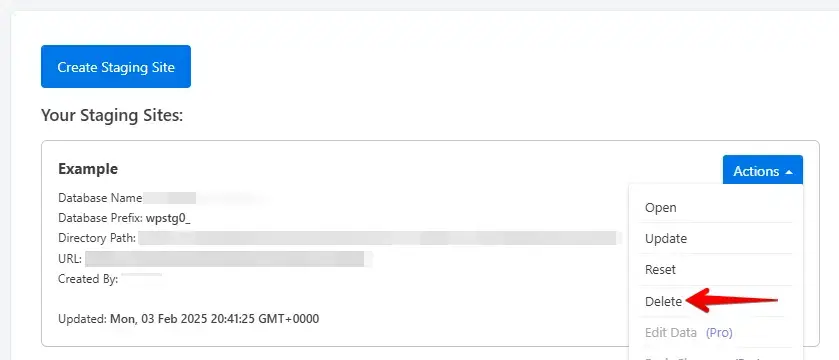
- Delete Unused Staging Sites: Once you’re done testing changes, remove old staging sites to free up space.
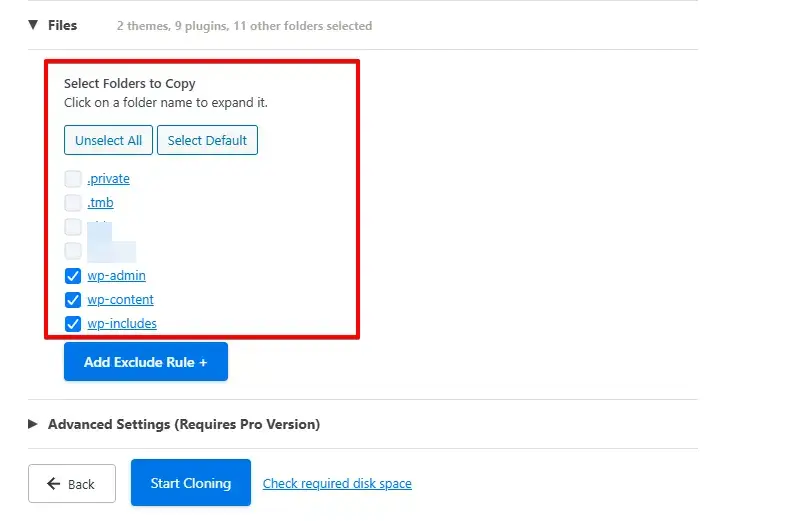
- Exclude Large Media Files: Some staging plugins, like WP Staging, allow you to exclude media files from the clone, reducing its size.
- Use a Remote Staging Environment: If your hosting provider offers an off-server staging solution, consider using it instead of storing clones on your primary server.
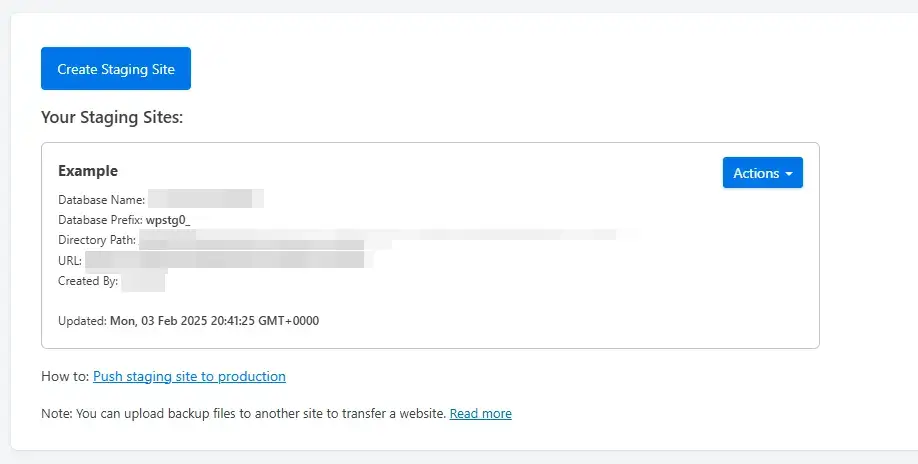
- Keep One Staging Site at a Time: Maintain a single staging site and update it as needed instead of creating multiple copies.
5. Consider Expanding Your Storage
If you’ve optimized your site and still struggle with limited disk space, upgrading your hosting plan might be the best long-term solution.
- Check Your Hosting Plan Limits: Many shared hosting plans have strict storage caps, while VPS or dedicated servers offer more flexibility.
- Look for Scalable Hosting Options: Some providers allow you to scale up storage without switching plans. Look for hosts that offer SSD storage for better performance.
- Use Cloud Storage for Large Files: If upgrading isn’t an option, consider storing large files (such as backups, videos, or PDFs) on cloud services like Google Drive, Dropbox, or Amazon S3.
- Enable Automatic Cleanup: Some hosting providers offer built-in tools to clear temporary files and logs, helping manage storage more efficiently.
Conclusion
Reducing your WordPress site’s size helps it run faster, makes backups quicker, and avoids storage issues. Optimizing images, managing media files, removing unnecessary plugins, and limiting staging sites all contribute to a lean and efficient website. Regular maintenance keeps everything in top shape over time.
