Encountering the "Failed to Write File to Disk" error in WordPress can be a common and frustrating issue. This error message typically occurs when attempting to upload files or perform tasks that involve writing data to the disk.
TL;DR: This error has three root causes: the server’s
/tmpdirectory is full (often after a large backup run fills the partition), the WordPress upload folder has incorrect file permissions, or the PHP memory limit is exhausted mid-write. The five methods below address each root cause — start with the decision table to pick the right one for your situation.
Contents
- What are the Reasons Behind the "Failed to Write File to Disk" Error?
- Which Fix Applies to Me?
- Method 1: Clear WordPress Temporary Files
- Method 2: Adjust File Permissions
- Method 3: Increase PHP Memory Limit
- Method 4: Update WordPress and Plugins
- Method 5: Contact your Hosting Provider
- What to Do If the Error Persists
- Conclusion
- Related Articles
What are the Reasons Behind the "Failed to Write File to Disk" Error?
The "Failed to Write File to Disk" error can occur due to various reasons:
- Full temporary directory: When the server’s
/tmppartition fills up — most often after a large backup run — WordPress cannot buffer uploaded files, triggering the error. In WP STAGING support tickets, a full/tmpdirectory after a backup job is among the most frequent triggers. - Incorrect file permissions: Improper file permissions prevent WordPress from writing files to the disk, resulting in errors.
- PHP memory exhaustion: An insufficient PHP memory limit causes write operations to fail mid-stream. We’ve seen this error appear immediately after a hosting plan downgrade that reduced the PHP memory limit.
- Plugin or theme conflicts: Conflicts between plugins or themes can interfere with file writing, leading to errors.
- Server configuration issues: Issues with the server configuration, such as misconfigured file paths or restricted access, can cause the error.
Identifying the cause of the "Failed to Write File to Disk" error is essential for resolving the issue and ensuring a reliable file upload experience on your WordPress website.
Which Fix Applies to Me?
Use this table to pick your starting point before working through the full method list.
| When does the error occur? | Start with |
|---|---|
| Error only appears when uploading media files or images | Method 1 (Clear Temporary Files) or Method 2 (Adjust File Permissions) |
| Error appeared after a PHP version update or hosting plan downgrade | Method 3 (Increase PHP Memory Limit) |
| Error occurs across many different operations, not just uploads | Method 2 (Adjust File Permissions) |
| WordPress core, theme, or plugin update fails mid-run | Method 4 (Update WordPress and Plugins) |
| None of the above apply or the error persists after trying other methods | Method 5 (Contact your Hosting Provider) |
Method 1: Clear WordPress Temporary Files
Here is a step-by-step explanation of the technique to clear temporary files:
- Log in to your WordPress website’s admin dashboard using your credentials.

- If you haven’t already, consider installing a caching plugin like WP Super Cache or W3 Total Cache. These plugins can help manage and delete temporary files more efficiently.
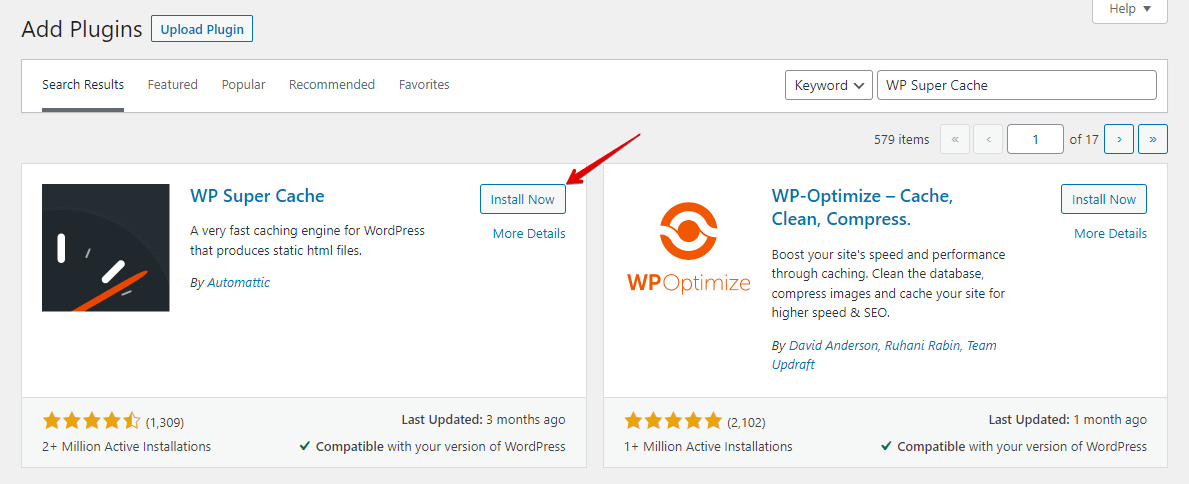
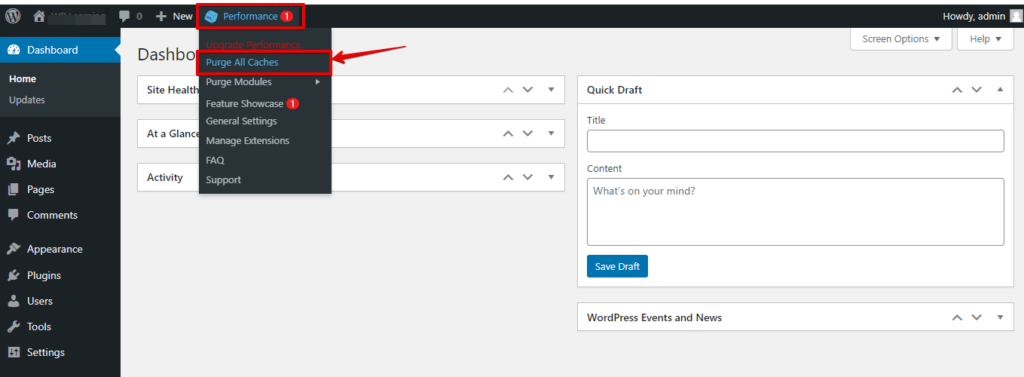
- If you have a caching plugin, find the option to clear the cache or purge temporary files. Click the corresponding button to remove cached files and temporary data the plugin stores.
By following these steps to clear temporary files, you can eliminate any cached or temporary data that may interfere with file writing in WordPress, potentially resolving the "Failed to Write File to Disk" error.
Method 2: Adjust File Permissions
WordPress requires specific file permissions to write files successfully. Files should be set to 644 and directories to 755. The WordPress developer documentation covers the correct permission scheme in detail.
Here is a step-by-step guide to adjusting file permissions to fix the "Failed to Write File to Disk" error in WordPress:
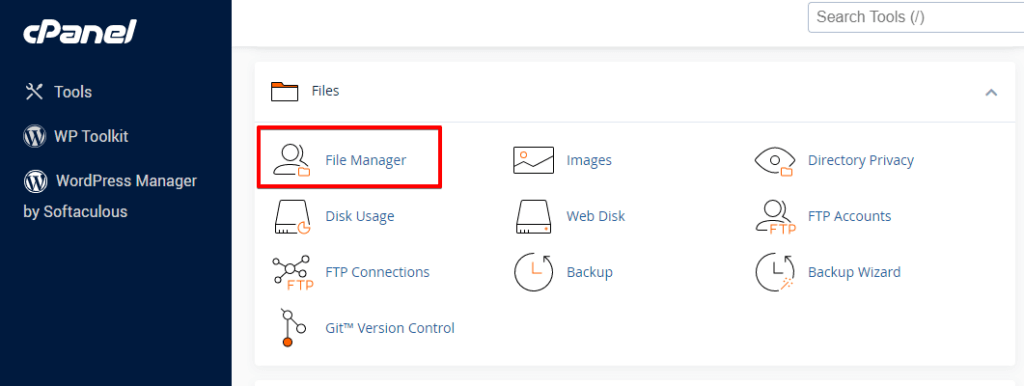
- Access your web hosting account and navigate to the cPanel dashboard provided by your hosting provider.
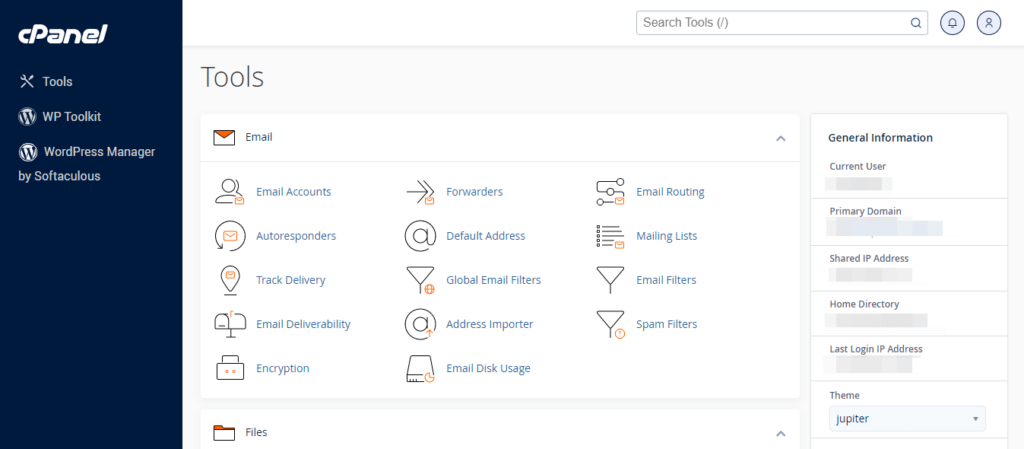
- Look for the "File Manager" icon or link within the cPanel interface and click on it to open the file management tool.
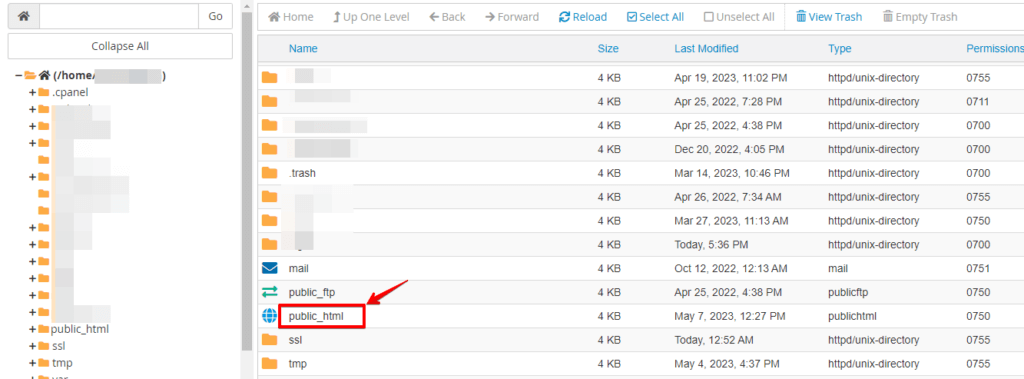
- In the File Manager, navigate to the directory where your WordPress installation is located. This is usually the
public_htmlor the "www" directory.
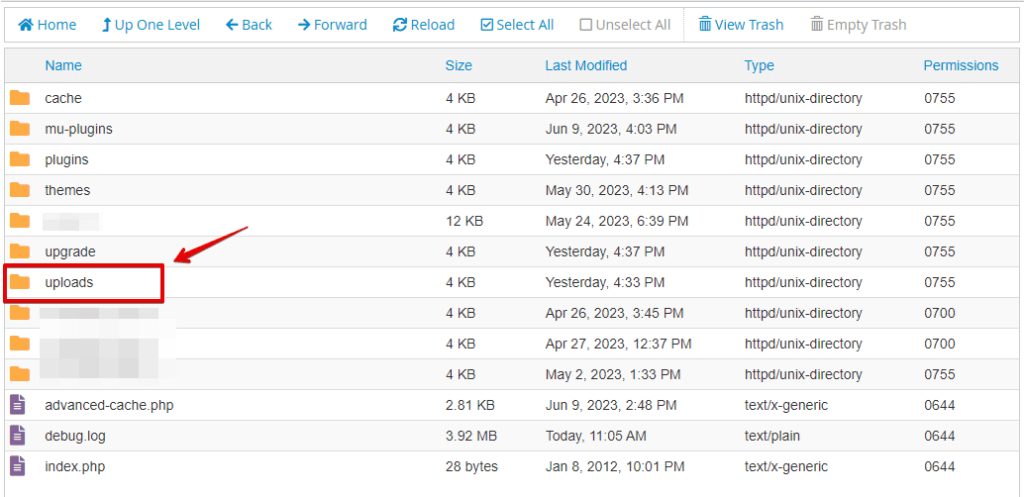
- Locate the specific files or directories causing the "Failed to Write File to Disk" error. These are typically related to file upload or writing operations.
- Right-click on the file or directory, and from the context menu, select "Change Permissions" or "Permissions."
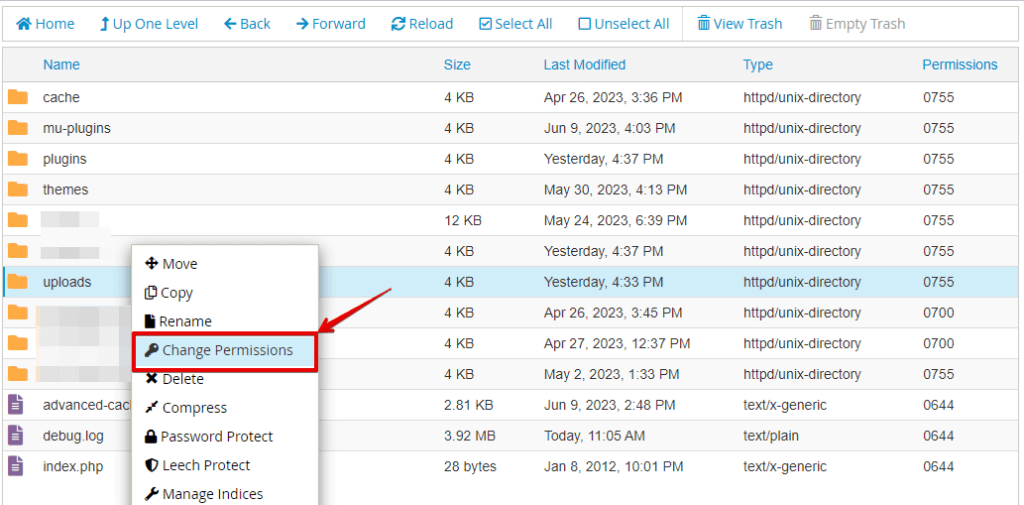
- In the Permissions window, you will see checkboxes or input fields for modifying file permissions. Set the appropriate permissions for the file or directory (e.g., 644 for files and 755 for directories).
- Click the "Change Permissions" or "Save" button to apply the modified permissions to the selected file or directory.
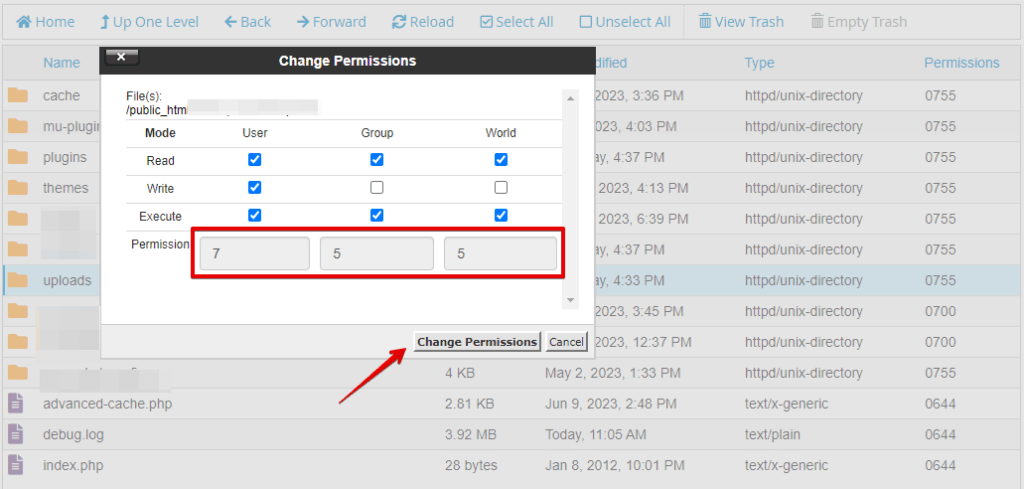
Following these steps using cPanel’s File Manager, you can adjust the file permissions to enable successful file writing in WordPress and resolve the "Failed to Write File to Disk" error.
Method 3: Increase PHP Memory Limit
When the PHP memory limit is too low, WordPress cannot complete write operations. The memory_limit directive in php.ini controls how much memory a single PHP process may use — values such as 256M or 512M are common on WordPress sites.
To increase the PHP memory limit in WordPress, you can follow these steps:
- Access your web hosting account and navigate to the cPanel dashboard provided by your hosting provider.
- In the cPanel dashboard, locate the "File Manager" option and click on it.
- Go to the leading directory of your WordPress installation, typically referred to as the root directory (commonly named
public_htmlor www).
- Find the
wp-config.phpfile and right-click on it. - Select the "Edit" or "Code Edit" option from the context menu. If prompted, choose "Edit" once more.

- Look for the line in the
wp-config.phpfile that says/* That's all, stop editing! Happy blogging. */. - Just above that line, add the following code:
define('WP_MEMORY_LIMIT', '256M');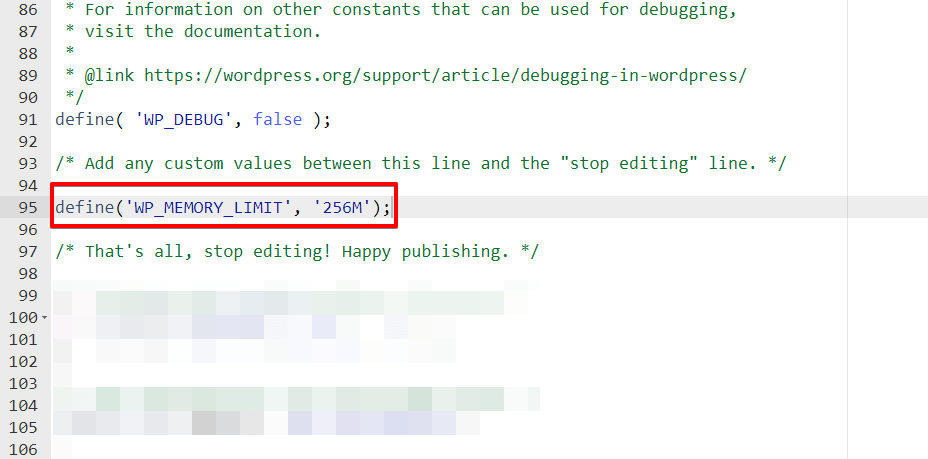
You can modify the 256M value to set the desired memory limit, such as 512M for 512 megabytes.
- Save the changes to the
wp-config.phpfile and close the file manager.
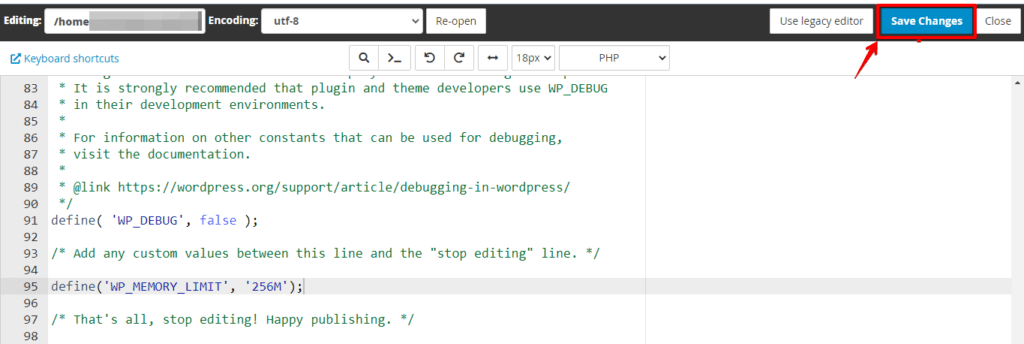
By following these steps to increase the PHP memory limit, you can provide more memory resources for WordPress, which can help overcome the "Failed to Write File to Disk" error.
Method 4: Update WordPress and Plugins
Outdated WordPress core files or plugins with known file-handling bugs can trigger write errors. Keeping WordPress and plugins current ensures you have the latest bug fixes for file system operations.
Here is a step to update WordPress and plugins, which can help resolve the "Failed to Write File to Disk" error:
- Access your WordPress website’s admin dashboard by entering the appropriate credentials.
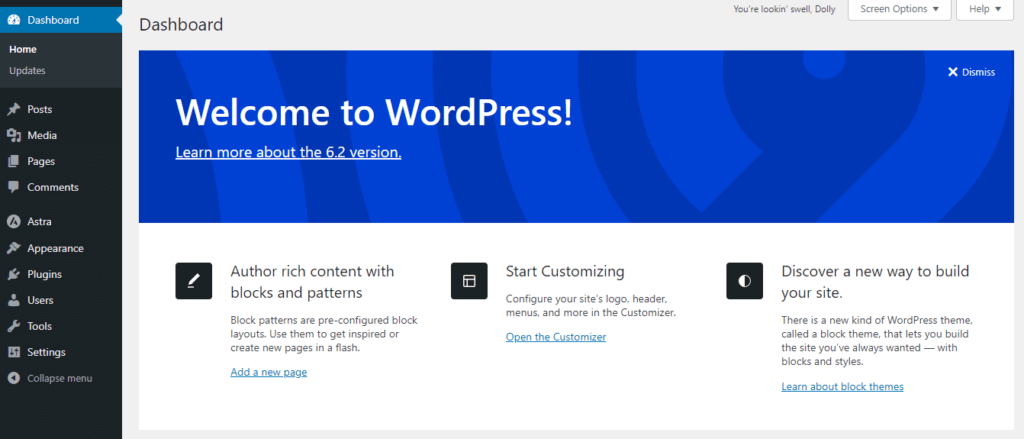
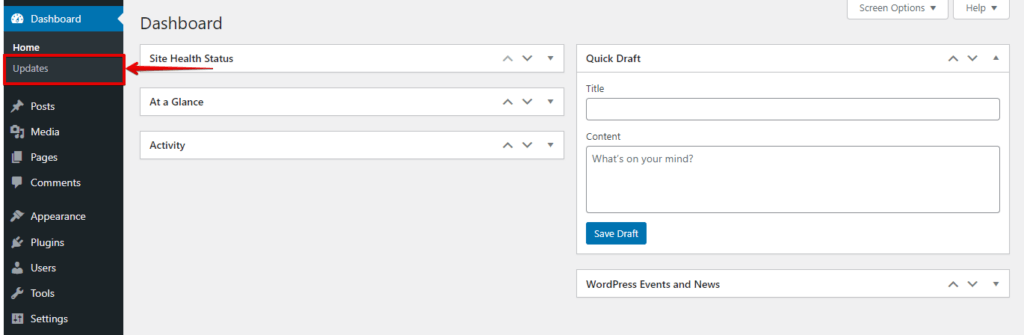
- In the WordPress dashboard, locate the "Updates" tab in the sidebar menu or the top navigation bar. Click on it to proceed.
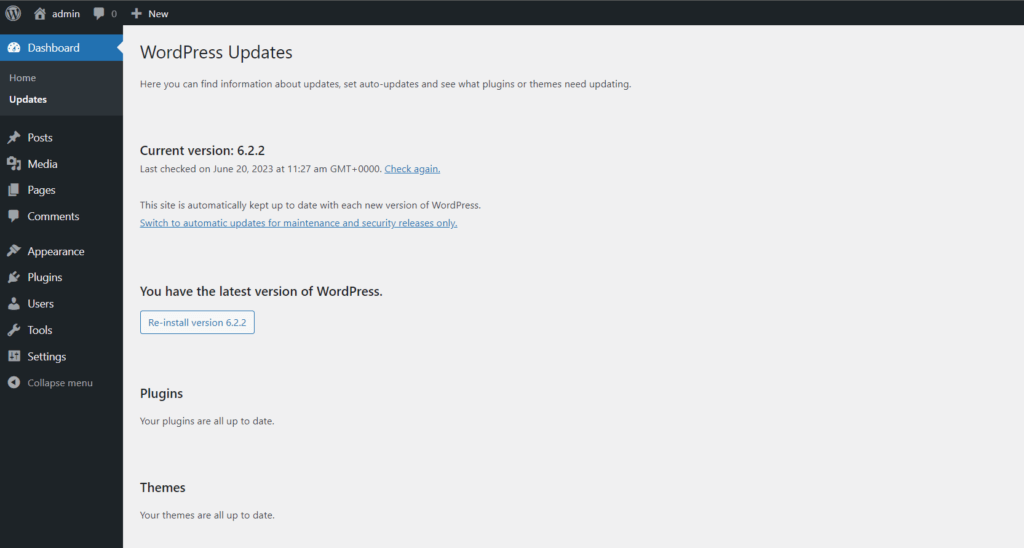
- On the Updates page, WordPress will automatically check for updates to the WordPress core, themes, and plugins installed on your website. If updates are available, they will be displayed.
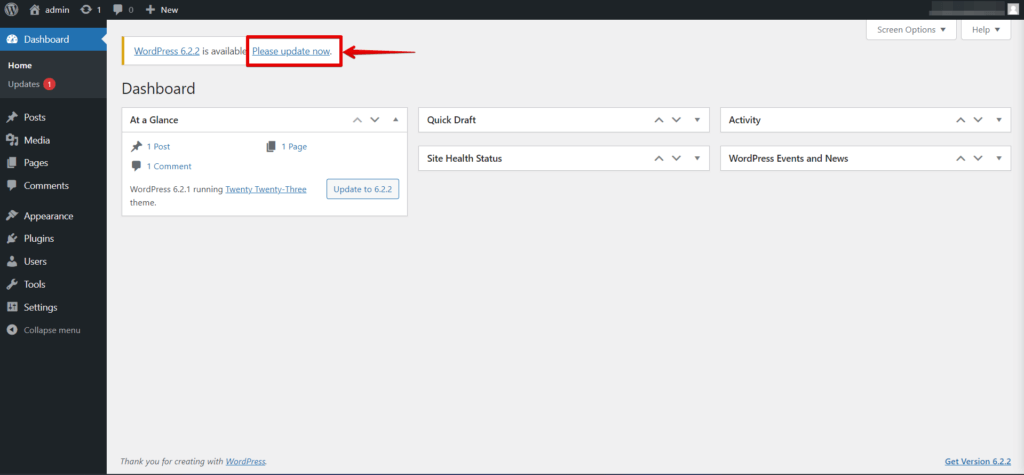
- Begin by updating the WordPress core. If a new version is available, click the "Update Now" button to initiate the update process. WordPress will download and install the latest version automatically.
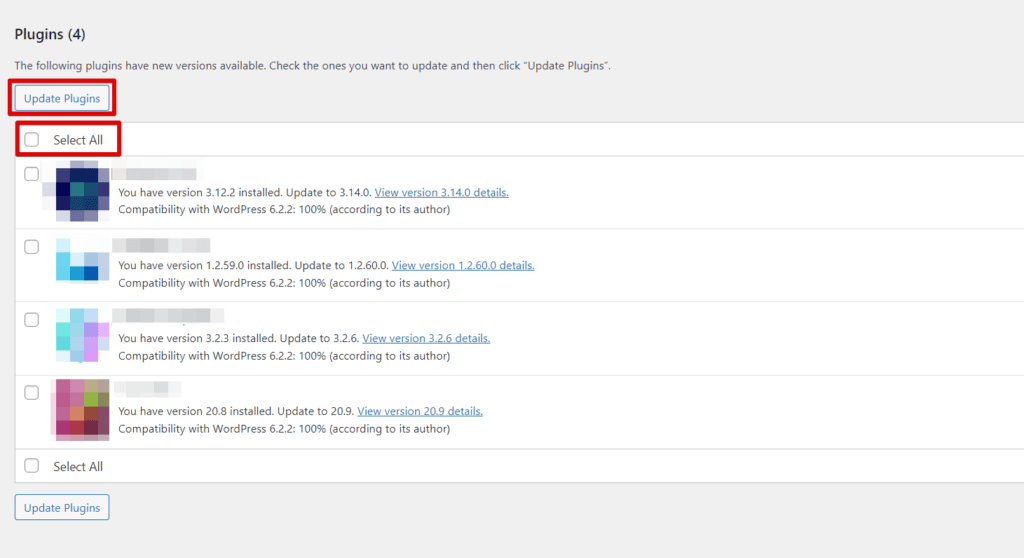
- After updating the core, proceed to update your plugins. Select the plugins that have updates available, or use the "Select All" option to update everything at once. Click on the "Update Plugins" button to start the update process.
After updating WordPress and the plugins, attempt the file writing operation that previously triggered the error to confirm if the issue has been resolved. If the error persists, work through the troubleshooting section below.
Method 5: Contact your Hosting Provider
If you have tried the methods above and the error persists, your hosting provider’s support team is the next step. They have server-level access to inspect php.ini, disk quota settings, and directory permissions that are not accessible through cPanel alone.
Contact your hosting provider to resolve the "Failed to Write File to Disk" error. Identify your hosting provider and visit their website. Use their support or contact section to choose your preferred contact method (live chat, email, or phone). Provide the error message, any debug log entries from wp-content/debug.log, and confirmation that you have already tried clearing temp files, adjusting permissions, and increasing the memory limit.
Follow their guidance and instructions. If needed, give feedback or seek further assistance. The hosting provider’s support team can effectively troubleshoot and resolve the error.
What to Do If the Error Persists
If none of the five methods above resolve the issue, the root cause is likely in server-level configuration that cPanel does not expose directly. The three most common advanced causes are:
upload_tmp_diroverridden inphp.ini: Your hosting provider may have set a customupload_tmp_dirdirective inphp.inipointing to a directory with insufficient write permissions or a full partition. Ask your host to verify theupload_tmp_dirpath and its available disk space.open_basedirrestriction: Some hosting configurations restrict PHP to specific directory trees using theopen_basedirdirective. If the configured temp path falls outside that restriction, PHP cannot write there. Ask your host to confirm theopen_basedirvalue and whether your temp and upload directories fall within it.- Server-level disk quota: A hosting account disk quota limits total storage independently of the
/tmppartition limit. A full quota blocks all file writes regardless of individual folder permissions. Check your hosting control panel’s disk usage summary to confirm you have not reached the account limit.
Conclusion
The "Failed to Write File to Disk" error in WordPress can be resolved by clearing temporary files, adjusting file permissions, increasing the PHP memory limit, updating WordPress and plugins, and contacting your hosting provider.
If those steps do not resolve the issue, the next diagnostic layer is server configuration: check whether your host has overridden upload_tmp_dir, applied an open_basedir restriction, or enforced a server-level disk quota. Working through this sequence addresses the full range of causes for this error.