The "Sorry, You Are Not Allowed to Access This Page" error in WordPress blocks your request to view or manage a page or admin area. The cause is almost always one of three things: a wrong user role, a corrupted .htaccess file, or incorrect file permissions. This article covers 9 confirmed fixes in order from the fastest to the most thorough.
Quick diagnosis — check the most likely cause first:
- Wrong user role — your WordPress account lost Administrator access. See Fix 3.
- Corrupted
.htaccess— often triggered by a plugin update or server migration. See Fix 5.- Incorrect file permissions — your web server can’t read WordPress files. See Fix 6.
If you’re not sure which applies, follow the decision flowchart below.
Troubleshooting Decision Flowchart
Use this table to identify the most likely root cause before diving into individual fixes:
| Question | Yes | No |
|---|---|---|
| Did the error appear immediately after a plugin update or installation? | → Fix 4: Deactivate All Plugins | Continue ↓ |
Are you completely locked out of wp-admin, even at /wp-login.php? |
→ Fix 3: Check User Role | Continue ↓ |
| Does the error appear only on one specific URL? | → Fix 1: Double-Check the URL | Continue ↓ |
| Did the error appear after a server migration or hosting change? | → Fix 5: Reset .htaccess or Fix 6: File Permissions | Continue ↓ |
| Is the WordPress installation new or recently restored from backup? | → Fix 9: Reinstall Core Files | → Fix 2: Clear Browser Cache first |
Fix 1: Double-Check the URL
The fastest check and the one to rule out first. A single typo in the URL can produce this error because WordPress can’t locate the requested page and falls back to an access denial. Verify the spelling and path structure, and confirm the page or post hasn’t been moved, deleted, or had its slug changed.
Fix 2: Clear Browser Cache
Your browser may be serving a cached version of a page your account can no longer access, or a stale session cookie that no longer matches your current login state.
- Open your web browser and access the settings menu.
- Navigate to the browsing history or privacy settings option.
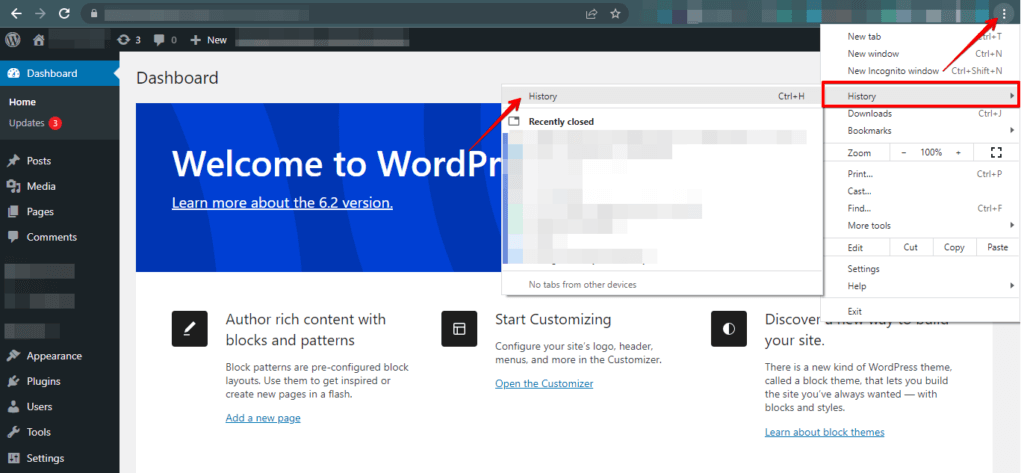
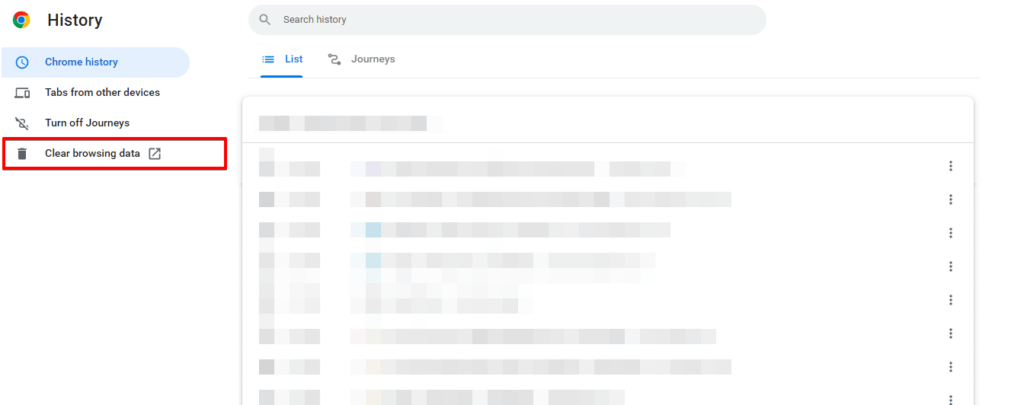
- Search for a clear browsing data option and click on it.
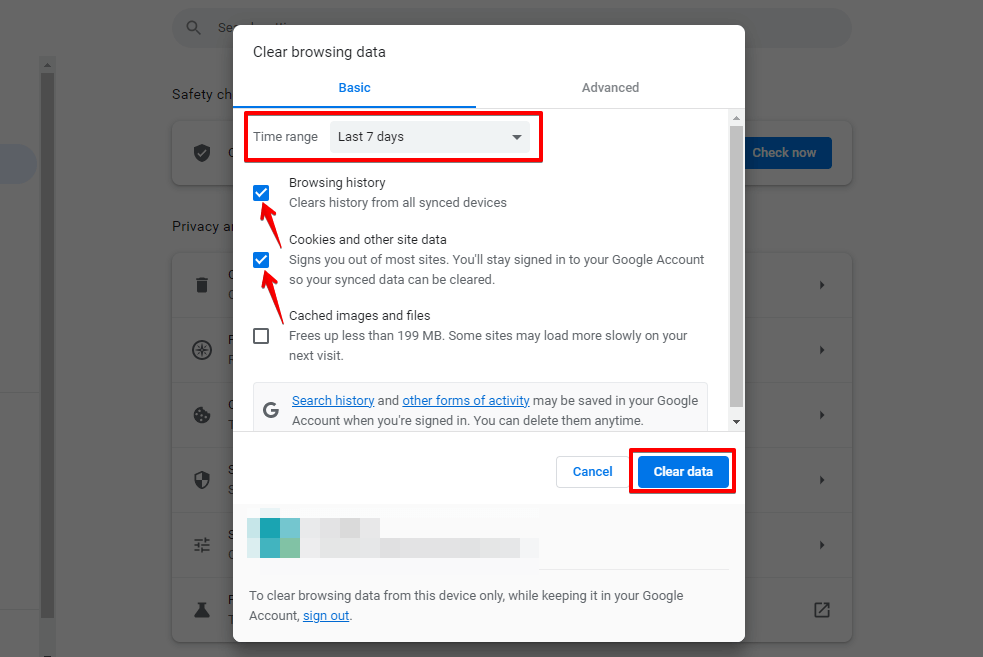
- Select the time range for which you want to clear the cache.
- Choose the cache type you want to clear, such as cookies or browsing history.
- Click the "Clear data" or "Clear cache" button to remove the selected data.
After clearing cache and cookies, reload the page and try logging in again. If the error persists, move to the next fix.
Fix 3: Check Your WordPress User Role
If your account’s user role was changed — or if the site’s user roles database table became corrupted — WordPress will deny access to admin pages even with a valid password.
- Log in to your WordPress Dashboard.
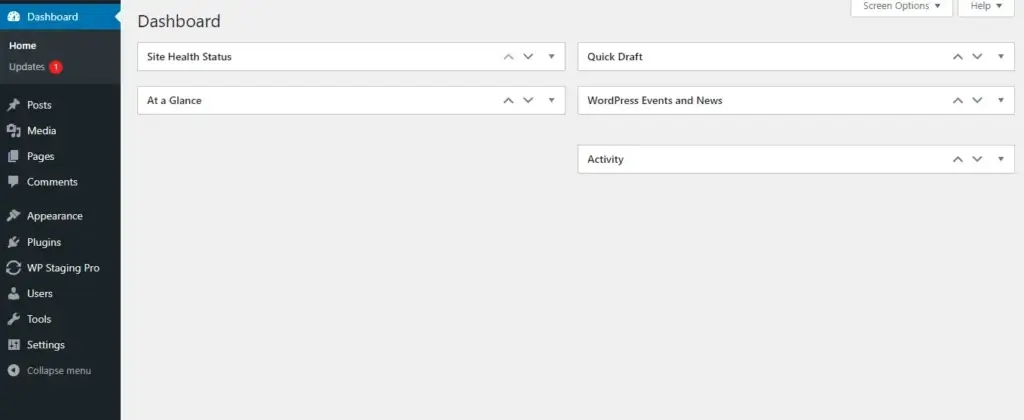
- Find and click "Users" in the admin menu in your WordPress dashboard.
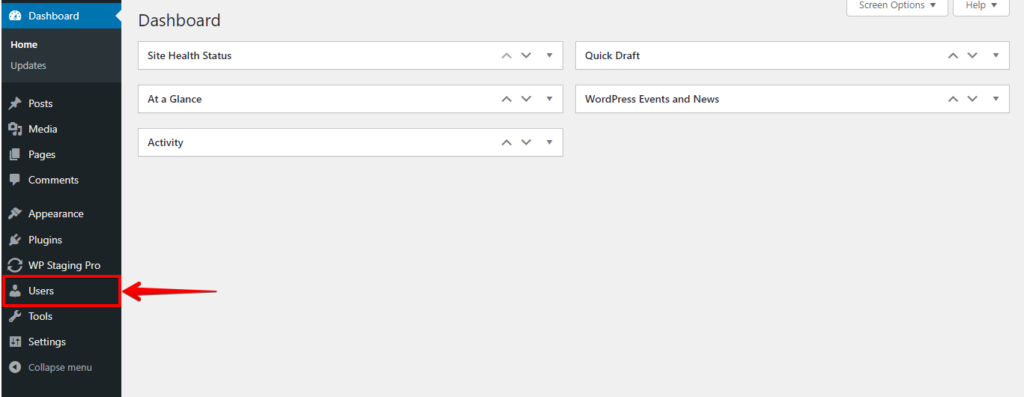
- Locate your account in the list and check the value in the "Role" column.
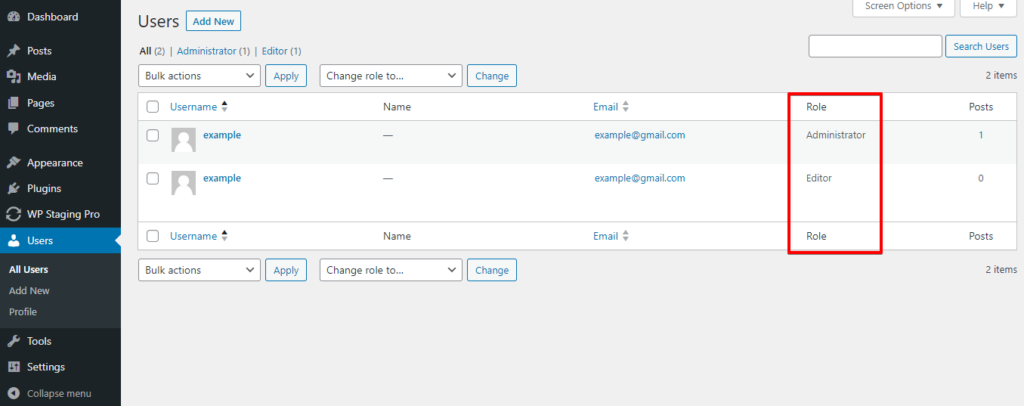
If the Role column shows anything other than Administrator, your account was downgraded. An administrator with access can correct it by editing your user profile. If you cannot reach the Users screen at all — meaning your account has no admin access — see Fix 7 below, which resets user roles directly in the database.
Fix 4: Deactivate All Plugins (Safe Mode Test)
Plugin conflicts are a leading cause of this error. In our experience with WP STAGING support cases, a faulty plugin that hooks into WordPress’s capability checks can strip access for all users immediately after installation or update. Deactivating all plugins is the fastest way to confirm whether a plugin is responsible.
If you can still reach the WordPress admin:
- Go to Plugins → All Plugins.
- Select all plugins using the checkbox at the top of the list.
- Open the Bulk Actions dropdown and choose Deactivate, then click Apply.
- Try accessing the page that returned the error.
If you are locked out of the admin entirely:
- Connect to your site via SFTP or use File Manager in cPanel.
- Navigate to
wp-content/plugins/. - Rename the
pluginsfolder toplugins-disabled. - WordPress will deactivate all plugins automatically on the next request.
- Log in. If access is restored, rename the folder back to
pluginsand reactivate plugins one by one to identify the conflict.
Once you identify the problem plugin, check the plugin’s support forum or changelog for known conflicts before reactivating it.
Fix 5: Reset a Corrupt .htaccess File
A corrupted .htaccess file can block access to the entire WordPress admin area. This is one of the most common triggers we see, often occurring when a plugin modifies .htaccess and writes malformed rewrite rules.
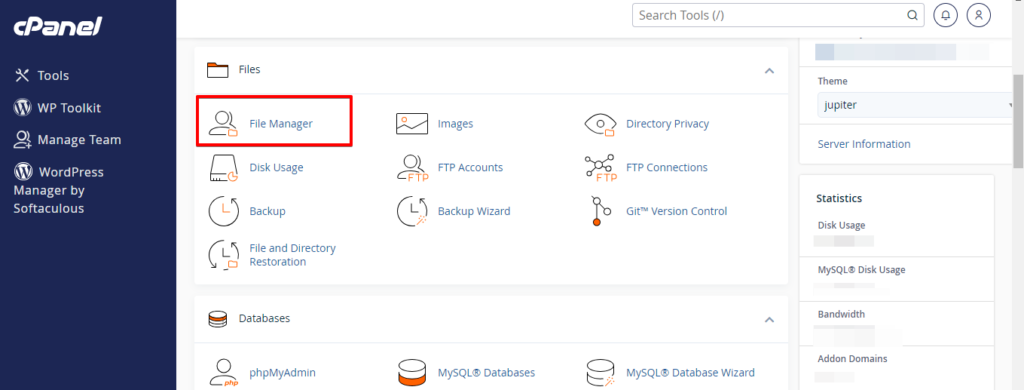
- Access your hosting control panel (cPanel) by logging in with your credentials.
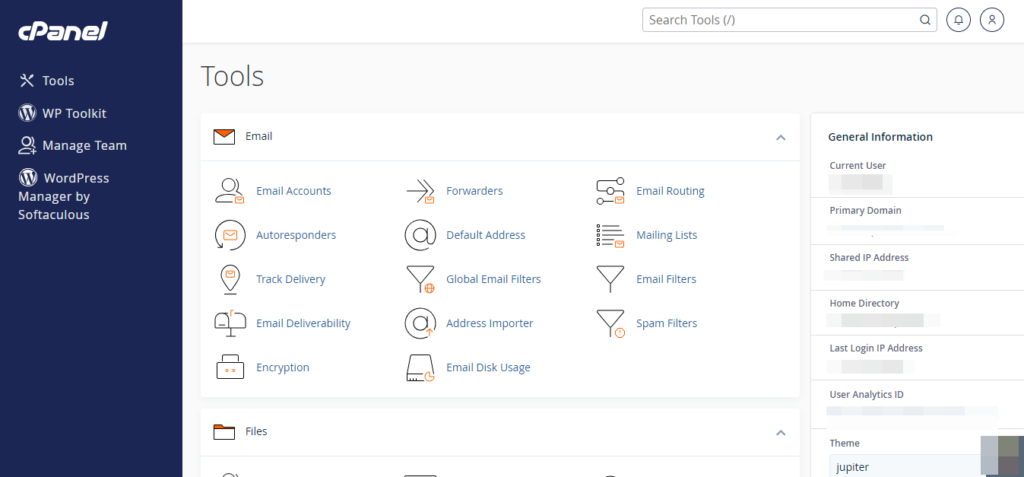
- Navigate to the "File Manager" or similar file management tool within cPanel.
- Locate and select the root directory of your website.
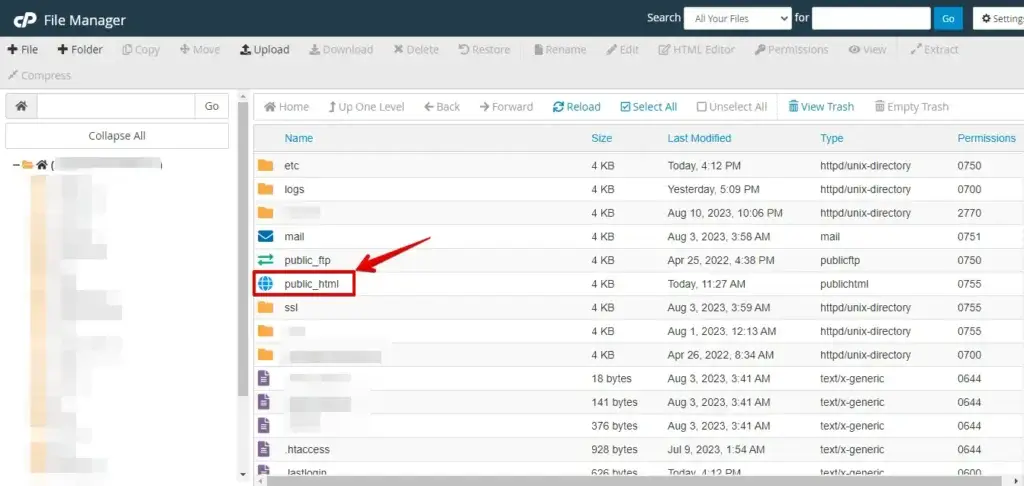
- Find the
.htaccessfile in your site root. Rename it to.htaccess.oldto disable it without deleting it.

Try logging into your WordPress site. If the error is resolved, the .htaccess file was corrupted. Regenerate a clean one:
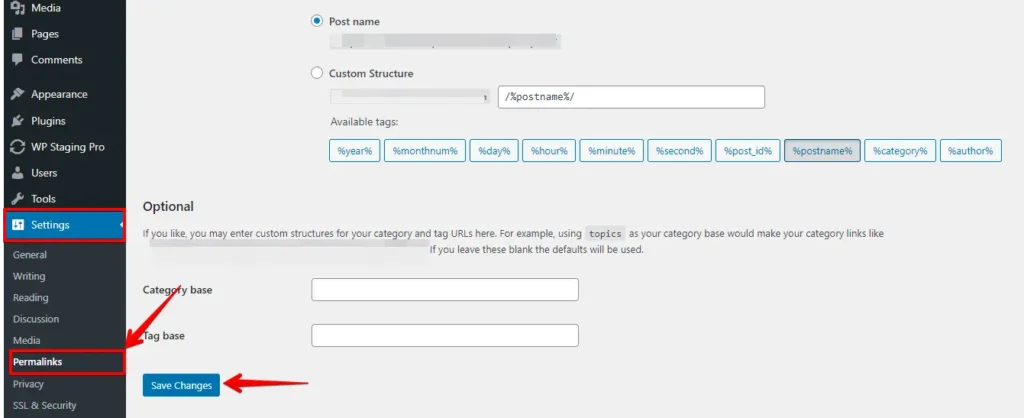
- Navigate to Settings → Permalinks in your WordPress admin area.
- Click Save Changes — WordPress will write a new, valid
.htaccessfile automatically.
If the error persists after renaming .htaccess, the cause lies elsewhere — continue to Fix 6.
Fix 6: Fix Incorrect File Permissions
WordPress requires specific file permissions to read and execute its files. Files should be set to 644 and directories to 755. More restrictive permissions prevent the web server from reading WordPress files and produce access errors. Here is how to correct permissions via cPanel:
- Log in to your cPanel account.

- Locate and click on the "File Manager" option in your cPanel dashboard.
- Navigate to the directory where your website’s files are stored — typically the
public_htmlorwwwfolder.
- Right-click on a file or directory and choose "Change Permissions" or "Permissions".
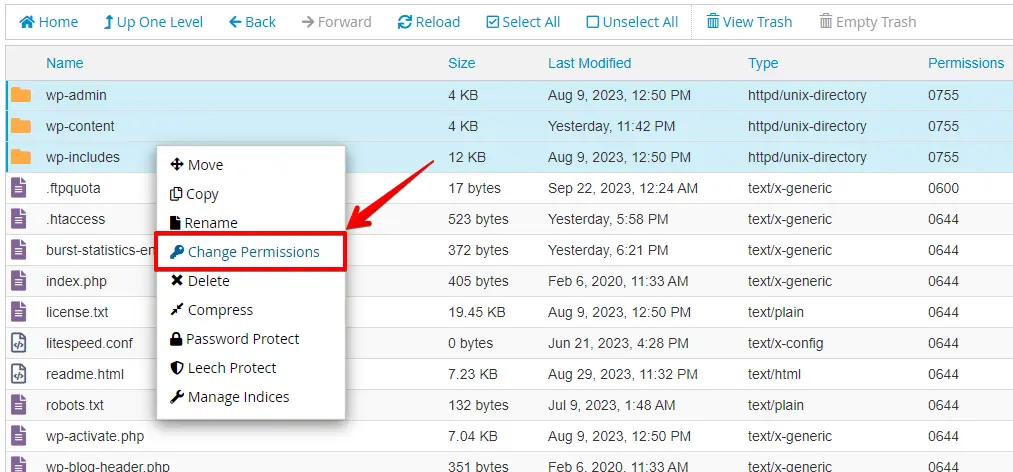
- Set files to
644and directories to755, then click Change Permissions or Save to apply.

For servers with SSH access, you can apply the correct permissions recursively with two commands:
find /path/to/wordpress -type f -exec chmod 644 {} ;
find /path/to/wordpress -type d -exec chmod 755 {} ;
Replace /path/to/wordpress with your site’s actual root path. For the full WordPress-recommended permissions reference, see the Hardening WordPress guide on WordPress.org.
Fix 7: Reset WordPress User Roles to Defaults
When the wp_user_roles option in the WordPress database is corrupted or deleted, WordPress cannot recognize any user’s capabilities — including administrators. This produces the "not allowed" error site-wide and is distinct from a single account losing its role (Fix 3).
Via WP-CLI (fastest, requires SSH access):
wp eval 'delete_option("wp_user_roles"); require_once(ABSPATH . "wp-admin/includes/schema.php"); populate_roles();'populate_roles() is the canonical WordPress function for recreating the default user roles; it lives in wp-admin/includes/schema.php and is not autoloaded, hence the require_once.
Via phpMyAdmin:
- Open phpMyAdmin and select your WordPress database.
- Open the
wp_optionstable (your table prefix may differ fromwp_). - Search for the row where
option_name = 'wp_user_roles'. - If the row is missing, or
option_valuecontainsa:0:{}, the roles table is corrupted. - Delete the row. WordPress will regenerate the default roles on the next page load.
For the canonical list of WordPress roles and their capabilities, see the Roles and Capabilities reference on WordPress.org.
Fix 8: Switch to a Default Theme
A theme’s functions.php file can inadvertently remove capabilities from user roles. We’ve seen this happen when a custom theme applies remove_role() or remove_cap() with a logic error, or when a theme update introduces a conflict with WordPress’s capability system.
If you can access the WordPress admin:
- Go to Appearance → Themes.
- Activate a default WordPress theme such as Twenty Twenty-Five.
- Reload the page that returned the error.
If you are locked out:
- Connect via SFTP or cPanel File Manager.
- Navigate to
wp-content/themes/. - Rename your active theme’s folder — for example,
mytheme→mytheme-disabled. - WordPress will fall back to the most recently installed default theme on the next request.
If the error disappears after switching themes, the problem is in your theme’s functions.php. Review recent commits or updates to that file before reactivating the theme.
Fix 9: Reinstall WordPress Core Files
If none of the above fixes work and the error appeared without a clear trigger, a corrupted WordPress core file may be blocking the authentication check. Reinstalling core files replaces all WordPress PHP files without touching your themes, plugins, or uploaded media.
- Download the latest WordPress package from wordpress.org/download.
- Unzip the archive on your local machine.
- Delete the
wp-contentfolder from the unzipped package — do not upload this folder. - Upload all remaining files from the package to your server root, overwriting the existing WordPress files.
Your wp-config.php is not part of the core package and will not be overwritten as long as you do not manually replace it. Your database, media library, themes, and plugins remain intact.
Test Fixes Safely with WP STAGING
Before making any of these changes on your live site — especially renaming .htaccess, resetting file permissions, or modifying user roles in the database — it is safer to reproduce the error on a staging copy first. If a fix causes an unintended side effect, your production site is unaffected.
WP STAGING lets you create a staging site from your live WordPress install in a few clicks. Clone your production environment, reproduce the access error in staging, apply the fix, and confirm it works before touching live. This is particularly useful for the database-level fixes in Fix 7, where a misstep on a live site can lock out all users simultaneously.
Conclusion
The "Sorry, You Are Not Allowed to Access This Page" error has a short list of root causes: a wrong user role, a corrupted .htaccess file, incorrect file permissions, a plugin conflict, or a theme conflict. Work through the fixes above starting from the section that matches your situation. If access is restored after Fix 4 (plugins) or Fix 8 (theme), identify the specific plugin or theme change responsible before reactivating it on production.