If you’re a WordPress website owner or developer, you might have encountered the dreaded "Failed to load resource" error at some point. This error message can be frustrating, as it disrupts the proper functioning of your website and can negatively impact user experience.
But fear not, as this article will guide you through the steps to diagnose and fix this error, ensuring your WordPress site runs smoothly again.
Contents
What is the "Failed to Load Resource" Error?
The "Failed to load resource" error is common when a web browser or server fails to load a specific resource, such as an image, stylesheet, JavaScript file, or any other asset required by a web page.
This can result in broken images, styling issues, and dysfunctional interactive elements on your WordPress website.
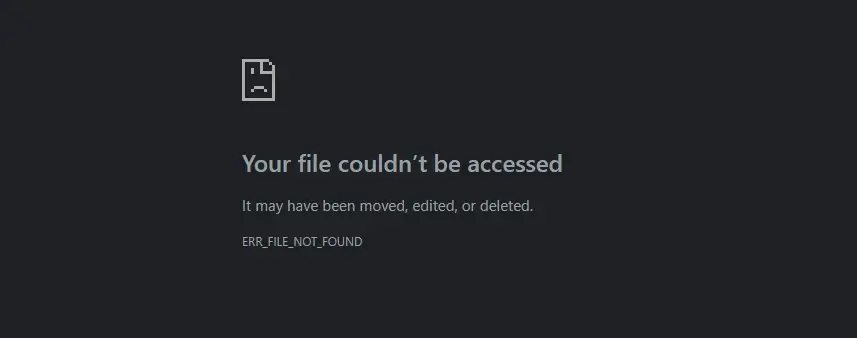
The error message usually appears in the browser’s developer console, providing valuable information about the failed request and the resource causing the issue. The message may look something like this:

Common Causes
- Incorrect URLs – The most basic reason for this error is an incorrect URL path to the resource. Even a minor typo in the file path can cause the browser to fail to locate and load the resource.
- Server Configuration Issues – Sometimes, the server on which your WordPress website is hosted might have misconfigured settings that prevent the resource from loading properly. This could be due to issues with file permissions, server-side security rules, or mod_security settings.
- Plugin or Theme Conflict – Conflicts between plugins and themes can lead to this error. A poorly coded plugin or a theme may interfere with properly loading resources, resulting in an error message.
- HTTPS/SSL Configuration – If your website has recently migrated to HTTPS, but the resource URLs still use HTTP, modern browsers may block the resource from loading due to security concerns.
- Caching Problems – Overzealous caching plugins or server-side caching mechanisms might cache incorrect versions of resources, leading to loading failures.
- Network Issues – Sometimes, the error might not be on your end. Network problems, including slow connections or server downtime, can prevent resources from loading in your browser.
Top 7 Methods to Fix the "Failed to Load Resource" Error
- Enable debugging mode
- Check the Resource URL
- Clear Browser Cache
- Test on Different Browsers
- Check File Permissions
- Verify Resource Existence
- Disable Plugins and Theme
Troubleshooting and Fixing the Error
When you encounter the "Failed to load resource" error in WordPress, follow these steps to diagnose and resolve the issue:
Method 1: Enable debugging mode
Activate WordPress debugging mode for detailed error information to pinpoint causes. Follow these steps to enable it:
- Log in to your cPanel account provided by your hosting provider.
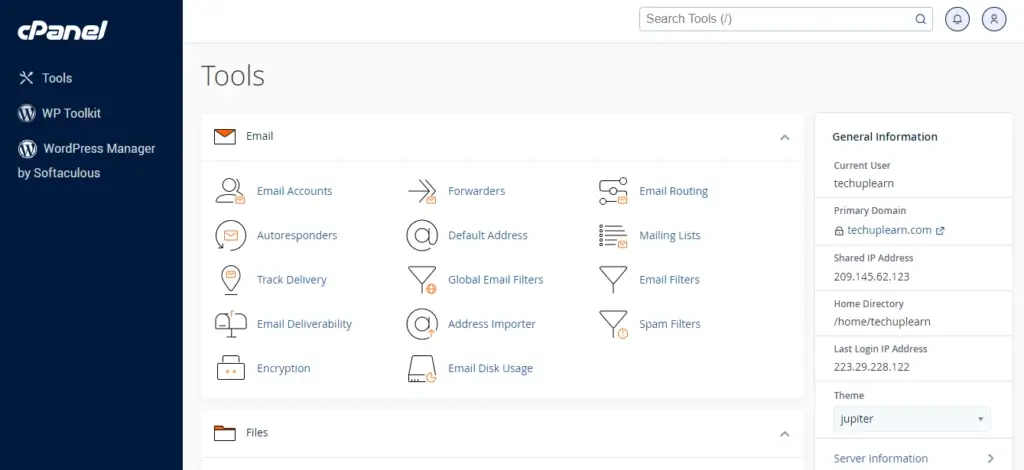
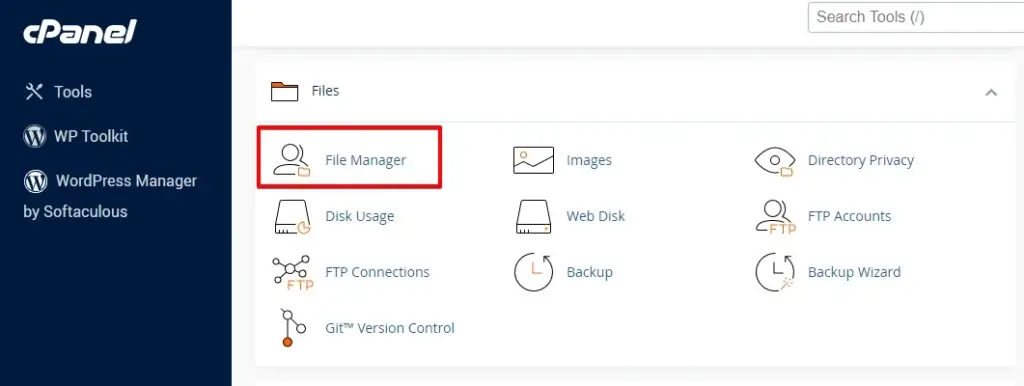
- In the cPanel dashboard, locate the "File Manager" option and click on it.
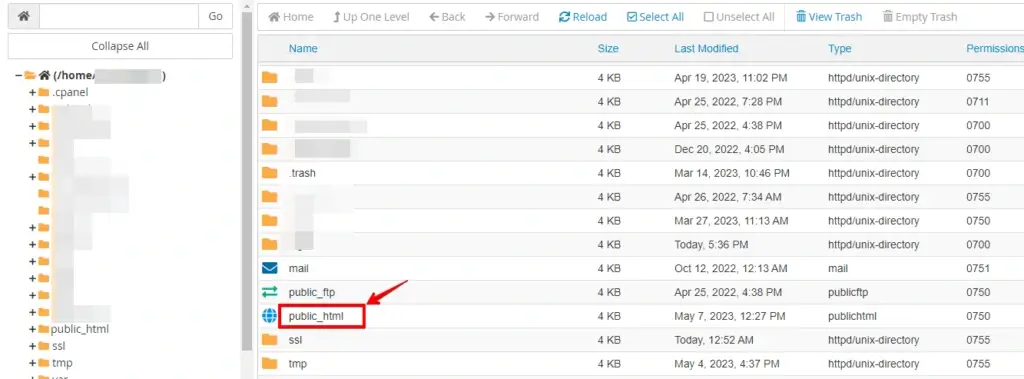
- Navigate to the root directory of your WordPress installation (usually public_html or www).
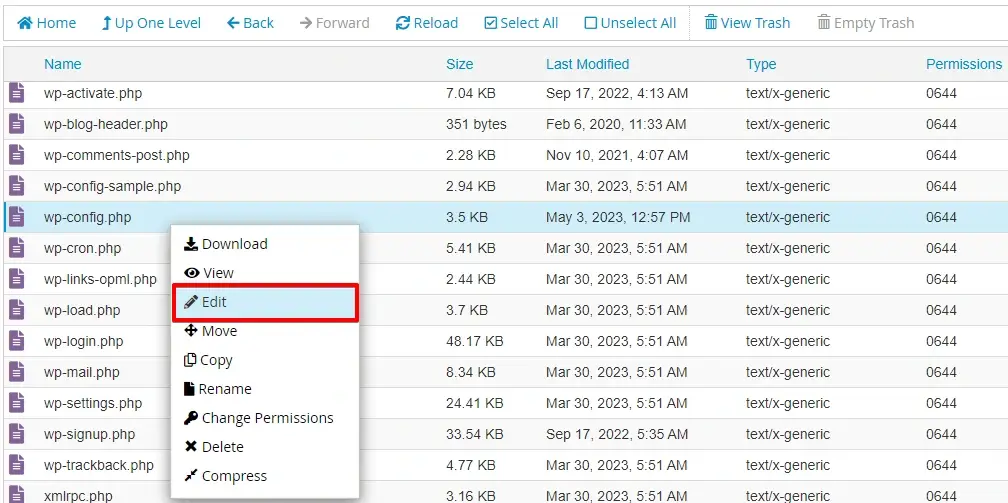
- Find the wp-config.php file and right-click on it.
- Choose the "Edit" or "Code Edit" option from the context menu. If prompted, select "Edit" again.
- Look for the line in the wp-config.php file that says
/* That's all, stop editing! Happy blogging. */. - Just above that line, add the following code:
define( 'WP_DEBUG', true );
define( 'WP_DEBUG_LOG', true );
define( 'WP_DEBUG_DISPLAY', false );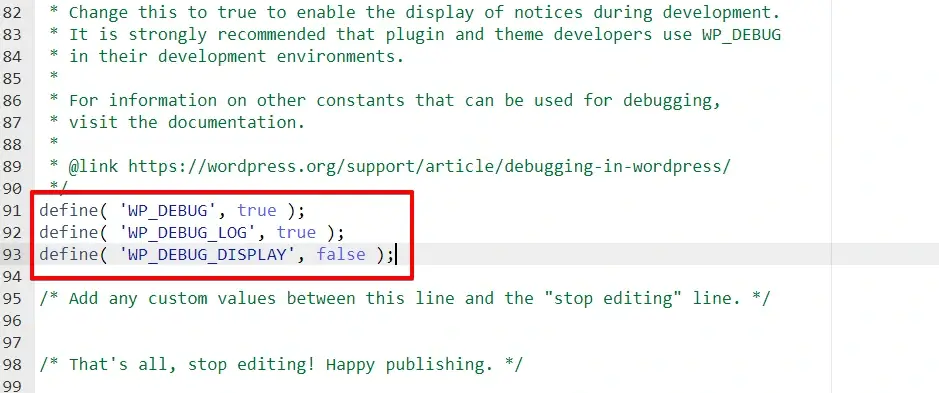
- Save the changes to the wp-config.php file.
- Close the file manager and access your WordPress site.

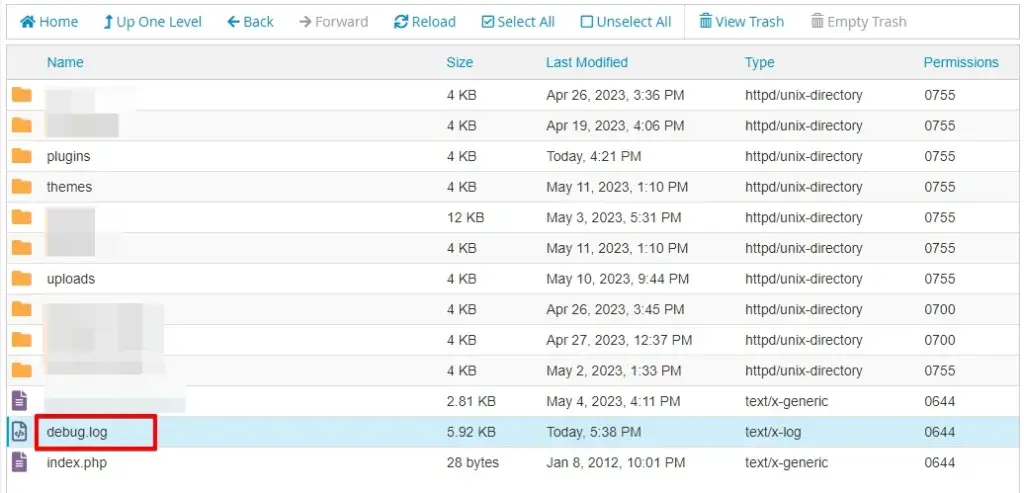
- The debugging mode should now be enabled, and you can find the debug logs in the wp-content/debug.log file if any errors occur.
Remember to disable debugging mode once you resolve the issue to avoid displaying sensitive information to visitors to your site.
🔥PLAY SAFE:GET STARTED WITH WP STAGING TO EFFICIENTLY MANAGE BACKUPS & CREATING STAGING ENVIRONMENTS.
Method 2: Check the Resource URL
The first step is to verify that the URL mentioned in the error message is correct. Sometimes, a simple typo in the URL can lead to an error. Check the path of the resource and ensure it points to the correct location on your server.

Method 3: Clear Browser Cache
Browser caching can sometimes cause resources not to load properly. Clear your browser cache and try accessing the website again to see if the error persists.
Clearing your browser cache is another effective method to fix the "Failed to load resource" error. Caches store temporary files; if they become corrupted or outdated, they can cause issues when loading web pages.
Follow these steps to clear your browser cache and potentially resolve the error:
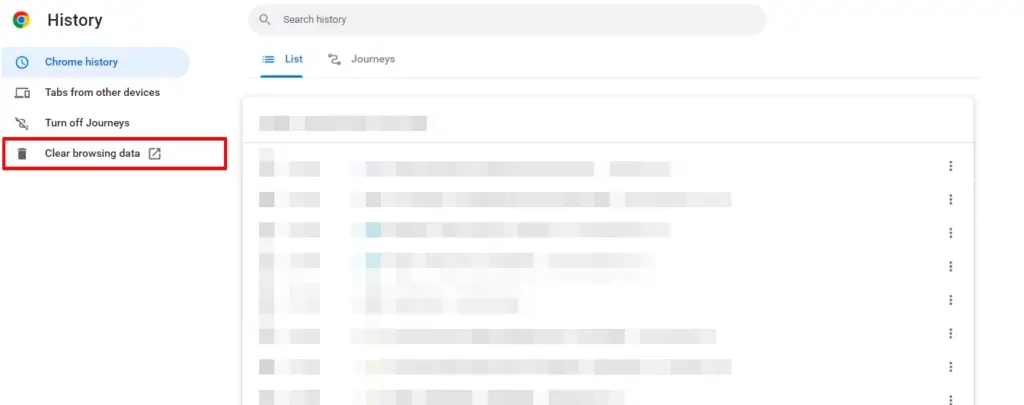
- Launch your web browser and navigate to the settings menu.
- Go to the browsing history or privacy settings section.
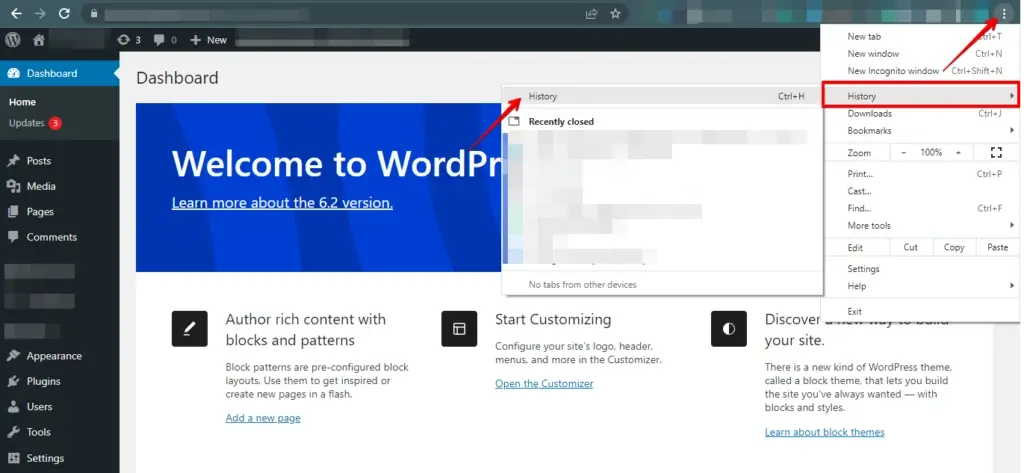
- Find the clear browsing data option and choose it.
- Choose the desired time range to clear the cache.
- Select the cache type you wish to clear, such as cookies or browsing history.
- Click the "Clear data" or "Clear cache" button to remove the selected data.
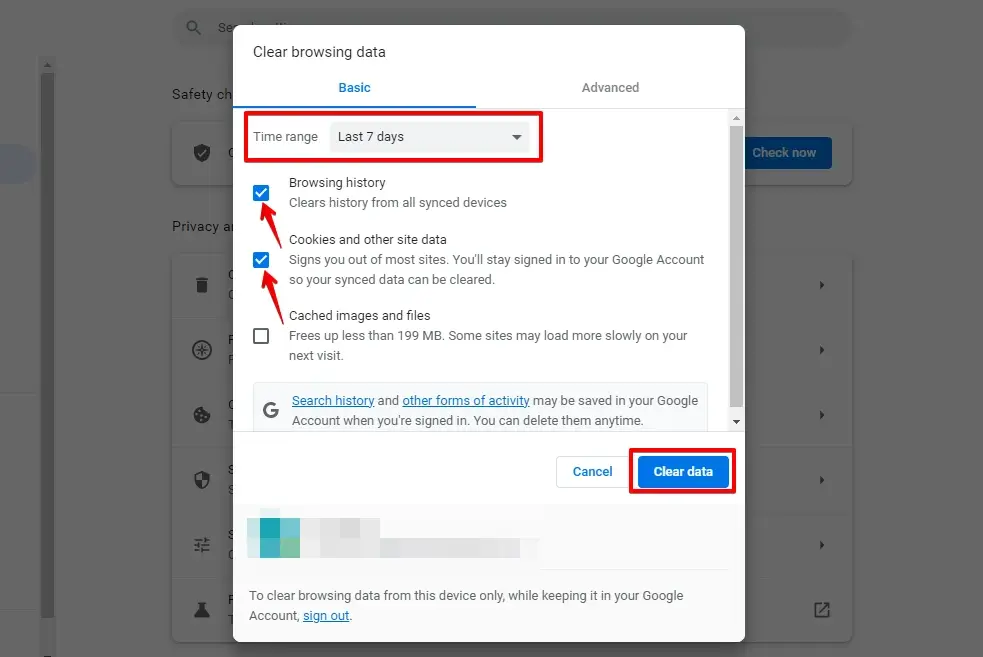
After clearing the cache, try reloading the webpage to see if the 504 Gateway Timeout error is resolved.
Method 4: Test on Different Browsers
The error might be specific to a certain browser. Test your website on multiple browsers to see if the issue occurs consistently or only on a particular browser.
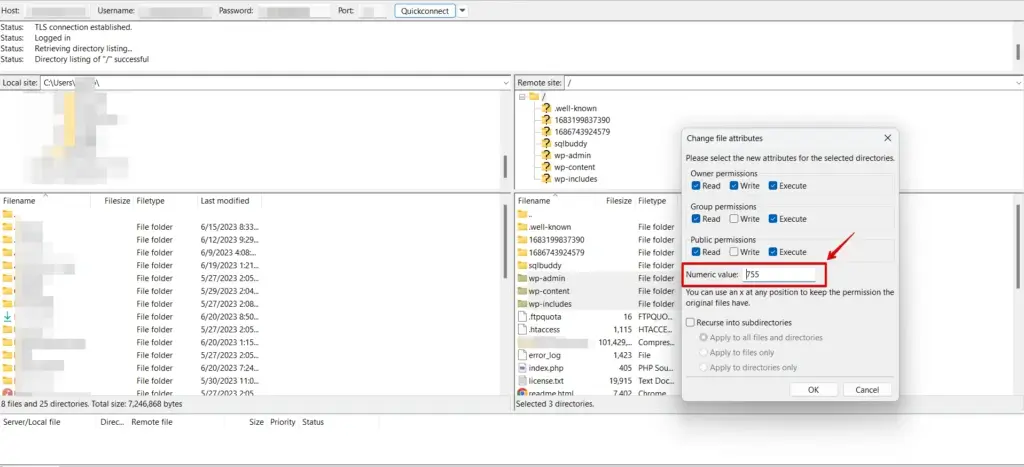
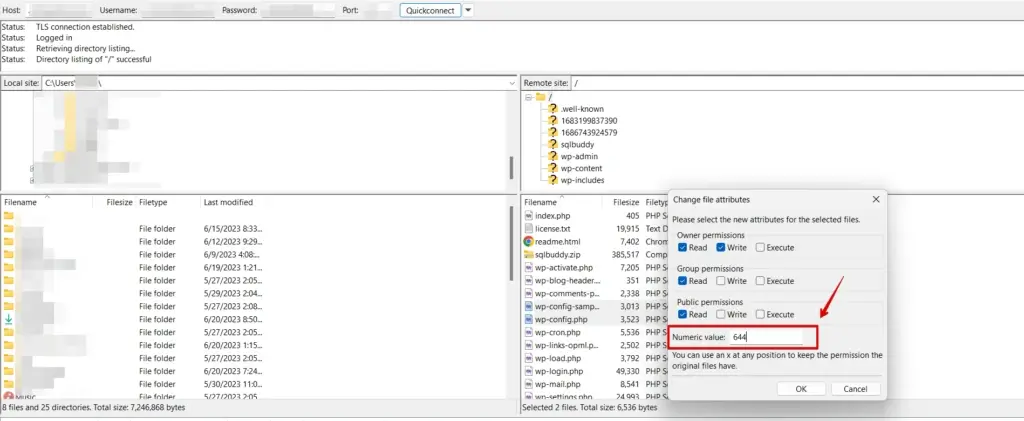
Method 5: Check File Permissions
Improper file permissions can prevent resources from being loaded. Ensure the files and directories related to the resource have the correct permissions. Generally, directories should have a permission of 755, and files should be set to 644.
Method 6: Verify Resource Existence
Double-check that the resource exists on the server. Navigate to the resource URL in your browser to confirm that the file is present. If the file is missing, upload it to the correct location.
Method 7: Disable Plugins and Themes
Conflicts with plugins or themes can lead to resource-loading issues. Temporarily deactivate your plugins and switch to a default WordPress theme (like Twenty Twenty-One) to see if the error disappears. If it does, you can isolate the problematic plugin or theme.
Disabling Plugins
When encountering issues or conflicts with specific plugins on your WordPress website, it may be necessary to disable them temporarily. By deactivating plugins, you can isolate and troubleshoot the problem without affecting the overall functionality of your website.
Here’s how to do it:
To disable plugins in WordPress, follow these steps:
- Access your WordPress admin dashboard by logging in to your site.
- Go to "Plugins" from the sidebar menu and click on it.
- You will see a list of installed plugins.
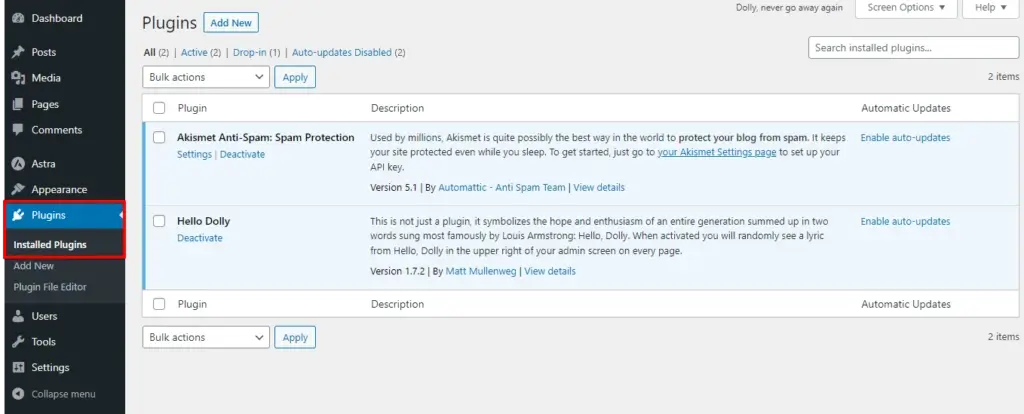
- Select the plugins you want to disable by clicking the checkboxes next to their names. You can choose multiple plugins at once.

- Once you have selected the plugins, look for the "Bulk Actions" dropdown menu at the top of the list and select "Deactivate."
- Click the "Apply" button next to the dropdown menu.
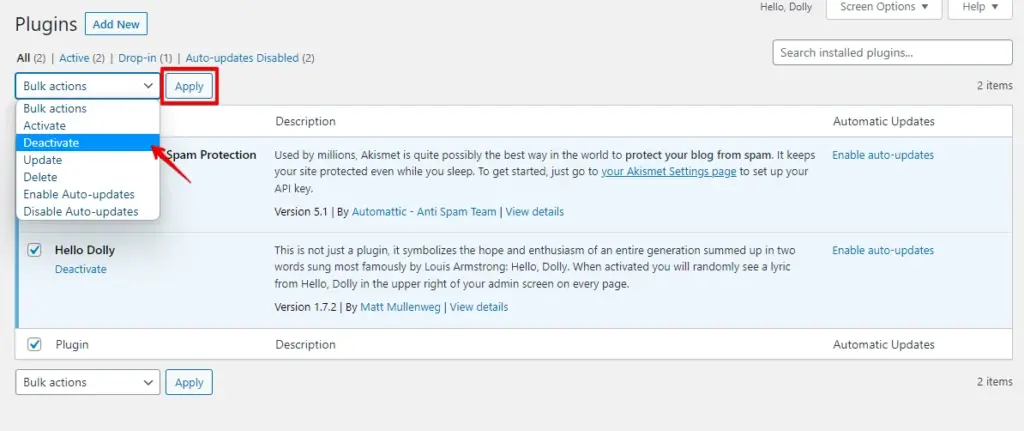
- The selected plugins will now be deactivated, and their functionalities will be temporarily disabled.
Disabling plugins can help identify if they are causing conflicts or the 504 Gateway Timeout error. You can reactivate the plugins individually to determine which one might be causing the issue.
Switching to The Default Theme
If you encounter issues with your current WordPress theme or wish to test the functionality of your website with a different theme, you can switch to the default theme.
Here’s how to do it:
Switch to the default theme in WordPress and follow these steps:
To disable plugins in WordPress, follow these steps:
- Access your WordPress admin dashboard by logging in to your site.
- Go to "Appearance" from the sidebar menu and click on it.
- You will see a list and there are options for "Themes" Click on it.
- Then click "Activate" Twenty Twenty-Three default WordPress themes.
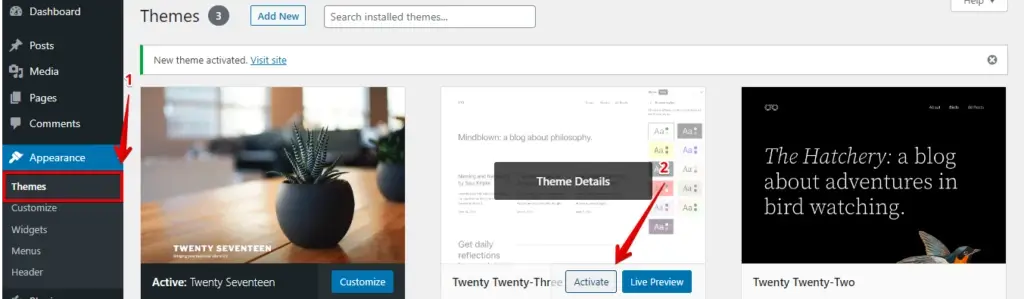
Following these steps, you’ve now turned on your default WordPress theme.
Conclusion
The "Failed to Load Resource" error in WordPress can be frustrating, but armed with the knowledge of its common causes and troubleshooting steps, you’re now better equipped to tackle it head-on. Remember to methodically review each potential issue and solution to identify and fix the root cause.
By addressing this error promptly, you’ll ensure that your WordPress website runs smoothly, providing visitors with a seamless and enjoyable user experience.