 Google Analytics is a tool that allows you to analyze your website traffic to see how many visitors you’re getting, where they are coming from, what pages they are visiting most, and so much more.
Contents
Video: How To Add Google Analytics To WordPress, 2021
If you prefer watching a video instead of reading this article on how to add Google Analytics to WordPress, you can watch this entire article as a video:
Do you like to watch more videos like this?
Check out our  YouTube Channel.
Set-Up Google Analytics
First things first, Google Analytics is available for free, and all you need is a Google account to sign up.
We need to visit Google Analytics sign-up; therefore, we go to Google.com/analytics.
Click on the button, "Start for free."
 The setup wizard will ask you to log in with your Google account. If you already have a Google or Gmail account, then you can use that to sign in. Otherwise, you can go ahead and create a Google account for yourself.
 Once you sign in with your Google account, you will be prompted to this welcome screen. Click on "Start measuring."
Account Setup
After that, you will be asked to provide an account name. I’ll enter WP STAGING here. Google will use this account name internally so that you can use anything like your real name or business name. Make sure that all checkboxes are selected and click on next.
Property Setup
On the next screen, the property details, you need to enter your website name, time zone, and currency. Since my test website is "tutorial.wp-staging.com," I enter "Tutorial WP STAGING" here.
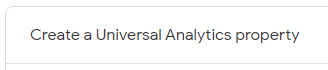
At this point, it is crucial to take a look at the "Advanced Options" and click on "Create a Universal Analytics property."
 Google has been offering two different tracking models. The old model is called "Universal Analytics" and the new "Google Analytics 4".
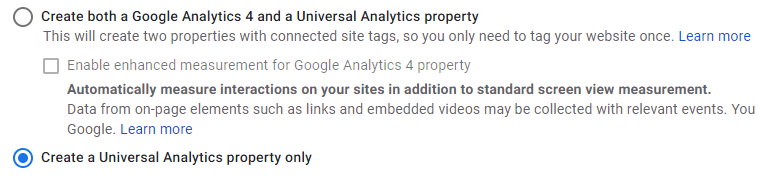 The new model offers the advantage of tracking the traffic in Android and iOS apps.
However, this new model is of no interest to us, as our WordPress website is not an app.
MonsterInsights, the plugin that we will install in the next step, cannot establish a connection when both the Google Analytics 4 and Universal Analytics Codes are created, so we need to select the second option: "Create a Universal Analytics property only. "
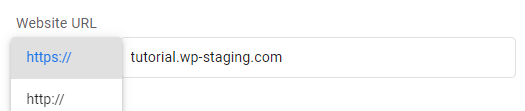
To confirm the selection, enter the URL of our website. Pay attention to the beginning of your URL and choose HTTPS:// if your site has an SSL certificate.
The new model offers the advantage of tracking the traffic in Android and iOS apps.
However, this new model is of no interest to us, as our WordPress website is not an app.
MonsterInsights, the plugin that we will install in the next step, cannot establish a connection when both the Google Analytics 4 and Universal Analytics Codes are created, so we need to select the second option: "Create a Universal Analytics property only. "
To confirm the selection, enter the URL of our website. Pay attention to the beginning of your URL and choose HTTPS:// if your site has an SSL certificate.
About your Business
In the next setup step, Google asks for some information about your company to better assign and process the data. Enter your industry, select the number of employees, and choose what you would like to use Google Analytics for. At this point, I’ll select all the possible answers.
Terms of Service Agreement
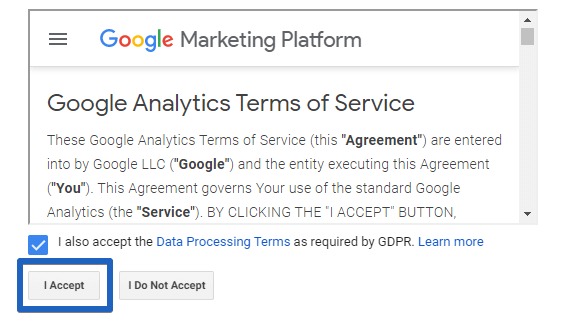
Once you have entered this information, click on the Next button. You will now see the Google Analytics Terms of Service Agreement and the data processing conditions of Google Analytics, which you must agree to. So click on the "I agree" button.
Google Analytics Tracking code
Now, Google will present you with your Google Analytics tracking code.
I suggest leaving the analytics browser tab open, as you may need to revisit it to copy the tracking code once you have installed the plugin on your WordPress site.
![]()
Install Google Analytics on your WordPress Website
Now that you have set up a Google Analytics account, let’s look at installing Google Analytics on WordPress.
Install the Plugin MonsterInsights
The first thing you need to do is install and activate the MonsterInsights plugin. Open the Plugin Repository by clicking on Plugins > Add New.
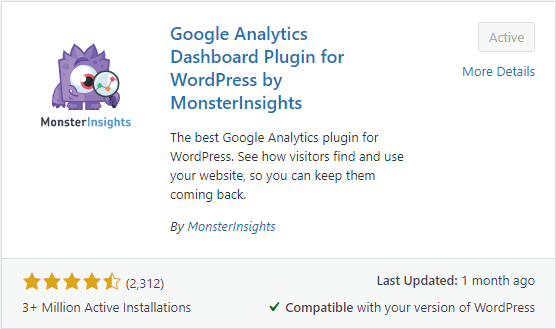 MonsterInsights is the most popular Google Analytics plugin for WordPress. Over 3 million websites use it. Let’s get started.
Upon activation, the plugin will open the MonsterInsights dashboard. Click on "Launch the Wizard."
MonsterInsights is the most popular Google Analytics plugin for WordPress. Over 3 million websites use it. Let’s get started.
Upon activation, the plugin will open the MonsterInsights dashboard. Click on "Launch the Wizard."
 First, MonsterInsights asks you to choose a category for your website (a business website, blog, or online store). Select one and then click on the Save and Continue button.
Next, you need to click on the ‘Connect MonsterInsights’ button.
First, MonsterInsights asks you to choose a category for your website (a business website, blog, or online store). Select one and then click on the Save and Continue button.
Next, you need to click on the ‘Connect MonsterInsights’ button.
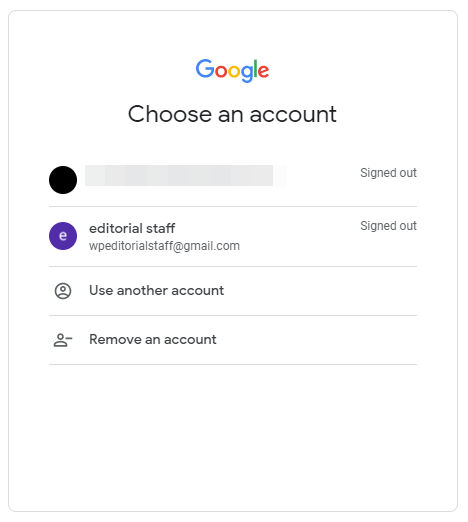
 This click will bring up a popup to select your Google account. Make sure that you choose the account that you used to create the Google Analytics account.
Next, MonsterInsights asks you to allow access to your Google Analytics account.
Click on the ‘Allow’ button to continue.
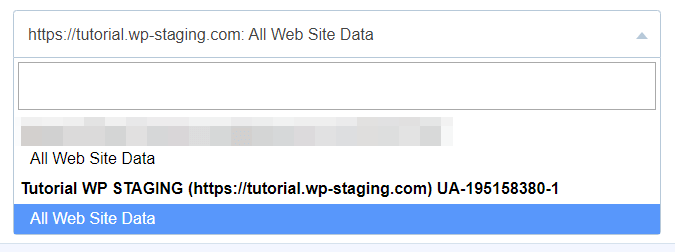
The final step is to select the profile you want to track. Select your website and then click on the ‘Complete Connection’ button to continue.
This click will bring up a popup to select your Google account. Make sure that you choose the account that you used to create the Google Analytics account.
Next, MonsterInsights asks you to allow access to your Google Analytics account.
Click on the ‘Allow’ button to continue.
The final step is to select the profile you want to track. Select your website and then click on the ‘Complete Connection’ button to continue.
 MonsterInsights will now install Google Analytics on your website. After that, MonsterInsights asks you to select the recommended settings for your website.
The default settings would work for most websites. If you use an affiliate link plugin, you need to add the path you use to cloak affiliate links. This setting allows you to track your affiliate links in Google Analytics.
Next, MonsterInsights will show you paid add-ons that you can access if you upgrade to PRO. You can click on the ‘Save and Continue’ button to skip this step.
After that, MonsterInsights asks you to install the WPForms plugin, which is indeed a good WordPress contact form plugin. Check out our article to learn how to create a good-looking contact form easily. For now, click on Skip this step.
MonsterInsights will now install Google Analytics on your website. After that, MonsterInsights asks you to select the recommended settings for your website.
The default settings would work for most websites. If you use an affiliate link plugin, you need to add the path you use to cloak affiliate links. This setting allows you to track your affiliate links in Google Analytics.
Next, MonsterInsights will show you paid add-ons that you can access if you upgrade to PRO. You can click on the ‘Save and Continue’ button to skip this step.
After that, MonsterInsights asks you to install the WPForms plugin, which is indeed a good WordPress contact form plugin. Check out our article to learn how to create a good-looking contact form easily. For now, click on Skip this step.
 That’s all. You have successfully installed and set up Google Analytics on your WordPress site. Remember, it will take Google Analytics sometime before showing your stats.
Google Analytics Report
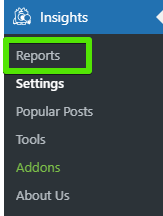
To view your Google Analytics reports inside your WordPress dashboard, visit Insights > Reports to check out a quick overview of your analytics data.
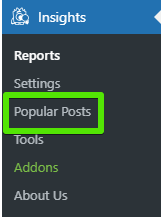
Popular Posts
It also comes with a Popular Posts add-on that allows you to show your top-performing content to boost your traffic & page views.
Verify that Google Analytics is Running Fine
After we have connected Google Analytics with WordPress, we check whether Google Analytics is running correctly.
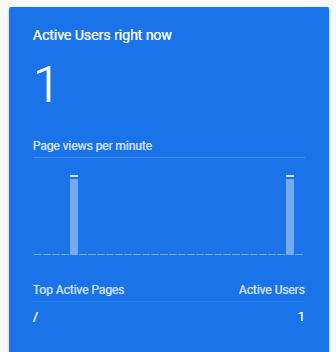
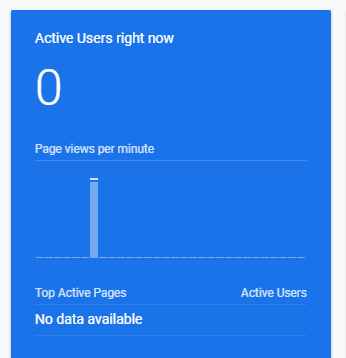 Open an incognito window in your browser and type in your website domain. Then refresh the dashboard in Google Analytics. Now you should see that there is one active user on your website. This one user indicates that we have set up Google Analytics correctly.
 That’s all – have fun reading your Google Analytics metrics.
~ Lennard – Team WP STAGING
That’s all – have fun reading your Google Analytics metrics.
~ Lennard – Team WP STAGING