Moving your website from Ionos to WordPress.com is a strategic step for improving your online presence and functionality. Whether you prefer WordPress.com’s user-friendly interface or customization options, our guide ensures a smooth transition with detailed, step-by-step instructions. Execute the migration flawlessly with our tailored assistance.
Contents
Why Switch from Ionos to WordPress.com?
Transitioning to WordPress.com is a strategic decision, offering several advantages that can take your website to new heights in the expansive realm of hosting options.
- Simplified Management and Intuitive Navigation: Easily navigate a user-friendly dashboard, emphasizing content creation over technical intricacies.
- Enhanced Security Measures: Benefit from regular updates, SSL certification, and a dedicated security team, ensuring robust protection against potential threats.
- Scalability for Future Growth: Effortlessly upgrade resources to meet evolving website needs and ensure responsiveness during peak traffic.
- Global Reach with Reliable Uptime: Experience impressive server uptime, ensuring 24/7 accessibility for international audiences and enhancing website reliability.
- SEO-Friendly Foundation: Improve rankings with clean code, customizable permalinks, and SEO plugins.
Preparing for the Website Transfer
Before making any changes, creating a backup of your existing Ionos website content is crucial. This ensures the preservation of data throughout the migration process. Here’s how:
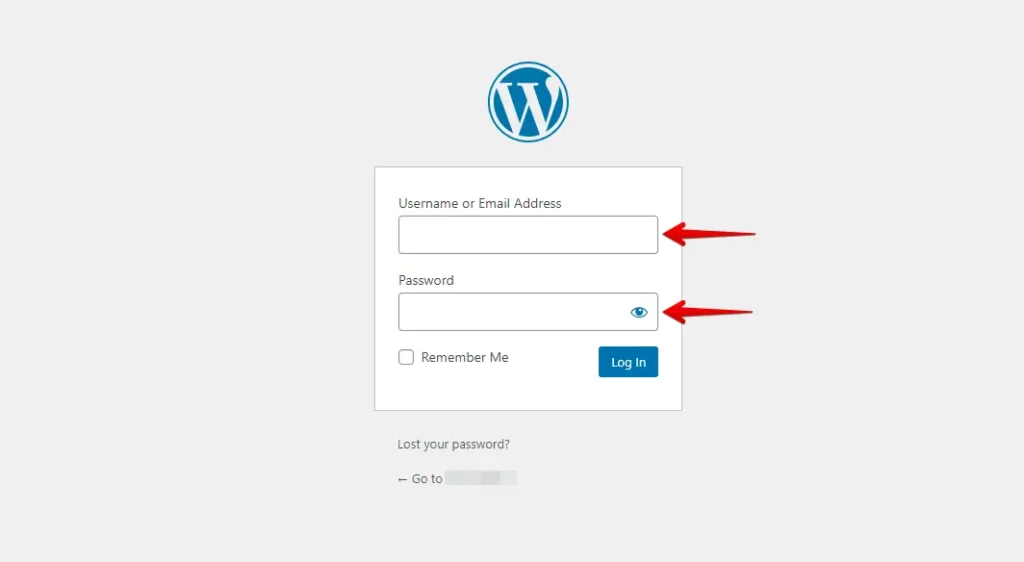
- Sign in to your Ionos WordPress website using your username and password, or access the admin panel through Ionos.
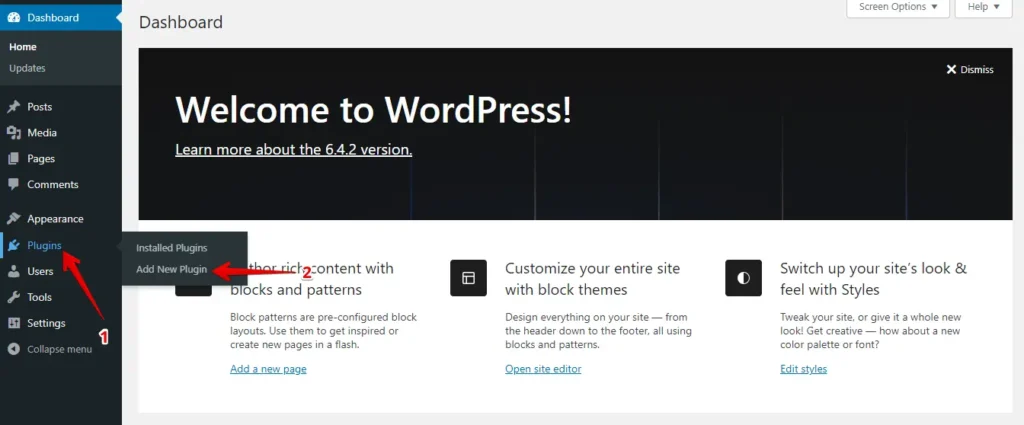
- Navigate to “Plugins” in the left menu and click the “Add New” button.
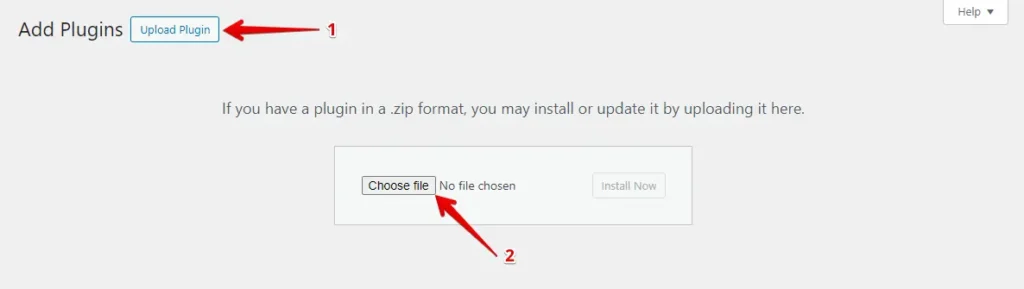
- Click the “Upload Plugin” button and then “Choose File” to upload the WP Staging | Pro plugin.
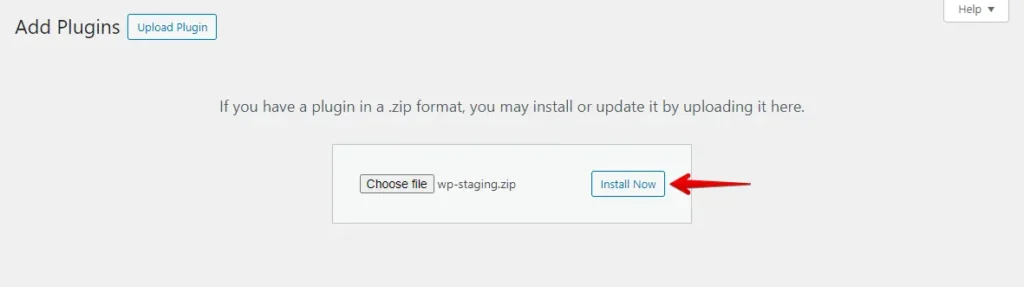
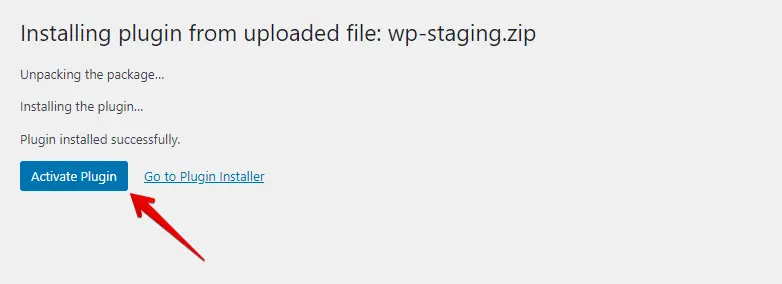
- Click the ‘Install Now’ button.
- After installing the plugin, activate it.
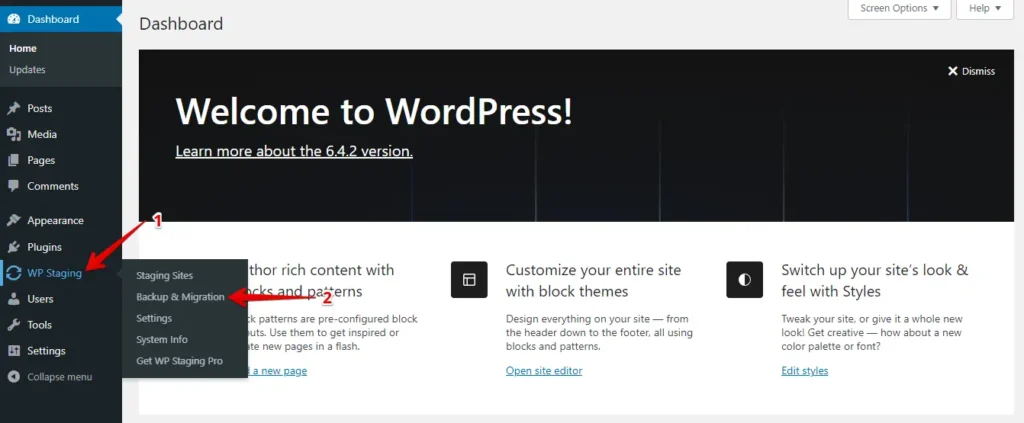
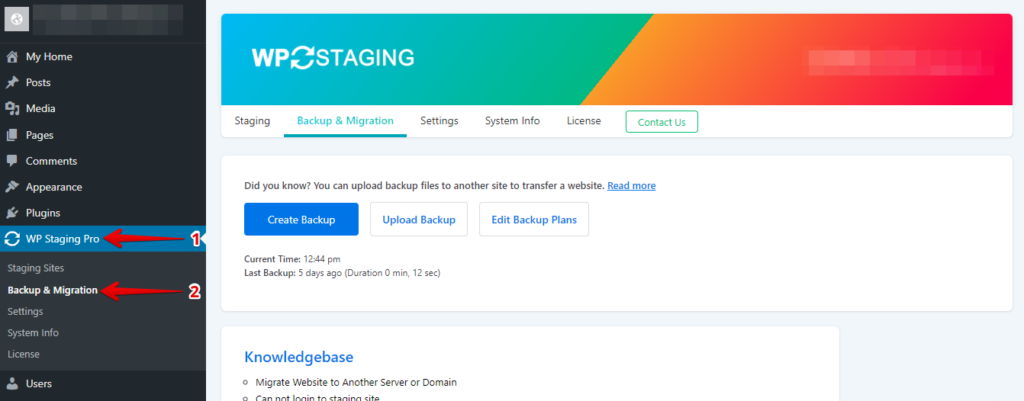
- Navigate to the left-hand menu, locate ‘WP Staging | Pro,’ and then click on the ‘Backup & Migration’ option.
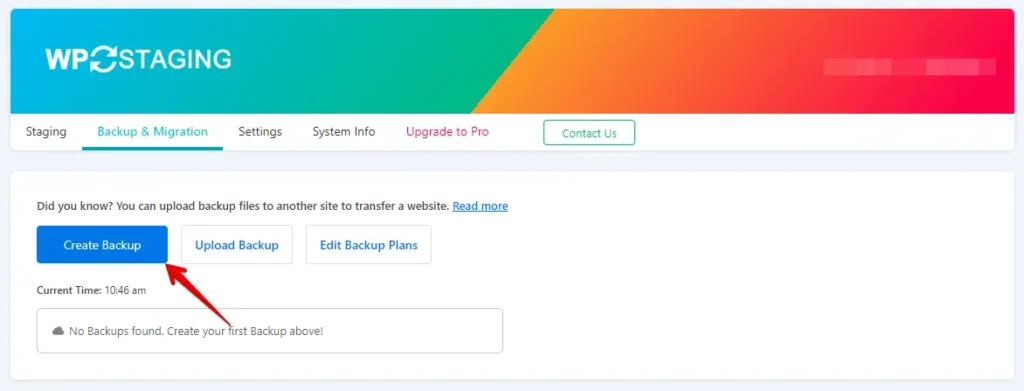
- Suppose you don’t have an existing backup, no need to worry. Click the “Create Backup” button to generate a new one.
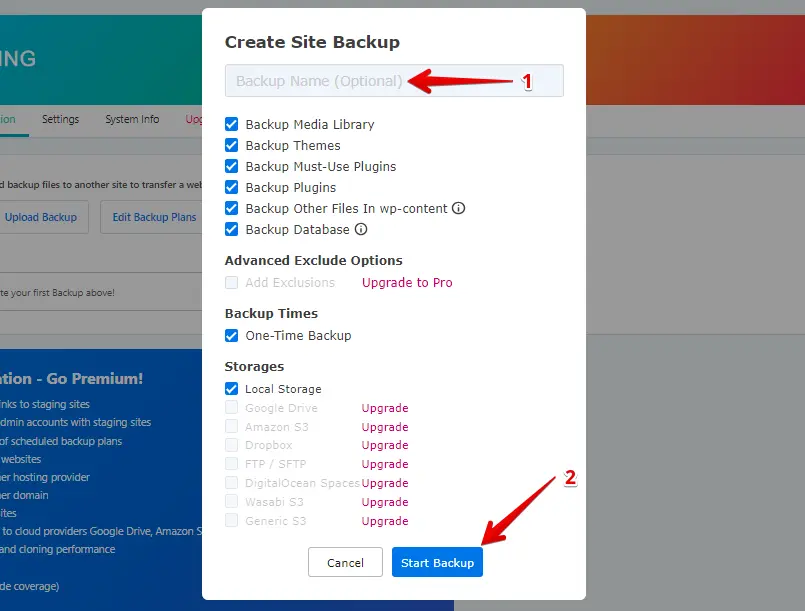
- Enter the backup name and click the “Start Backup” button.
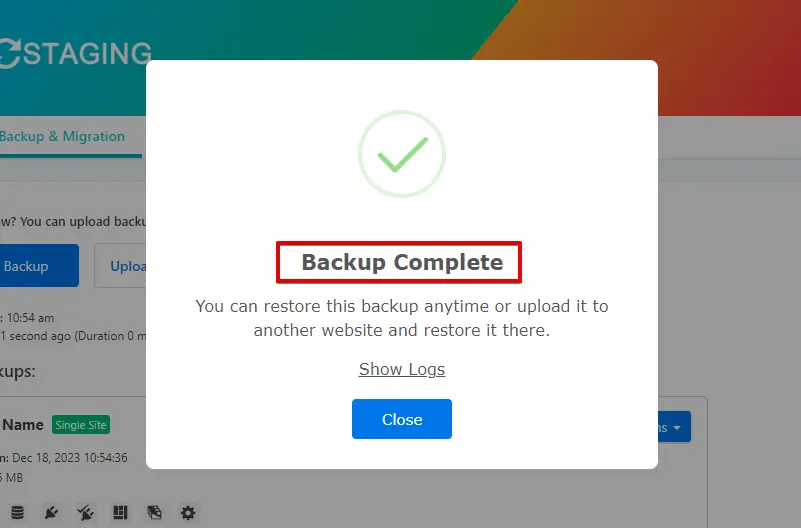
- The backup has been successfully completed.
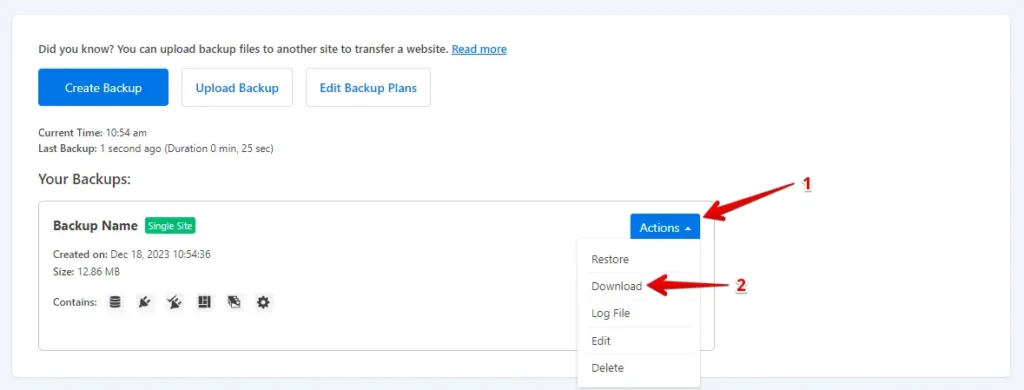
- After completing the backup process, you’ll usually find a “Download” option under the “Action” button. Make sure to save this backup file in a secure location on your computer.
The Process of Migration
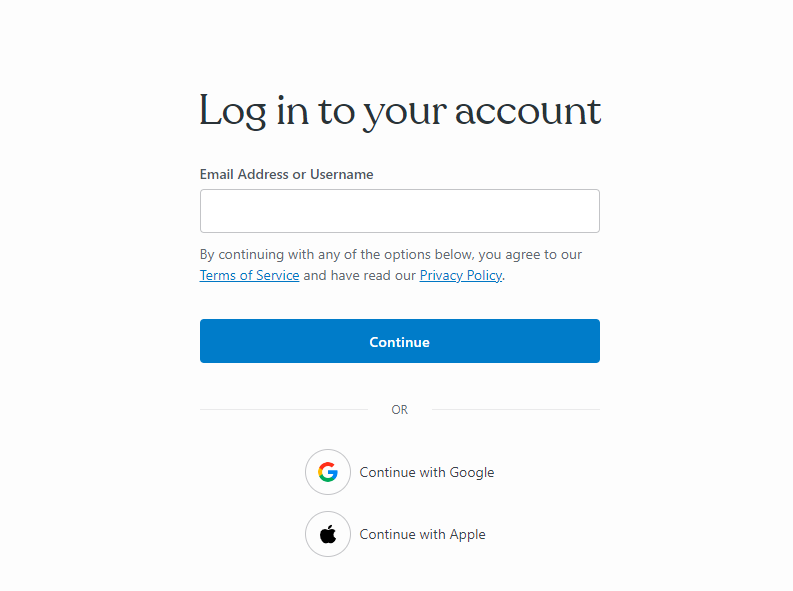
- Log in to Your WordPress.com Account
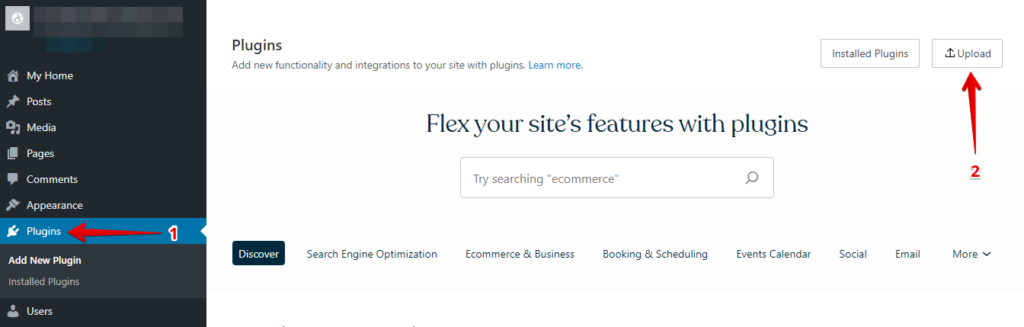
- Navigate to “Plugins” in the WordPress dashboard and click the “Upload” button.
- Next, proceed to upload your WP Staging Pro.

- After installation and activation, navigate to the “Backup & Migration” section within the WordPress dashboard under “WP Staging Pro.”
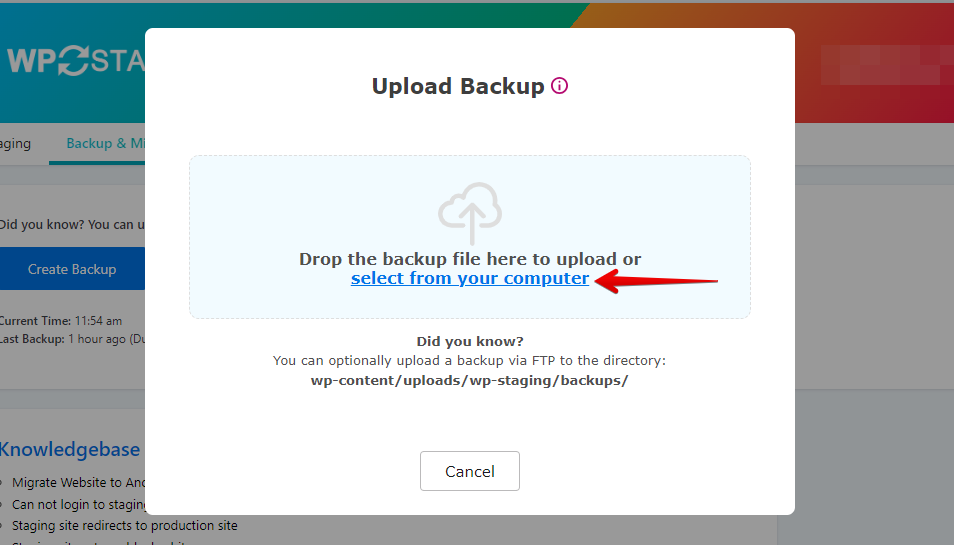
- Then, click the ‘Upload Backup’ button.

- Now, upload the backup file exported from your Ionos website.
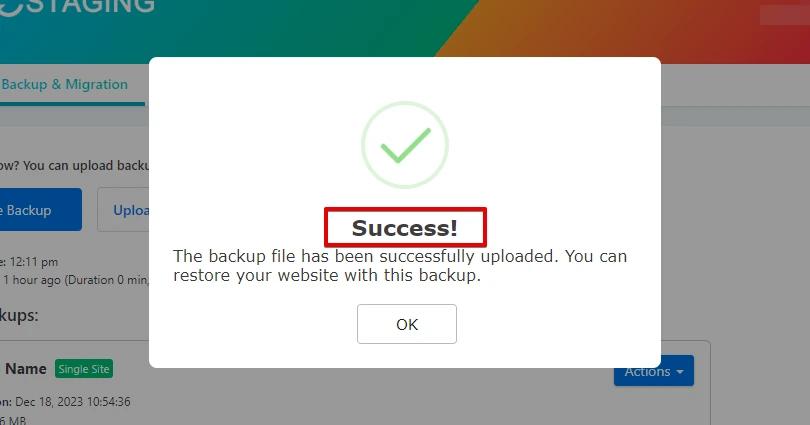
- The backup has been successfully uploaded.
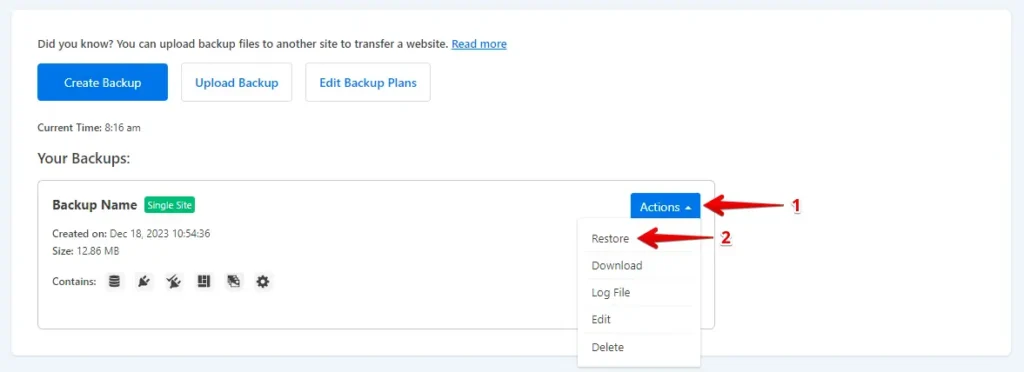
- After that, click the ‘Action’ button, and then choose the ‘Restore’ option.
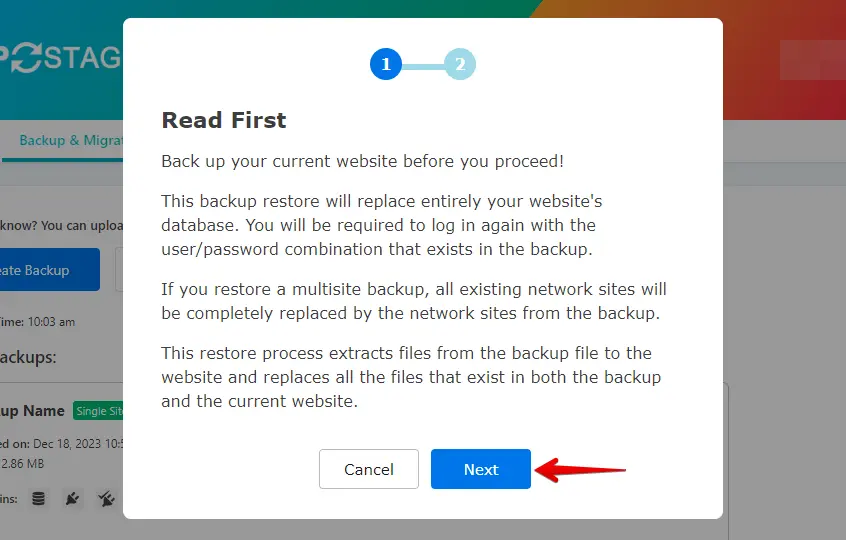
- Click the ‘Next’ button.
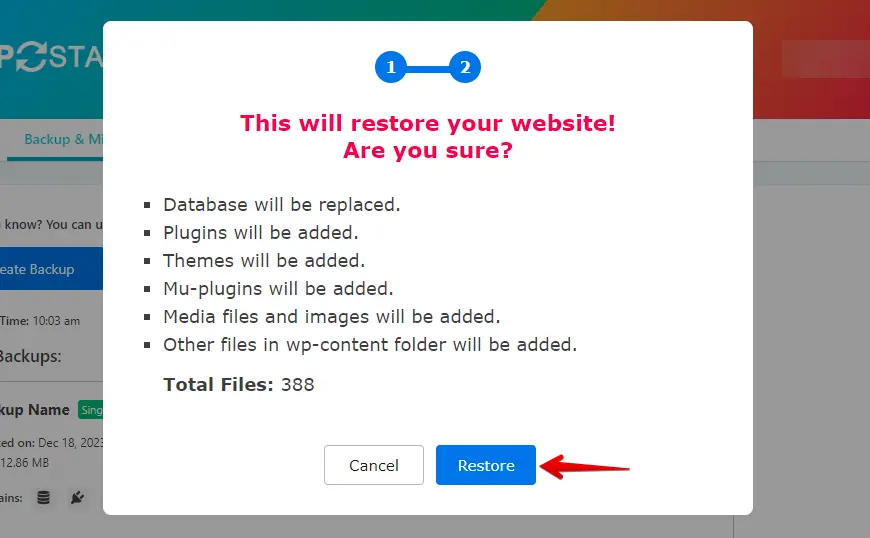
- Next, click the ‘Restore’ button.
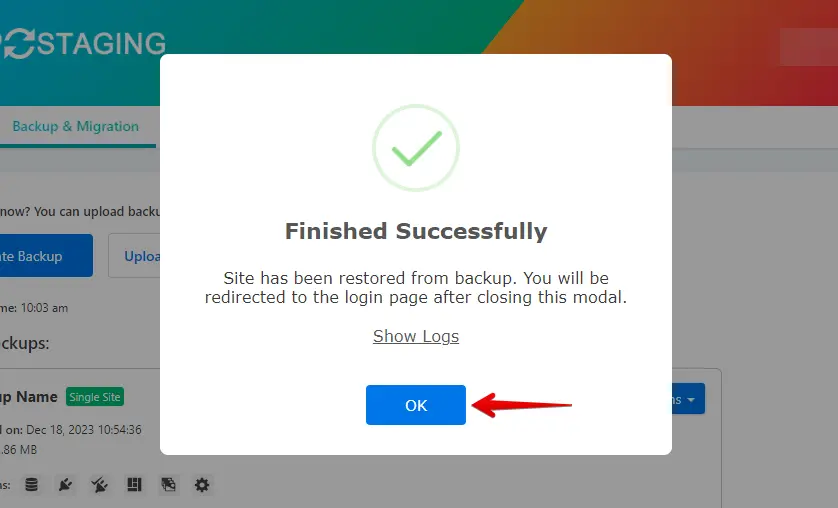
- The backup has been successfully restored.
- Click the “OK” button.
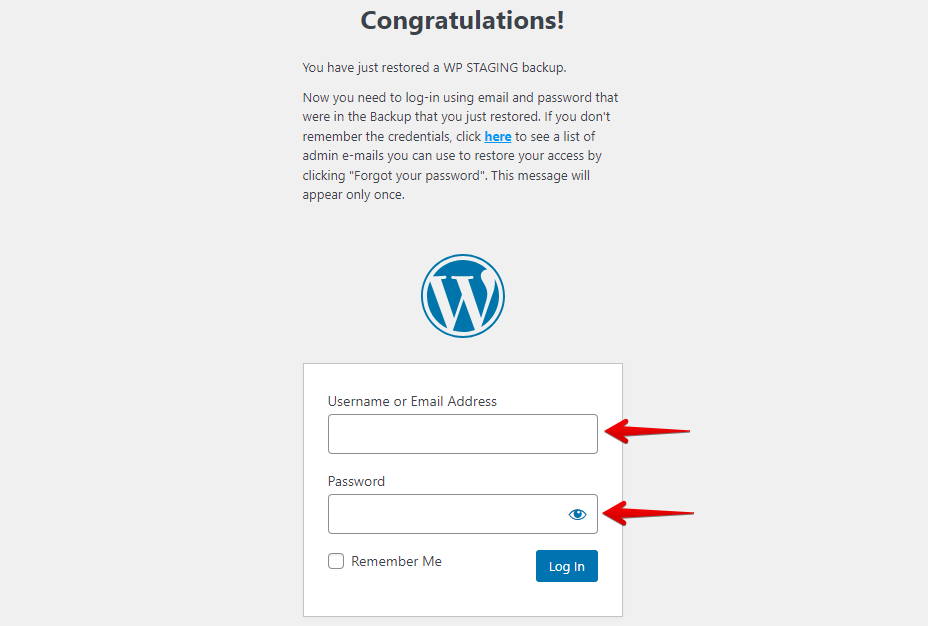
- Log in to your WordPress website again.
Perform a thorough website test on WordPress.com to confirm proper functionality of all components and review content for accuracy and formatting.
Conclusion
In conclusion, migrating from Ionos to WordPress.com is a strategic move that requires meticulous planning and execution. By following this comprehensive guide, you’re not only ensuring a smooth transition but also positioning your website for enhanced performance and visibility.