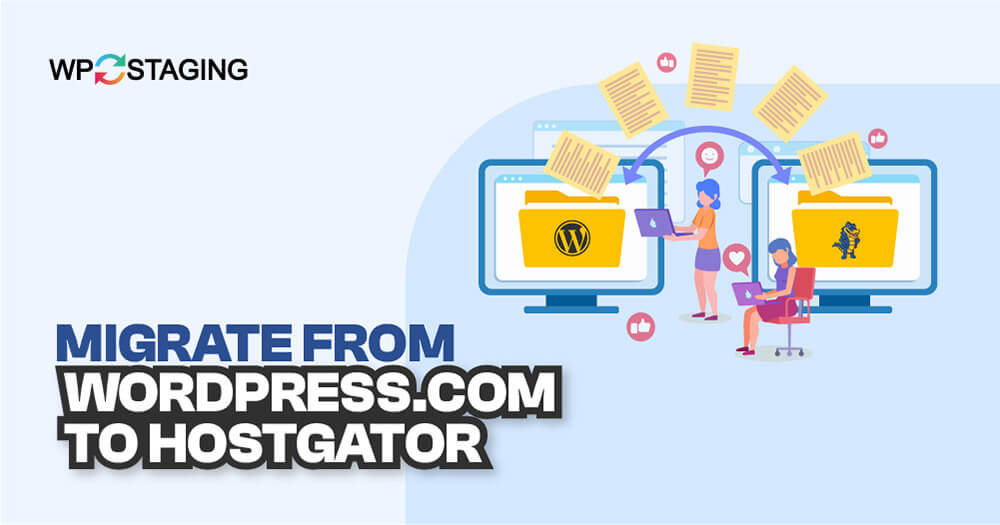
In this article, we will guide you on how to migrate from WordPress.com to HostGator.
We will be using WP Staging Pro for a seamless migration, so even if you don’t have any technical knowledge, you can easily do the complete process.
Contents
First Thing First
Before diving into the migration process, conducting a thorough analysis of your existing WordPress.com setup is essential. Take note of your website’s structure, content, and any customizations you’ve implemented. This step will serve as a crucial reference point throughout the migration journey.
Preparing for the Migration
Before starting the migration process, it’s essential to follow several key steps:
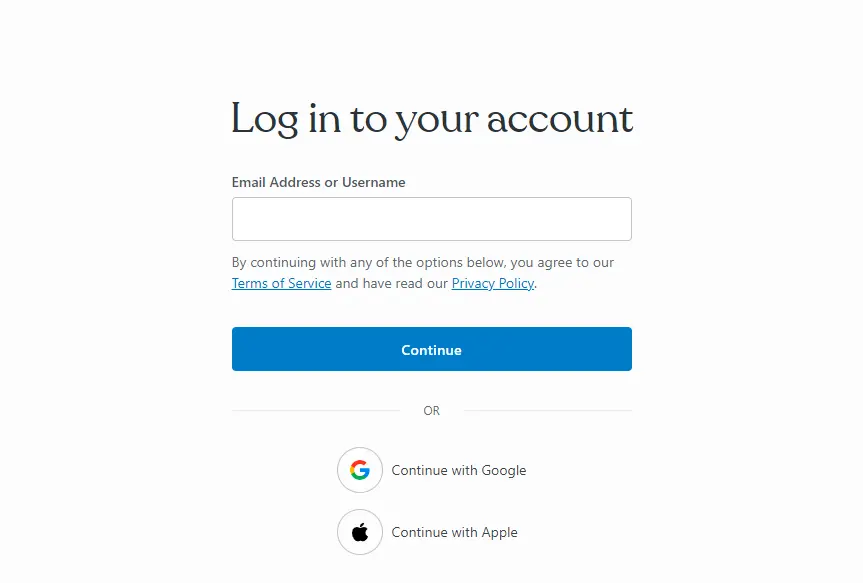
- Log into your WordPress.com account.
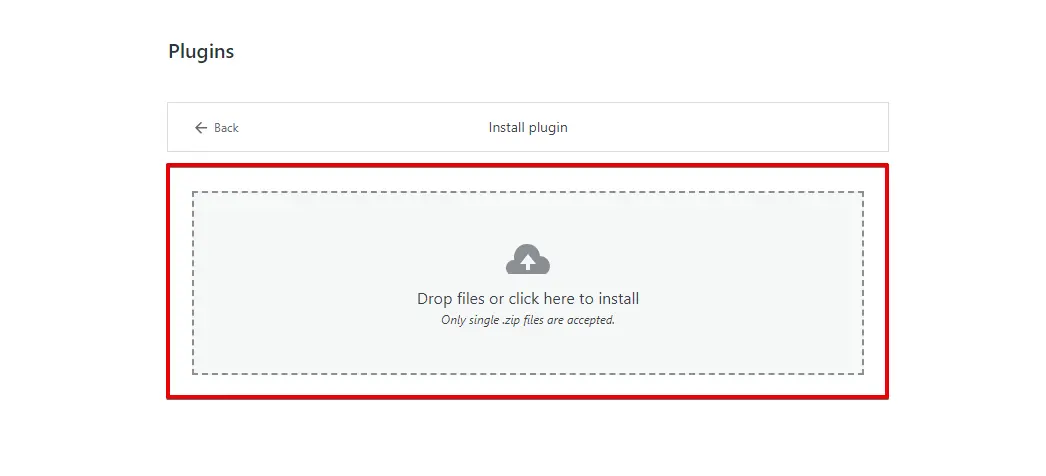
- Go to "Plugins" in the WordPress dashboard and click the "Upload" button.

- Afterward, proceed to upload your WP Staging | Pro.
- Once you’ve installed and activated it, navigate to the "Backup & Migration" section in the WordPress dashboard under "WP Staging | Pro."
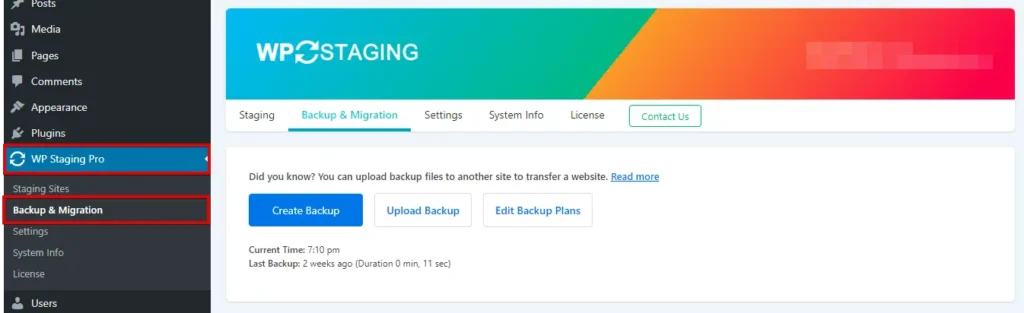
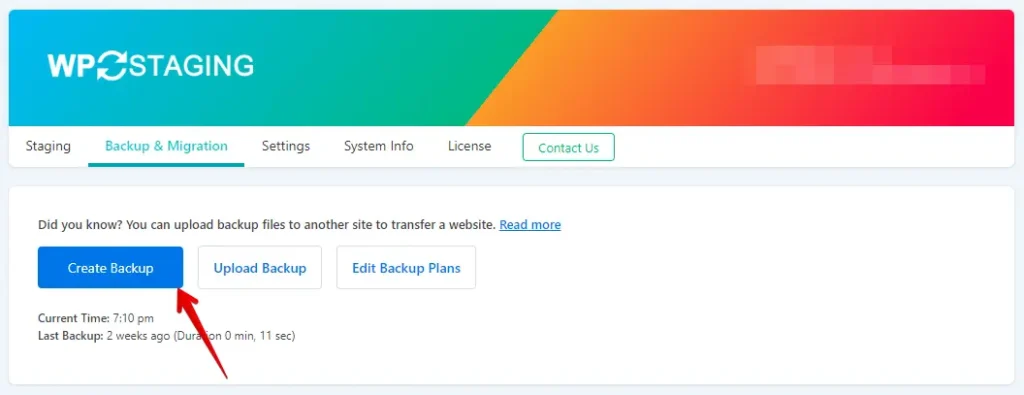
- If you already possess a current backup, fantastic. Otherwise, to generate a new backup, click the "Create Backup" button.
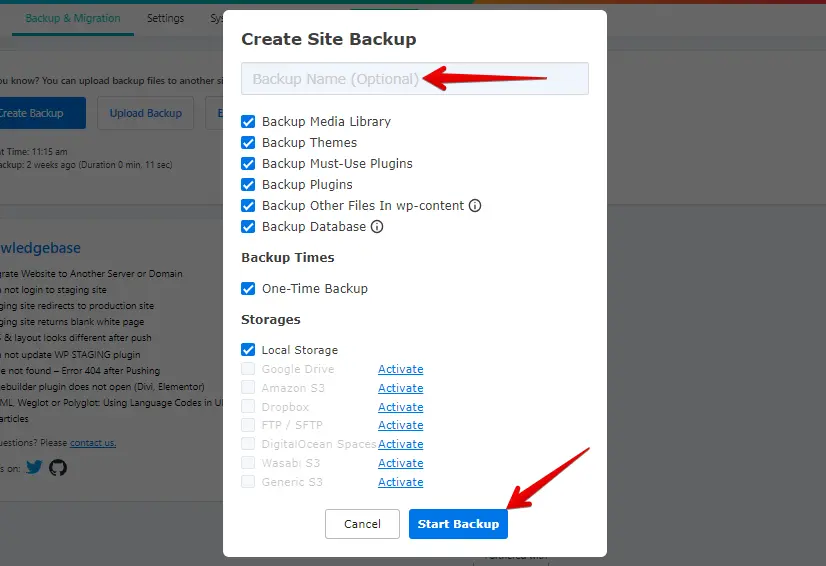
- Provide a name for your backup, then click the "Start Backup" button.
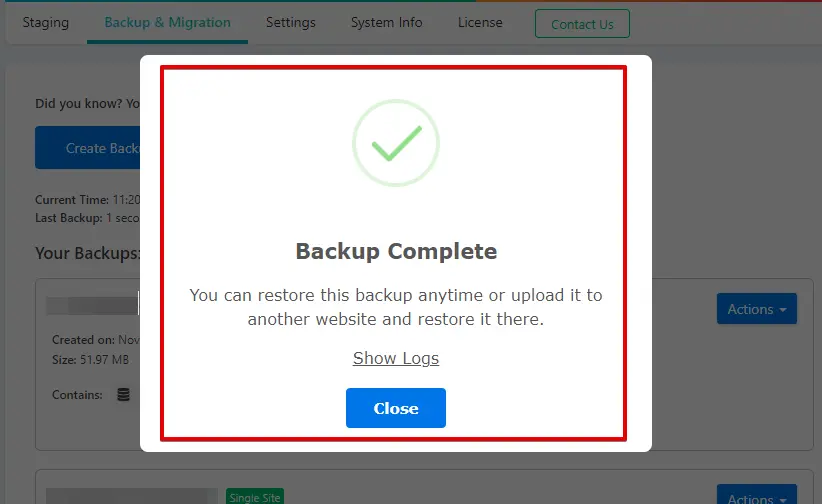
- The backup has been successfully completed.
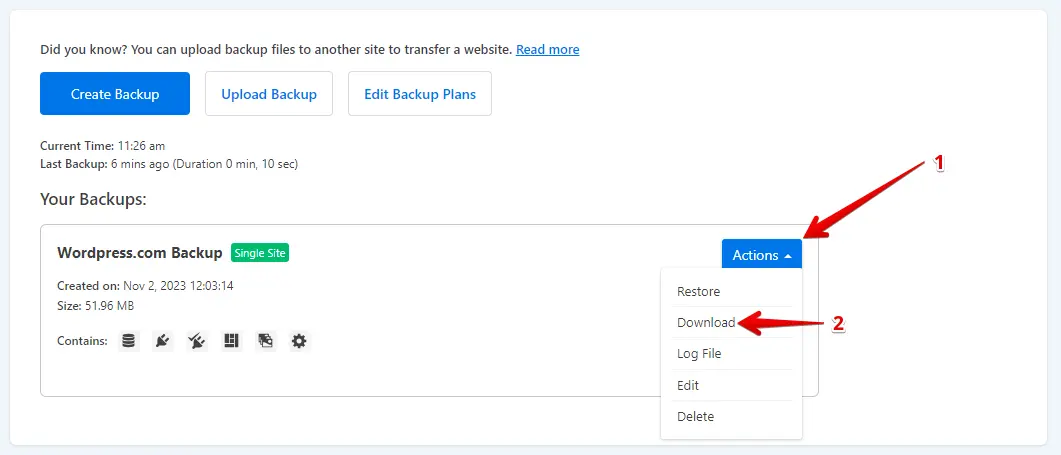
- After the backup process concludes, you will typically find a "Download" option beneath the "Action" button. Ensure that you save this backup file in a secure location on your computer.
The Process of Migration
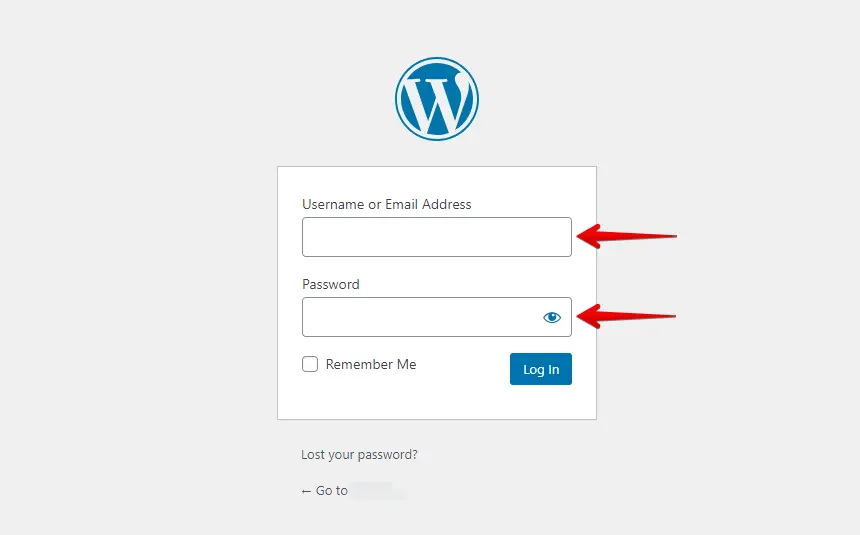
- Access your HostGator WordPress website by entering your username and password.
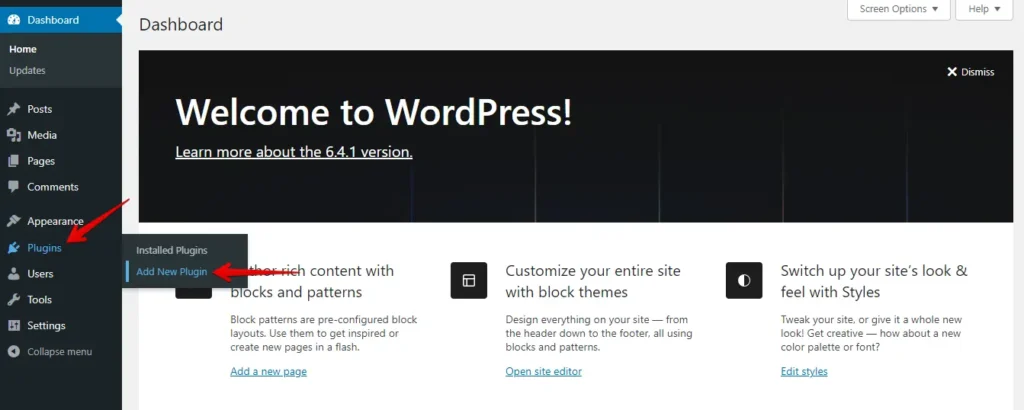
- Go to the left-hand menu, click "Plugins," and click "Add New."
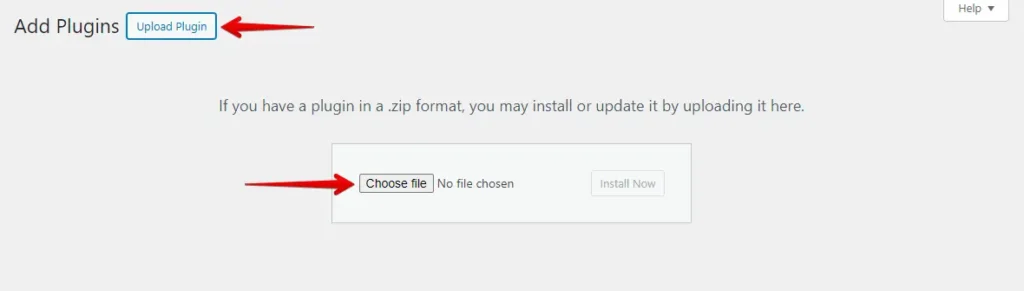
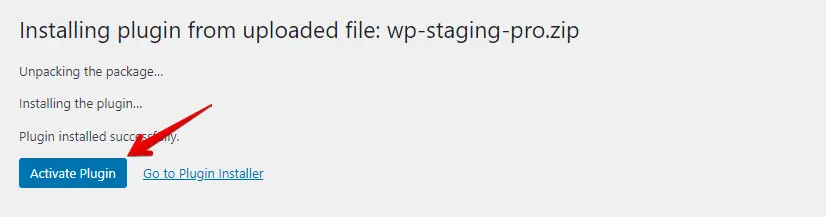
- Click the "Upload Plugin" button and then "Choose File" to upload the WP Staging Pro plugin.
- Next, press the ‘Install Now’ button.
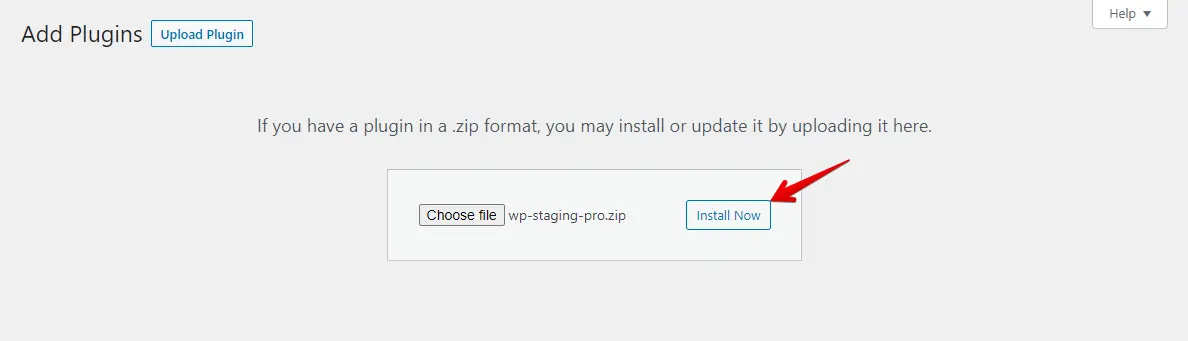
- Once the plugin is installed, activate it.
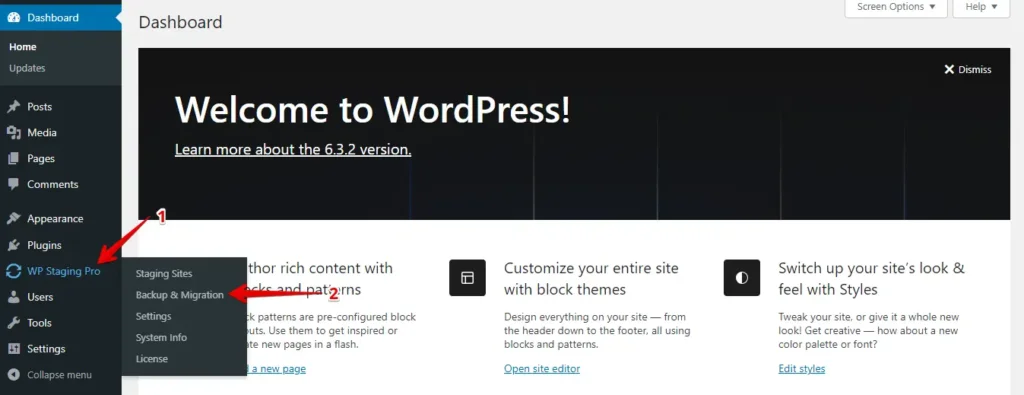
- Go to the menu on the left, find ‘WP Staging Pro,’ and click the ‘Backup & Migration’ option.
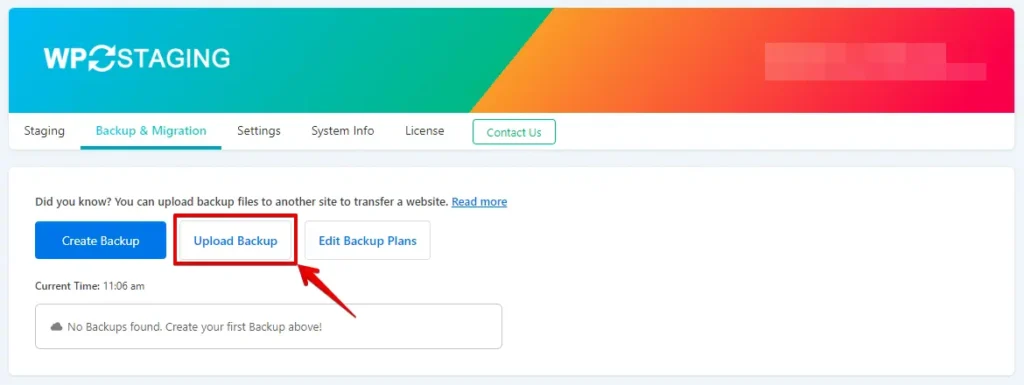
- Afterward, click the ‘Upload Backup’ button.
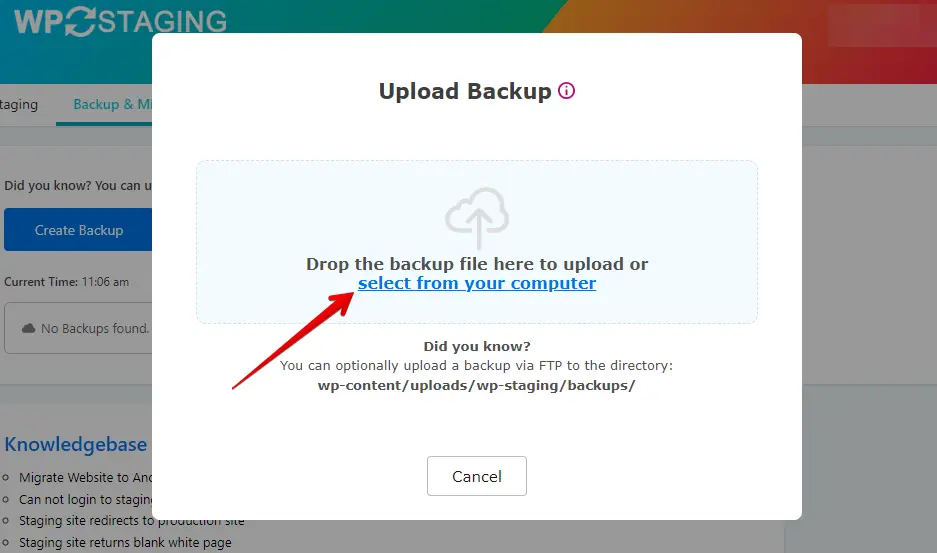
- Upload the backup file you exported from your WordPress.com website.
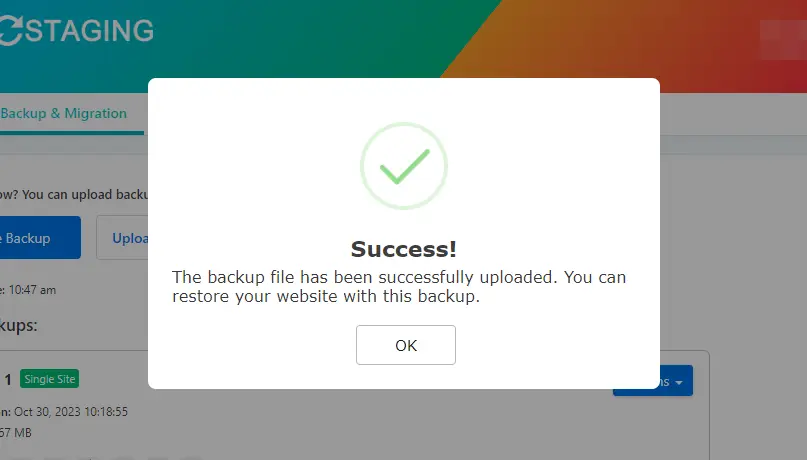
- The backup has been successfully uploaded.
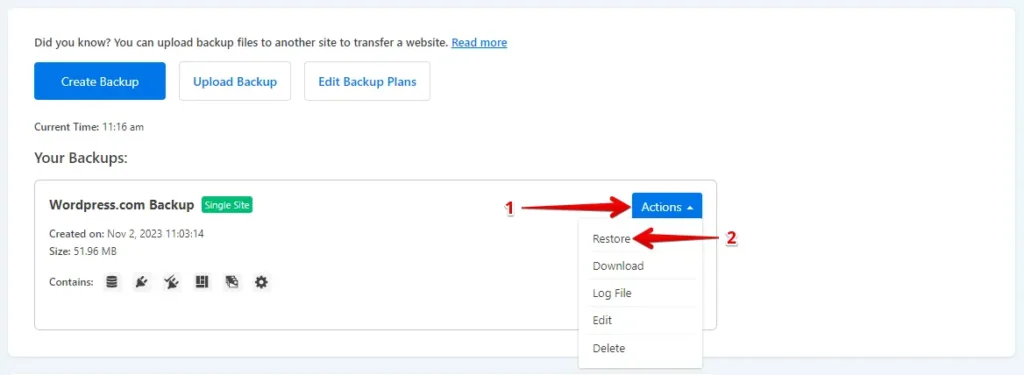
- Following that, click the ‘Action’ button and then click on the ‘Restore’ option.
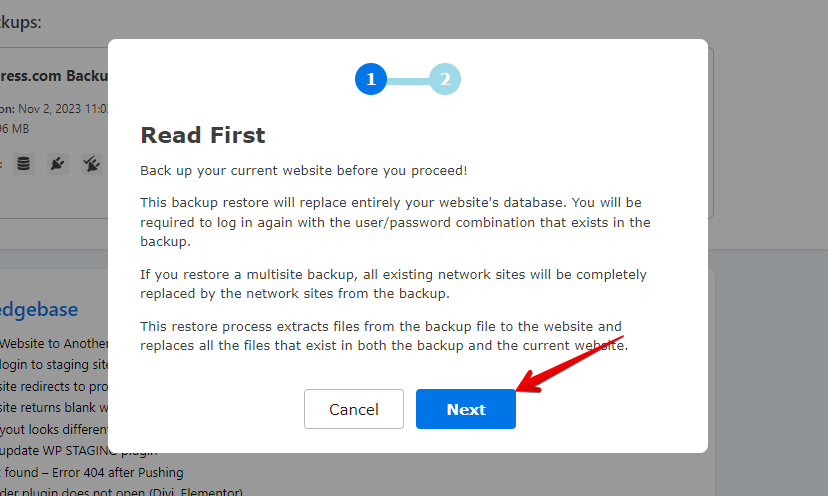
- Click the ‘Next’ button.
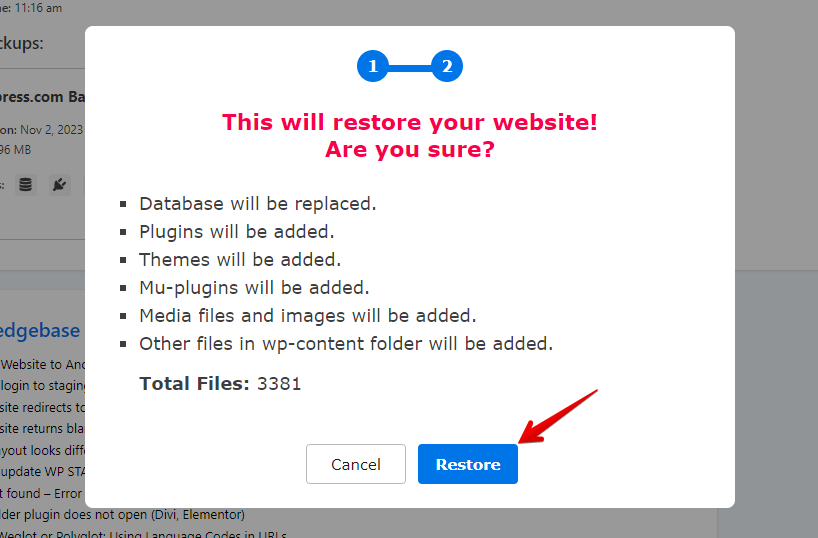
- After that, click the ‘Restore’ button.
- The backup has been successfully restored.
- Press the "OK" button.
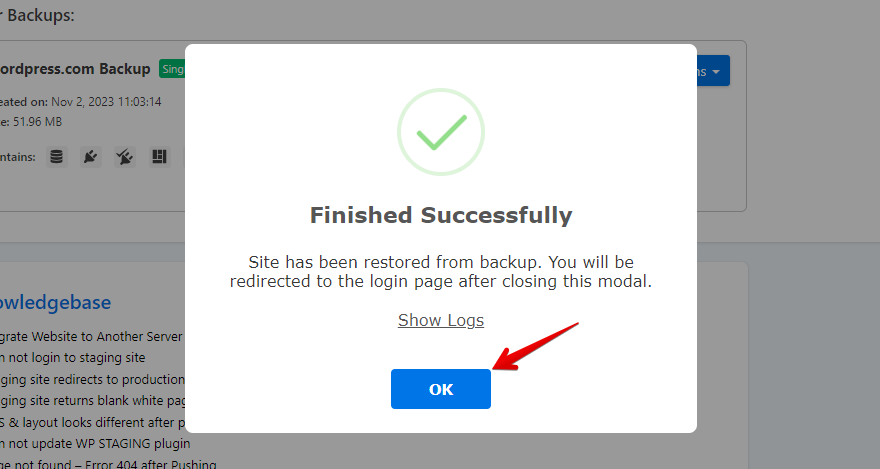
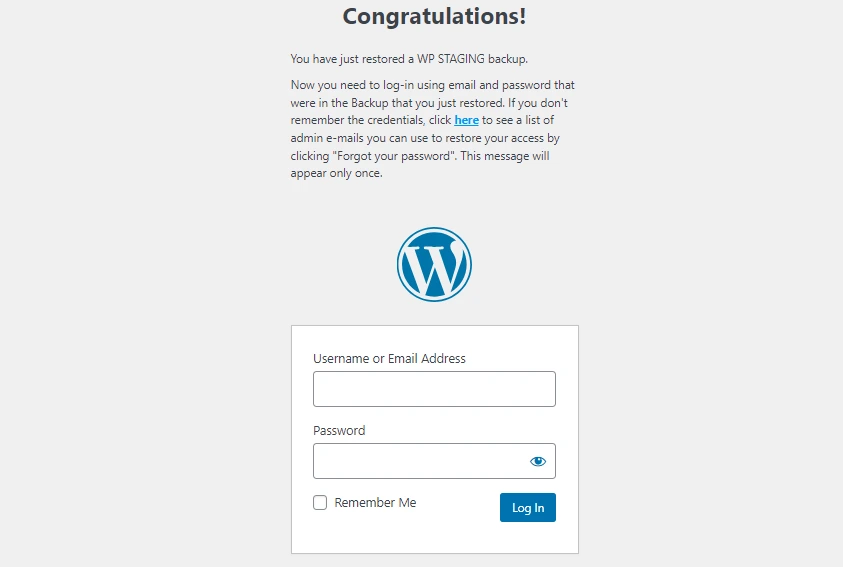
- Access your WordPress website again.
Conduct a comprehensive website test on HostGator to ensure all components function as intended. Additionally, review all content for accuracy and formatting.
Conclusion
After you have completed the migration, you’ll need to go through several post-migration steps to finalize the move and optimize your site. Here’s a checklist of essential actions to consider:
- Ensure all your content has been transferred correctly and is displaying as expected.
- Check internal and external links to ensure they are not broken.
- Make sure all images, videos, and other media files have been correctly imported and are displaying properly.
- Go to Settings > Permalinks in your WordPress dashboard to ensure your permalink structure matches the one you used on WordPress.com. This is crucial for maintaining SEO rankings.
- Use tools like Google PageSpeed Insights or GTmetrix to analyze your site’s performance and make necessary adjustments.
- If your domain has changed or if you have pages that moved, update your social media profiles and any other external sites that link to you to ensure they point to the correct URLs.
By carefully going through these post-migration steps, you can help ensure a smooth migration to your new HostGator hosting environment, maintaining your site’s functionality, performance, and SEO ranking in the process.
Related Articles
- How to Migrate from GoDaddy to WordPress.com
- How to Migrate from HostGator to WordPress.com
- List of Compatible Hosting Providers That Support WP STAGING
- How to Migrate from WordPress.com to GoDaddy: A Comprehensive Guide
- Migrate Your WordPress Site to Another Host