Setting up 301 redirects is integral to managing 404 errors on your website, especially when updating URLs, moving content, or deleting old pages. These redirects ensure visitors and search engines are on the right page without errors.
If you have many URLs to redirect, doing it one at a time can be tedious. That’s where bulk 301 redirects come in. They let you handle multiple redirects at once, saving time and effort.
In this blog, we’ll show you simple ways to set up bulk 301 redirects in WordPress using plugins or a bit of custom coding.
Contents
What Are 301 Redirects?
A 301 redirect is a way to permanently send users and search engines from one URL to another. If someone tries to visit the old URL, they’re automatically sent to the new one instead.
These redirects are essential because they:
- Keep your site’s SEO value when you change or update URLs.
- Prevent visitors from landing on “404 Not Found” pages.
- Improve the user experience by ensuring they find the content they want.
Why Use Bulk 301 Redirects?
If your website has many URL changes, setting up redirects one by one can take a long time and increase the chance of mistakes. Bulk 301 redirects make it easier by letting you handle multiple redirects simultaneously, saving you time and keeping everything consistent.
You might need bulk redirects in situations like:
- Moving your website to a new domain or changing the URL structure.
- Updating product or category URLs in an online store.
- Merging duplicate pages or posts into one.
Best Ways to Set Up Bulk 301 Redirects in WordPress
- Using a WordPress Plugin
- Editing the .htaccess File
- Using wp-config.php
1. Using a WordPress Plugin
Using a plugin is one of the easiest ways to set up bulk 301 redirects in WordPress. It’s beginner-friendly and lets you manage redirects directly from your dashboard without needing technical skills.
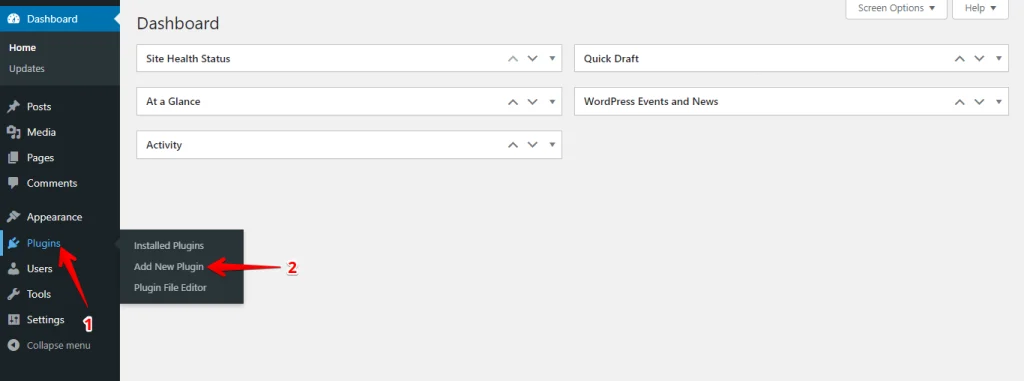
Go to your WordPress dashboard and navigate to Plugins > Add New.
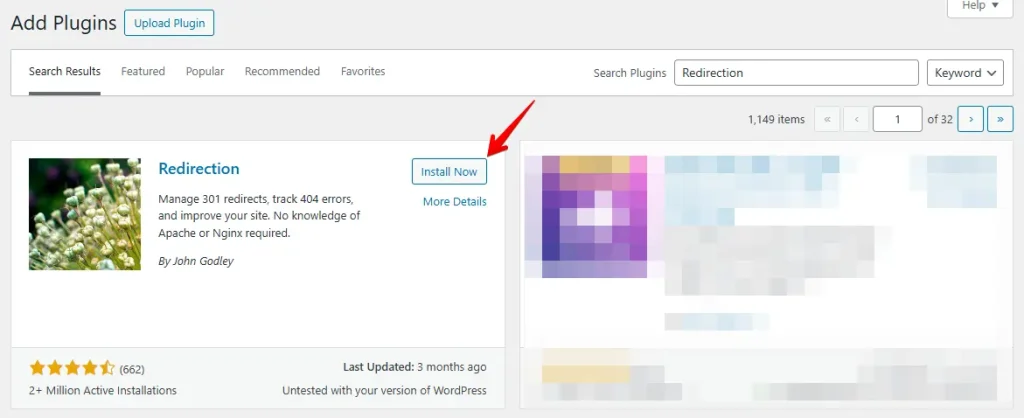
Search for “Redirection” in the search bar, then click Install Now, followed by Activate.
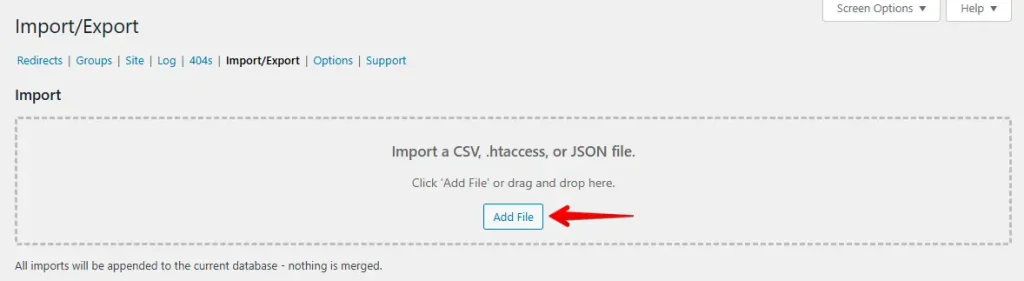
Open the Import/Export section in the Redirection plugin.
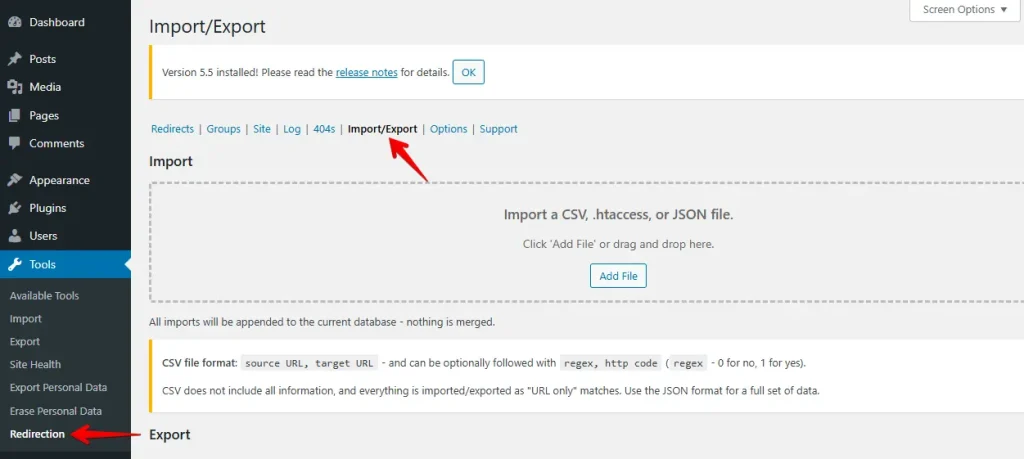
Prepare a CSV file with two columns: one for the old and one for the new URLs. For example:
/old-page, /new-page
/old-product, /new-product 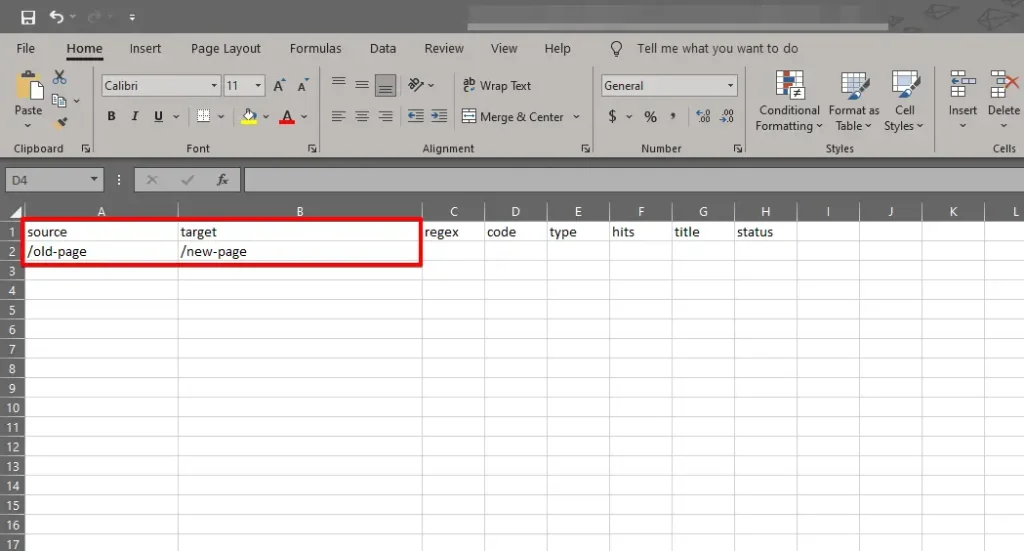
Upload your CSV file to the plugin, which will automatically create all the redirects for you.
After importing, test a few old URLs to ensure they redirect correctly. Plugins like Redirection simplify bulk redirects and make ongoing management easy.
2. Editing the .htaccess File
If you’re comfortable with basic coding, editing the .htaccess file quickly and efficiently sets up bulk 301 redirects. This server file manages how your site handles requests, making it ideal for implementing redirects.
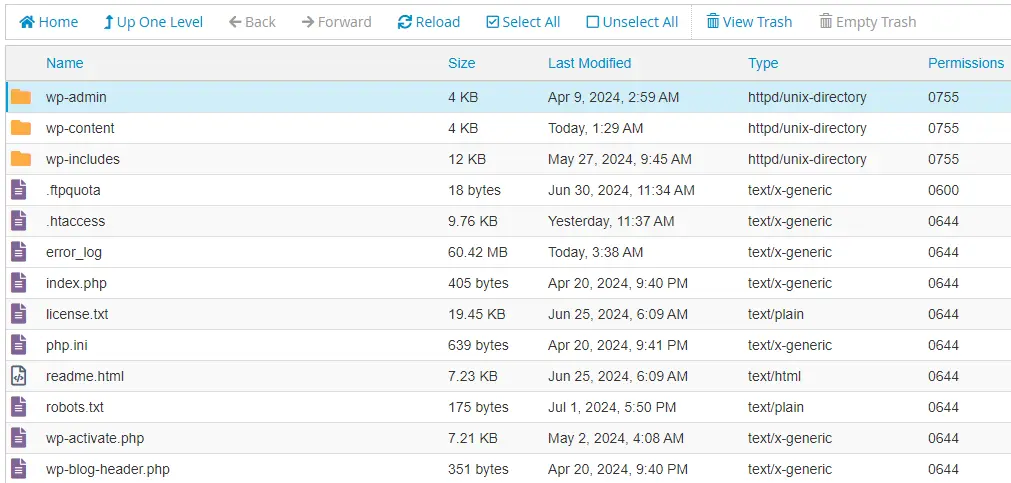
Use an FTP client or your hosting provider’s file manager to locate the .htaccess file in your WordPress root directory.
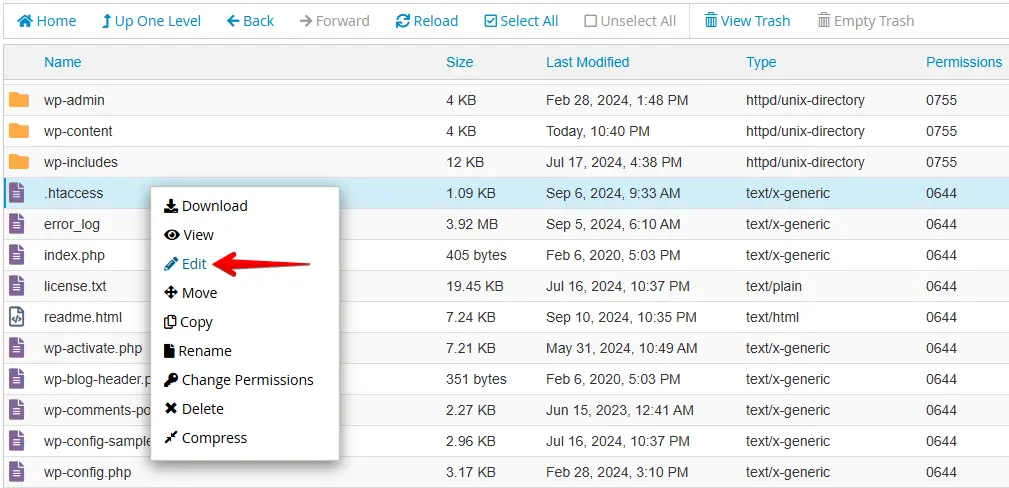
Right-click on the .htaccess file and select the Edit option.
Add your redirect rules in this format:
Redirect 301 /old-page /new-page
Redirect 301 /old-category/old-post /new-category/new-post
Each line represents a single redirect, starting with the old URLs and followed by the new URLs. Once you’ve done this, click Save to apply your changes.
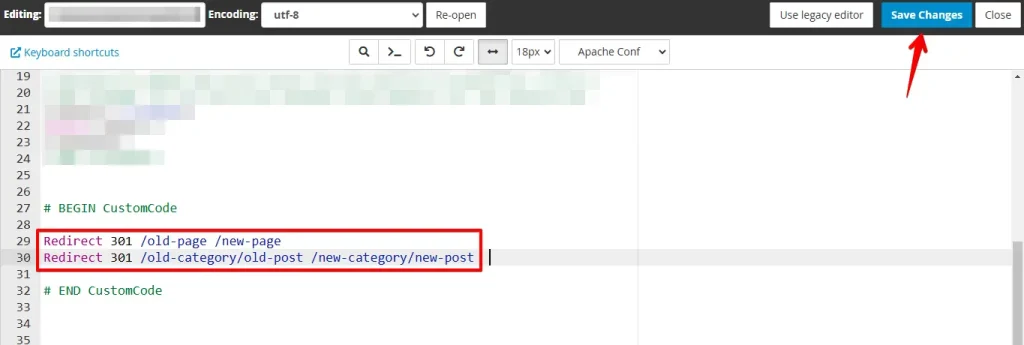
Visit a few old URLs in your browser to confirm they correctly redirect to the new locations.
3. Using wp-config.php
For advanced users, you can set up bulk 301 redirects by editing the wp-config.php file, allowing dynamic redirects, especially for sites with custom logic.
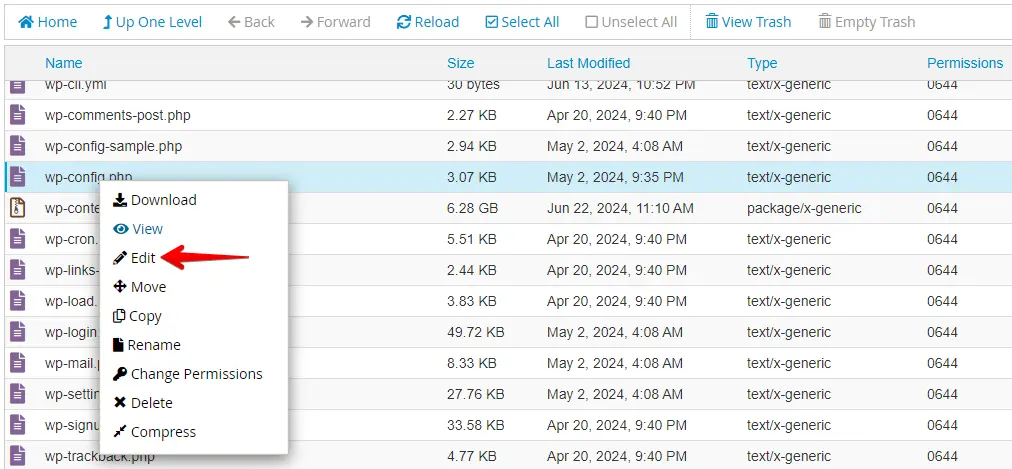
Use an FTP client or your hosting provider’s file manager to locate the wp-config.php file in your WordPress root directory. Right-click on the file and select the Edit option.
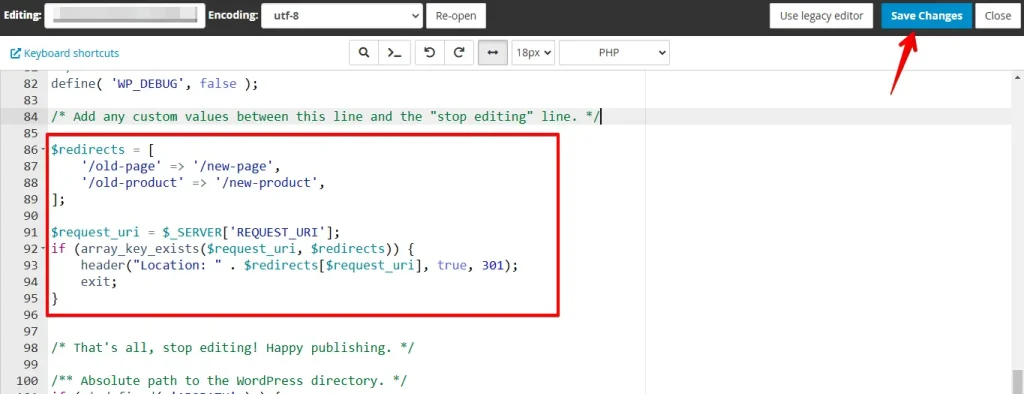
After that, insert the following code before the line /* That's all, stop editing! Happy publishing. */:
$redirects = [
    '/old-page' => '/new-page',
    '/old-product' => '/new-product',
];

$request_uri = $_SERVER['REQUEST_URI'];
if (array_key_exists($request_uri, $redirects)) {
    header("Location: " . $redirects[$request_uri], true, 301);
    exit;
}
This code creates a list of redirects, mapping each old URL to its new URL. After adding the code, save the changes.
Visit a few old URLs in your browser to ensure they correctly redirect to the new URLs.
Conclusion
Setting up bulk 301 redirects in WordPress is essential for maintaining your site’s SEO and user experience. Whether you use a plugin, edit the .htaccess file, or modify the wp-config.php file, each method offers a different approach.
Plugins are easy and user-friendly, while editing the .htaccess file is faster for those comfortable with code. Advanced users can use the wp-config.php file for more dynamic redirects. No matter which method you choose, proper redirects will help prevent broken links and maintain your search engine rankings.