In today’s dynamic online landscape, website owners often contemplate moving from one hosting provider to another. If you’re currently hosted on A2 Hosting and considering shifting to WordPress.com, you’ve come to the right place. Our comprehensive guide will walk you through the intricate process, ensuring a seamless transition without compromising your website’s integrity.
Contents
What factors justify migrating from A2 Hosting to WordPress.com?
- Global Accessibility: Reach a worldwide audience with WordPress.com’s global infrastructure, ensuring fast and reliable access for users across the globe.
- Mobile Optimization: Enjoy responsive design that adapts your site for diverse devices, ensuring a seamless experience for mobile users.
- User-Friendly Platform: WordPress.com provides a streamlined interface for convenient website administration.
- Automated Backups and Security: Enjoy automated backups and robust security measures on the WordPress.com platform.
- Integrated SEO Tools: Effortlessly enhance your site’s search engine optimization with built-in SEO tools.
Getting Ready for Website Migration
Before making any alterations, creating a backup of your current A2 Hosting content is essential. This step ensures the protection of your data during the migration process. Here’s a guide on how to accomplish this:
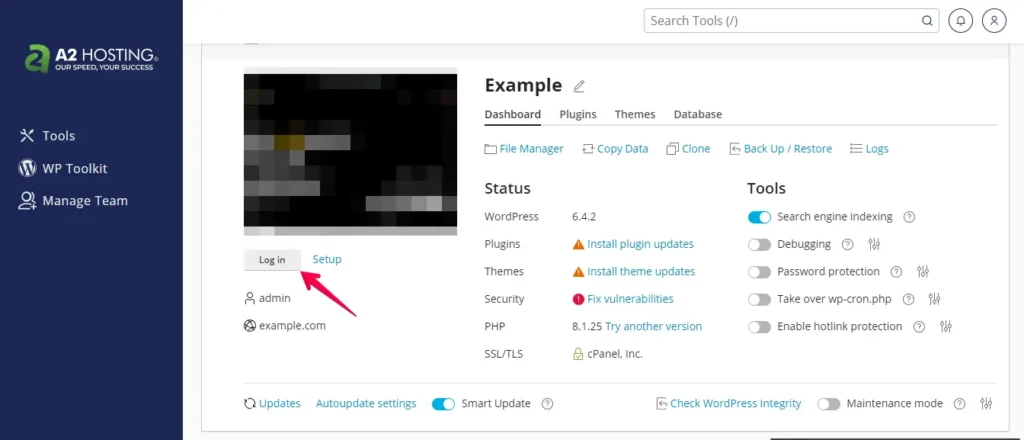
- Log in to your A2 Hosting WordPress website using your username and password, or access it through the A2 Hosting admin panel.
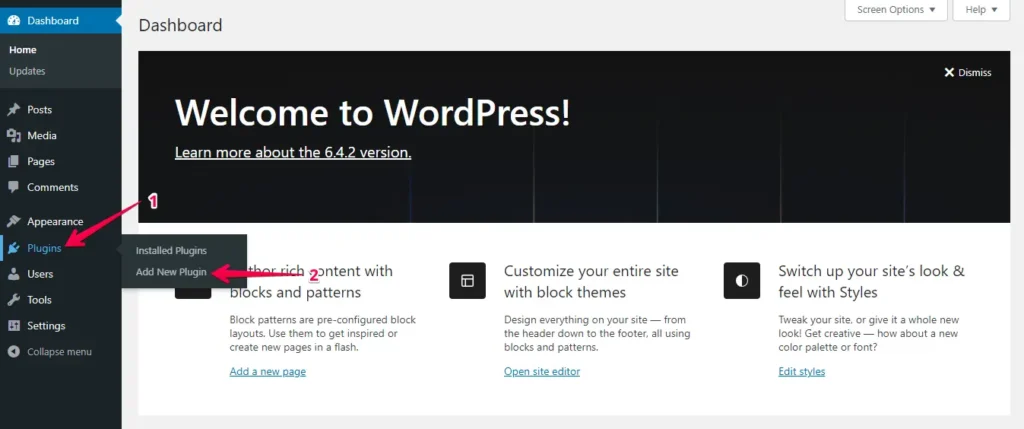
- Go to the “Plugins” section in the left menu and click on the “Add New” button.
- Click the “Upload Plugin” button, and then “Choose File” to upload the WP Staging | Pro plugin.

- Press the ‘Install Now’ button.

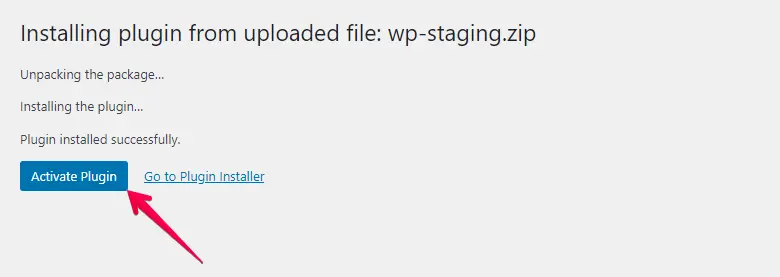
- Once the plugin is installed, proceed to activate it.
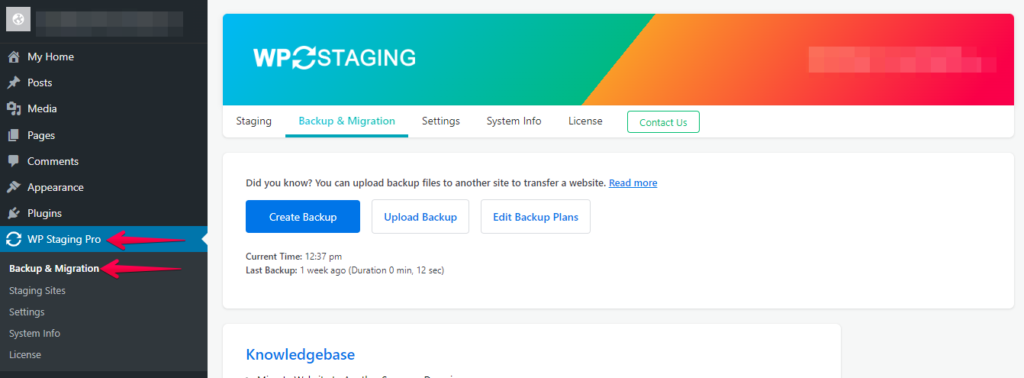
- Go to the left-hand side menu, find ‘WP Staging | Pro,’ and click on the ‘Backup & Migration’ option.
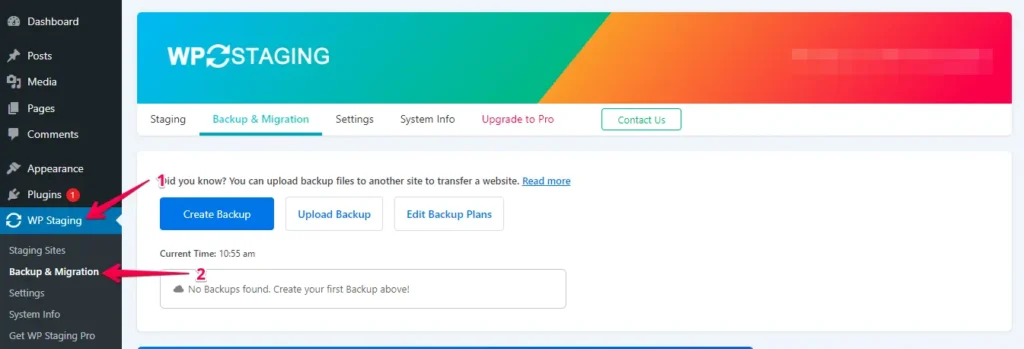
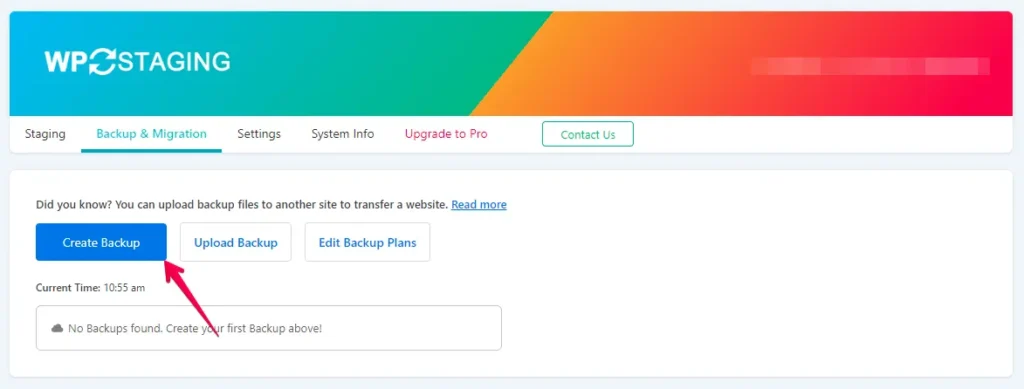
- Suppose you don’t have an existing backup, no need to worry. Just click the “Create Backup” button to generate a new one.
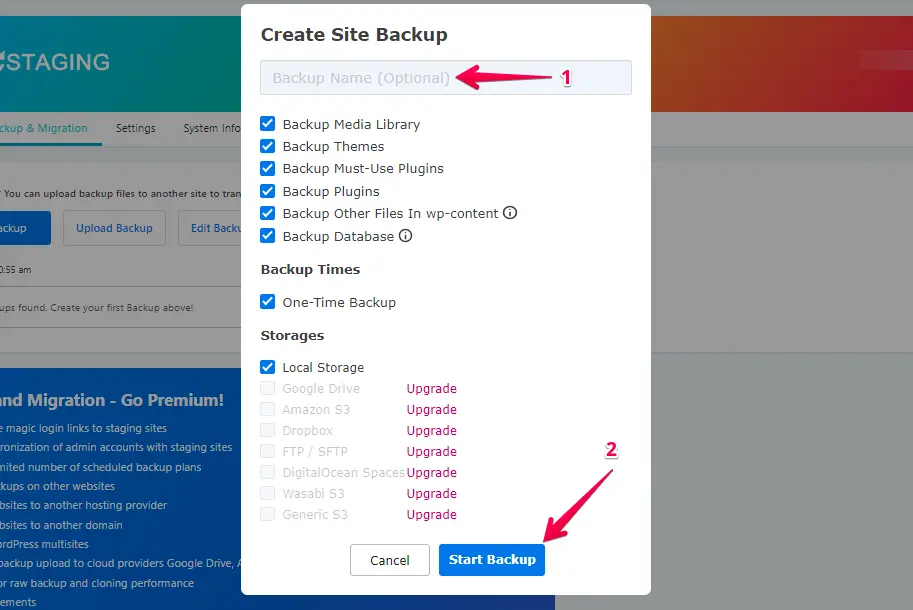
- Provide a name for your backup, and then click the “Start Backup” button.
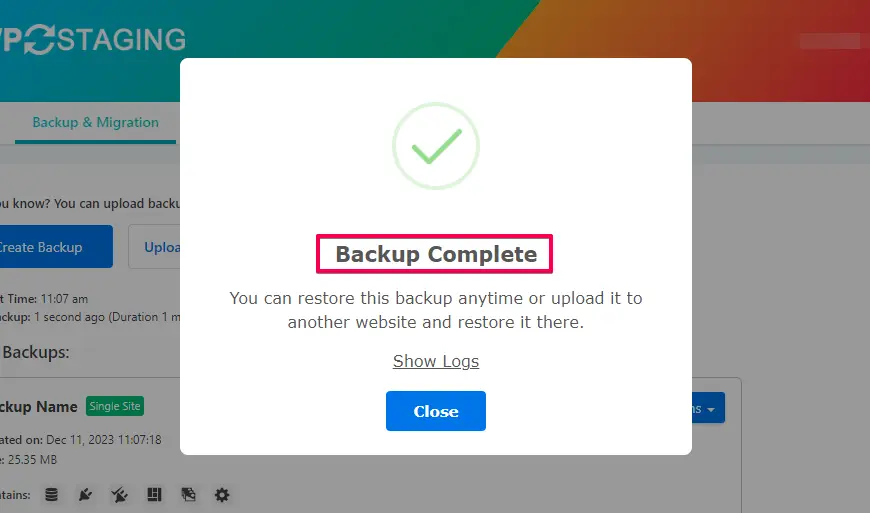
- The backup has been successfully finished.
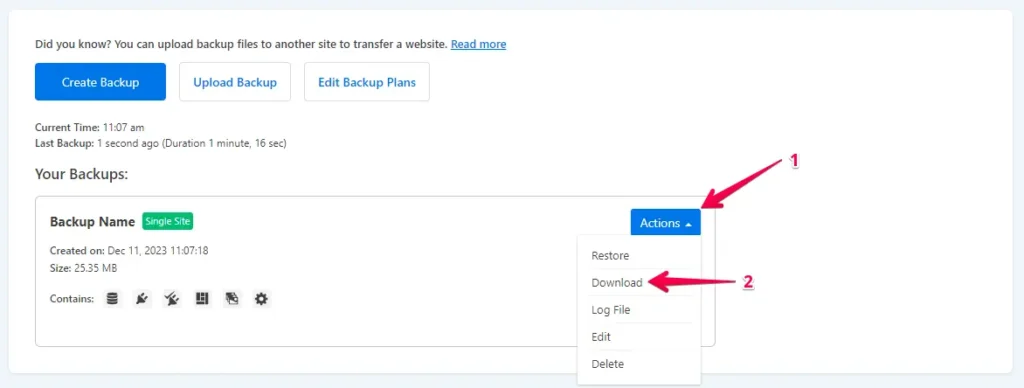
- Once the backup process is complete, you’ll typically find a “Download” option under the “Action” button. Be sure to save this backup file securely on your computer.
The Migration Process
- Log in to Your WordPress.com Account
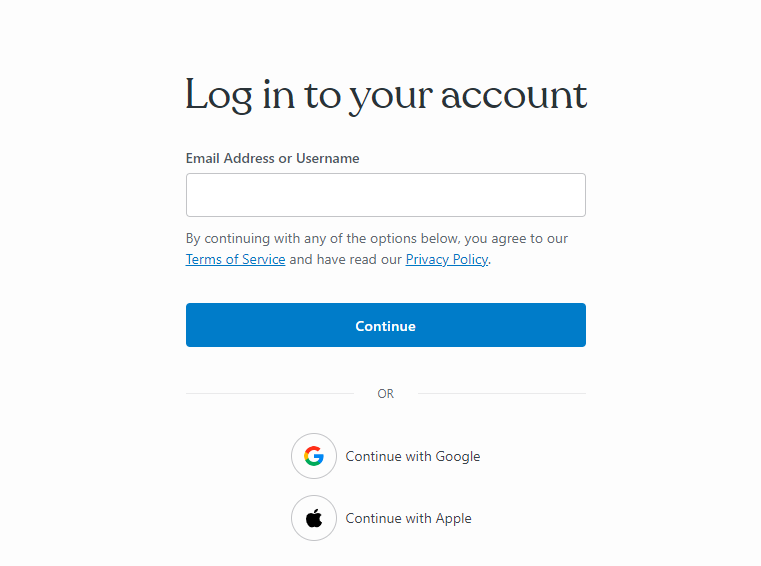
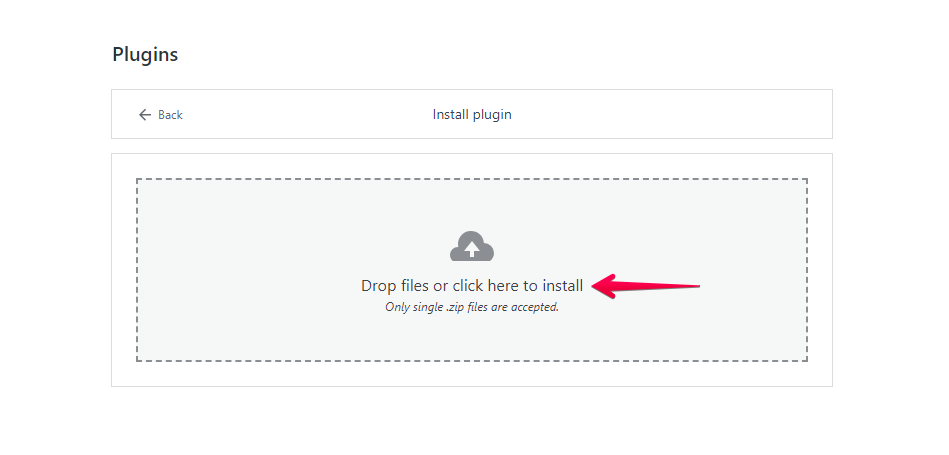
- Go to the “Plugins” section in the WordPress dashboard and click the “Upload” button.

- Afterward, go ahead and upload the WP Staging Pro zip file wp-staging-pro.zip.
- Once installed and activated, go to the “Backup & Migration” section in the WordPress dashboard under “WP Staging Pro.”
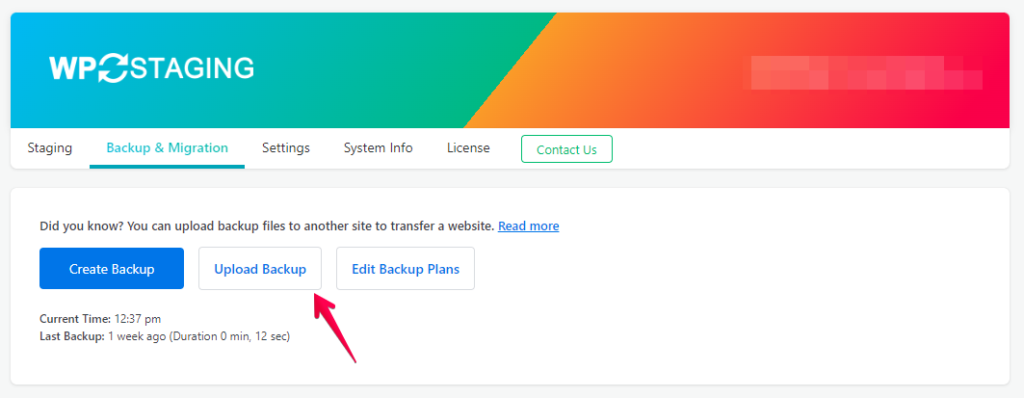
- After that, press the ‘Upload Backup’ button.
- Now, upload the backup file exported from your A2 Hosting website.
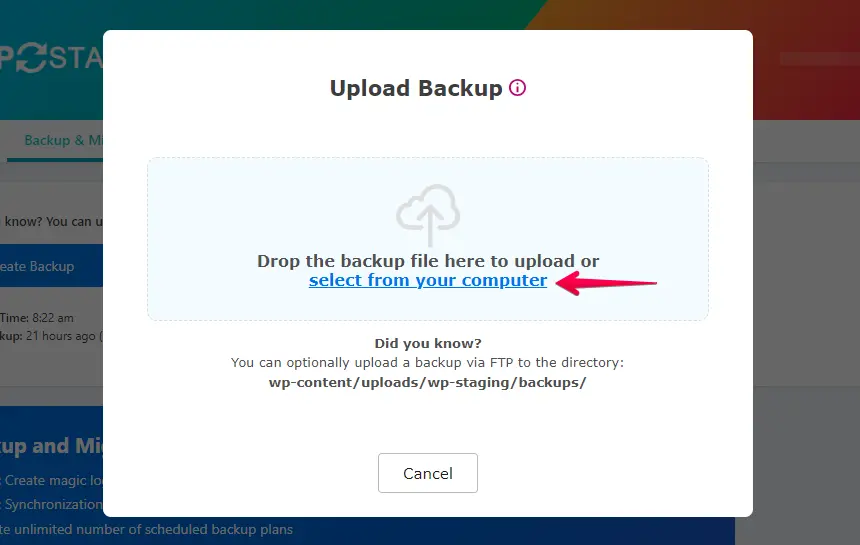
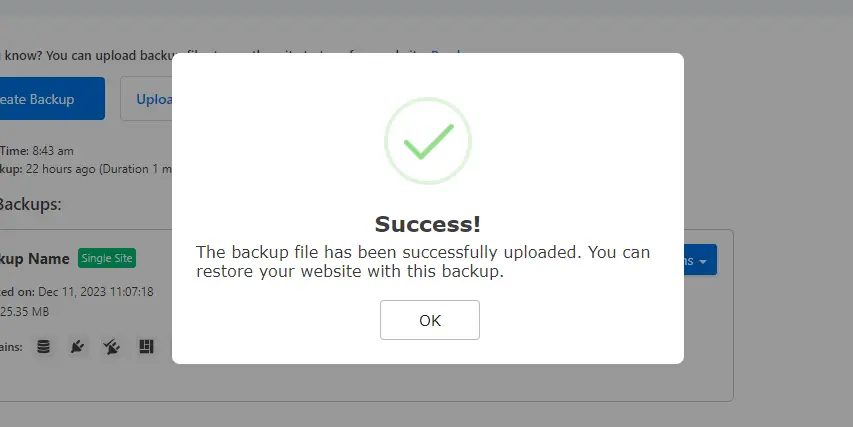
- The backup has been successfully uploaded.
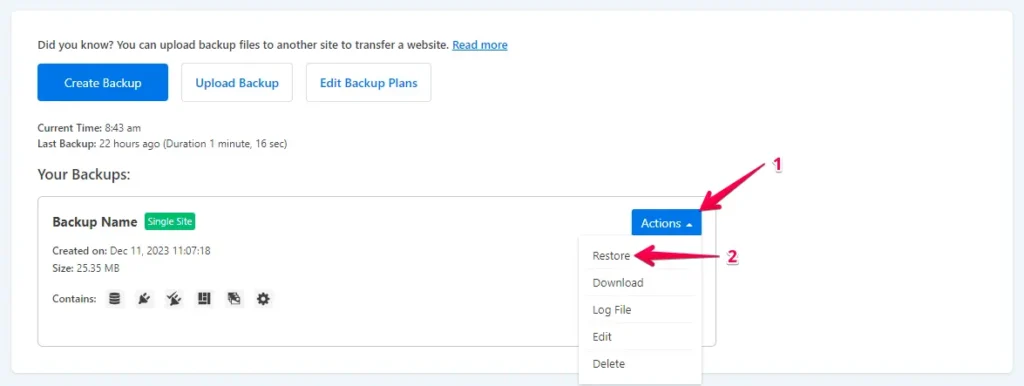
- Then, click the ‘Action’ button and choose the ‘Restore’ option.
- Click the ‘Next’ button.
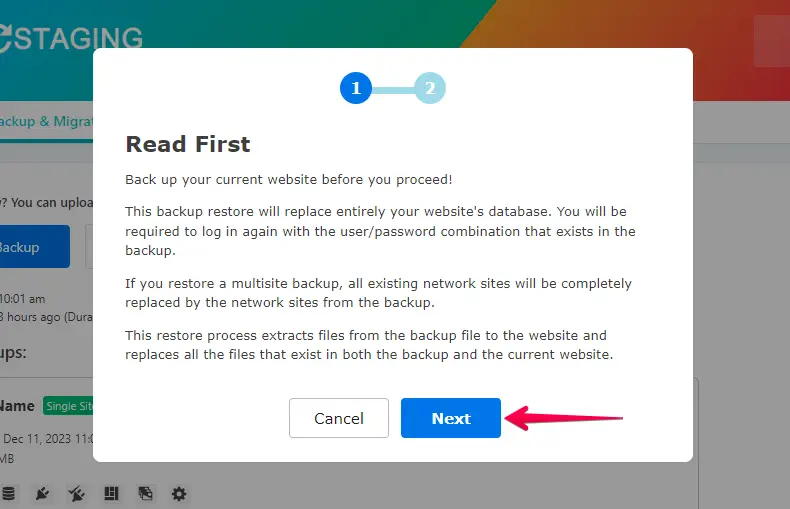
- Afterward, click the ‘Restore’ button.
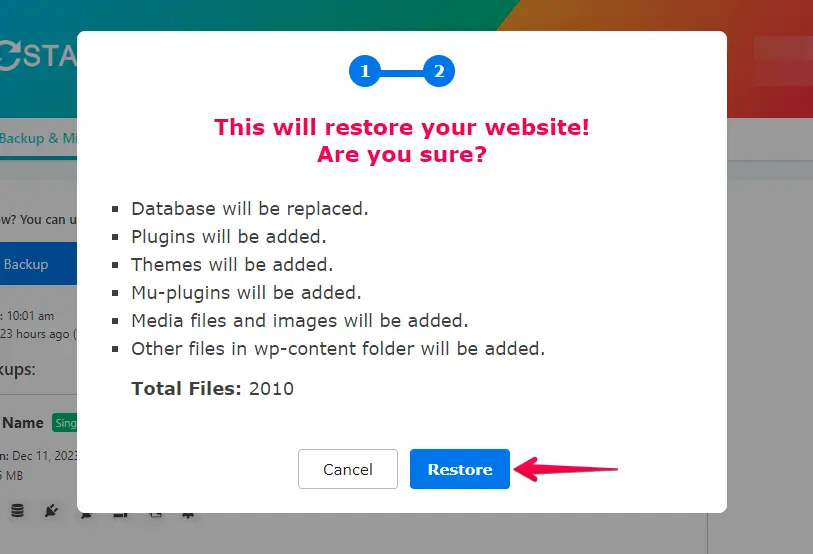
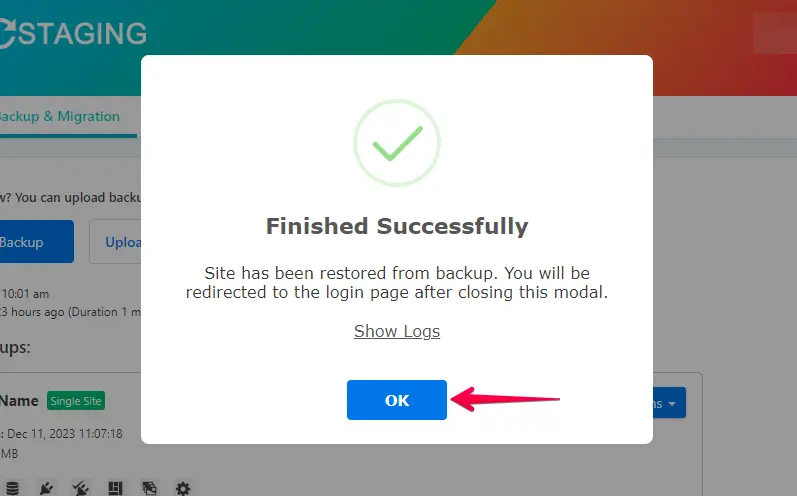
- The backup has been successfully restored.
- Click the “OK” button.
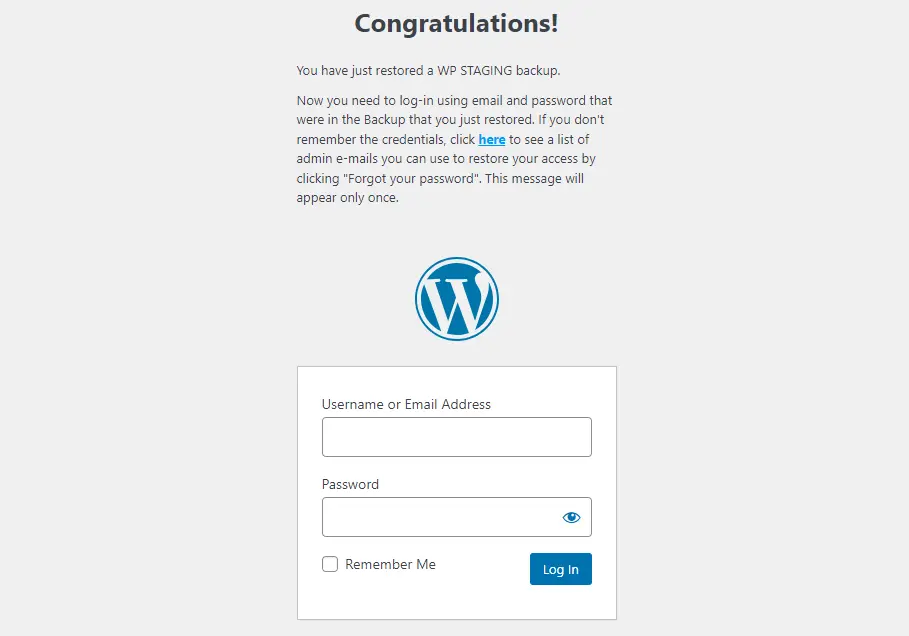
- Re-login to your WordPress website.
Conduct a comprehensive website test on WordPress.com to verify the proper functionality of all components and review content for accuracy and formatting.
Conclusion
Migrating from A2 Hosting to WordPress.com can be transformative, unlocking new possibilities for your online presence. By following this comprehensive guide, you’re ensuring a smooth transition and setting the stage for enhanced performance and scalability on WordPress.com.
