If your WordPress site lacks an SSL certificate, all visitors will get the message “site not secure.”
At worst, your visitors will immediately leave your website at this point and look somewhere else. In this article, we’re moving your WordPress website from HTTP to HTTPS to get better search results and protect your visitors’ data from being sniffed out by attackers.
Contents
- Video: How to Add SSL to WordPress
- Definition of the Terms HTTP, SSL, and HTTPS
- Why You Need an SSL Certificate
- Check Whether an SSL Certificate is Available
- How to Add SSL to WordPress
- Fixing Mixed Content Errors in the WordPress Database
- Fixing Mixed Content Errors Regarding Themes and Plugins
- Create a Secure Troubleshooting Environment with WP STAGING
- Make Sure There Are No More Errors
- Related Articles
Video: How to Add SSL to WordPress
If you prefer watching a video instead of reading this article on how to add SSL to WordPress, you can watch this entire article as a video:
When visiting your WordPress website, visitors share various data with you, whether they are making a purchase and providing payment details or just logging into your website. To protect the transmitted data, a secure connection must be established between your website’s server and the visitor’s browser.
This is where SSL and HTTPS come into play.
Definition of the Terms HTTP, SSL, and HTTPS
Since many still find it difficult to differentiate between HTTP, HTTPS, and SSL, I’d like to briefly explain the terms before activating and installing the SSL certificate.
You can directly jump to the next chapter if you are familiar with it.
HTTP stands for Hypertext Transfer Protocol, a protocol for transferring data. It is mainly used to load websites from the World Wide Web, such as your WordPress website, into a visitor’s web browser.
SSL stands for Secure Sockets Layer; it’s an encryption protocol for securing data transmission on the Internet. A unique SSL certificate can identify each website.
HTTPS stands for Hypertext Transfer Protocol Secure and combines the two previous protocols. Using the SSL certificate, a protected identification and authentication of the two communication partners, A. your WordPress website and B. the visitor’s browser, takes place in the HTTPS protocol. The protocol then exchanges a session key. HTTPS then uses the key to encrypt the user data. This way, your WordPress site and the visitor’s browser can securely transfer data.
Why You Need an SSL Certificate
You should invest your time in activating and using an SSL certificate for two simple reasons.
- Protect your visitors’ data from theft, for which you can be held responsible depending on the local legal situation.
- Search Engine Optimization, also known as SEO, is the process of providing the most severe and suitable search results possible. Since Google wants to provide the most relevant and suitable search results, it ranks websites without an SSL certificate significantly lower.
Okay, enough theoretical background knowledge, let’s start with the implementation.
Check Whether an SSL Certificate is Available
The first step is to determine whether an SSL certificate is available for your website.
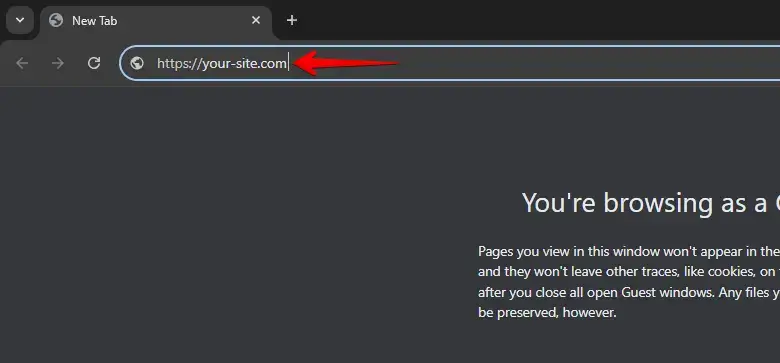
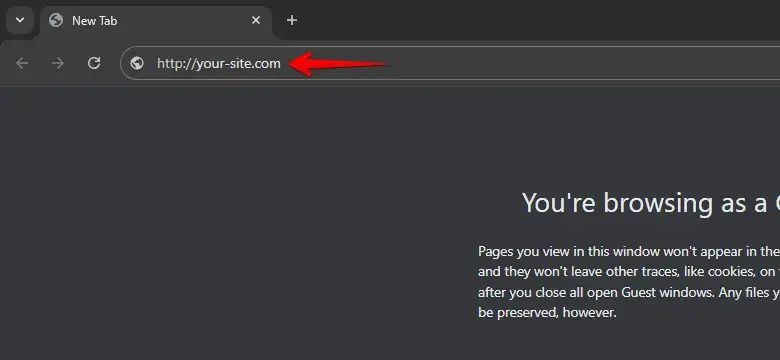
A quick way to check this is to enter https://your-site.com instead of the original HTTP URL, http://your-site.com. You should see the padlock to the left of the URL bar, showing more information about the certificate when you click on it.
An SSL Certificate is Available
If this process works, you already have an active SSL certificate, but your WordPress site does not use it. It only takes effect if someone explicitly calls your page via the https: // link.
In the next step, you will learn how to correctly set up the SSL certificate on your WordPress site.
An SSL Certificate is not available.
If this process did not work, and you still end up on the http:// link and receive the error message “not secure,” there are two steps you can do before setting up WordPress through https:
Step 1: Some hosting providers offer an SSL certificate for your domain, but you must activate it manually first.
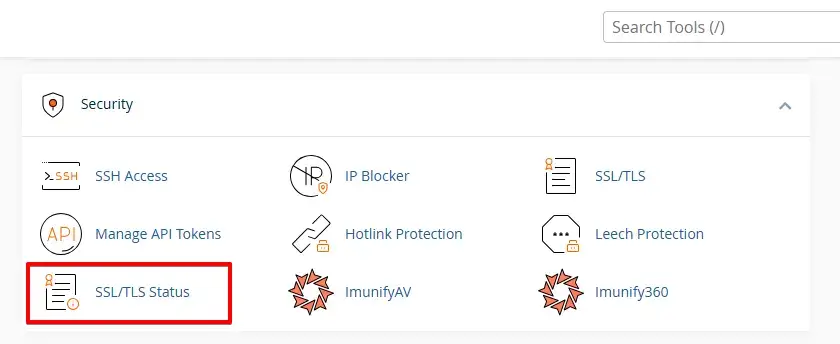
The procedure for activating the SSL certificate differs from provider to provider. First, go to the hosting provider’s dashboard (often cPanel) and search for the SSL item.
Depending on the provider, the Auto SSL option under SSL status can now be run, which checks and activates the SSL certificate.
Other providers support an SSL certificate from the non-profit organization Let’s Encrypt, which provides free SSL certificates.
Search for “Let’s Encrypt.”
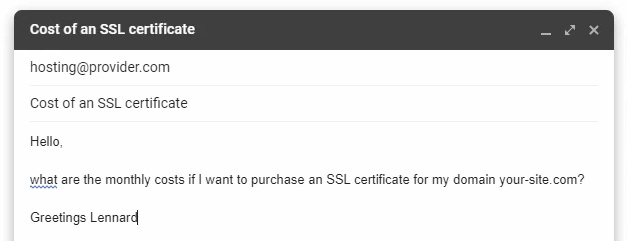
Step 2: If you cannot find the sub-item SSL, your hosting provider does not provide a free SSL certificate.
Contact your hosting provider’s support and inquire about the costs of an SSL certificate. Many hosting providers charge up to $60 annually for an SSL certificate. In this case, decide if a change of provider could make sense.
How to Add SSL to WordPress
Manually setting up the https connection is a permanent and performance-optimized solution. We use the same method at wp-staging.com, so it’s the recommended method instead of using an SSL WordPress plugin. However, in this article, I will also show you a plugin solution if you still want to give it a try.
First, go to Settings > General. From there, update your WordPress and site URL address fields by replacing http:// with https://.
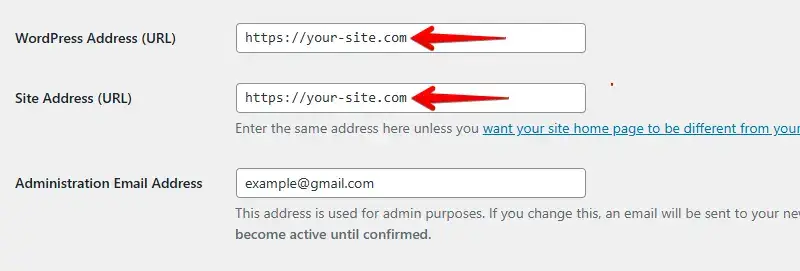
Once you’ve saved the settings, WordPress might log you out and ask you to log in again.
Adjustments in the .htaccess file
Next, customize the .htaccess file to set up a rule redirecting all traffic from HTTP to HTTPS. You can access this file via the hosting provider’s dashboard, which is often based on cPanel, or via an FTP tool like FileZilla.
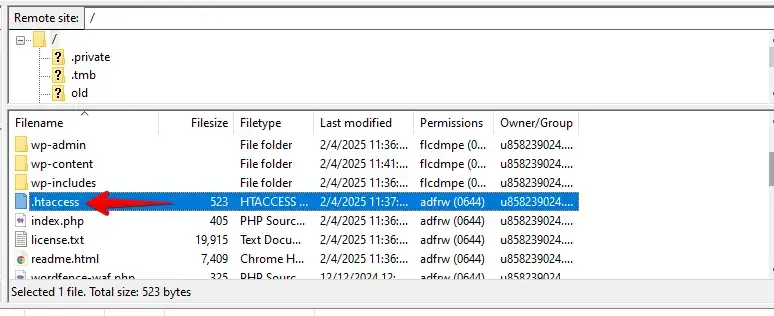
To do this, open the .htaccess file and add the lines of code to it.
<IfModule mod_rewrite.c>
RewriteEngine On
RewriteCond %{HTTPS} off
RewriteRule ^(.*)$ https://%{HTTP_HOST}%{REQUEST_URI} [L,R=301]
</IfModule>
Adjustments in the Nginx.conf file
If you are on Nginx servers, you add this code to your Nginx.conf configuration file:
server {
listen 80;
server_name example.com www.example.com;
return 301 https://example.com$request_uri;
}
Don’t forget to replace https://your-site.com with your domain name.
Adjustments in the wp-config.php file
If you want to enforce SSL and HTTPS in your WordPress administration area or your login pages, you must configure SSL in the wp-config.php file.
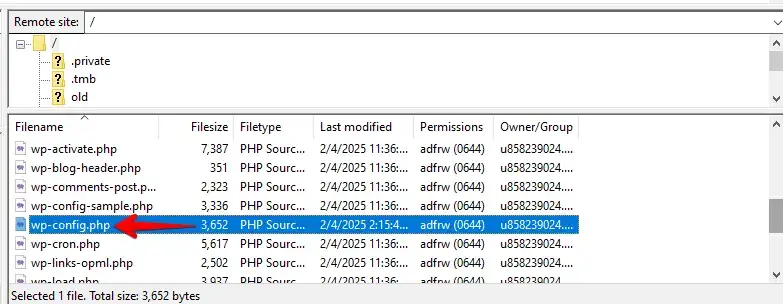
Just add the following code above the line that says “That’s all, stop editing!” in your wp-config.php file:
define('FORCE_SSL_ADMIN', true);Your website is now fully set up to use SSL / HTTPS.
Fixing Mixed Content Errors in the WordPress Database
Although we have achieved our intermediate goal by setting up the SSL certificate and routing all traffic through HTTPS, so-called mixed content errors may occur on your WordPress website.
Sources such as images, scripts, or style sheets still loaded from http are causing these mixed content errors.
If this is the case, no secure padlock symbol is displayed in your website’s address bar, and the browser automatically blocks insecure scripts and resources, which can make your website inaccessible. Therefore, it shows a padlock symbol with a warning.
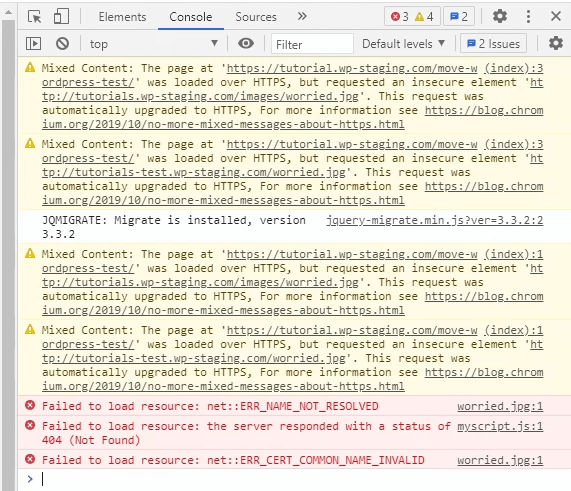
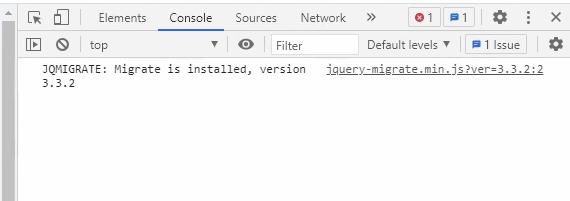
Google Developer Tools
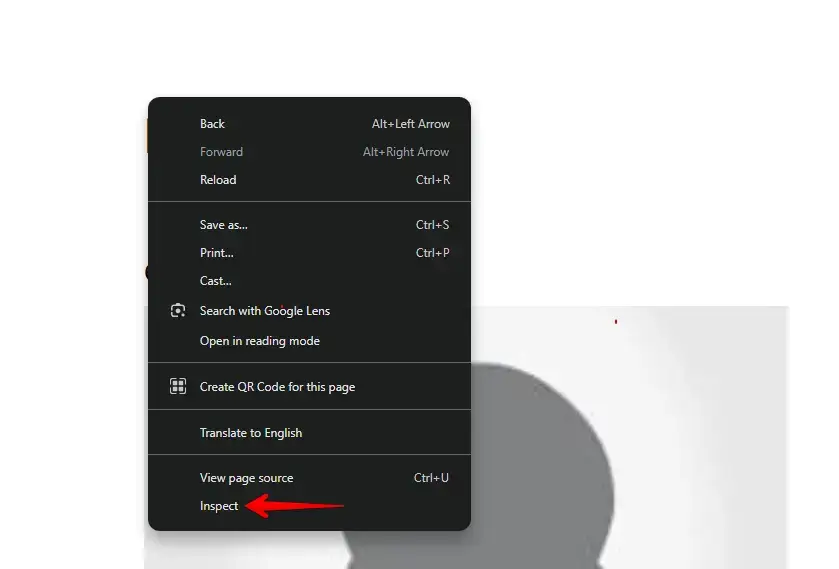
You can use the developer tools to determine which content is still provided via the insecure http protocol. You can access these tools in Chrome by pressing F12 or right-clicking and selecting “Inspect.” Then, call up the “Console” tab in the upper menu. The Console tab will display the mixed content errors as a warning.
As mentioned, most of these error messages are based on images, iframes, and image galleries. However, you may also get error messages about scripts and style sheets for which WordPress plugins and themes are responsible.
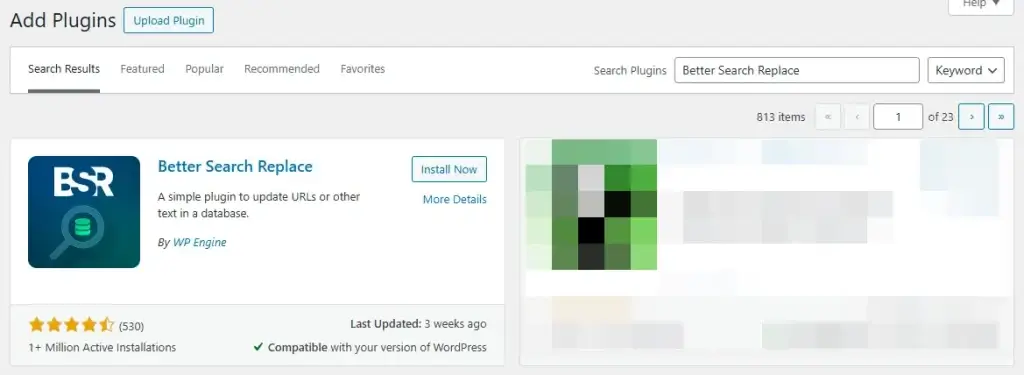
Better Search Replace Plugin
You can fix most of these errors through the WordPress database. To do this, you’ll need to find all the mentions of your old website URL that started with http in the database and replace them with your new website URL that starts with https.
The simplest tool for replacing all these strings is the Better Search Replace plugin. Open the WordPress sidebar menu, click on Plugins, and Add New.
After activation, navigate to the Tools tab and select Better Search Replace.
In the Search field, enter your old website URL, including http://. In the Replace field, enter your new website URL with https://.
Below, you’ll see a list of your WordPress database tables. Please select all of them to ensure a complete update.
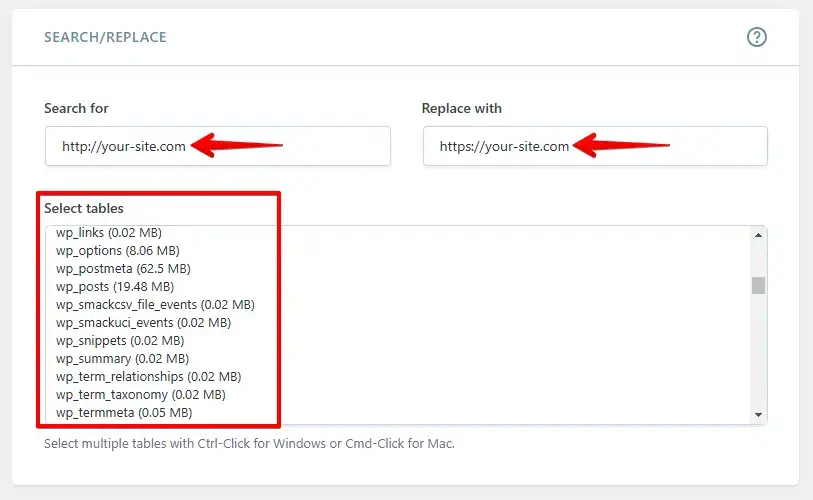
The last step is to uncheck the box next to “Run as dry run?” option and then click the “Run Search / Replace” button.

The plugin scans your database for http:// URLs and replaces them with https://. Processing time depends on database size. Once complete, mixed content errors should be resolved.
Fixing Mixed Content Errors Regarding Themes and Plugins
If you find other errors in the developer tools’ console at this point, it indicates that these mixed content errors are in the WordPress theme or plugin files, usually as hardcoded strings, and could not be replaced by the search & replace plugin in the database.

It’s worth noting that a decent WordPress theme or plugin that follows WordPress coding standards usually won’t cause such problems, so if you still get such mixed content errors, consider if you did some manual changes in the code. If that’s the case, you need to get into this and change all occurrences of http:// to https:// in the code base of the specific plugin or theme file.
Create a Secure Troubleshooting Environment with WP STAGING
To solve the remaining errors without breaking anything on your production site and test if everything works, look at the free plugin WP STAGING, which can create a copy of your website for development purposes.
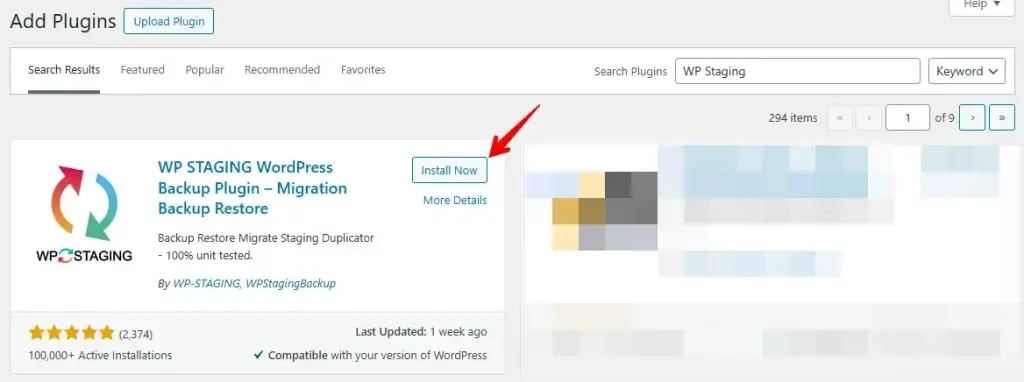
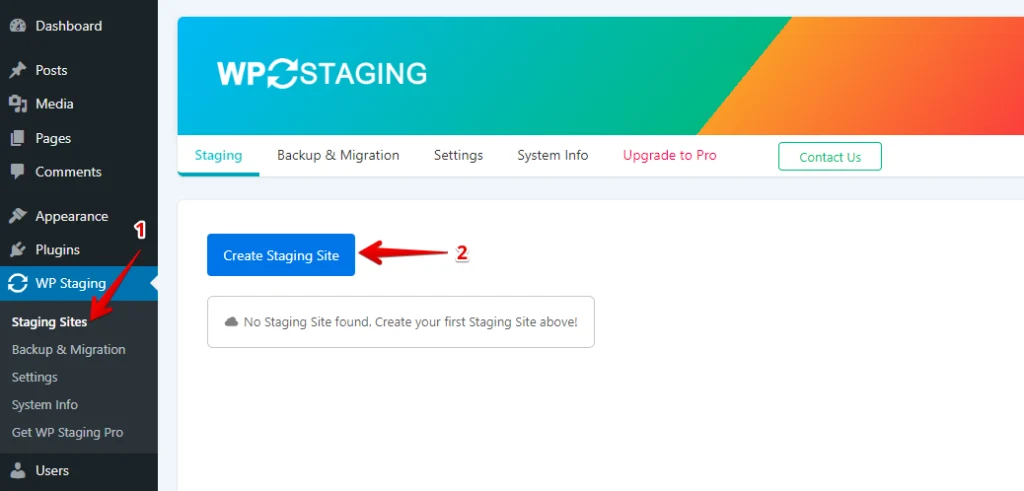
Install and activate the plugin from the repository. In WP Staging, go to Staging Sites and click Create Staging Site.
Next, enter the name of your staging site and skip any tables or files you don’t want. Check Advanced Settings for extra tweaks, then click “Start Cloning” to finish.
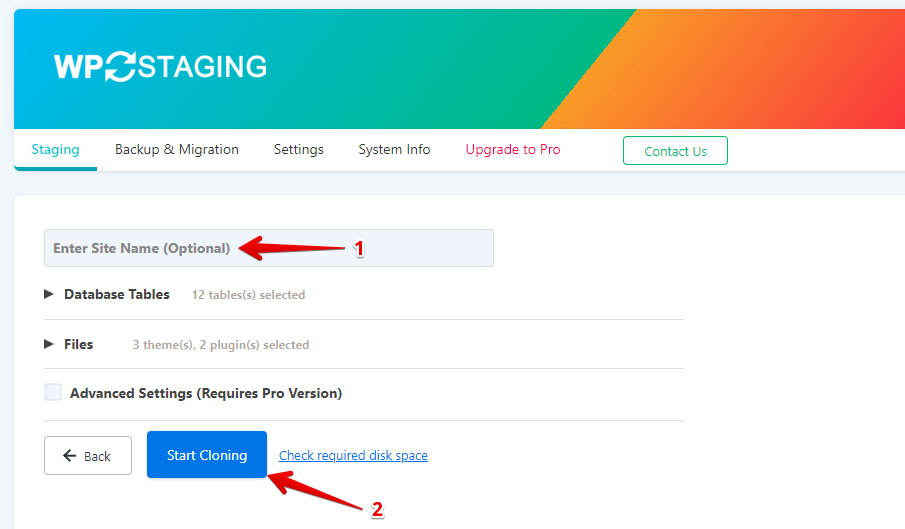
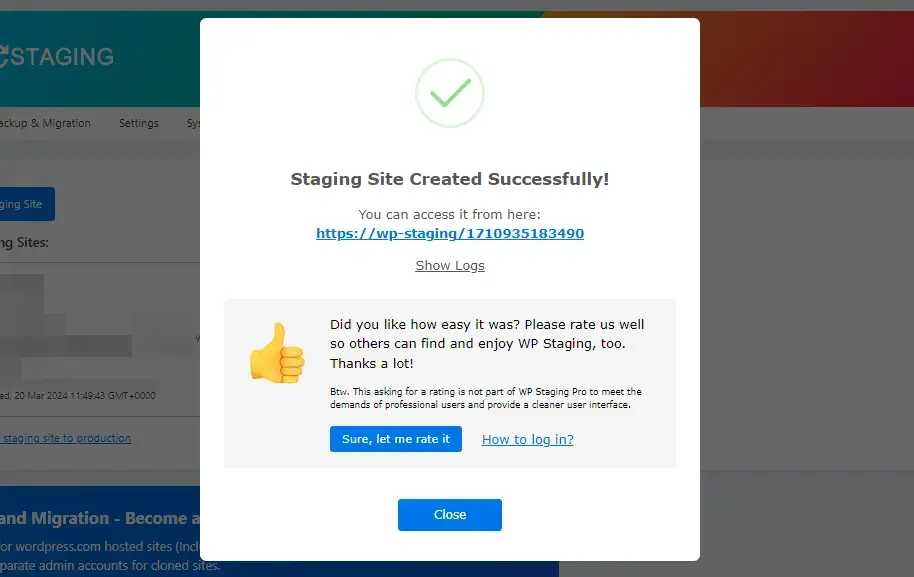
Finally, a pop-up will appear, letting you know your staging site is ready to use.
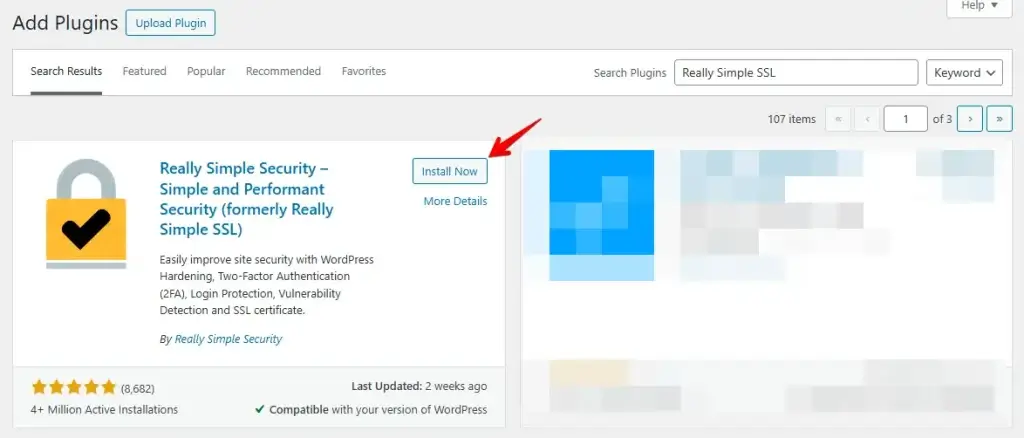
Return to your production site, then install and activate the Really Simple SSL plugin from the repository.
After activation, go to Settings > SSL. The plugin automatically recognizes your https connection and fixes mixed content errors. The plug-in uses the output buffer technique. This technique can negatively affect the performance and speed of your WordPress site, as it replaces the HTTP content when your site is loaded. This effect only occurs when the first page loads and should be minimal if you use a caching plugin.
While the plugin says you can disable it without problems, that statement is not 100% accurate. You have to leave the plugin active at all times, as deactivating it will lead to errors with mixed content again. So, this is only a temporary solution.
Make Sure There Are No More Errors
Return to your staging site. Try to fix the problem by viewing and editing the error messages from the Google developer tools console. If this does not work, change the WordPress theme and check whether the error message still appears. If that doesn’t help, deactivate all plugins on the staging site, activate them plugin by plugin, and check when the error message reappears.
After you have fixed the errors, repeat the same steps on your production site.
Now you can deactivate the “Really Simple SSL” plug-in and check in the console if the mixed-content errors are gone.
Enough troubleshooting for today.
Congratulations, you have successfully moved your WordPress site from the HTTP to the HTTPS protocol!