Are you ready to take your WordPress website to the next level? Migrating from WordPress.com to Hostinger can be a game-changer. It is a crucial step for those seeking more control, better performance, and more excellent customization options. This comprehensive guide will walk you through the migration process, ensuring a smooth transition without losing valuable data or SEO rankings.
Say goodbye to the constraints of WordPress.com and embrace the limitless potential of Hostinger. This article will guide you through migrating from WordPress.com to Hostinger like a pro, using "WP Staging" to create a backup of your WordPress.com site and the "WP Staging" plugin to restore it on the Hostinger platform.
Understanding WP Staging
WP Staging is a powerful WordPress plugin that allows you to create a backup and staging environment for your website. You can make changes and test updates without affecting your live site. Familiarize yourself with this invaluable tool.
Preparing for Migration
Upload WP Staging | Pro Plugin
The first step in the migration process is to upload the plugin to your "WordPress.com" website, enabling you to create a backup of your "WordPress.com" website. We’ll guide you through this process, ensuring your data and content remain safe throughout the transition.
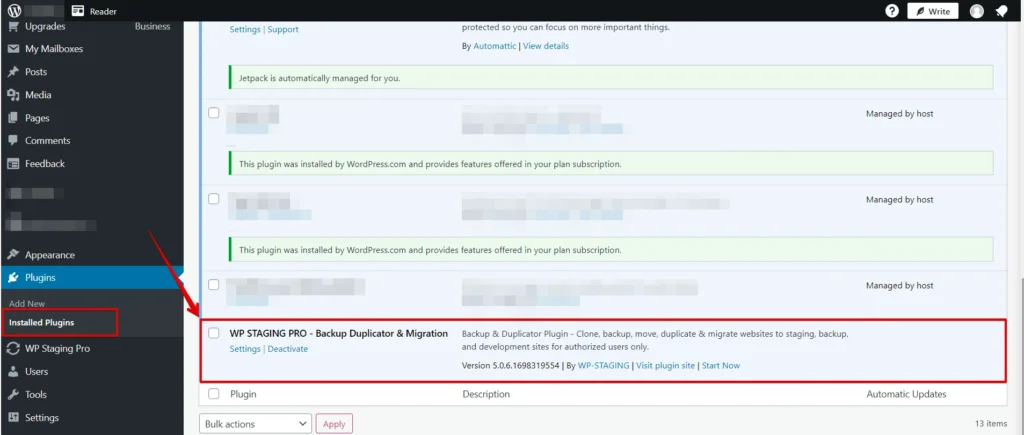
Install WP Staging – To install "WP Staging", access your WordPress.com dashboard, proceed to the "Plugins" section, and then click on "Upload". Go ahead and upload WP Staging | Pro now. Install and activate the "WP Staging" plugin.
Creating a Backup
Learn how to utilize the WPStaging plugin to create a secure website backup. This step is crucial if you need to revert to your original site or experience any issues during migration.
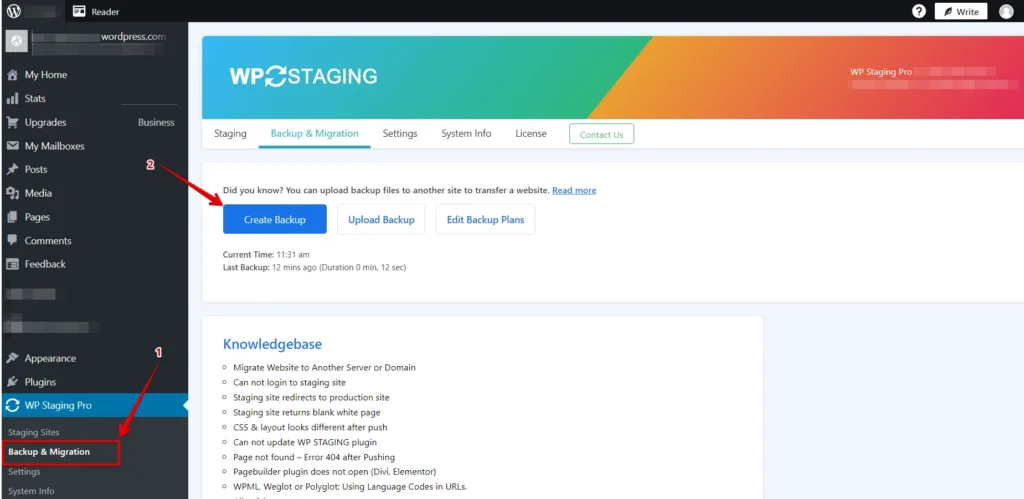
Upon activation, navigate to the "WP Staging Pro" menu, select "Backup & Migration," and proceed to create a backup.
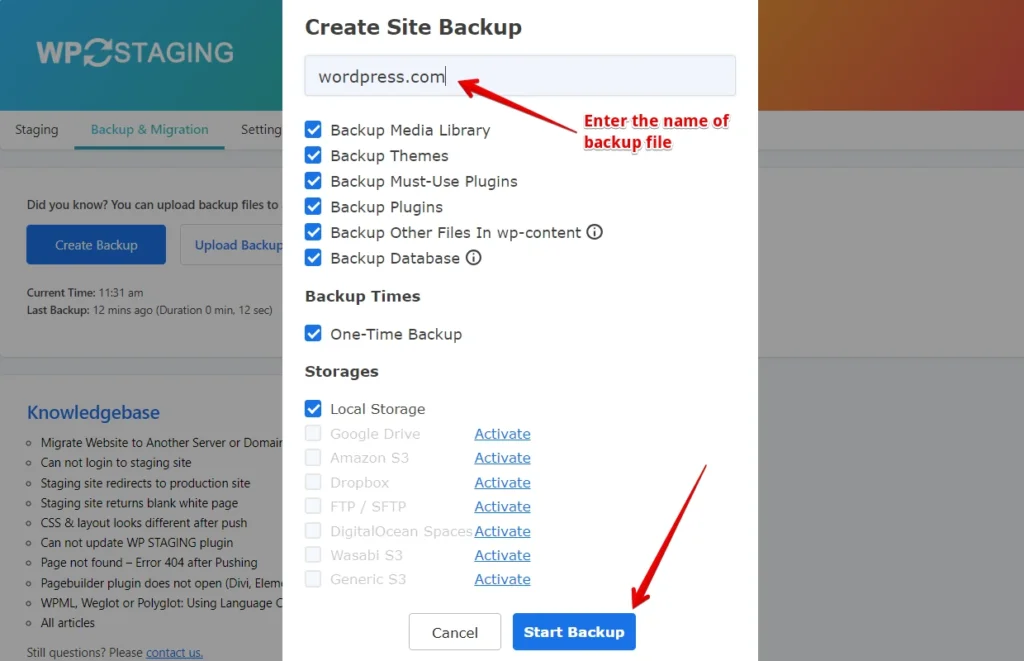
Specify a distinctive name for your backup, and initiate the backup process by clicking on the "Start Backup" button. This personalized naming convention adds an extra layer of uniqueness to your backup and facilitates easy identification when needed.
The backup process has concluded successfully, ensuring the safety and integrity of your website’s data.
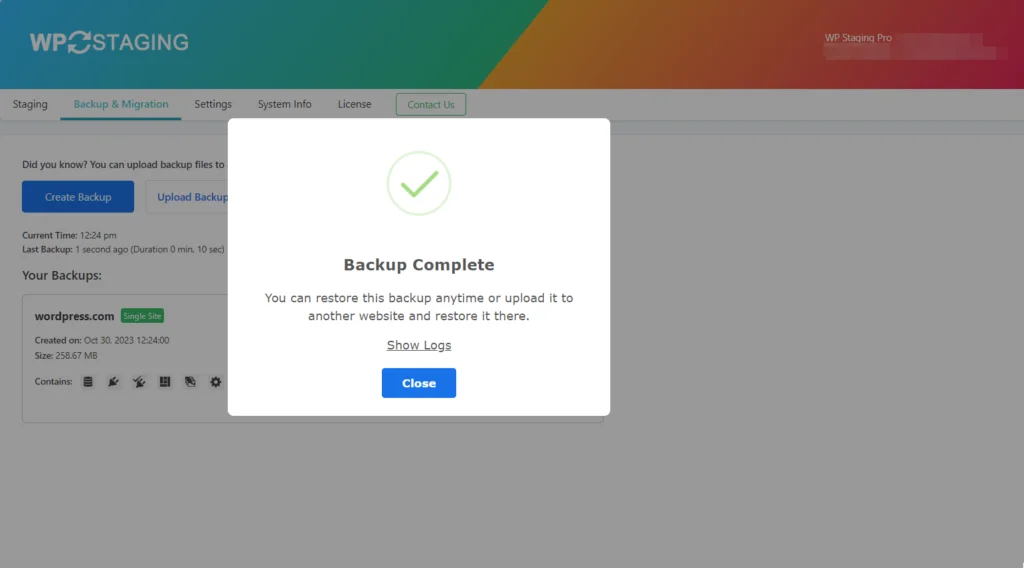
This action guarantees that you possess a safeguarded duplicate of your website, fully prepared for the migration process.
Downloading the Backup File
While migrating your website from WordPress.com to Hostinger, one of the crucial steps is downloading the backup file. This action ensures the safe transfer of your website data from one hosting platform to another.
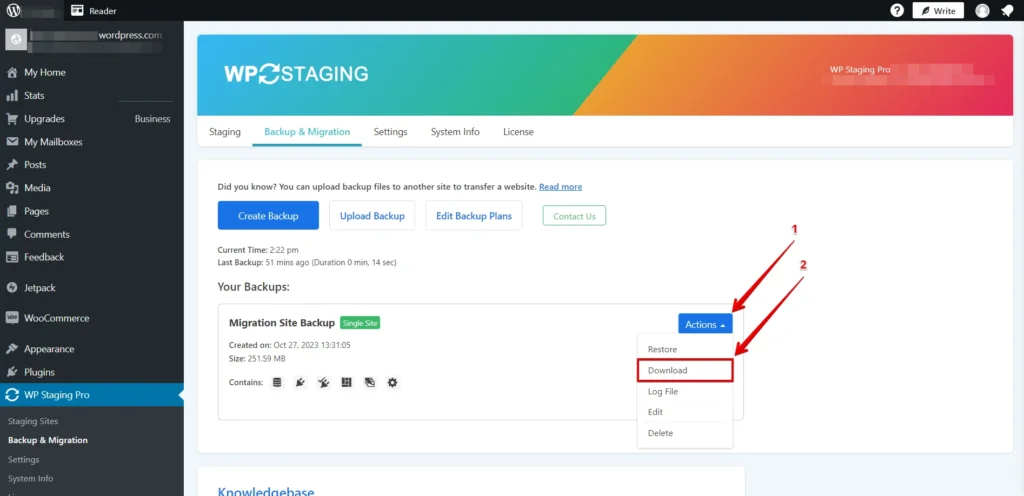
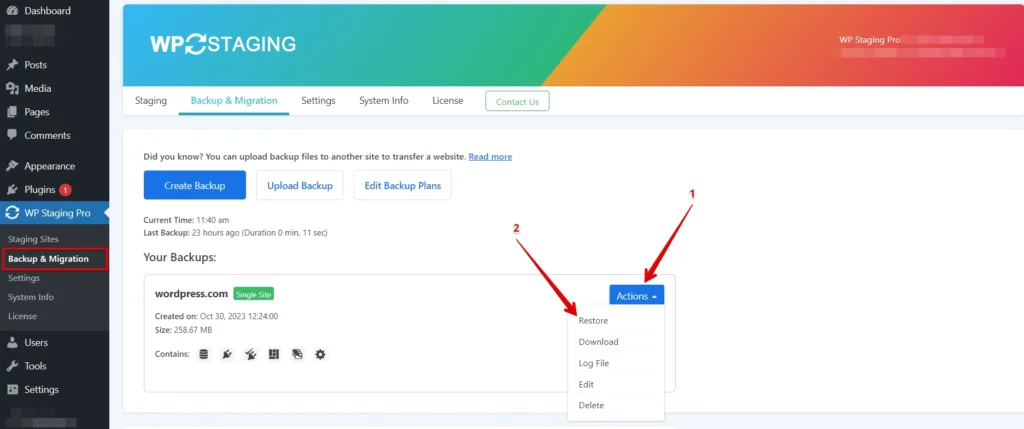
Access Your WordPress.com Dashboard: Log in to your WordPress.com account and navigate to your website’s dashboard. In the dashboard, look for the "WP Staging Pro" option. You can usually find it in the "Backup & Migration" option. Click on it, and then locate the newly generated backup within the "Backup & Migration" list**. Next,** you click the "Action" button to find the download backup option.

Select The Download Option: Click the download button option to download the backup file onto your computer.
It’s strongly advisable to download the backup file to your local computer to ensure uninterrupted access to it. This precaution is vital because, in the unfortunate event of a website breach, an attacker might delete the backup file from its original location, leaving you unable to restore your site.
Migrating to Hostinger
Restoring Your Backup on Hostinger
With your WordPress.com site backup, it’s time to migrate to Hostinger:
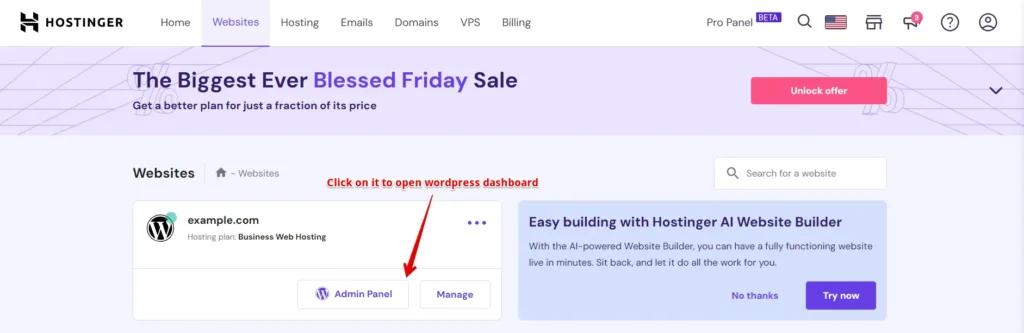
Access Your Hostinger Dashboard – Sign up for Hostinger hosting if you haven’t already. Hostinger offers a variety of hosting plans to suit your needs. Now, access your Hostinger WordPress website by logging in using your designated username and password. Alternatively, you can log in through the Hostinger login option for added flexibility. This allows you to seamlessly manage and navigate your website.
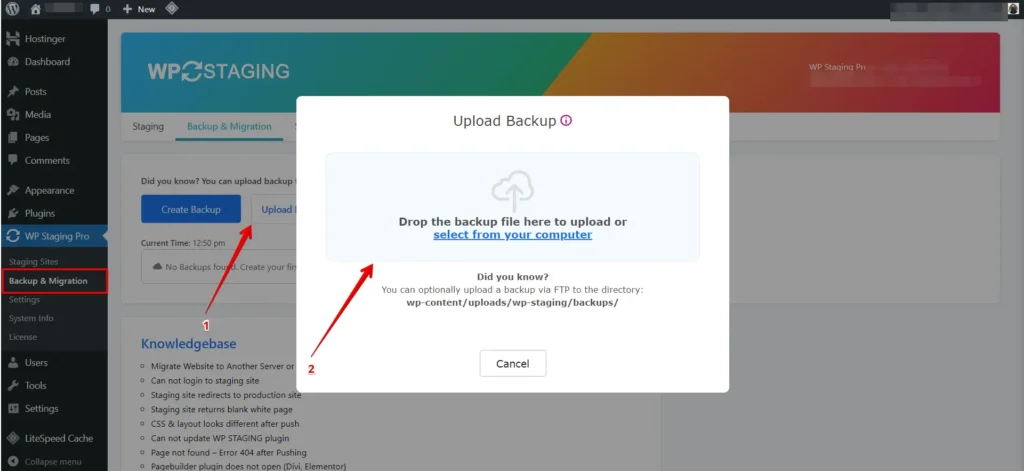
Install WP Staging: To install the "WP Staging" plugin, access your "Hostinger site" dashboard, proceed to the "Plugins" section, and then click on "Upload". Go ahead and upload WP Staging | Pro now. Install and activate the "WP Staging" plugin.

Restore Staging Backup – Locate the option to restore a backup within your website, then click on the "Upload Backup" button. Next, choose the backup that you previously generated from your WordPress.com site.
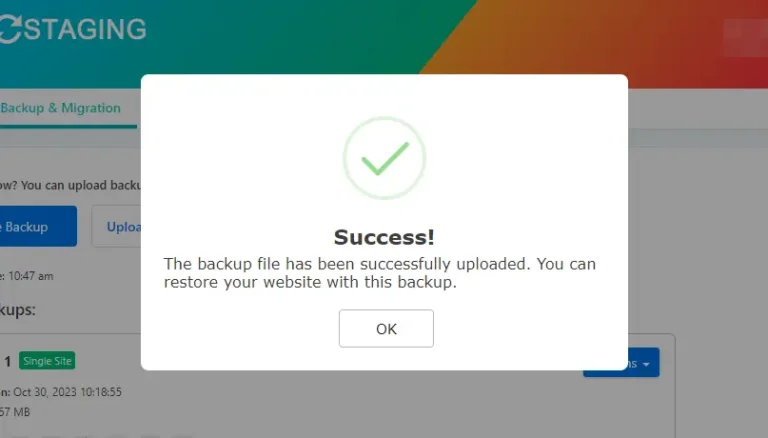
Upload Completed – The backup upload process has been completed.
View And Restore – This uploaded backup is in the "Backup & Migration" list. From there, proceed by clicking the "Action" button and following it up by selecting the "Restore" option. Following this, a series of two confirmation models will appear consecutively. Click "Next" for each one, and your restore process will be initiated promptly.
Restore Completed – The backup restore process has been completed.
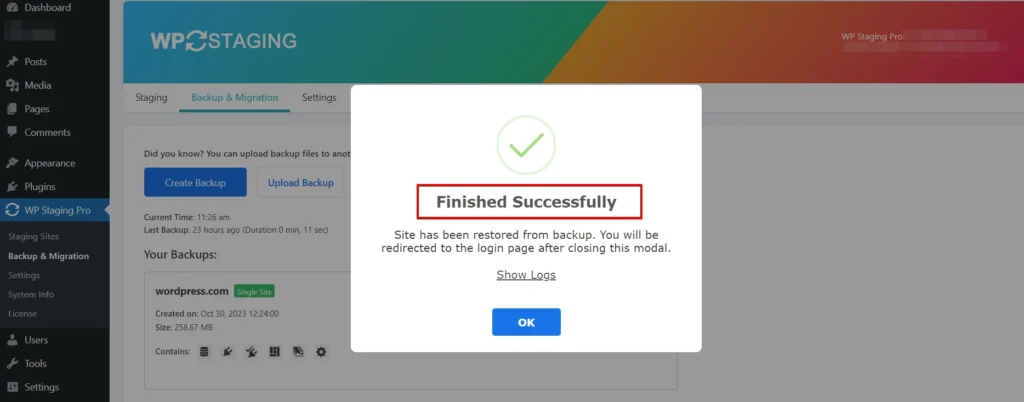
Ensure that your website on Hostinger looks and functions as expected. Test your pages, images, and functionality. If changing your domain name, update the DNS settings to your new Hostinger hosting. Go to your WordPress settings and update your permalinks to match the structure of your old site. This helps maintain SEO ranking.
Conclusion
Migrating from WordPress.com to Hostinger is a significant step in your online journey. You can do it like a pro with the right guidance and tools. Explore the benefits of Hostinger, harness the power of WP Staging, and enjoy a seamless migration process. Get ready to take your website to new heights with Hostinger!