This article explains the specifics of migrating a website from WordPress.com to Namecheap, a popular web hosting and domain registrar.
This process is not just about moving content; it involves understanding the technicalities of web hosting environments, domain management, and the potential for enhanced website customization and control.
Contents
STEP 1: First Thing First
Before starting the migration process, it’s essential to follow a series of crucial steps:
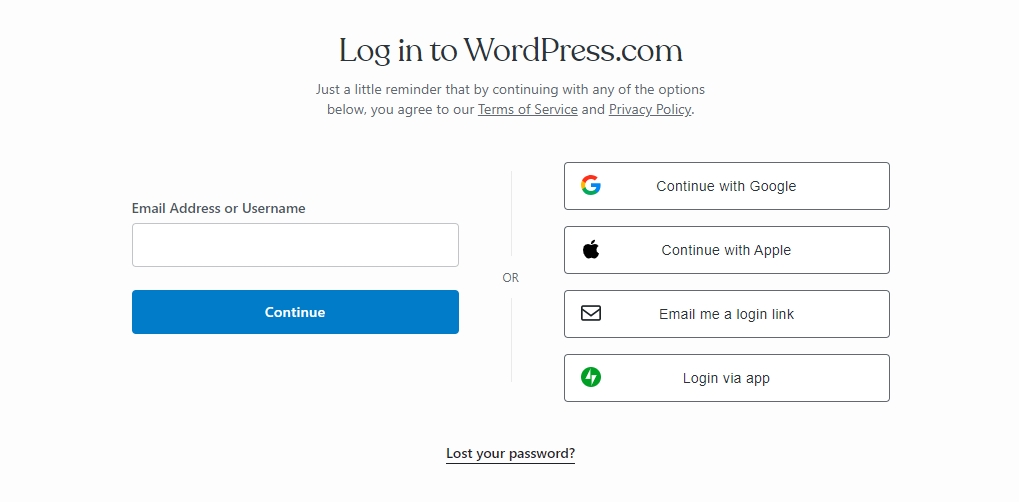
- Log into your WordPress.com account.
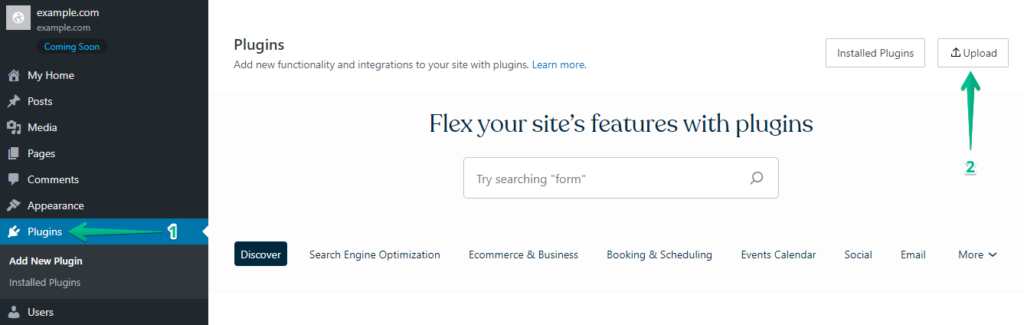
- Go to the “Plugins” section in the WordPress dashboard and click the “Upload” button.
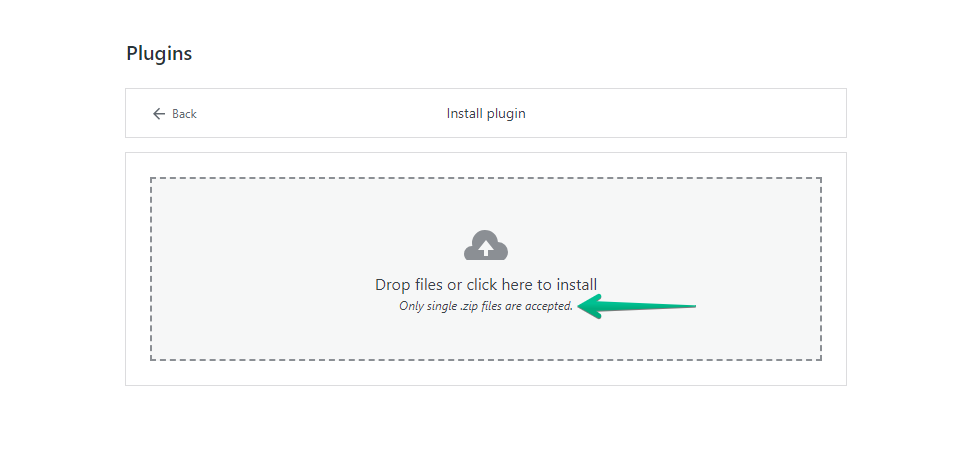
- Next, go ahead and upload your WP Staging | Pro.
- Once installed and activated, navigate to the “Backup & Migration” section in the WordPress dashboard under “WP Staging Pro.”
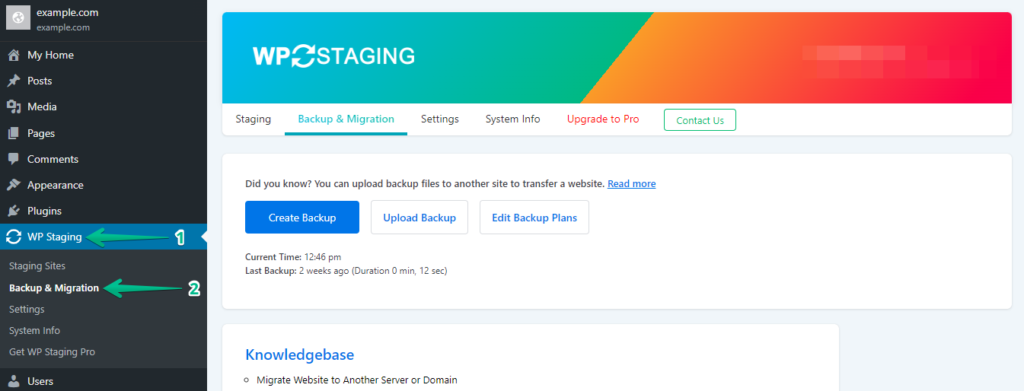
- If you already possess a current backup, that is excellent. Otherwise, to generate a new backup, just click the “Create Backup” button.

- Assign a name to your backup and proceed by clicking the “Start Backup” button.
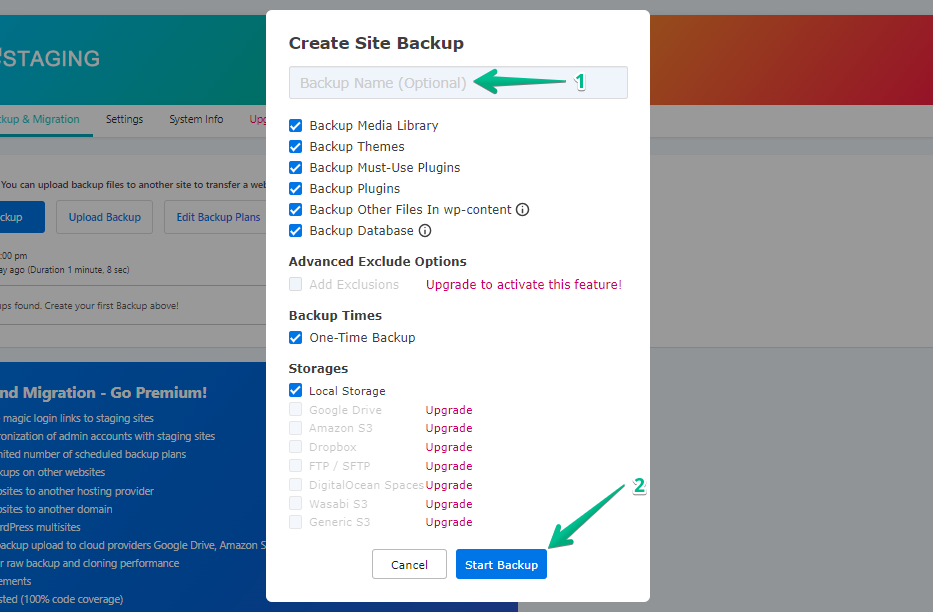
- The backup process has been completed successfully.

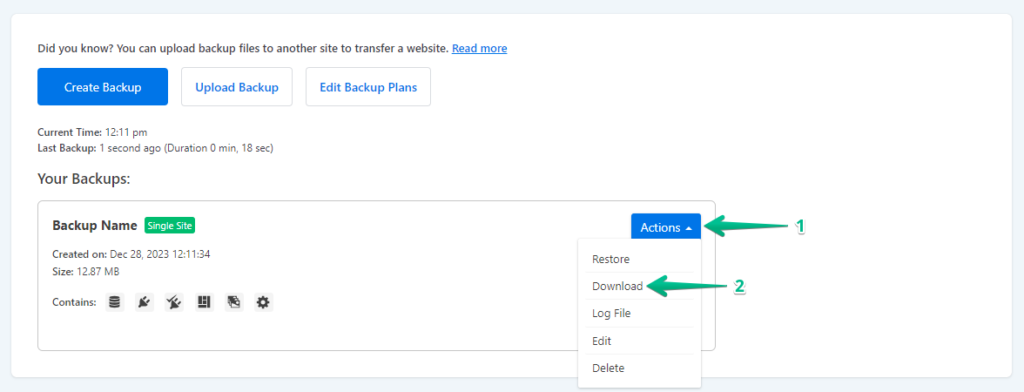
- Upon the completion of the backup process, you will typically find a “Download” option under the “Action” button. Ensure to save this backup file securely on your computer.
STEP 2: The Migration Process
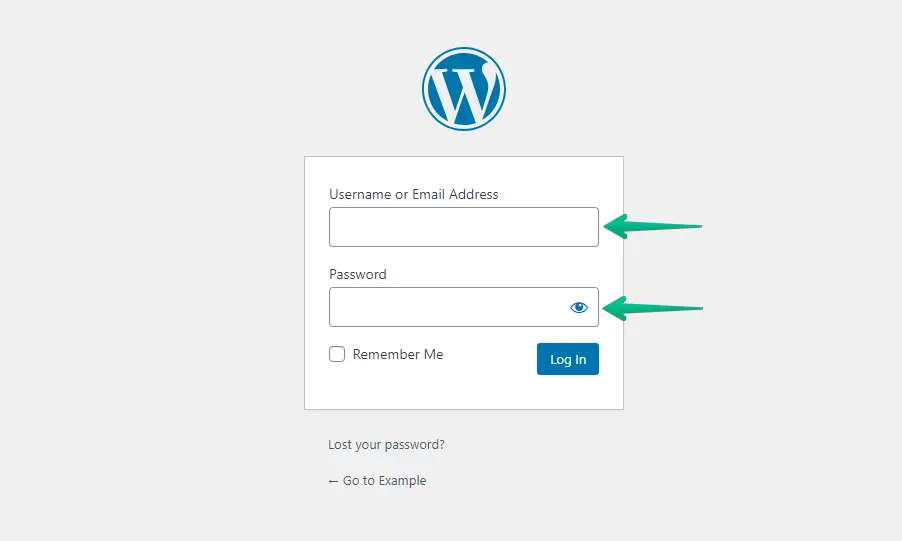
- Log in to your Namecheap WordPress website using your username and password.
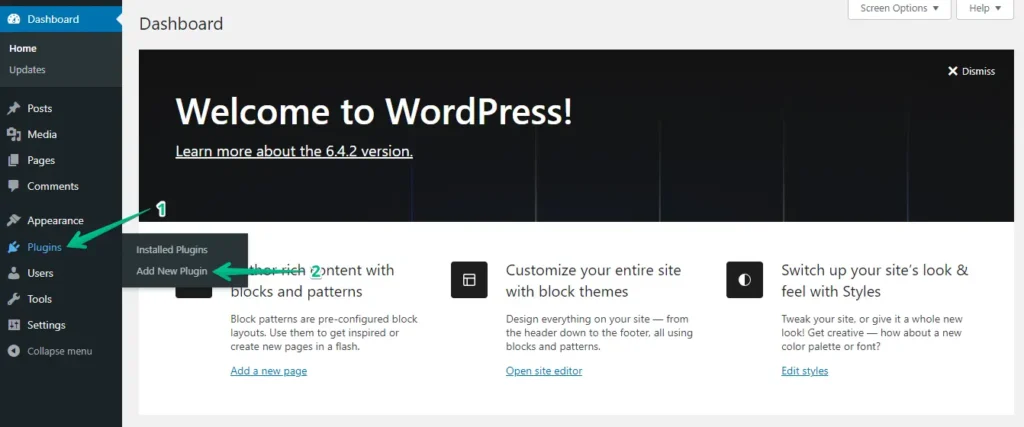
- Navigate to the menu on the left-hand side, click “Plugins,” and then click on “Add New Plugin.”
- Click the “Upload Plugin” button, then click “Choose File” to upload the WP Staging Pro plugin.
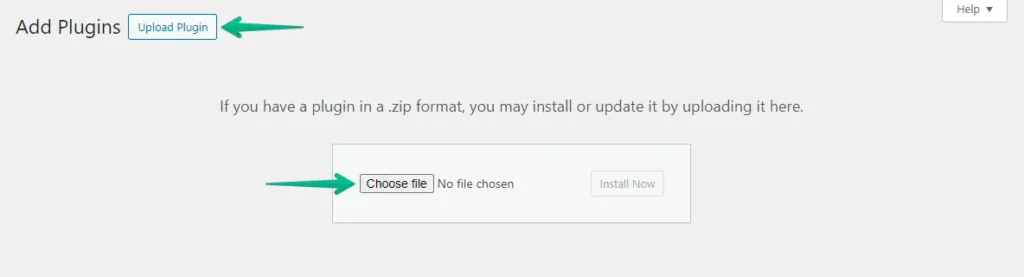
- Afterward, click the ‘Install Now’ button.

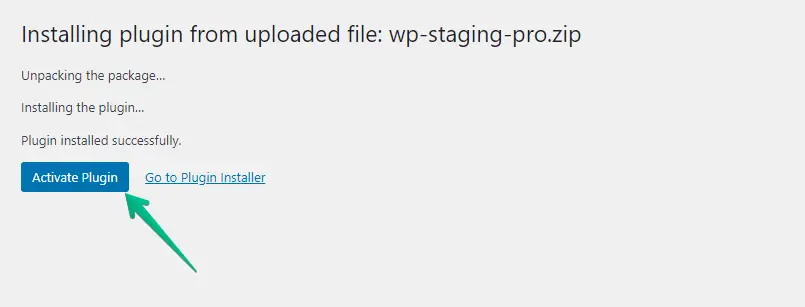
- After installing the plugin, activate it.
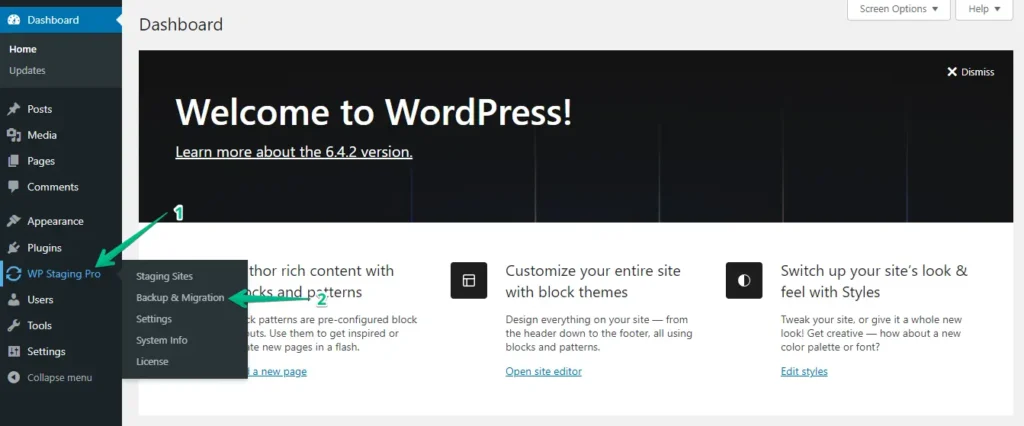
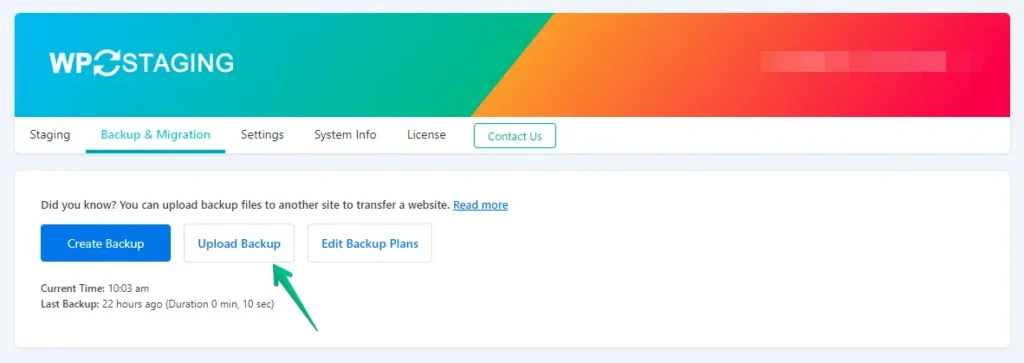
- Navigate to the left-hand menu, locate ‘WP Staging Pro,’ and click the ‘Backup & Migration’ option.
- Subsequently, click the ‘Upload Backup’ button.
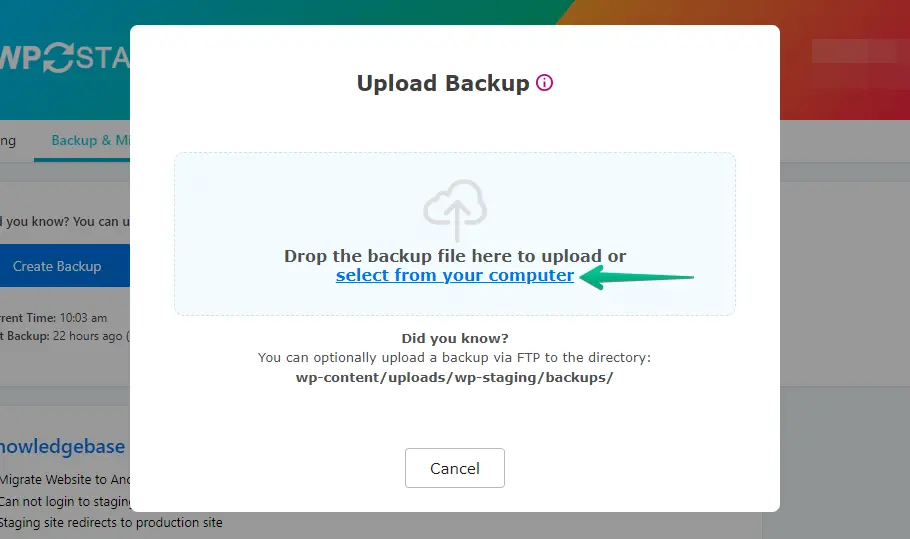
- Upload the backup file you exported from your WordPress.com website.
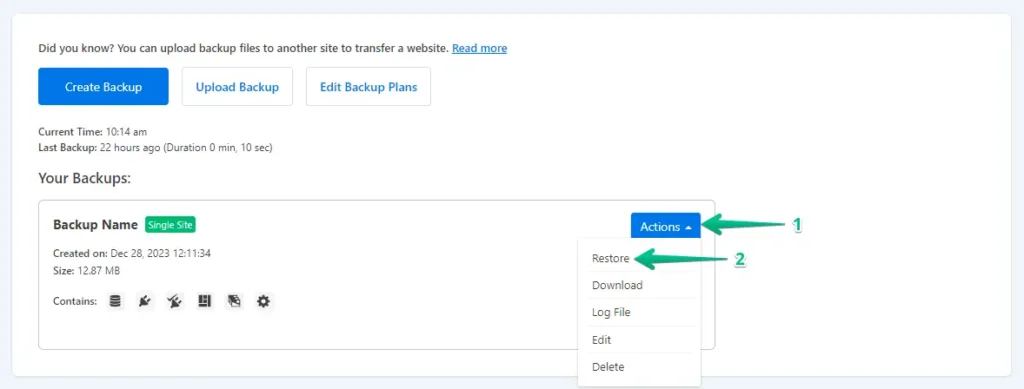
- The backup has been successfully uploaded.

- After that, click the ‘Action’ button and then click on the ‘Restore’ option.
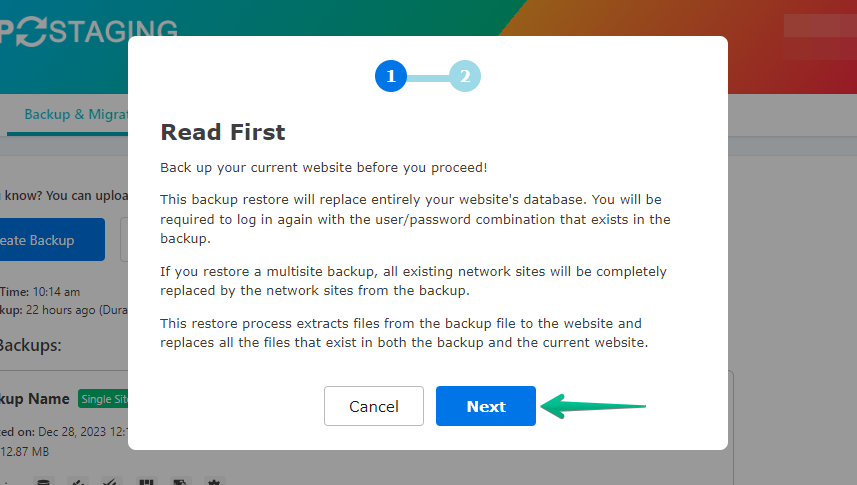
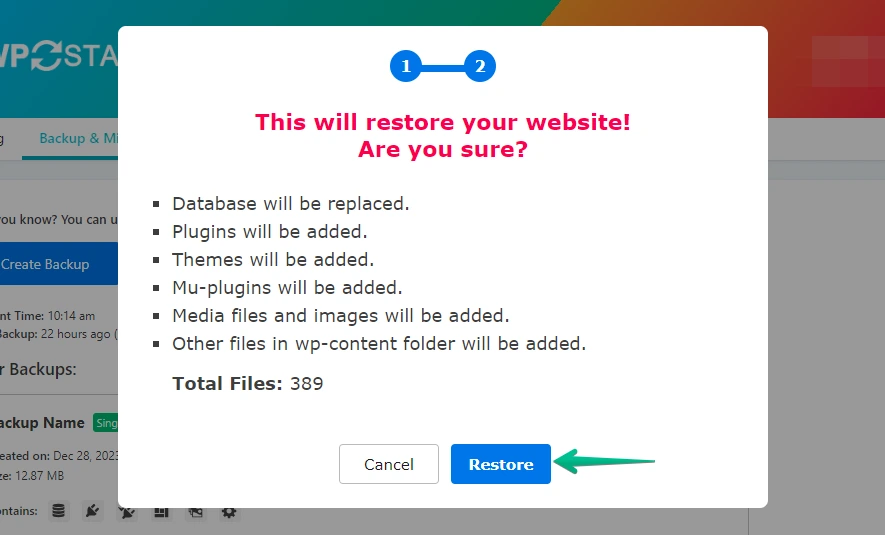
- Press the ‘Next’ button.
- Subsequently, click the ‘Restore’ button.
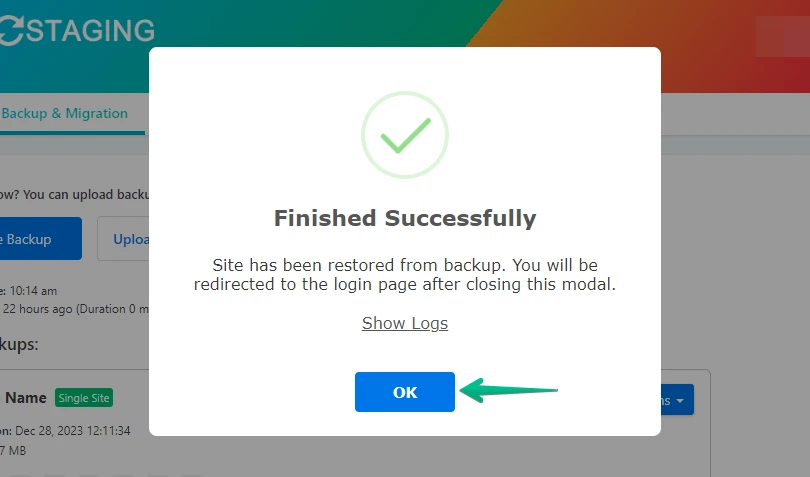
- The backup restoration is complete.
- Click the “OK” button.
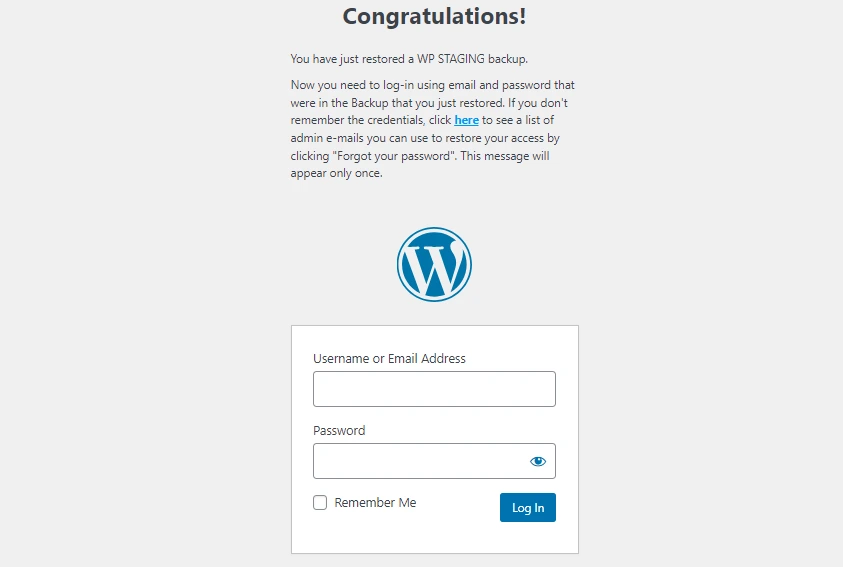
- Log in to your WordPress website again.
Perform a thorough website test on Namecheap to confirm the proper functioning of all components. Additionally, review all content for accuracy and formatting.
The Post-migration Checklist
After migrating a WordPress website to Namecheap, it’s essential to conduct a thorough check to ensure everything is functioning as expected. This post-migration checklist will help you verify that your website is fully operational, secure, and optimized for your audience. Here are the crucial things to check:
- Verify Site Loading and Functionality: Check if your site loading speed is normal, along with other interactive elements like navigations, forms, etc.
- Content & Media Verification: Check all the posts, pages, images, videos and other content is perfectly migrated.
- SEO Configuration: Check whether SEO configurations work like those on wordpress.com. Also, check the permalink structure and take the necessary steps to avoid a loss in rankings.
- Plugin & Theme Functionality: Ensure all plugins and themes are compatible with the version of WordPress you are running on your new host.
- Security & Backups: Implement or verify your backup solution is working correctly, ensuring regular backups of your website. You can try WP Staging to automate site backups! TRY FOR FREE!
WordPress.com vs. Namecheap
- WordPress.com is known for its user-friendly, secure, and maintenance-free platform, ideal for bloggers and small businesses. Yet, its limitations in customization, plugin access, and server control prompt users to seek more flexibility.
- Namecheap offers an open hosting environment with full control, allowing for custom plugins, themes, and performance optimization, essential for growing websites or those needing specific functionalities beyond WordPress.com’s managed setup.