So, you’ve been working diligently on crafting the perfect LearnDash site in a secure staging environment. It’s time to unveil your masterpiece by moving your LearnDash staging site to the production environment. Fear not, for this guide will navigate you through the process, ensuring a seamless transition for your online courses.
We’ll guide you through the process to safely push the LearnDash staging site to the production site using the WP Staging plugin, ensuring a smooth transition with minimal disruption to your online courses.
Contents
What is WP Staging?
WP Staging is a powerful WordPress staging and backup plugin that allows you to create a copy of your website, including all its content and settings, for testing and development purposes.
This ensures that any changes made on the staging site won’t affect your live site until you’re ready to deploy them.
Why Use a Staging Site for LearnDash?
LearnDash is a feature-rich Learning Management System (LMS) for WordPress, used to create and manage online courses. When running an educational platform, it’s crucial to maintain a stable learning environment for your students.
Here are a few reasons why using a staging site for LearnDash is essential:
- Risk Mitigation – Testing updates, plugins, or theme changes on a staging site minimizes the risk of breaking your live courses or disrupting your students’ learning experience.
- Quality Assurance – Ensure that new features, course content, or design changes work as intended before making them live.
- Conflict Resolution – Identify and resolve conflicts between LearnDash, themes, or other plugins on your staging site without impacting your production environment.
Step-by-Step Guide to Push Your LearnDash Staging Site to Production
1. Install and Activate WP Staging Pro
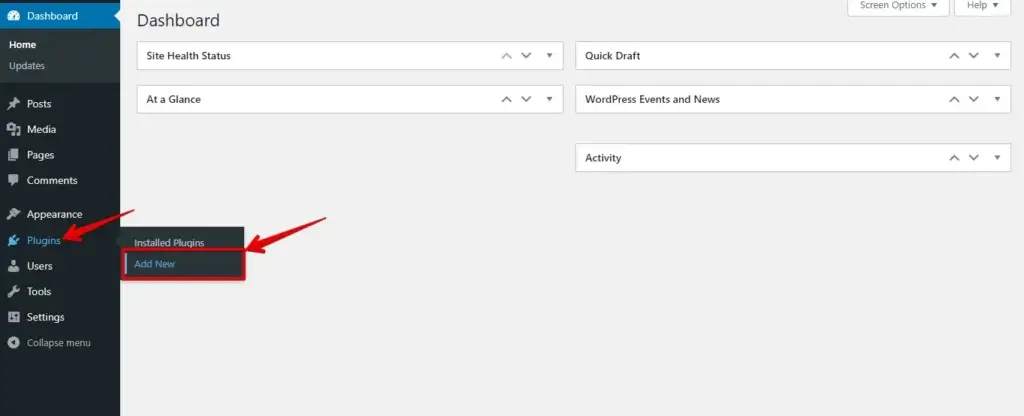
After purchasing WP STAGING | PRO and downloading the wp-staging-pro.zip file, log in to your WordPress dashboard.

Navigate to "Plugins" and click "Add New".
Then click the upload button and add your "WP Staging Pro" plugin file.
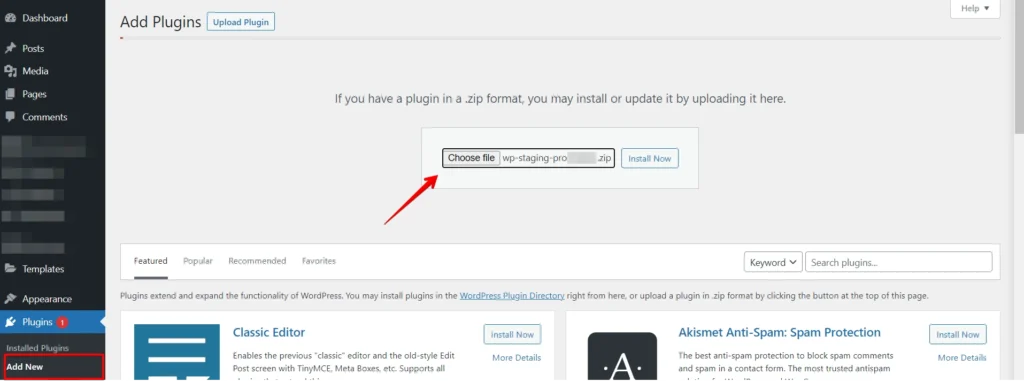
Then click on "Install" and "activate" the plugin.
DO YOU KNOW? WP Staging can automate the whole process for you. CLICK HERE TO DOWNLOAD IT FOR FREE!
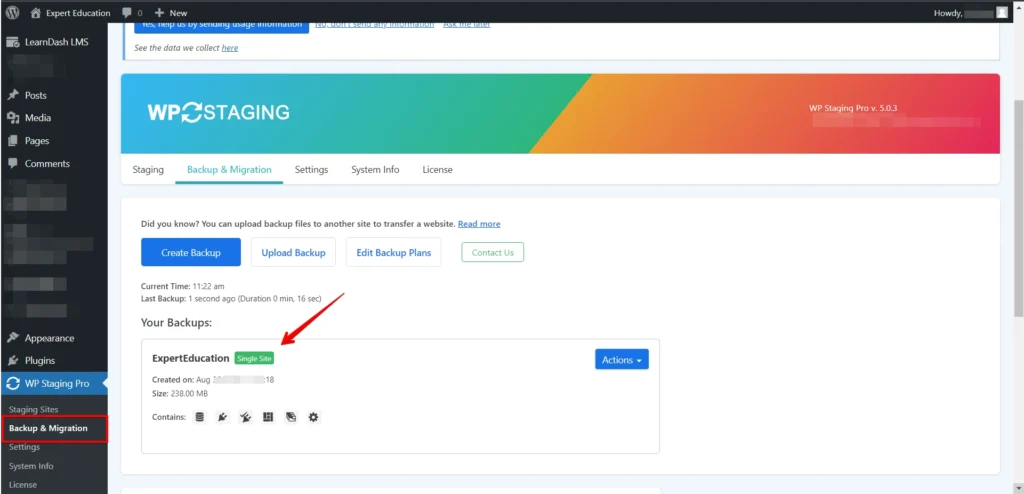
2. Backup Using WP Staging Pro
Before you start, back up your production sites using "WP Staging Pro." These backups are crucial as a safety net in case anything goes wrong during the creation of the staging site process.
3. Create a Staging Site
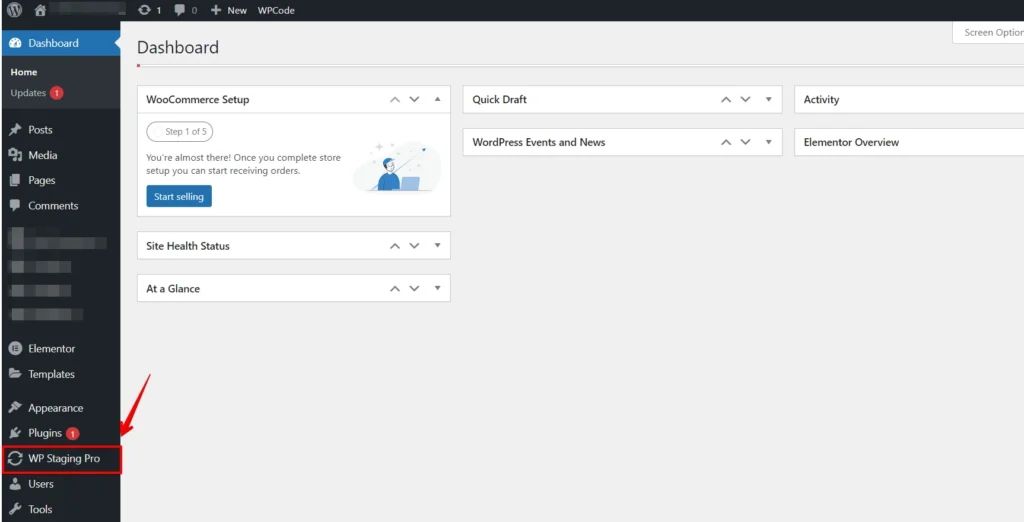
After activation, you’ll find the WP Staging option in your dashboard’s sidebar. Click on it.
Select "Staging sites."
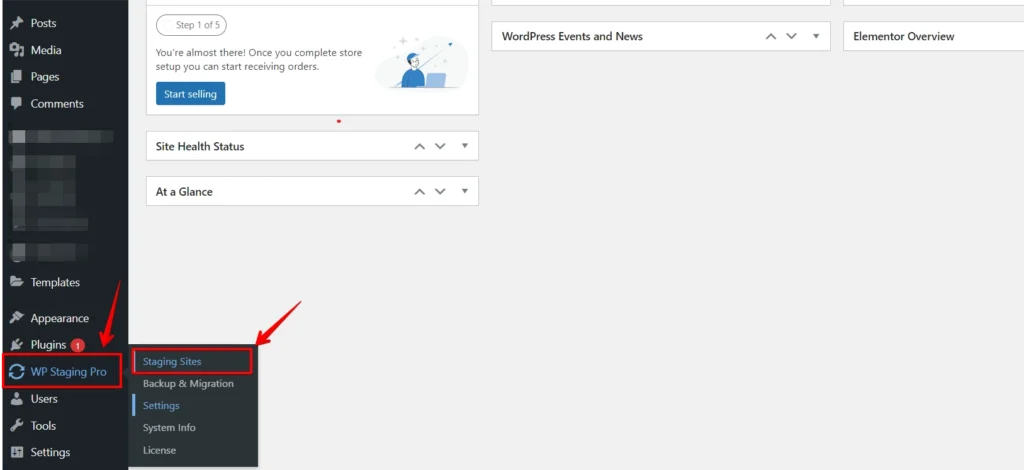
Then, a new Screen will open, and click "Create Staging Site." Click on it and then follow the on-screen prompts to configure your staging site’s settings.
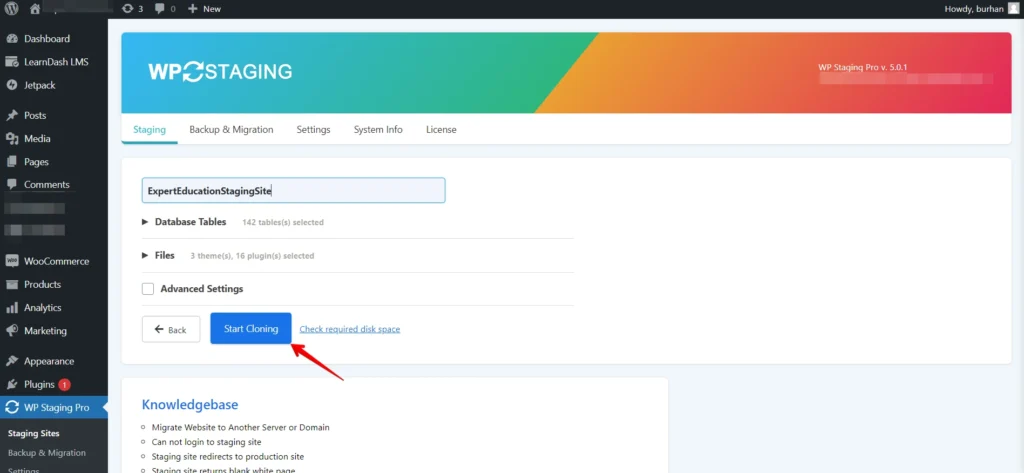
Click "Start Cloning" to create your staging site. This may take a few minutes, depending on the size of your site. Then, it will show you the complete message.
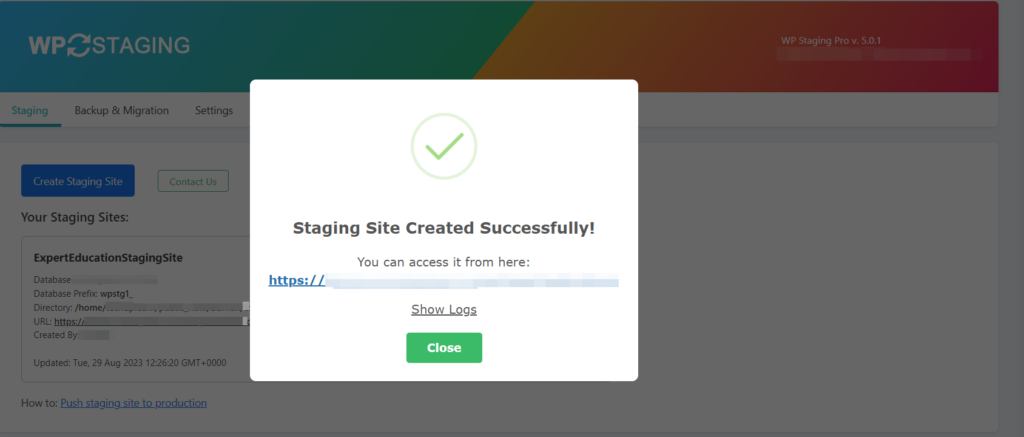
Your Staging Site was created successfully.
4. Verify that LearnDash functions as expected on the staging site.
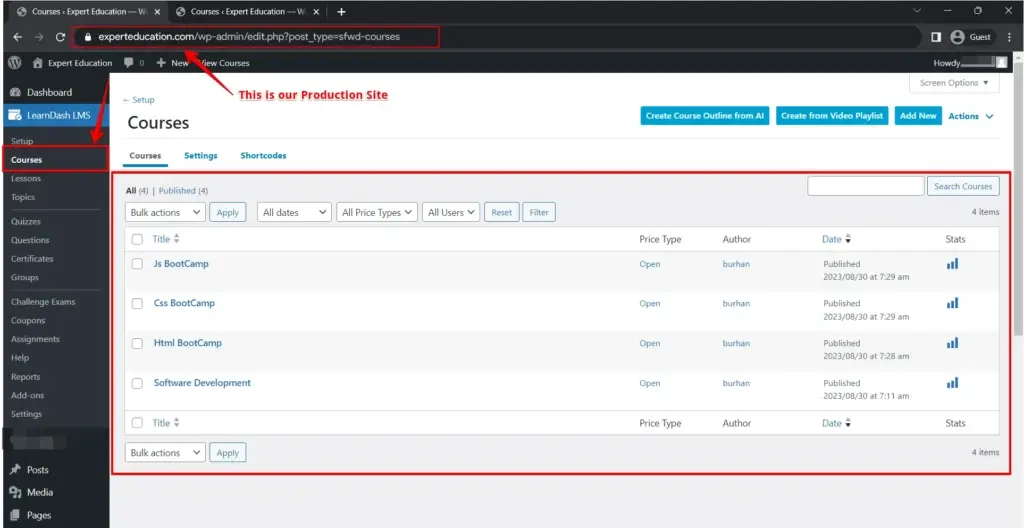
Here is my "Production site" course data.
Here is my "Staging site" course data.
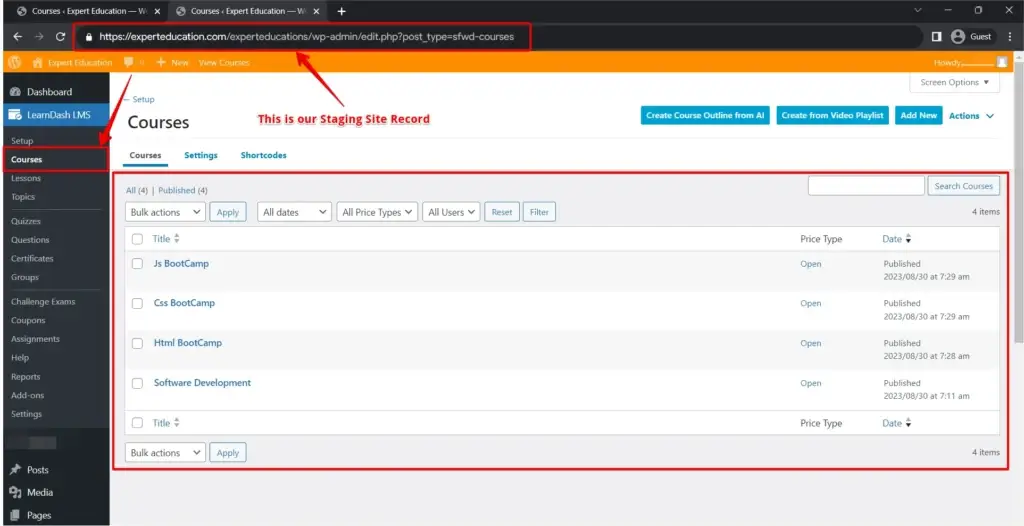
Here, you see, no single word is missing; all the data of my production site is safely duplicated to my staging site with the help of the WP staging plugin.
5. Test and Make Changes
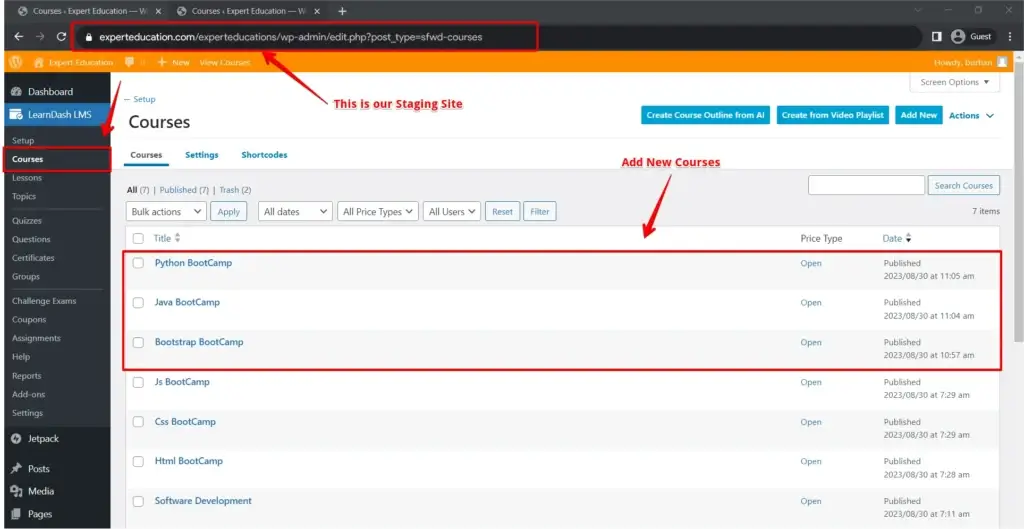
Your staging site is now a duplicate of your production site—test updates, plugins, themes, or any other changes you wish to make.
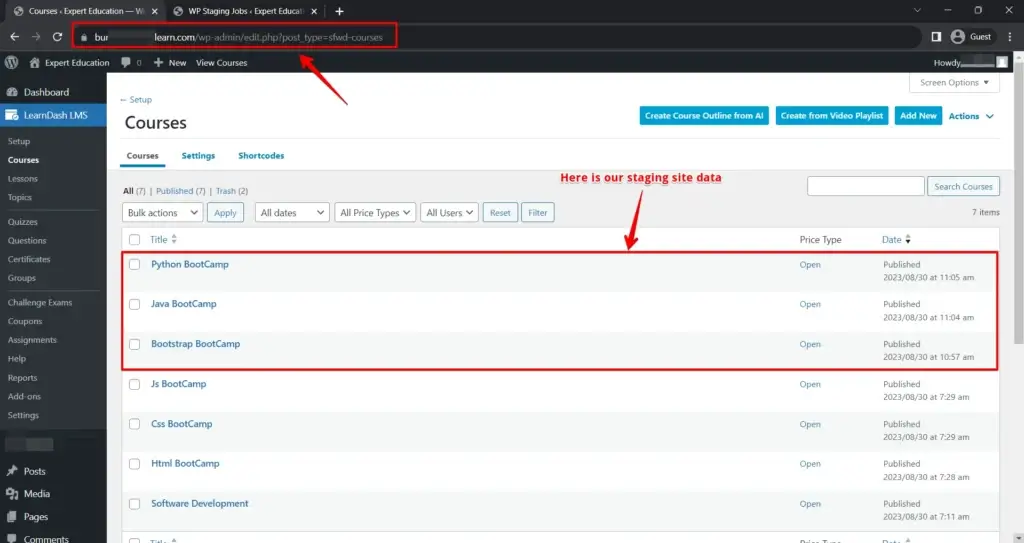
Here, you see I added new courses to my staging site.
Pushing Your LearnDash Staging Site to Production
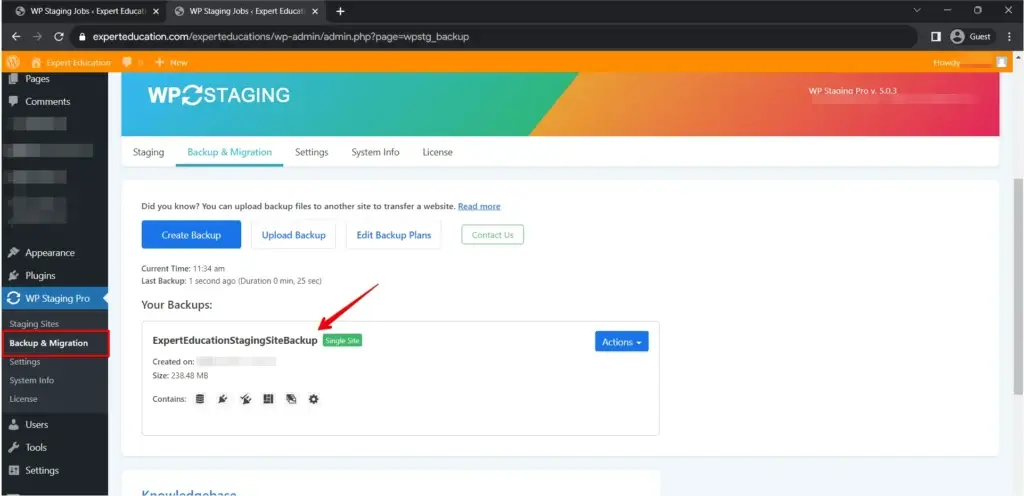
1. Backup Your Staging Site (Again!)
Before proceeding, perform another backup of your LearnDash staging site. This double backup layer ensures you have a fail-safe option if anything goes awry during the migration.
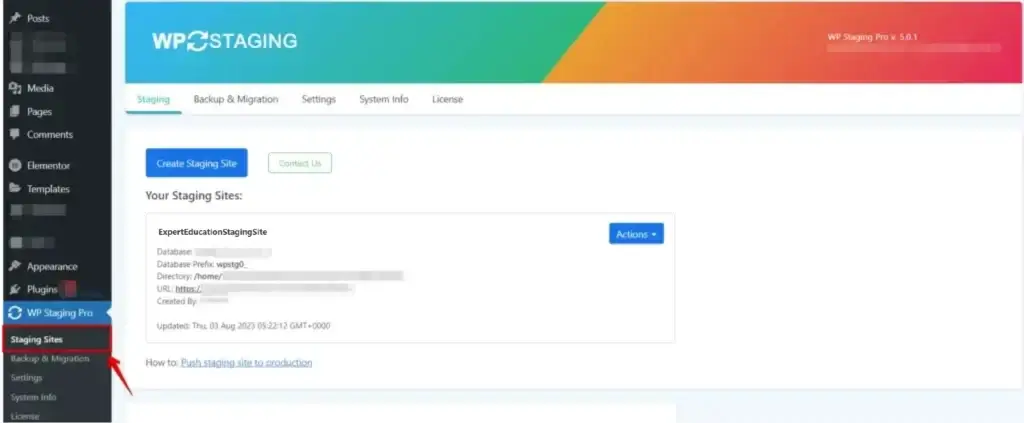
Locate the "Staging Sites" Option
Click on the Staging Sites option to find the staging site.
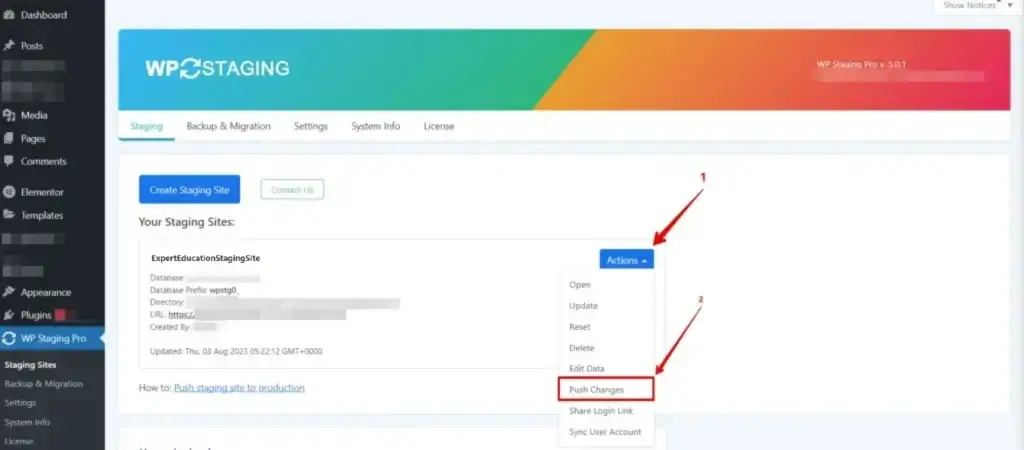
2. Locate the "Push" Option
Within the WP Staging plugin, you’ll find an option labeled "Push." This feature seamlessly transfers your staging site to the live production site.
3. Configure Push Settings
Click on the "Push" option to proceed. Depending on the plugin’s specific version, you might be prompted to select a few settings. These settings could include:
- Source Site: Verify that your LearnDash staging site is selected as the source site for the push.
- Target Site: Choose your live production site as the target site for the push.
- Options: The WP Staging Pro plugin might offer additional options, such as excluding specific files or tables from the push. Review these options and configure them as needed.
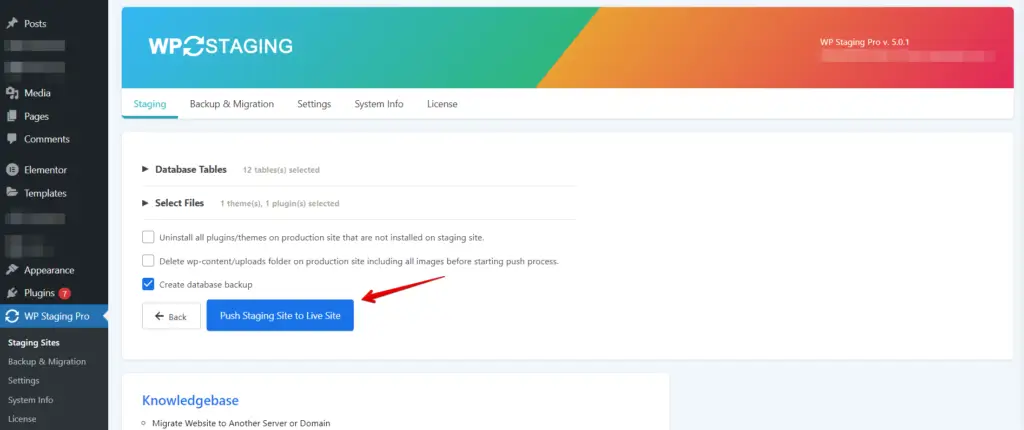
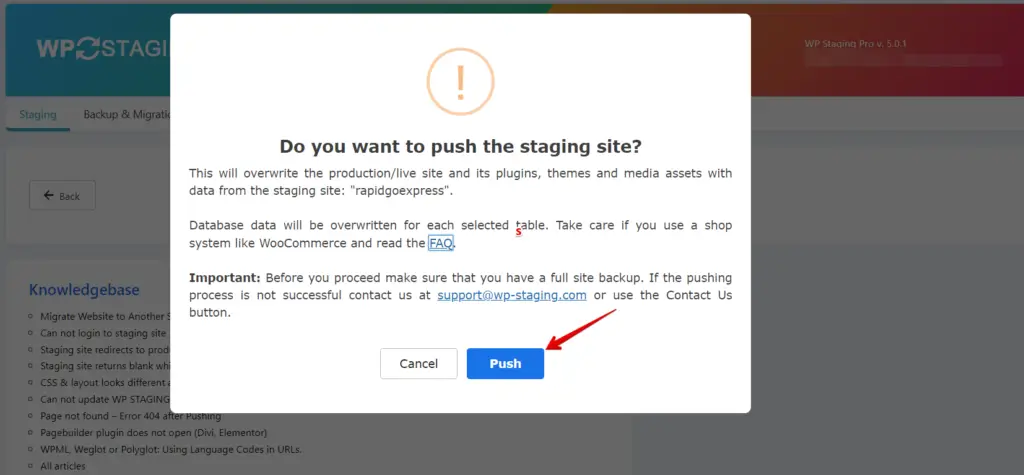
4. Initiate the Push
Once you’ve configured the settings, initiate the push process. This action will begin transferring all the content, files, and database changes from your staging site to your production site.
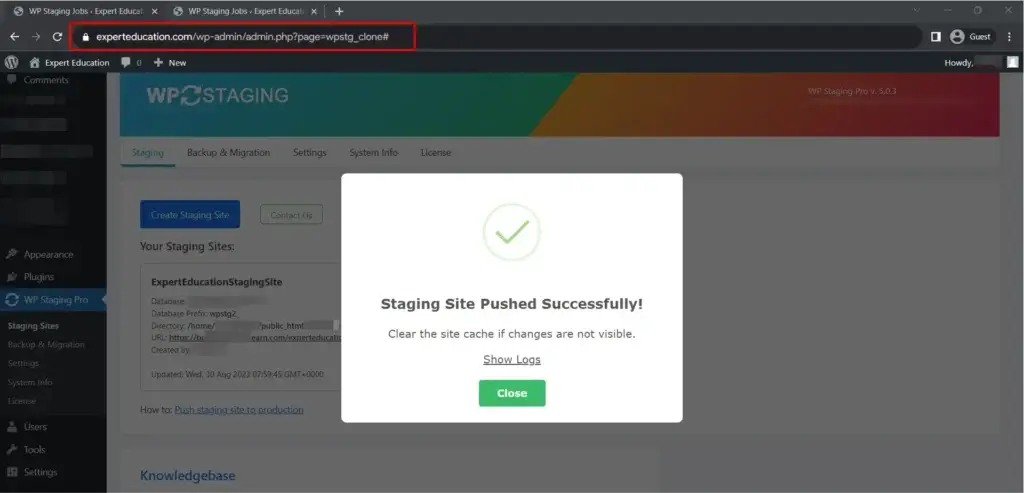
5. Verify the Push
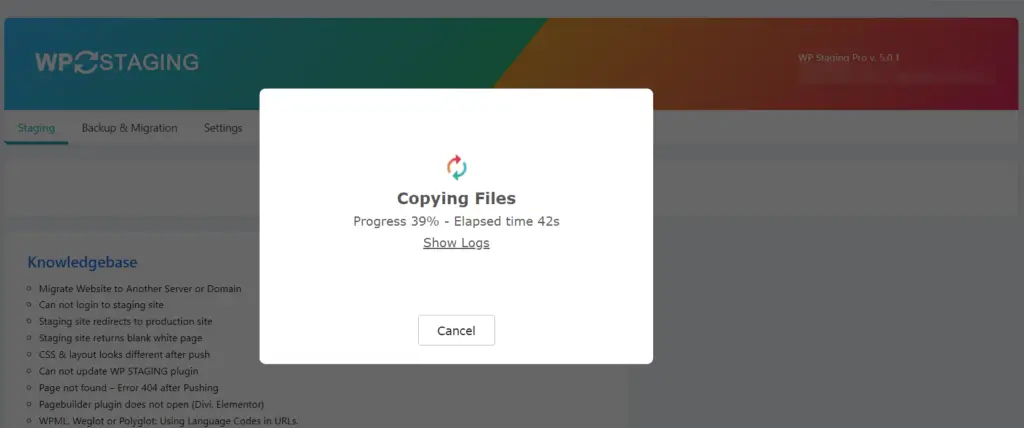
6. Monitor the Progress
The WP Staging plugin will provide you with real-time updates on the progress of the push. Depending on the size of your site and the number of changes, this process might take a few minutes.
7. Check the Push
Once the push is complete, access your live production site. Navigate the various pages, courses, lessons, quizzes, and interactive elements to ensure everything has been transferred.
8. Test Functionality
Thoroughly test all aspects of your LearnDash site on the live production environment. Test courses, quizzes, assignments, interactive elements, and any plugins you use. This ensures that the user experience remains smooth and consistent.
Here, you see all the updated data added to my production site. This is how you can safely push your learnDash staging site to your production site.
Double-check your LearnDash courses, user accounts, and any customizations.
9. Update URLs and Links (if needed)
Check for any internal URLs or links that might still be pointing to your staging site. Update these to reflect the URLs of your production site to prevent any confusion or broken links.
10. Go Live!
With the push completed and all elements tested, you’re ready to officially launch your LearnDash courses on the live production site. Announce the availability of your systems to your learners and celebrate your hard work!
Conclusion
Using the WP Staging plugin, you can confidently update and improve your LearnDash-powered eLearning website without fearing disrupting your students’ learning experience. A staging site is indispensable for maintaining a stable and reliable online course platform.
Remember to back up your production site regularly and follow best practices for WordPress maintenance to keep your site running smoothly.