Your WordPress site’s efficiency is vital. Customizing Cron Jobs can boost your website’s performance. This guide covers what Cron Jobs are, how to create and manage them, and why they matter for your site. You’ll learn to use Cron Jobs to enhance your site’s performance and functionality.
Contents
Understanding WordPress Cron Jobs
What are Cron Jobs?
Cron Jobs are scheduled tasks that are executed automatically at predetermined intervals. In the context of WordPress, these tasks are essential for your website to function correctly.
WordPress uses Cron Jobs to perform various activities, such as publishing scheduled posts, checking for updates, and sending email notifications. Understanding how to manage these tasks effectively ensures that your website runs smoothly.
Why are Cron Jobs Important?
Cron Jobs are crucial for WordPress websites, automating important tasks, saving time, and reducing errors. They handle functions like:
- Scheduled Publishing – Cron Jobs enables scheduled publishing, ensuring your content reaches your audience when needed.
- Plugin and Theme Updates – Cron Jobs automates plugin and theme updates, ensuring security and performance improvements.
- Database Optimization – Cron Jobs can schedule regular database optimization for efficient website performance.
- Email Notifications – Cron Jobs ensures timely email notifications for various purposes.
Creating and Modifying Cron Jobs
1. Creating and Modifying WordPress Cron Jobs Via a Plugin
Creating and modifying WordPress Cron Jobs via a plugin can be helpful for scheduling and automating tasks on your WordPress site. Here’s a step-by-step guide on how to do this:
Step 1: Install and Activate a Plugin
- Log in to your WordPress admin dashboard.
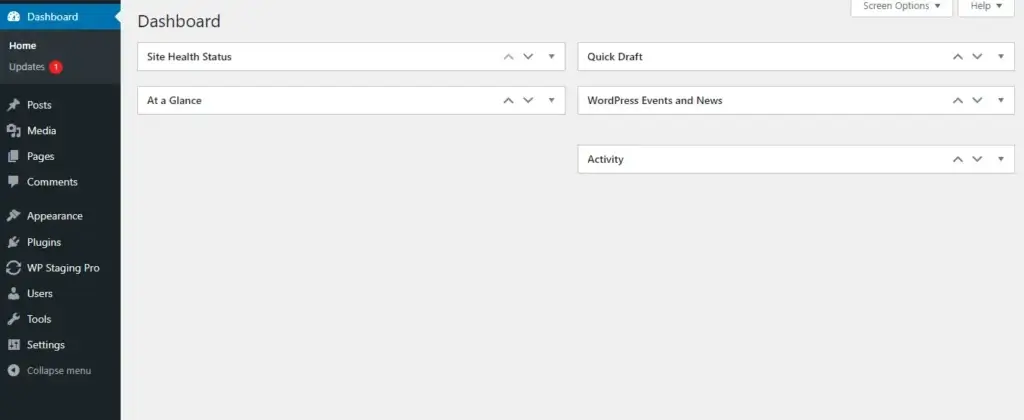
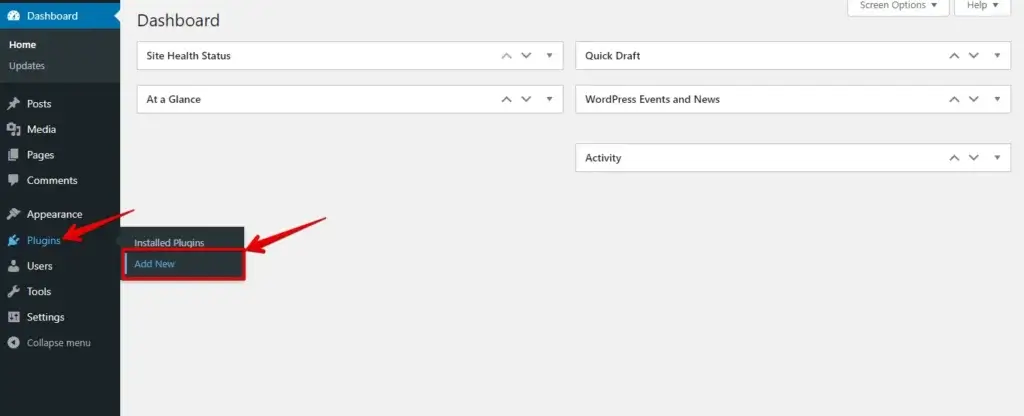
- Navigate to "Plugins" in the left-hand menu and Click "Add New."
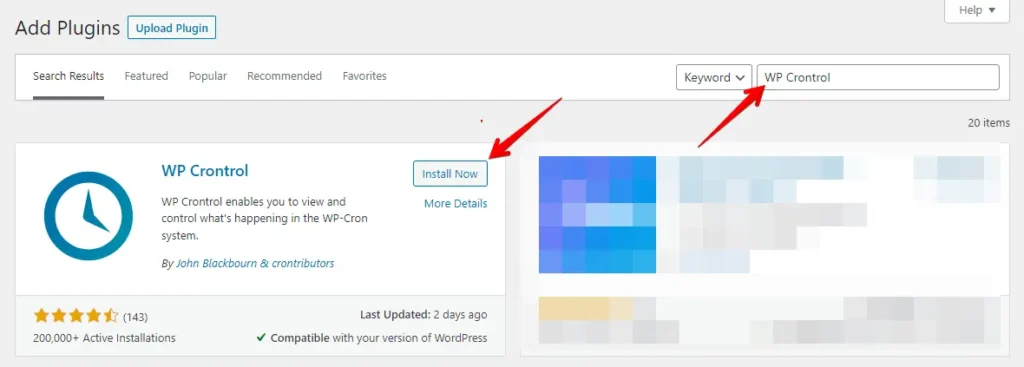
- In the search bar, type the name of the plugin you want to use (e.g., "WP Crontrol" or "Advanced Cron Manager").
- Click "Install Now" next to the plugin.
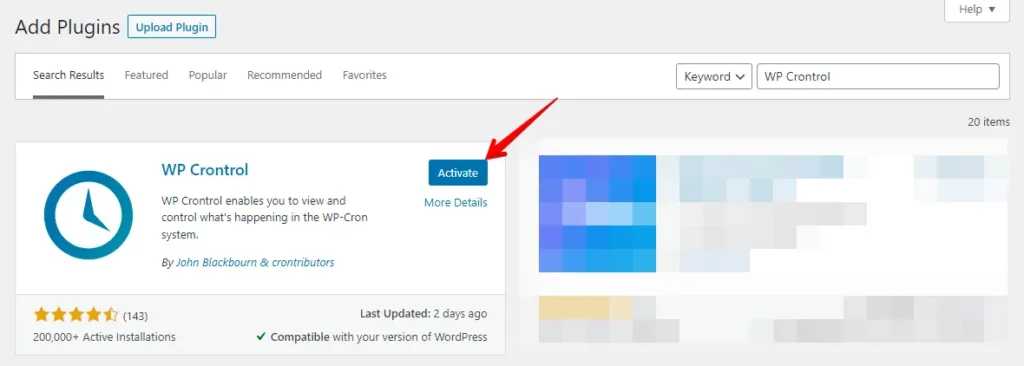
- Once the installation is complete, click "Activate" to activate the plugin.
Step 2: View Existing Cron Events
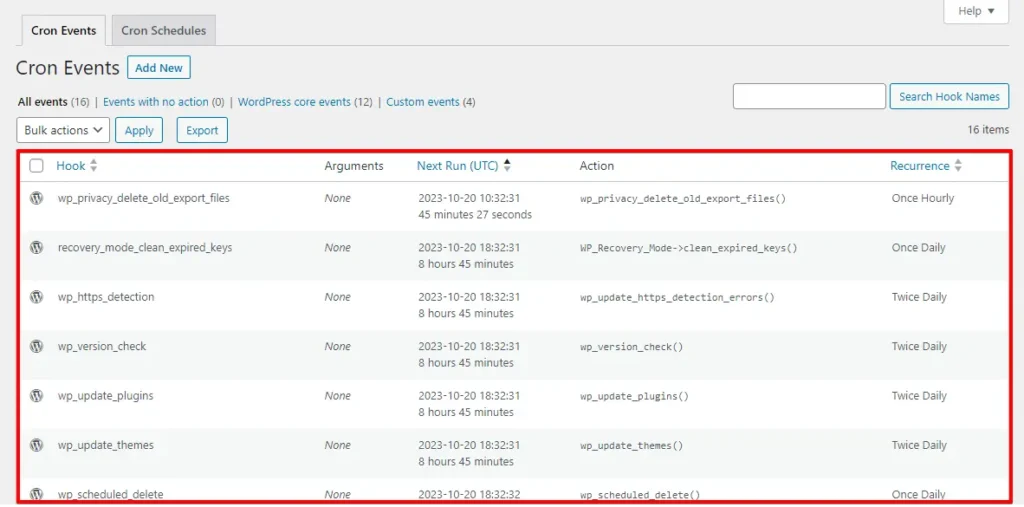
Once the plugin is activated, access "Cron Events" in the WordPress admin menu under "Tools."

Upon accessing the Cron Events section, you should see a list of existing cron jobs. WordPress has several default cron jobs, such as checking for updates, sending emails, and more. You can view and manage these here.
Step 3: Add a New Cron Event
To add a new Cron Event, follow these steps:
- When creating a cron job from scratch, you must have a corresponding action hook in your code, typically found in your functions.php file. Here’s an example provided by WP-Crontrol:
add_action( 'my_hookname', 'my_function' );- The following step involves crafting your function.
function my_function() {
    wp_mail( 'hello@example.com', 'WP Crontrol', 'WP Crontrol rocks!' );
}- Now, Look for an option like "Add New" or a similar button.
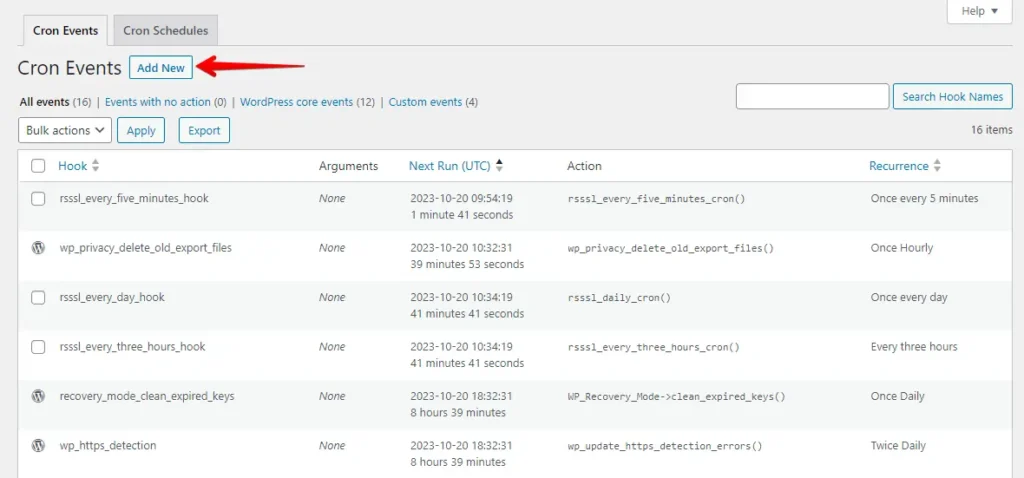
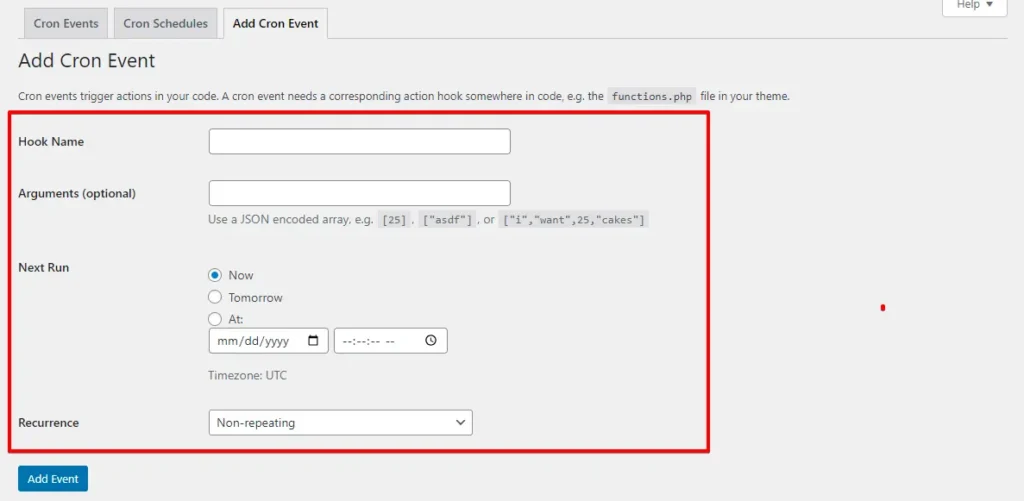
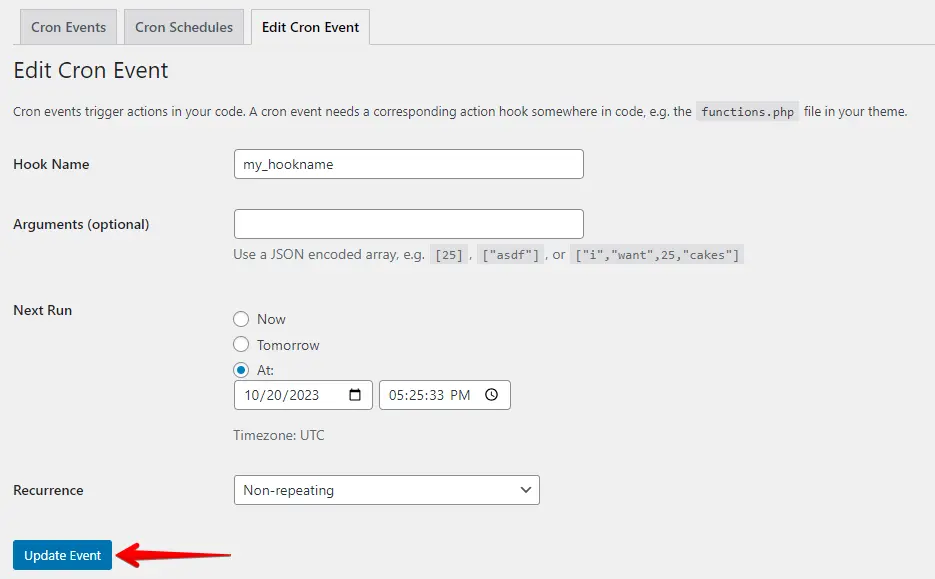
- You will typically have fields to fill out, including:
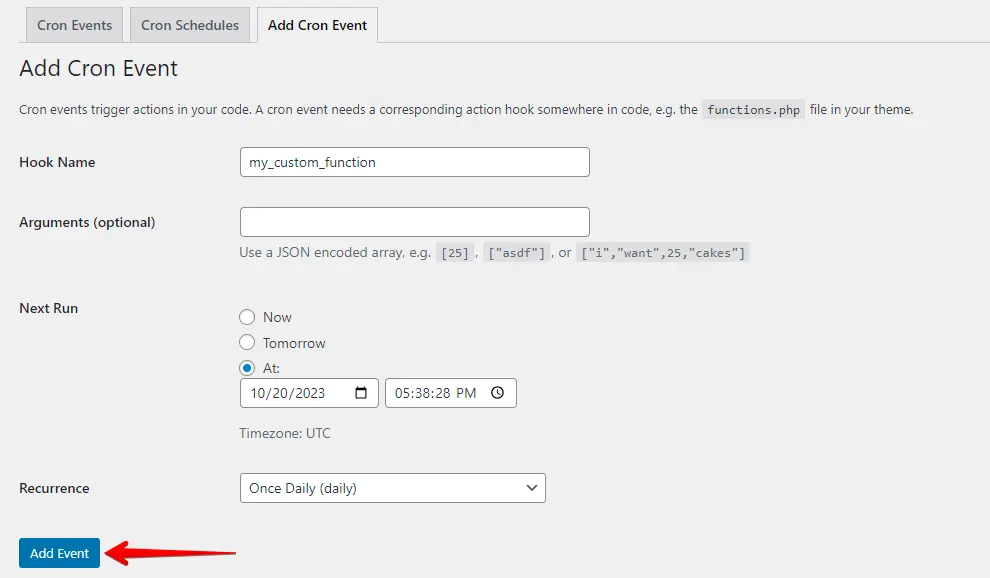
- Hook: This is the name of the action or function you want to schedule as a cron job. For example, "my_hookname."
- Arguments: If your function requires specific arguments, enter them here.
- Next Run: This field displays the date and time of the next scheduled execution of your cron job. It shows when the function will run based on the chosen schedule.
- Recurrence: Set how often the cron job runs, with options like hourly, daily, or weekly, depending on your plugin’s features.
- After filling out the details, click the "Add Event" button.
Step 4: Modify or Delete Cron Events
To modify or delete existing cron events, follow these steps:
- Find the cron event you want to edit or delete in the list of existing cron events.
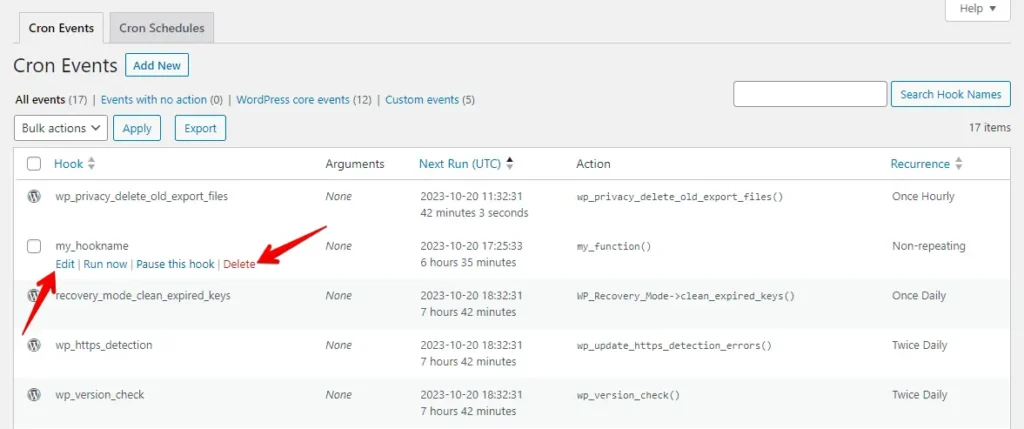
- If you want to edit it, click on the edit button.
- You can change the parameters as needed and click the update event button.
After creating or modifying a cron job, it’s good practice to test it to ensure it’s working as expected. The plugin you’re using may have options for running cron jobs manually for testing purposes.
2. Creating and Modifying WordPress Cron Jobs Using Cpanel
Creating and modifying WordPress Cron Jobs via cPanel can be useful for automating tasks on your WordPress site. Here’s a step-by-step guide:
- Log in to cPanel

- In the cPanel dashboard, search for the "Cron Jobs" or "Cron" icon. It’s typically located in the "Advanced" or "Metrics" section.

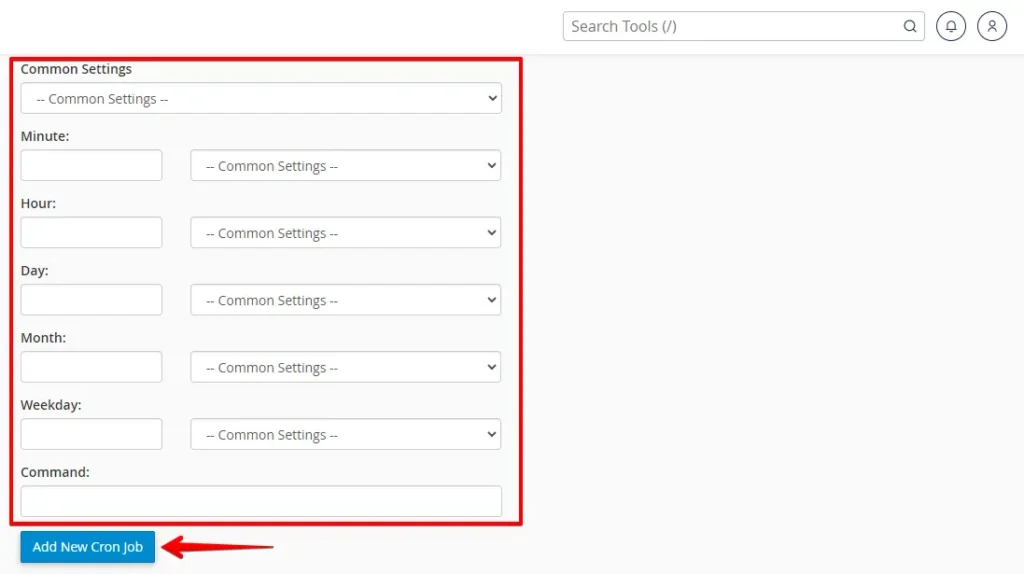
- The Cron Jobs settings page provides choices for configuring cron job notifications and establishing new cron jobs. To include a new cron job, simply scroll to the "Add New Cron Job" section.

- The Common Settings menu offers various pre-set choices, spanning from intervals of one minute to once a year. You can select one option or tailor the fields below to input a custom value.
- After filling out the details, click the "Add New Cron Job" button.
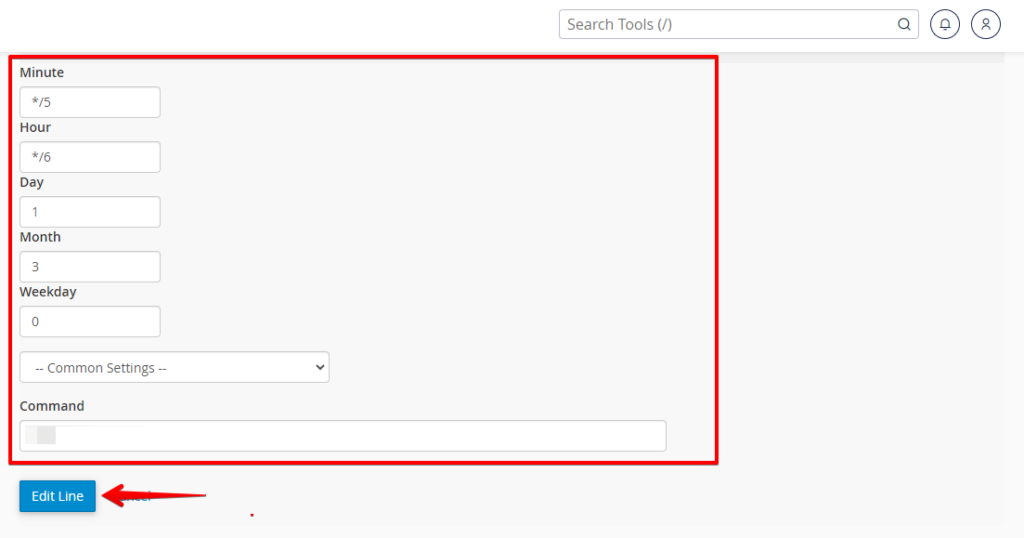
To modify existing cron jobs, follow these steps:
- Locate the cron job you wish to modify and click the "Edit" button.
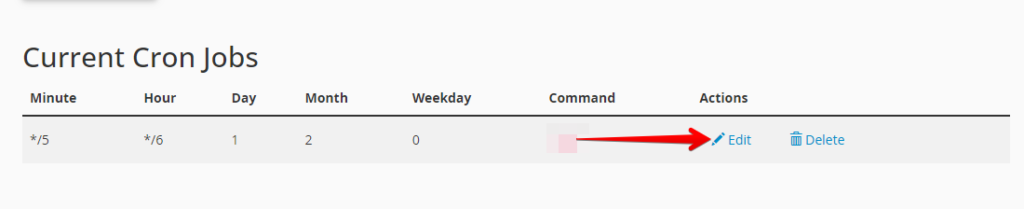
- Change the required setting and click the "Edit Line" button.
That’s it! You’ve successfully created and modified WordPress Cron Jobs via cPanel. Use this method to automate tasks and keep your WordPress site running smoothly.
Conclusion
In summary, the ability to create and modify WordPress Cron Jobs is a valuable resource for automating tasks and enhancing website efficiency. Whether through plugins or cPanel, these steps enable you to schedule and manage important site functions, saving time and ensuring smooth operation. Regular maintenance is key to sustaining the effectiveness of these scheduled tasks.