If you plan to migrate your WordPress website from wordpress.com to WP Engine, this article will guide you on how to do it easily with simple clicks.
You will need less technical knowledge as we will be using WP Staging Pro for this migration, which will also ensure minimum downtime, post-migration errors, and no loss to rankings. Let’s get started!
1. Getting Ready for the Migration
Before initiating the migration process, it’s crucial to adhere to several important steps:
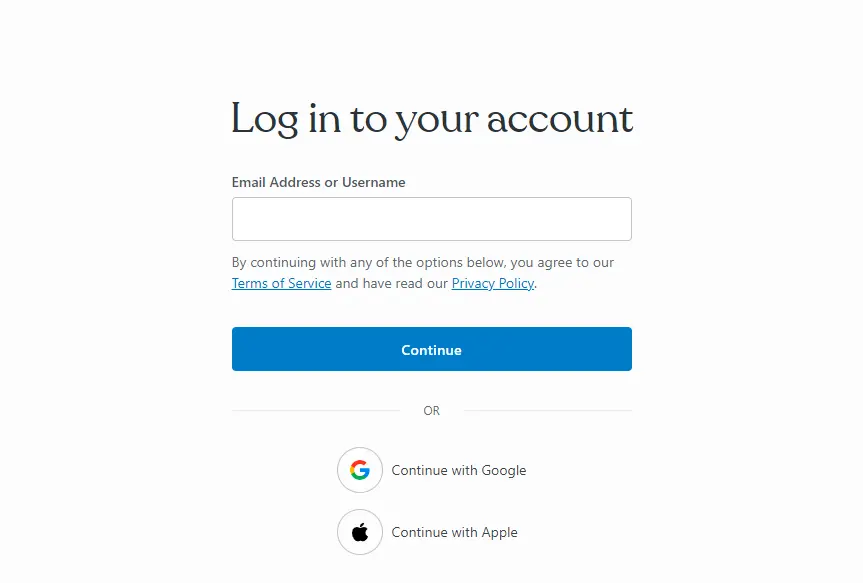
- Log into your wordpress.com account.
- Navigate to the "Plugins" section in the WordPress dashboard and click the "Upload" button.
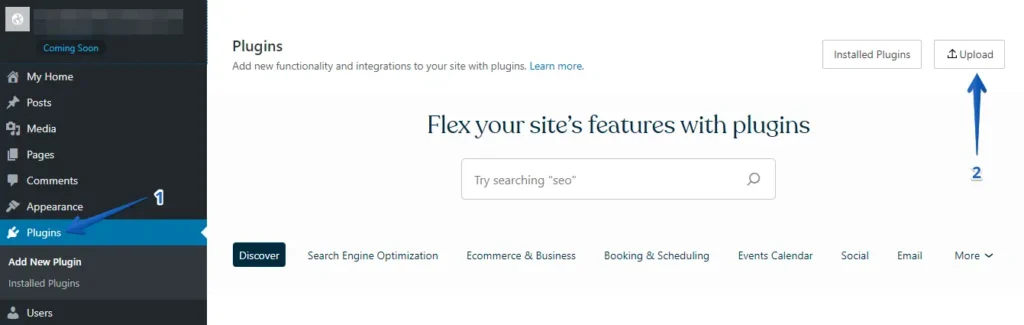
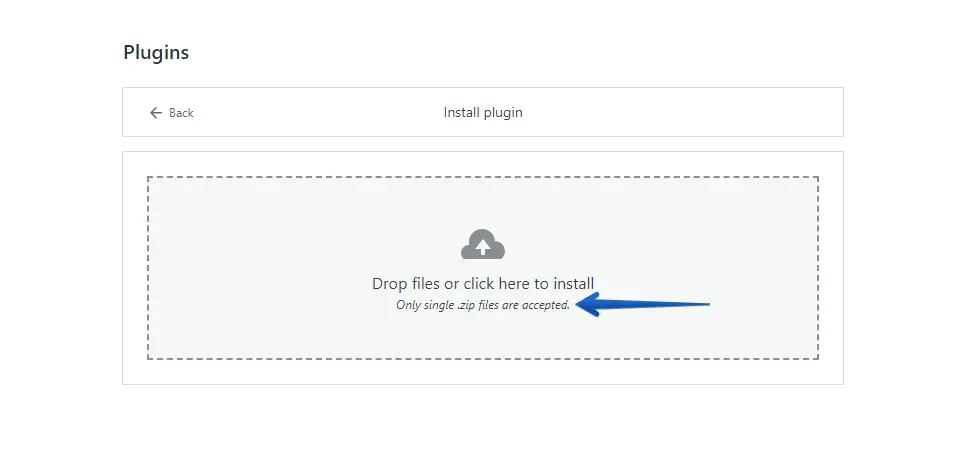
- Next, upload your WP Staging | Pro.
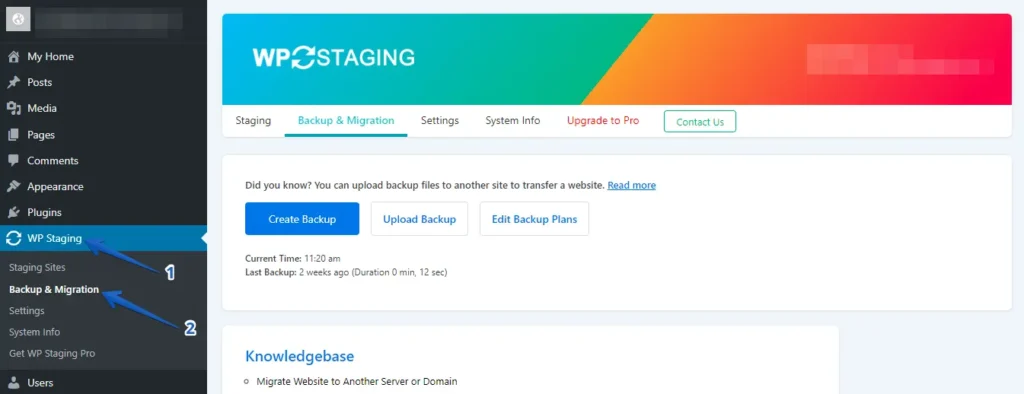
- Once you’ve installed and activated it, navigate to the “Backup & Migration” section in the WordPress dashboard under “WP Staging | Pro.”
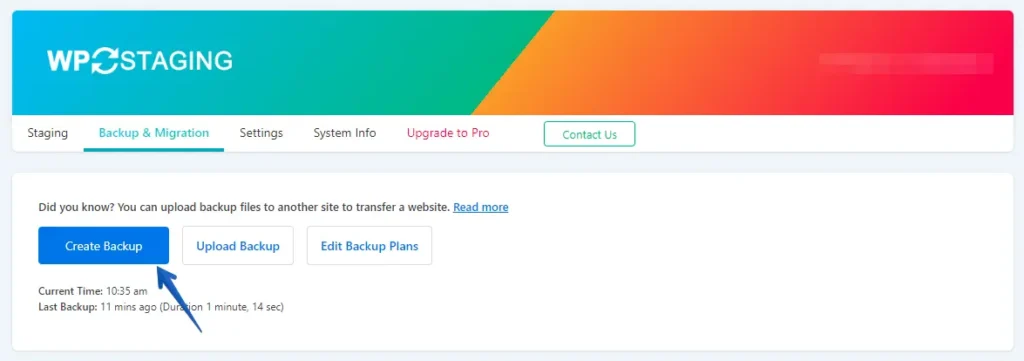
- If you already possess a current backup, fantastic. Otherwise, click the “Create Backup” button to generate a new backup.
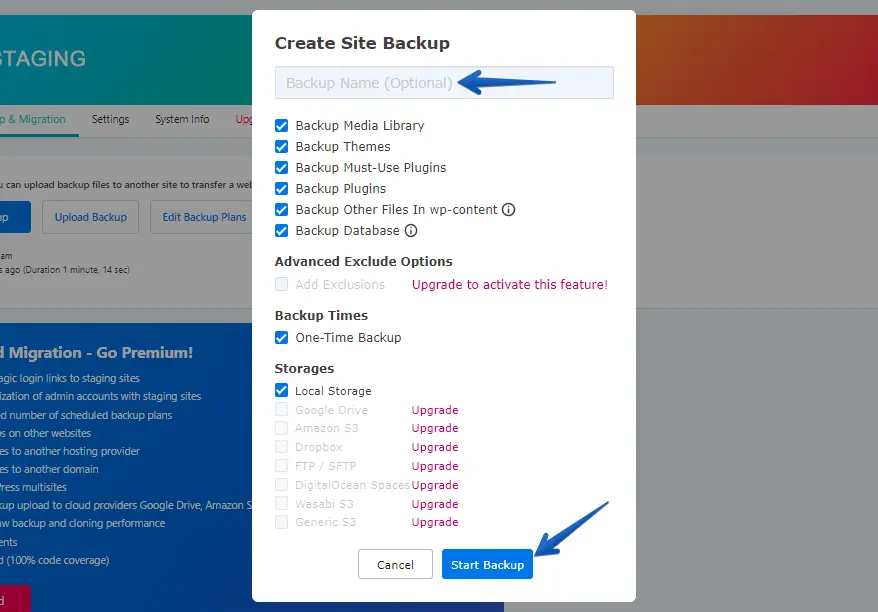
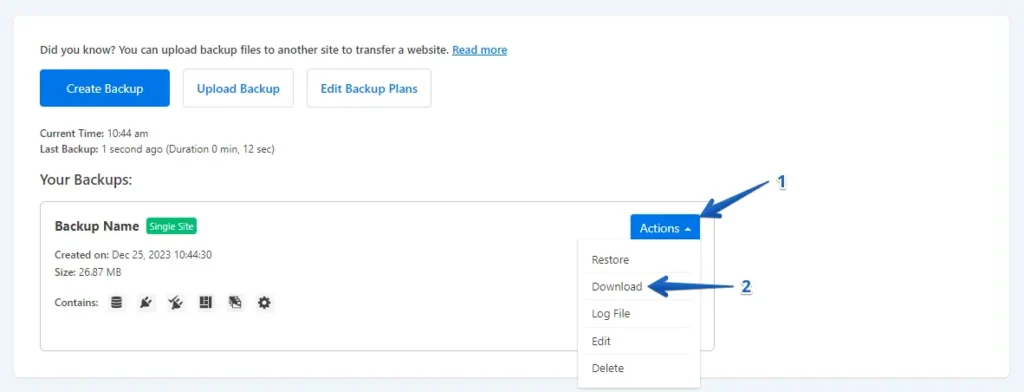
- Provide a name for your backup, then click the “Start Backup” button.
- The backup process has been successfully finished.
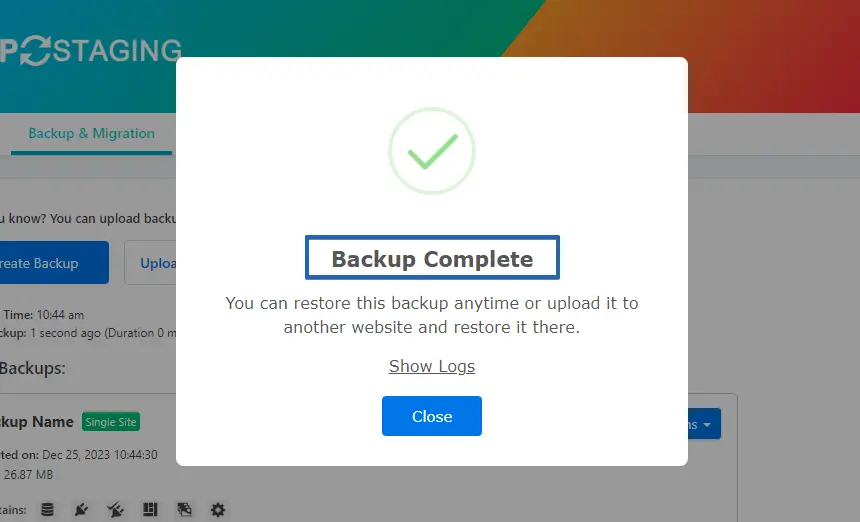
- Once the backup process is complete, you will usually see a "Download" option under the "Action" button. Be sure to save this backup file securely on your computer.
2. The Migration Process
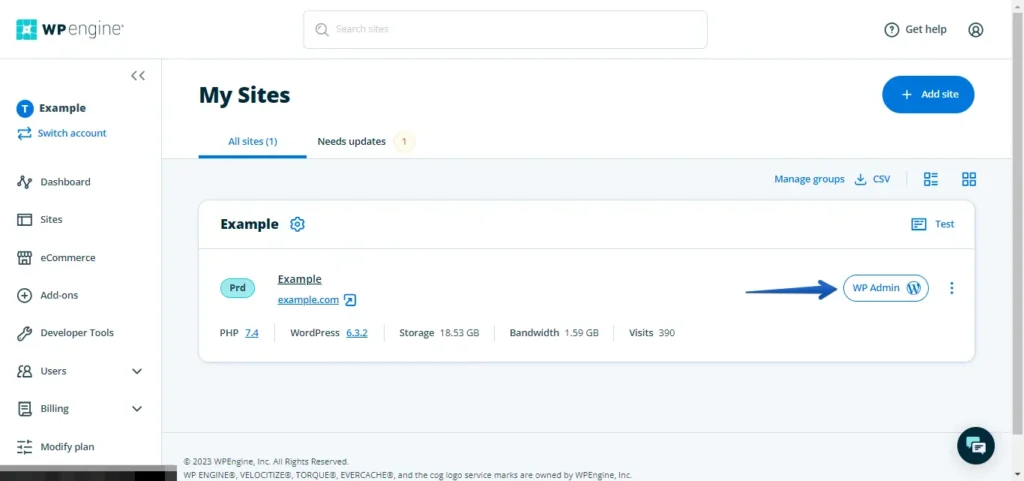
- Log into your WP Engine WordPress website using your username and password, or access the admin panel through WP Engine.
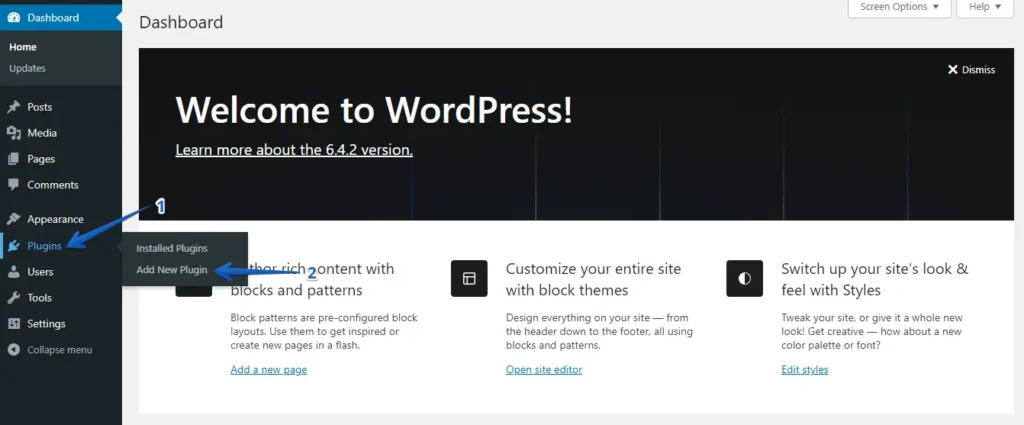
- Navigate to the menu on the left-hand side, click "Plugins," and then click on "Add New."
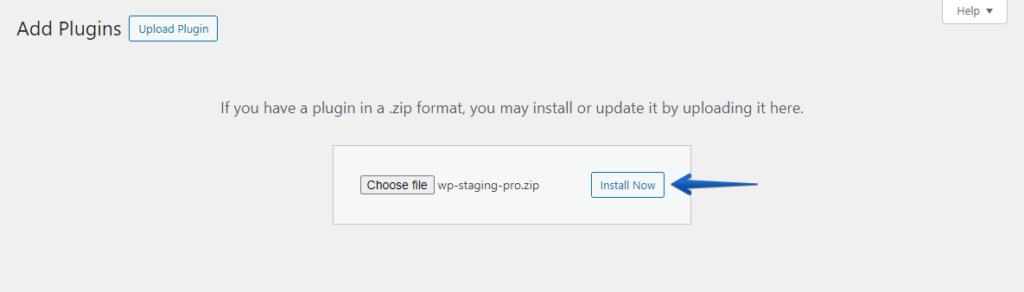
- Click the “Upload Plugin” button, and then click “Choose File” to upload the WP Staging Pro plugin.
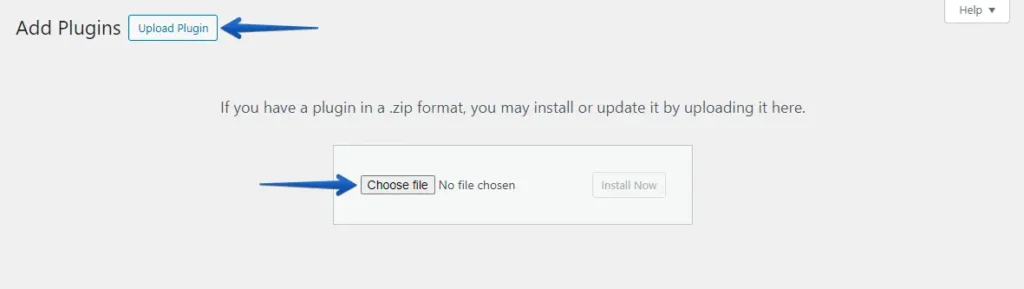
- Afterward, click the ‘Install Now’ button.
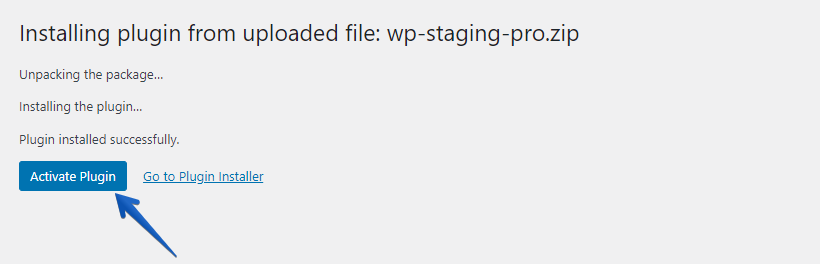
- After installing the plugin, activate it.
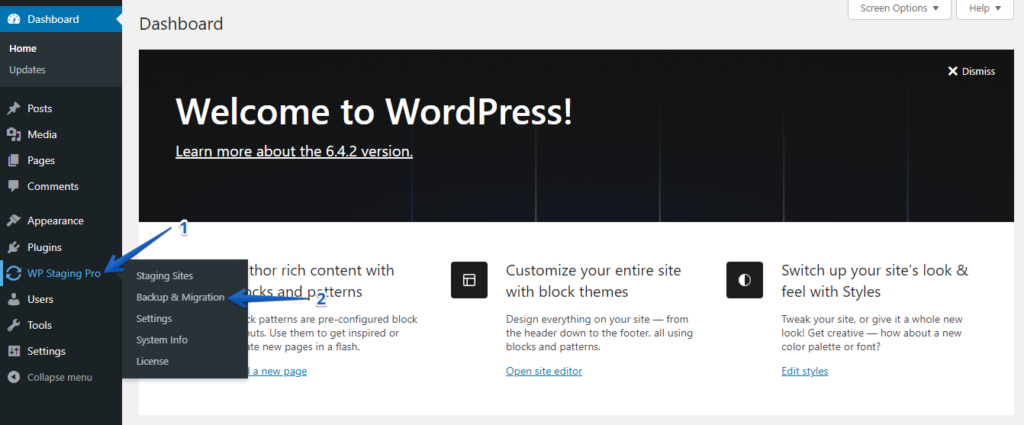
- Navigate to the left-hand menu, locate ‘WP Staging Pro,’ and click the ‘Backup & Migration’ option.
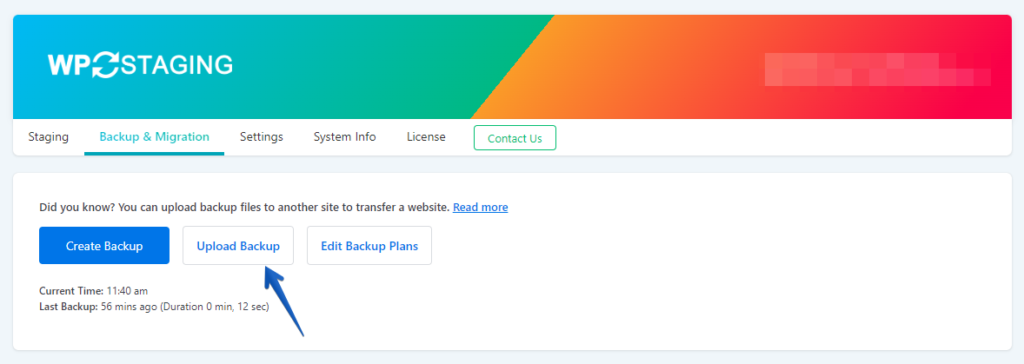
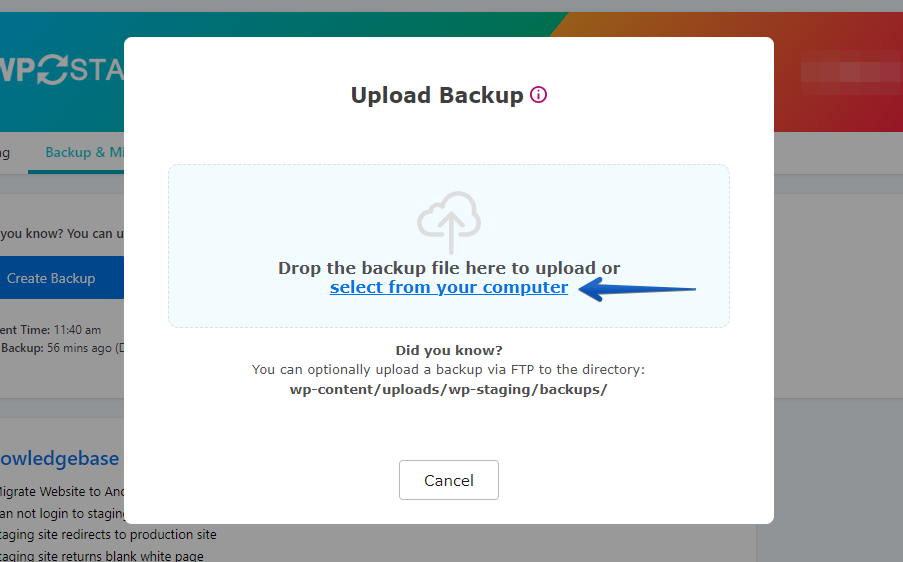
- Next, click the ‘Upload Backup’ button.
- Upload the backup file you exported from your WordPress.com website.
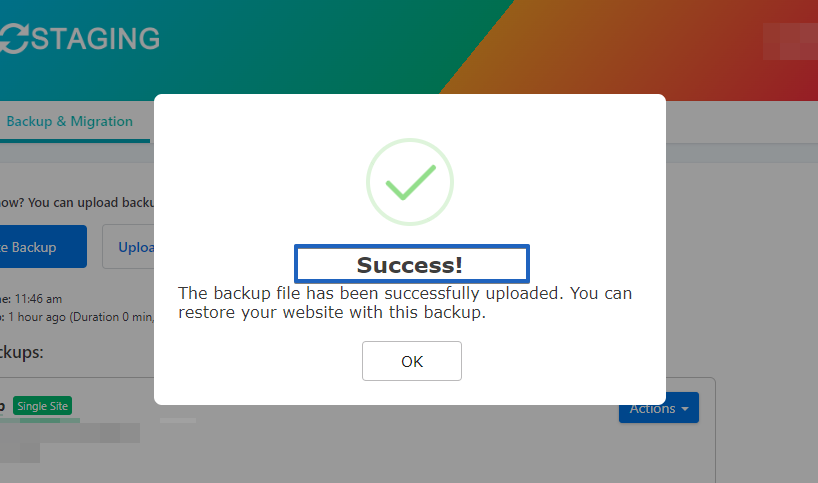
- The backup has been successfully uploaded.
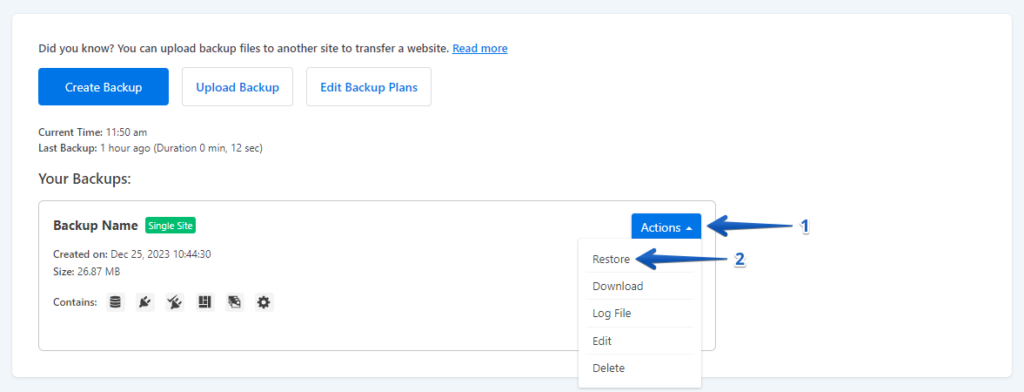
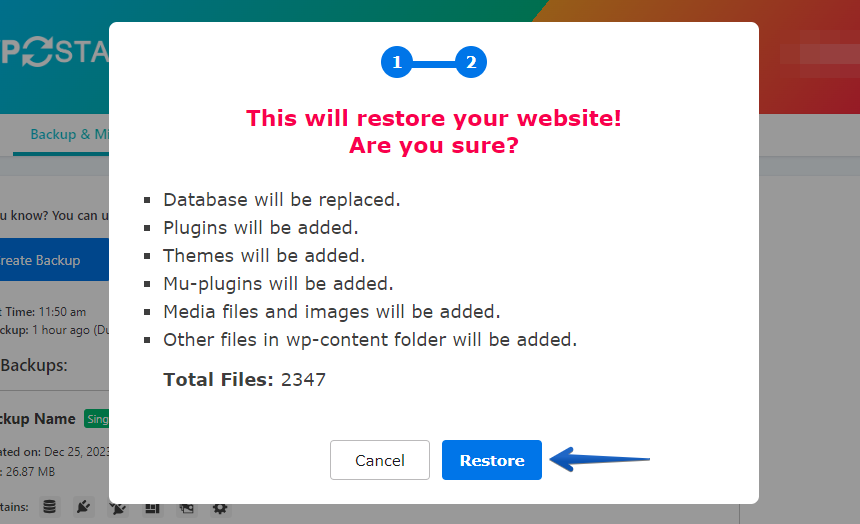
- After that, click the ‘Action’ button, and then choose the ‘Restore’ option.
- Click the ‘Next’ button.
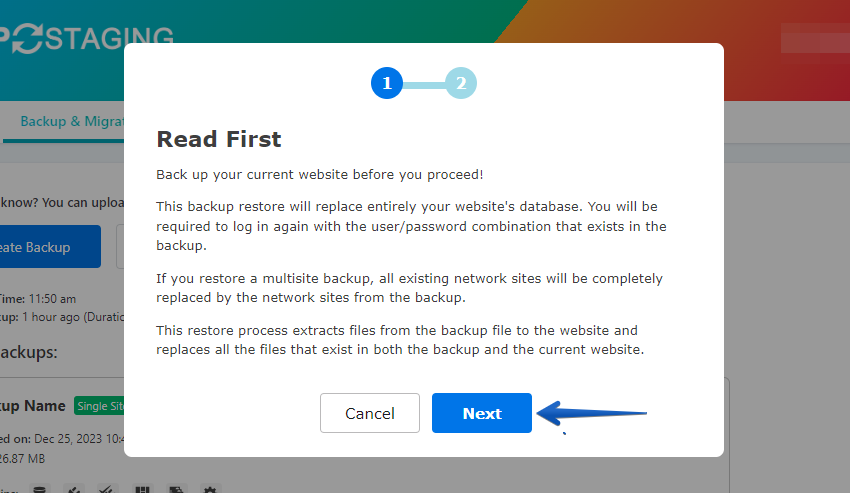
- Next, press the ‘Restore’ button.
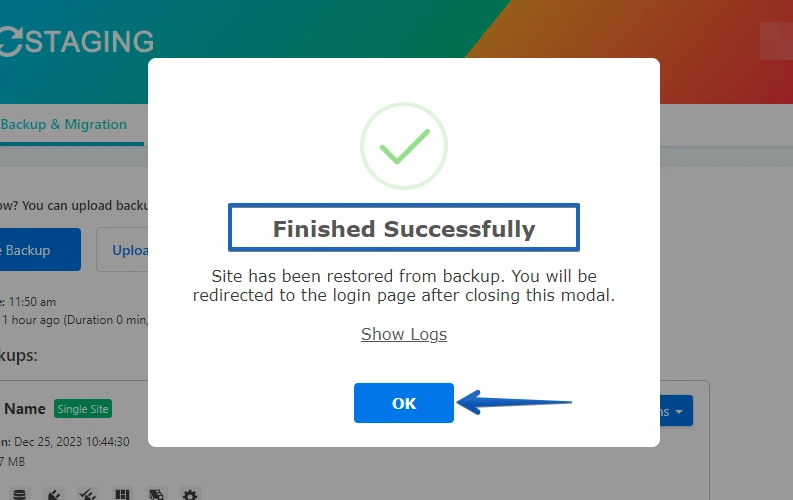
- The backup has been restored successfully.
- Click the "OK" button.
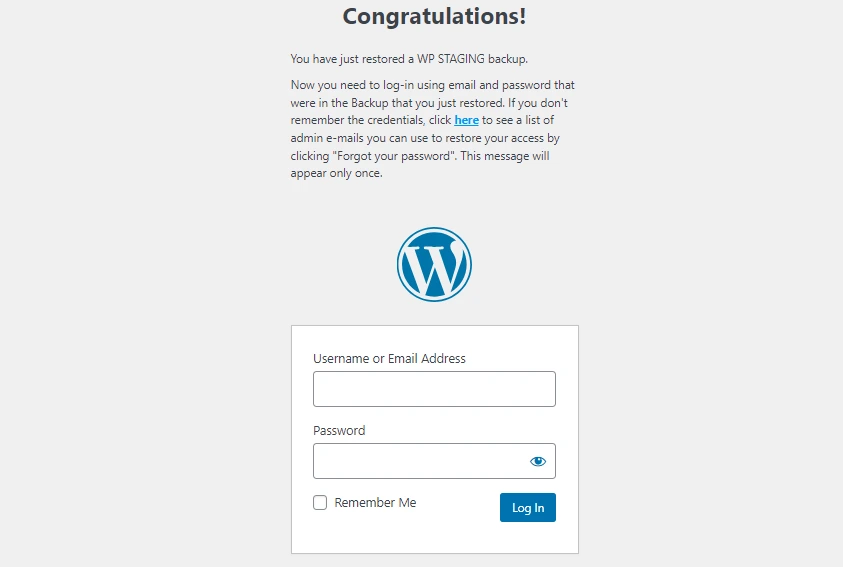
- Access your WordPress website again.
Perform a thorough website test on WP Engine to confirm the proper functionality of all components. Additionally, review all content for accuracy and formatting.
Conclusion
It’s crucial to back up your entire WordPress.com site, including all files and databases, to prevent data loss. This step is like packing up all your valuables safely before a big move.
Next, please review and update any outdated plugins and themes to ensure compatibility with WP Engine’s environment; think of it as making sure your furniture will fit through the door of your new home.
Additionally, since WP Engine has specific security measures and configurations, disabling any WordPress.com-specific plugins or features that might not be supported on WP Engine is wise.
Lastly, carefully consider the timing of your migration to avoid peak traffic times, minimizing the impact on your site’s visitors. Imagine moving house when the roads are clear to avoid traffic jams.