Navigating the transformation from a BuddyPress staging environment to the vibrant realm of the live production site demands a delicate touch and unwavering accuracy. This comprehensive guide unravels the complexities, presenting you with expert strategies and invaluable insights to orchestrate a flawless transition.
For developers and community managers alike, conquering this migration holds the key to elevating your online community experience while keeping disruptions at bay.
Why Push BuddyPress Staging Site to Production?
Here are the reasons why pushing BuddyPress staging sites to production is essential.
- User Validation: Deploying to production tests real-world functionality and user experience, guaranteeing your platform works as intended for users.
- Bugs and Issues: Reveals and resolves hidden problems for a smoother user experience by addressing compatibility issues not caught in staging.
- Data Integrity: Safeguard your community’s content during staging-to-production migration, preserving consistency.
- Security Testing: Assess user data and interactions for vulnerabilities in a live environment, enhancing protection.
- SEO and URLs: Pushing to production ensures that your site’s SEO settings, URLs, and permalinks are correctly configured for search engines and users.
Remember that pushing from staging to production is a critical step in the development lifecycle, allowing you to fine-tune and optimize your community platform for your users’ benefit.
Push BuddyPress Staging Site to Production
Step 1: Install and Activate WP Staging Pro
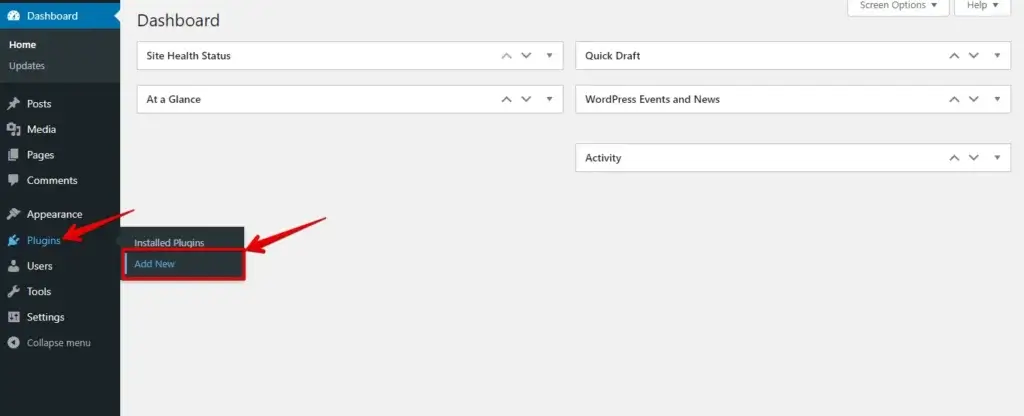
- Log in to your WordPress dashboard.
- Navigate to the "Plugins" section and click "Add New."
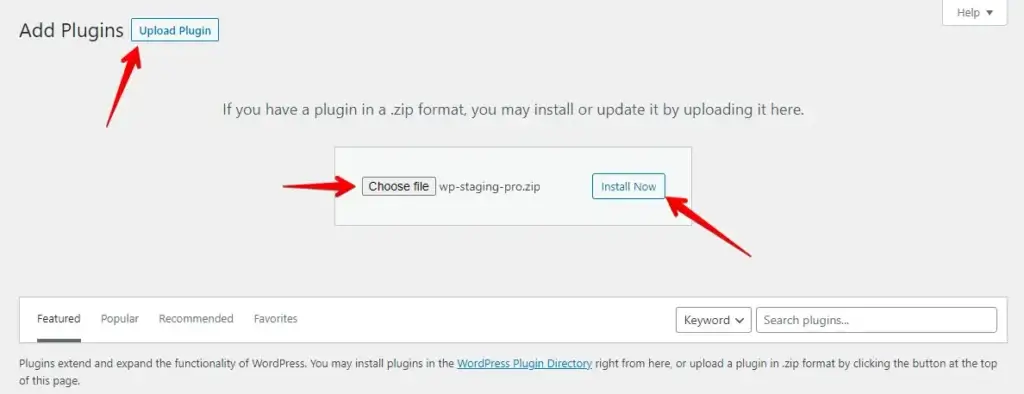
- Subsequently, click the "Upload Plugin" button and upload your "WP Staging Pro" plugin file, followed by clicking the "Install Now" button.
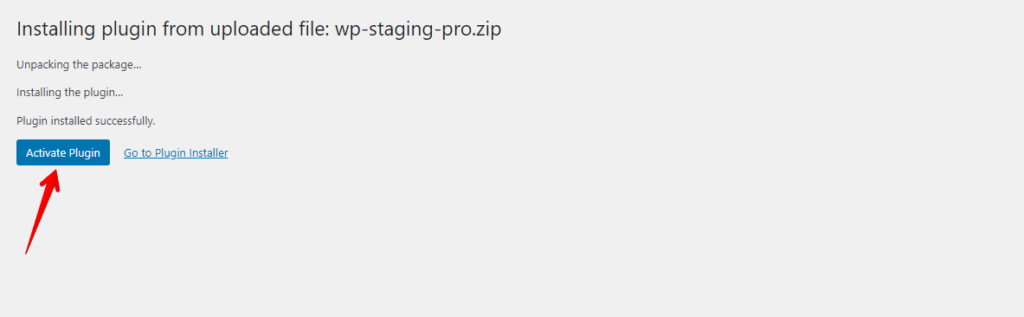
- Activate the plugin.
IN CASE YOU MISSED IT, DOWNLOAD THE WP-STAGING PLUGIN FOR FREE!
Step 2: Create a Backup Using WP Staging Pro
Before you start, generate backups of your production sites using "WP Staging Pro." These backups are vital safeguards in case any issues arise during the staging site creation process.
Below, you’ll find a detailed guide outlining the process of creating a backup with WP Staging Pro:
- Once WP Staging Pro is activated, navigate to your WordPress dashboard and locate the "Backup & Migration" option within WP Staging Pro.
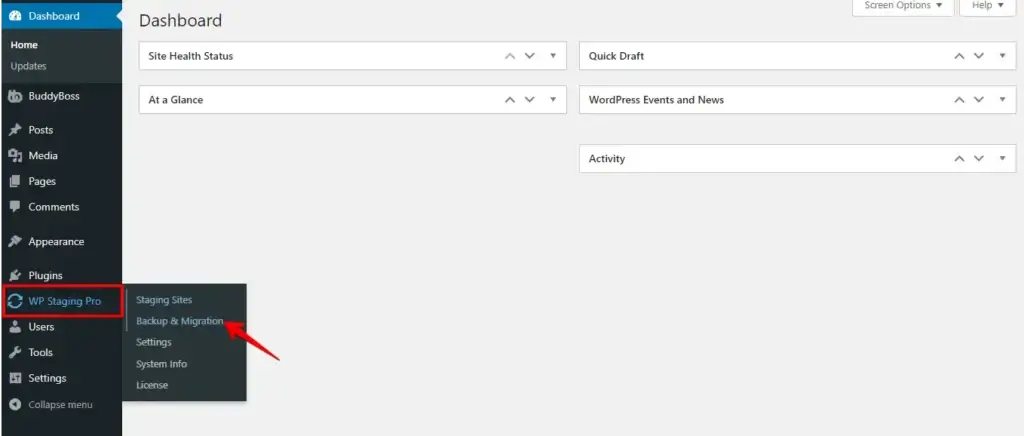
- Next, click on the "Create Backup" button.
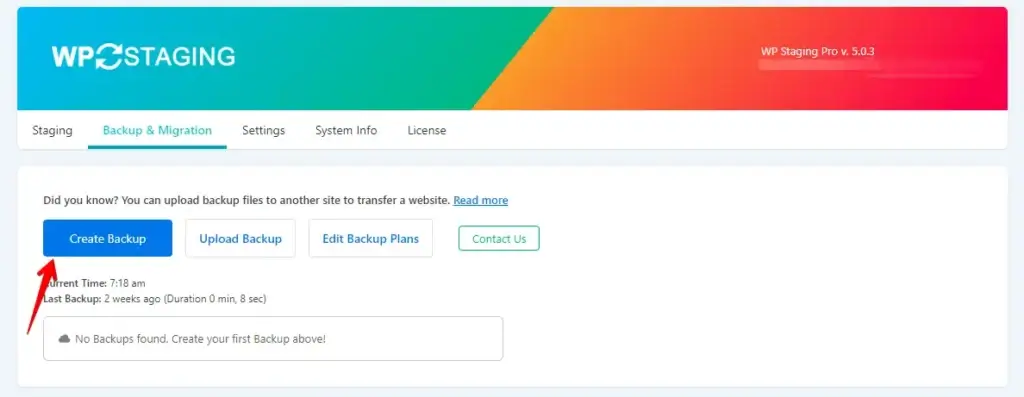
- Choose a name for the backup, then select the "All" checkbox to create a complete backup of your website. Finally, click the "Start Backup" button to proceed.

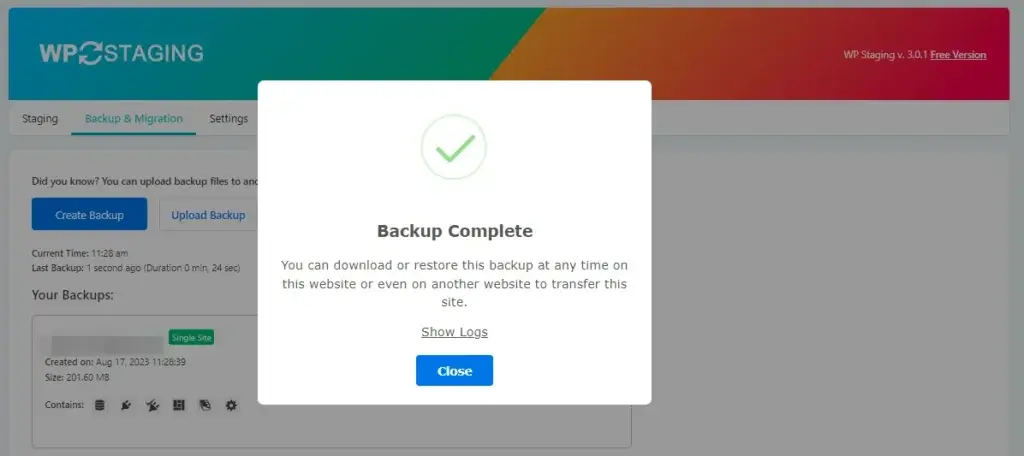
- The backup has been successfully created.
Step 3: Create a Staging Site
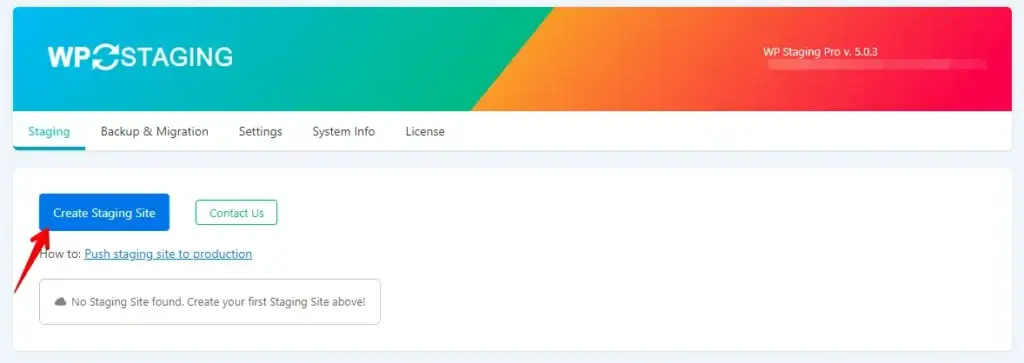
- Once the backup is complete, find the WP Staging option in your dashboard’s sidebar and then access the "Staging Sites" tab by clicking on it.
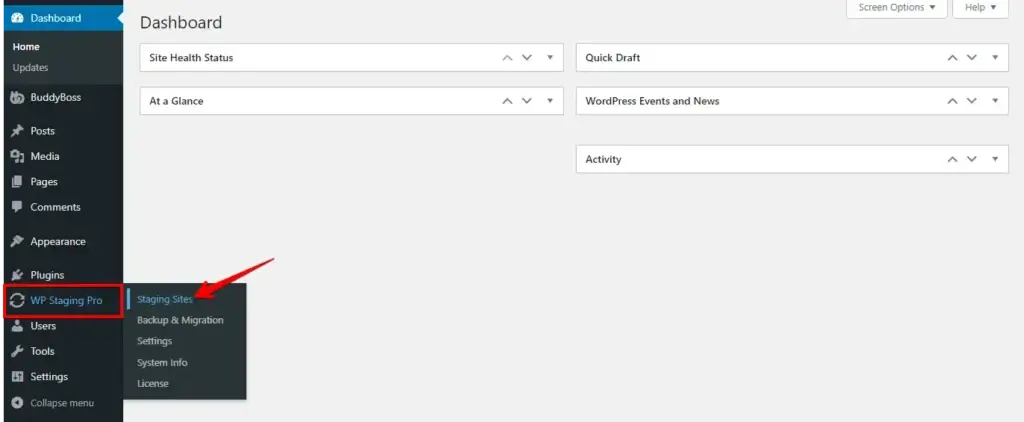
- Now click on the "Create Staging Site" button.
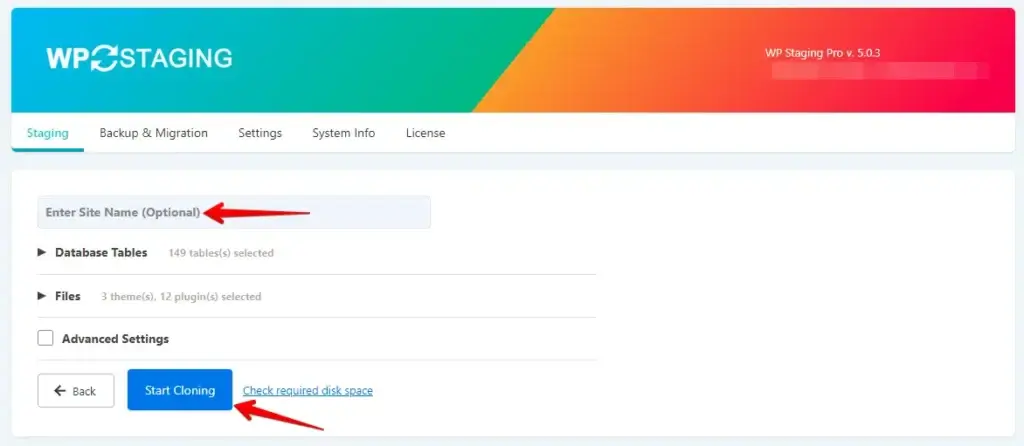
- Specify a name for the staging site, then click the "Start Cloning" button.
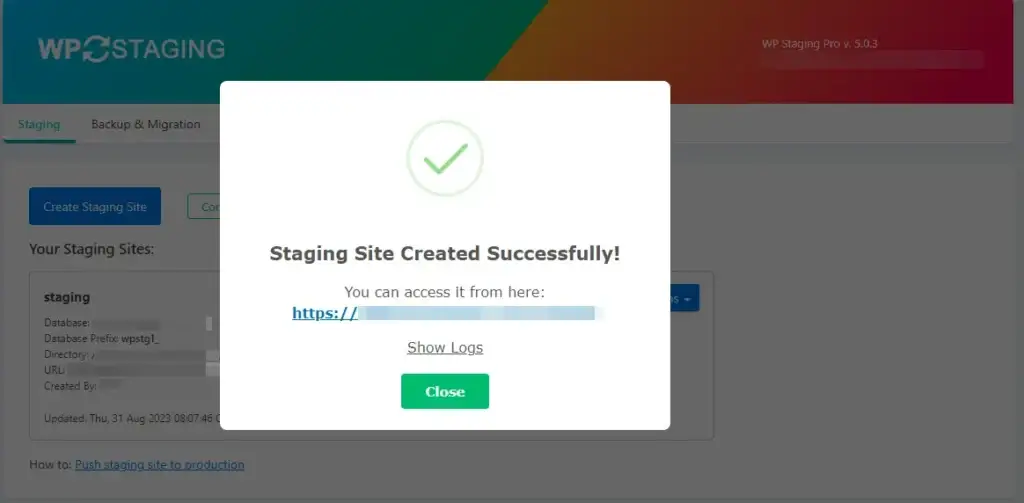
- The staging site has been created successfully.
Step 4: Ensure that BuddyPress Operates as Intended on the Staging Site.
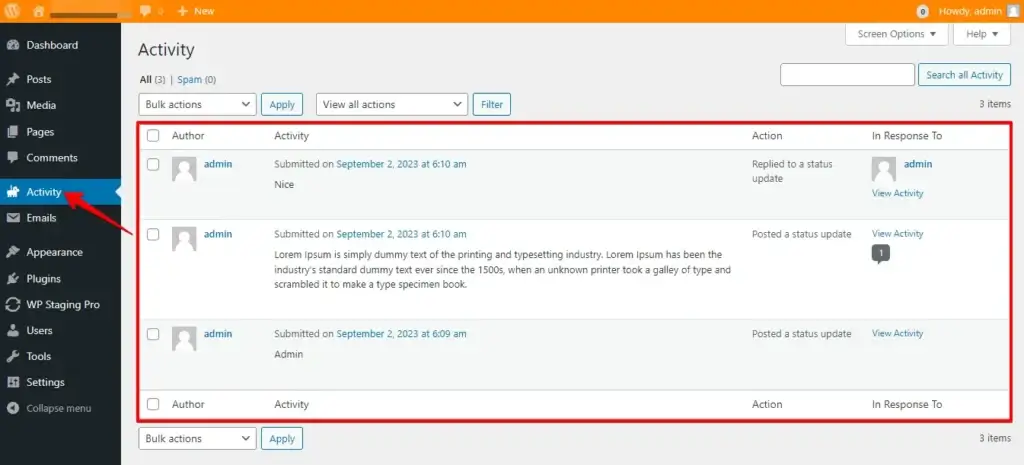
- Here are my "Production site" Activities.
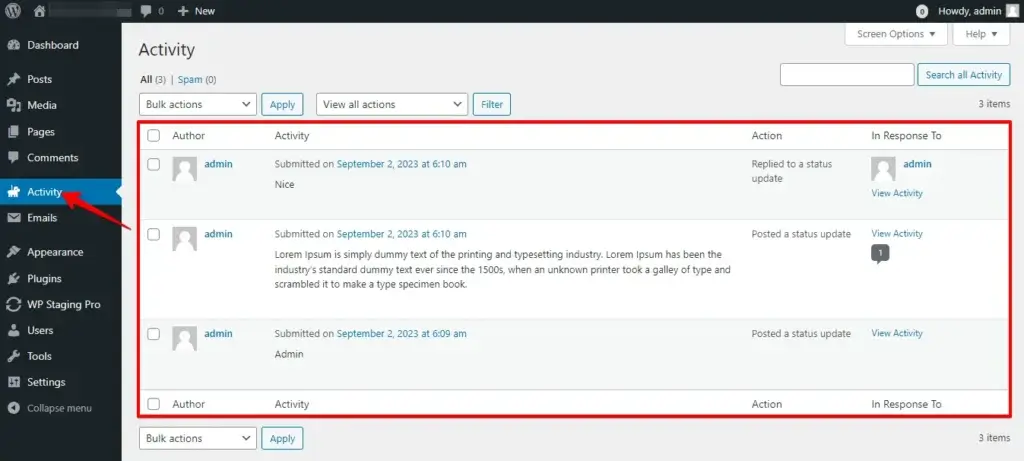
- Here are my "Staging site" Activities.
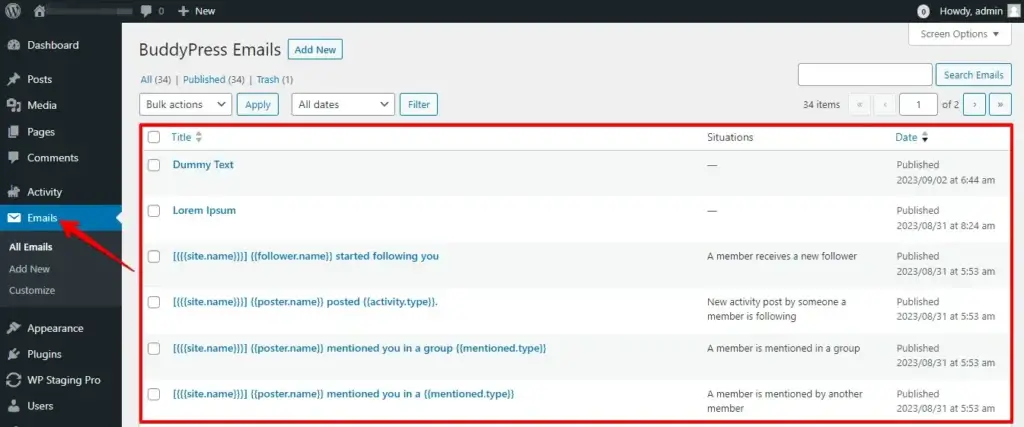
- Here are my "Production site" Emails.
- Here are my "Staging site" Emails.

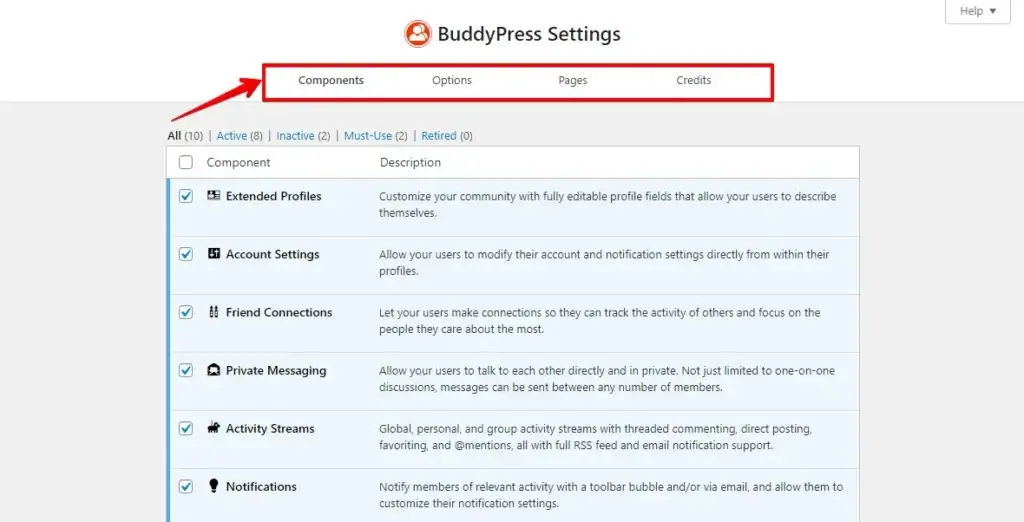
- Systematically review the settings within each tab, one at a time.
As you can see, every word has been preserved; the WP Staging plugin has successfully duplicated all the data from my production site to the staging site, ensuring complete security.
Step 5: Testing and Implementing Alterations
Your staging site has been accurately replicated to mirror your production site. Feel free to test updates, plugins, and themes and make any desired alterations.
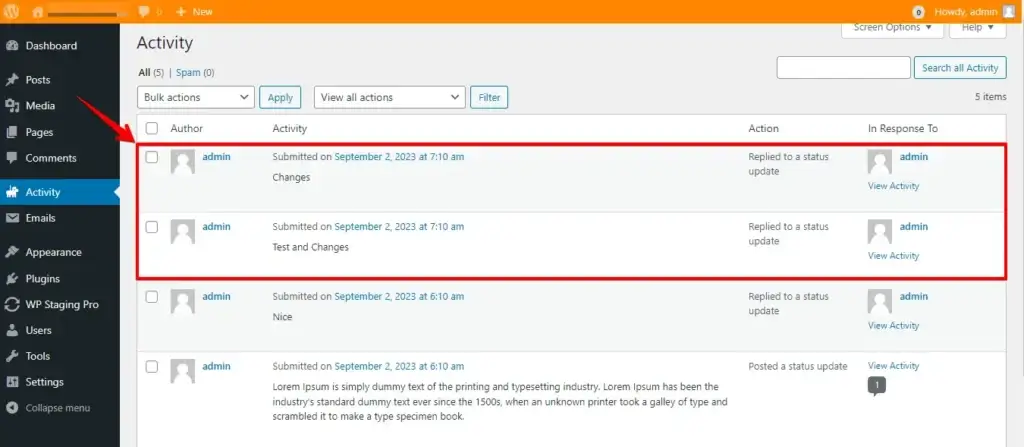
- As you can observe, I have created new activities on my staging site.
Step 6: Backup Your Staging Site
Before proceeding further, create an additional backup of your BuddyPress staging site. This dual backup strategy adds an extra layer of security to address any potential complications during the migration process.
Step 7: Pushing Your Staging Site to Production Site
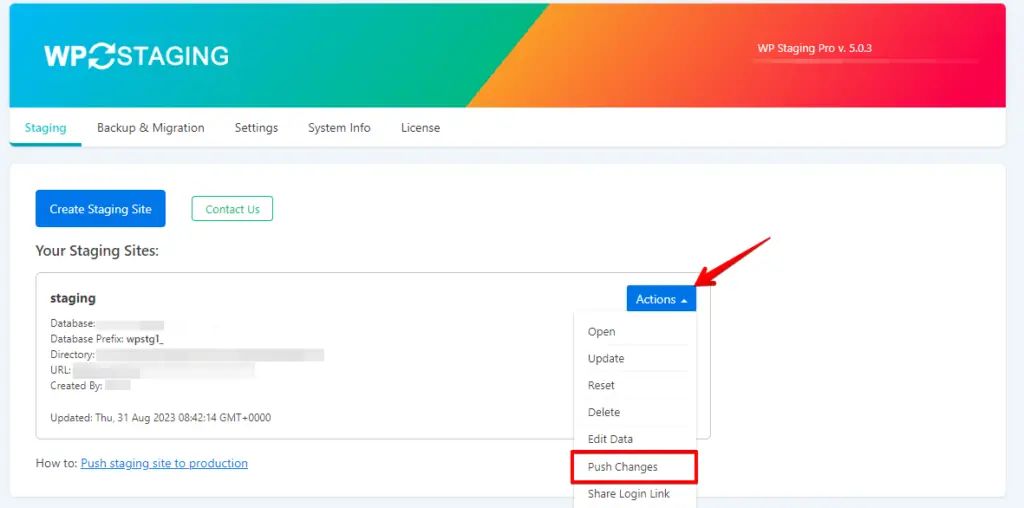
- Now, navigate to your production site and click on the "Staging Sites" option to find the staging site.
- Within the WP Staging plugin interface, you’ll see an "Actions" button granting access to the "Push Changes" option. Proceed by clicking the "Push Changes" button.
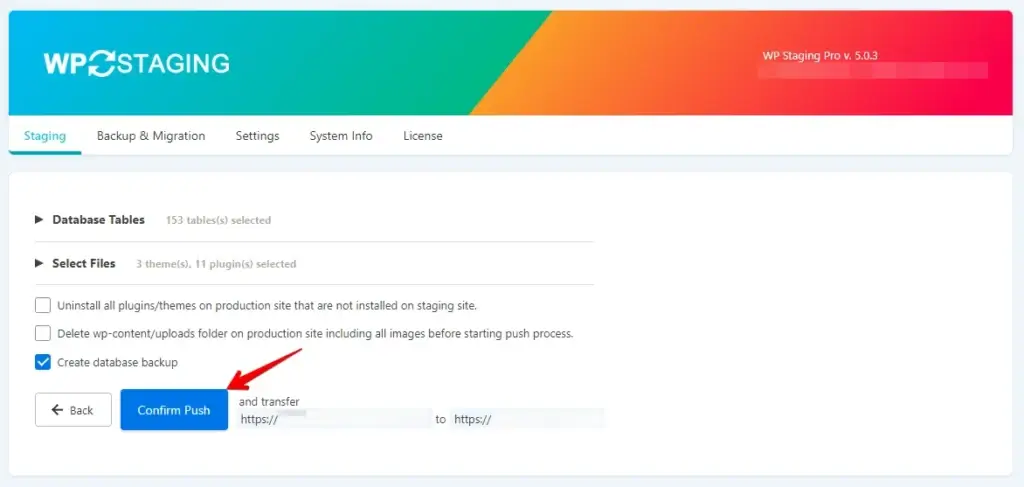
- Next, click on the "Confirm Push" button.
- Next, proceed to click the "Push" button.
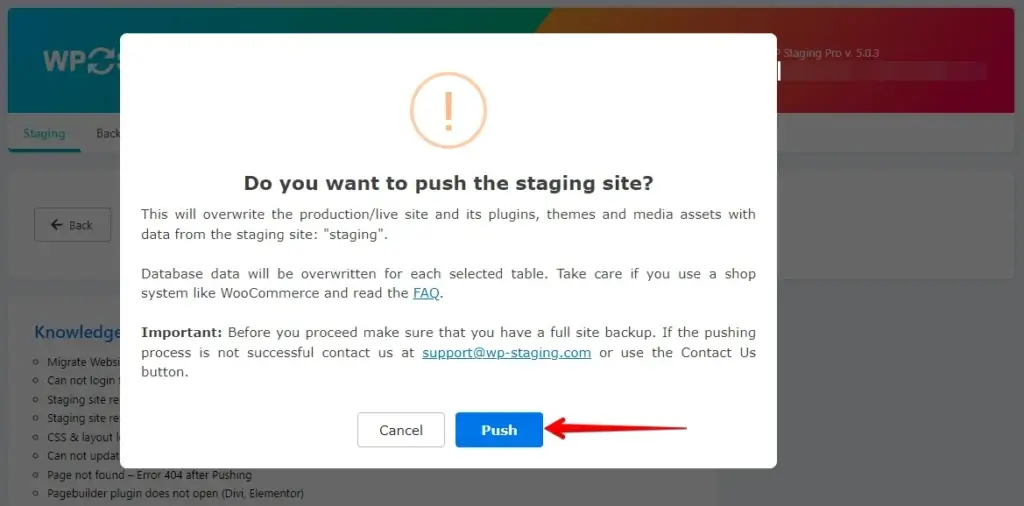
- Your staging site has been successfully pushed to your Production Site.

Step 8: Check the Production Site Changes
Here, you can observe all the updated emails on my production site. This is the secure method for pushing your BuddyPress staging site to your production site.

Step 9: Backup and Safety
After successful migration, create a new backup of your production site. This backup will be valuable for restoration if any issues arise after the migration.
Conclusion
WP Staging streamlines the process of moving BuddyPress staging sites to production. Following the steps ensures a smooth transition, maintaining data integrity and user experience.
Its user-friendly interface minimizes disruptions for an optimized online community. Don’t forget testing, backups, and best practices for success.