Is your WordPress site showing a “Not Secure” warning? Do you see this warning across multiple pages on your site? This common but serious issue can scare away visitors and hurt your site’s search engine rankings. So, how can you fix this and secure your site?
The solution is straightforward. You need to set up an SSL certificate for your site. This can mean installing a new one, fixing the configuration of your current certificate, or renewing it if it has expired. If that sounds confusing, don’t worry.
In this article, we’ll guide you through the steps to remove the “Not Secure” warning from your WordPress site.
What Is Your WordPress Site Not Secure Warning?
A WordPress site usually shows a “Not Secure” warning because it lacks a valid SSL/TLS certificate, which secures the connection between the server and the user’s browser. This can happen if the certificate is expired, misconfigured, or missing. Without it, the site URL won’t have the “S” in “HTTPS,” leading browsers to flag it as “Not Secure.”
Another reason for this warning is mixed content. This occurs when a site uses HTTPS, but some elements, like images or scripts, still load over HTTP. This often happens when media files or plug-ins link to insecure URLs.
Fixing “Not Secure” warnings is crucial. Google values secure websites and uses HTTPS as a ranking factor. An unsecured site risks users’ data and can harm your SEO.
What Causes a Secure Connection Error in WordPress?
Expired SSL Certificate – If your SSL certificate has expired, it will cause a secure connection error.
Misconfigured SSL Certificate – If the SSL certificate is not installed correctly, it can prevent establishing a secure connection.
Mixed Content Issues – Mixed Content (HTTPS and HTTP) Triggers Secure Connection Error.
Incorrect WordPress Address or Site Address – If the WordPress Address (URL) or Site Address (URL) settings in your WordPress dashboard are wrong, the secure connection may fail.
Server Load or Downtime – Heavy server load or downtime can lead to temporary connection issues.
Note: It’s a good idea to back up your website before you make any changes. You can quickly restore your site to its previous state if something goes wrong. You can use WP Staging for easy automatic backups. Check out the backup and restore guide for more help.
Reload the Page
Reloading the page can sometimes resolve the HTTP 501 Not Implemented Error in WordPress, mainly if temporary server glitches or outdated cache data cause it.
By performing a simple reload or a hard refresh (using Ctrl + Shift + R on Windows or Command + Shift + R on macOS), you can ensure that your browser fetches the latest data from the server.
This method is quick, easy, and often effective, making it a significant first step in troubleshooting before moving on to more complex solutions.
Check the SSL Certificate
Checking the SSL certificate is essential to diagnose and resolve secure connection issues in WordPress.
Here’s a step-by-step guide on how to do it:
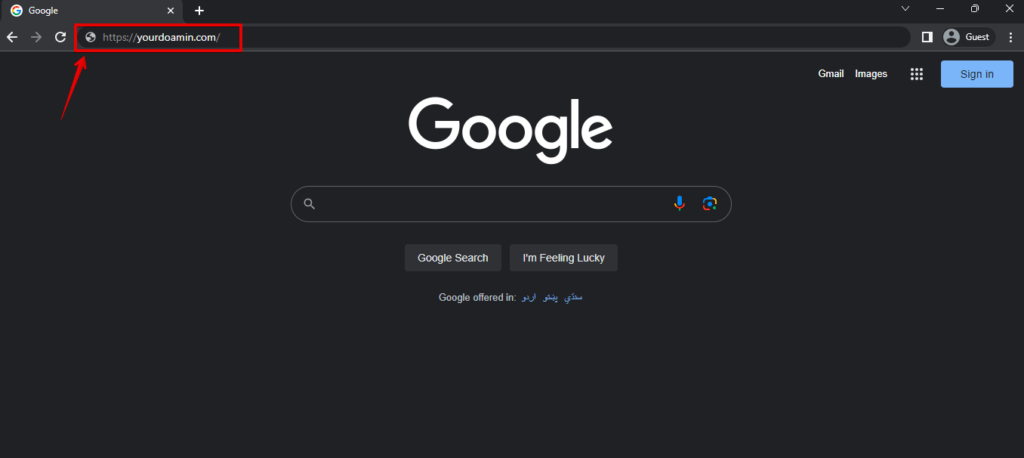
- Open your web browser and navigate to your WordPress website by entering the URL (e.g., https://www.example.com).
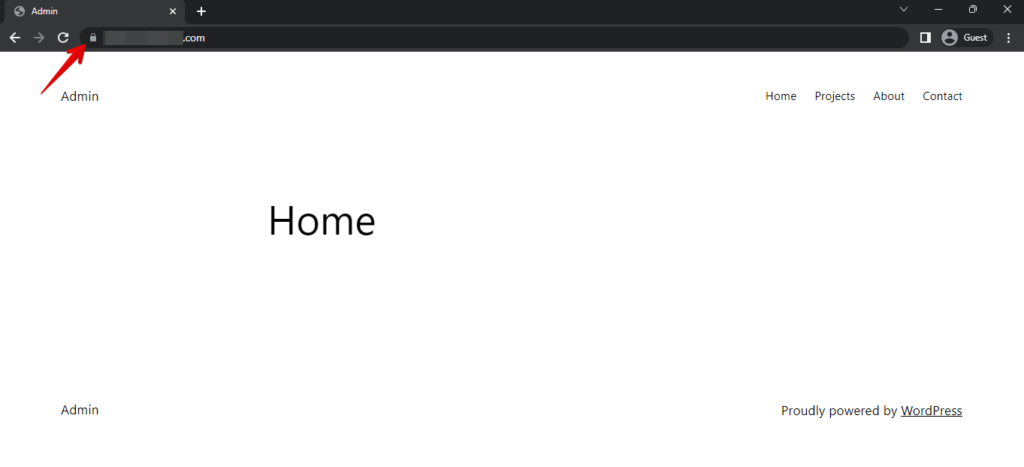
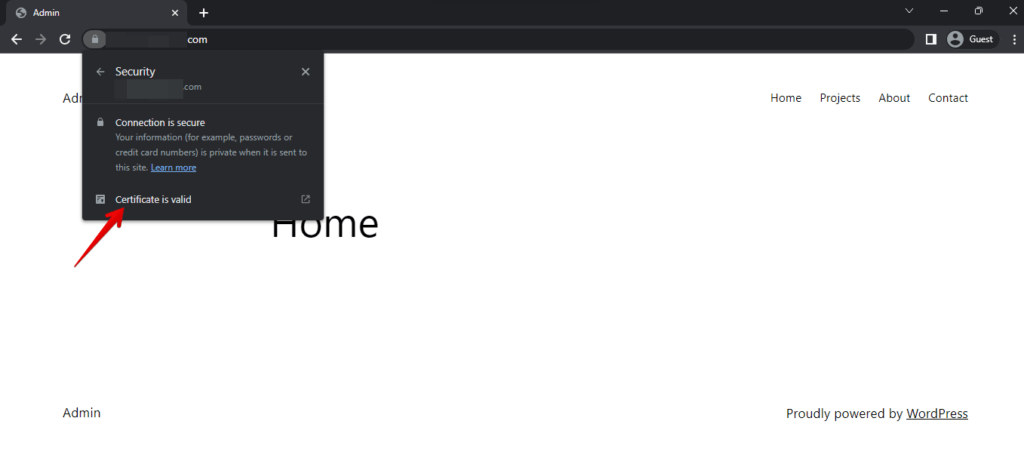
- Check the address bar for a padlock icon next to the URL; if present and green or with other secure indicators, the SSL certificate is valid, and a secure connection is established.
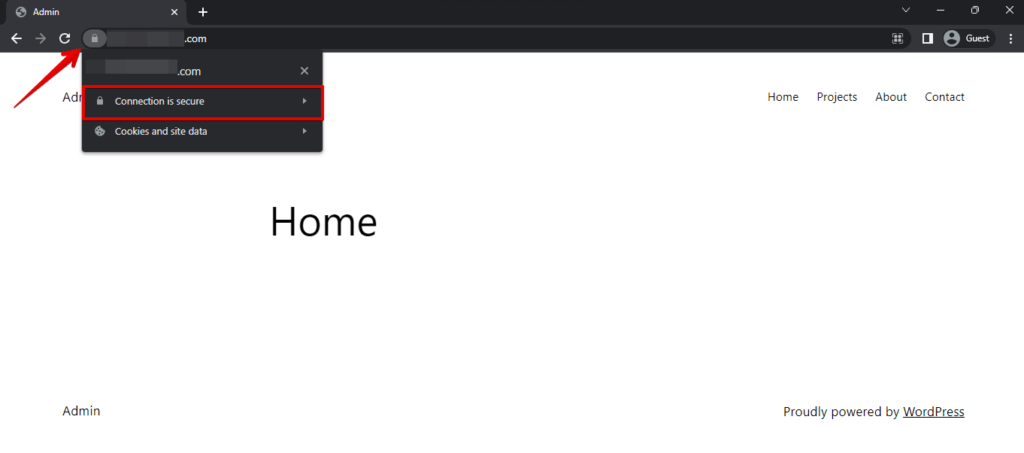
- Click on the padlock icon or the “Secure” label in the address bar. This action will display more details about the SSL certificate and the secure connection.
- Now, click on the valid certificate.
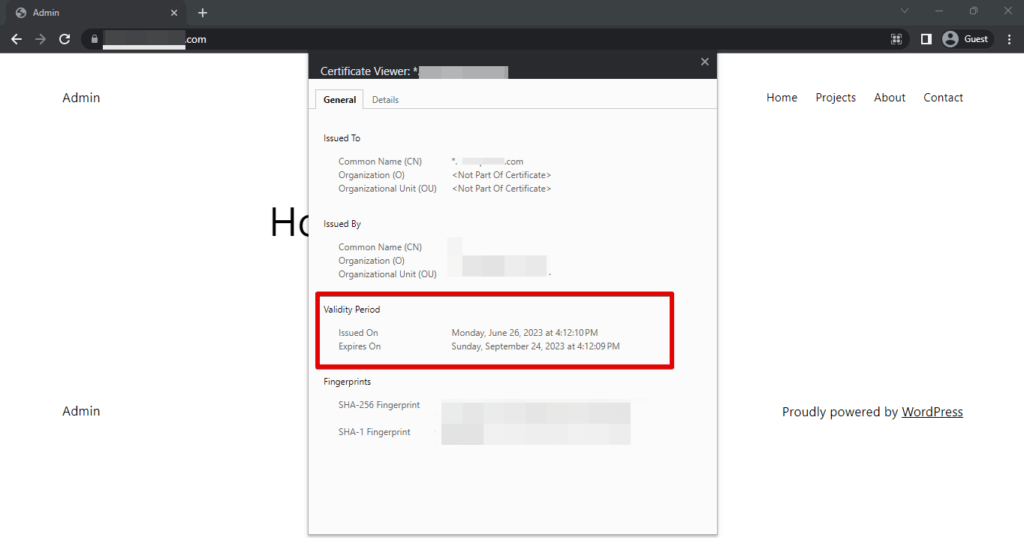
- In the certificate details, verify the issuer, validity period, and cryptographic keys used for encryption. Ensure it’s issued by a trusted authority and not expired.
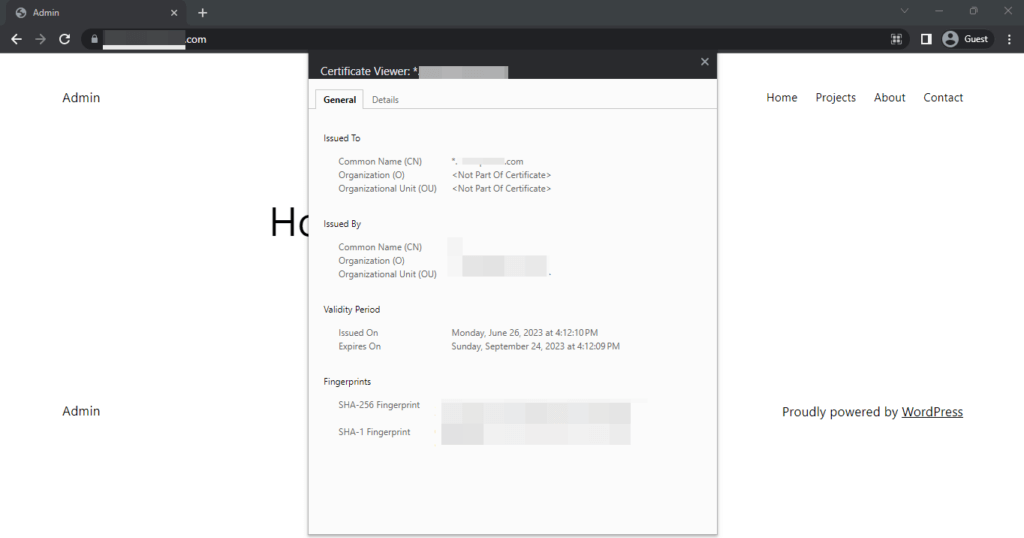
- Check the certificate’s “Valid From” in the past and “Valid To” in the future; an expired certificate blocks a secure connection.
By following these steps, you can check your WordPress website’s SSL certificate and ensure that it is valid and correctly configured, providing a secure and trustworthy browsing experience for your visitors.
Run an SSL Server Test
Running an SSL server test can help diagnose issues with a website’s SSL certificate that might be causing the “Your Connection Is Not Private” error. Here’s how to do it:
Go to a trusted SSL testing tool like SSL Labs’ SSL Test (https://www.ssllabs.com/ssltest/). In the provided field, enter the website’s URL experiencing the error and click the submit button.
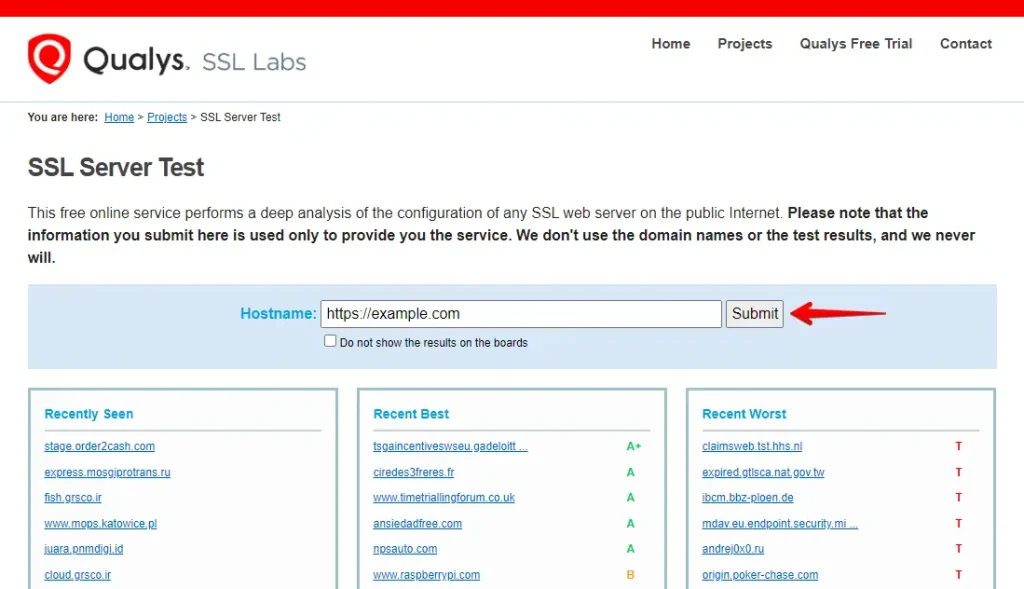
Review the test results for expiration dates, certificate chain problems, or security vulnerabilities. Inform the website administrator of any issues, and avoid using the site until they’re resolved.
Verify SSL Settings in WordPress
Verifying SSL settings in WordPress involves checking and ensuring that the website is configured correctly to use HTTPS (secure) URLs for all its content and communications.
Here’s an explanation of the steps involved:
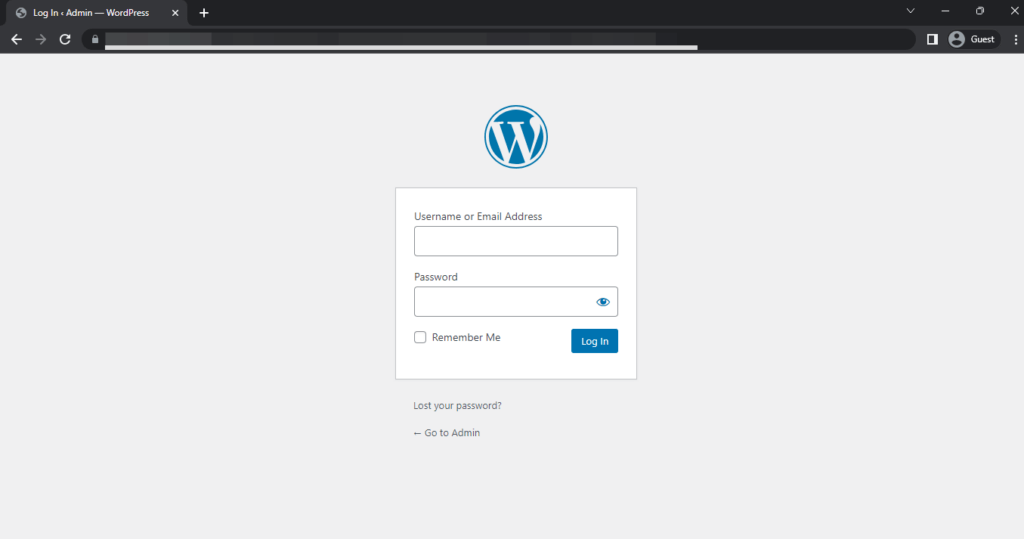
- Log in to your WordPress admin area by entering your username and password.
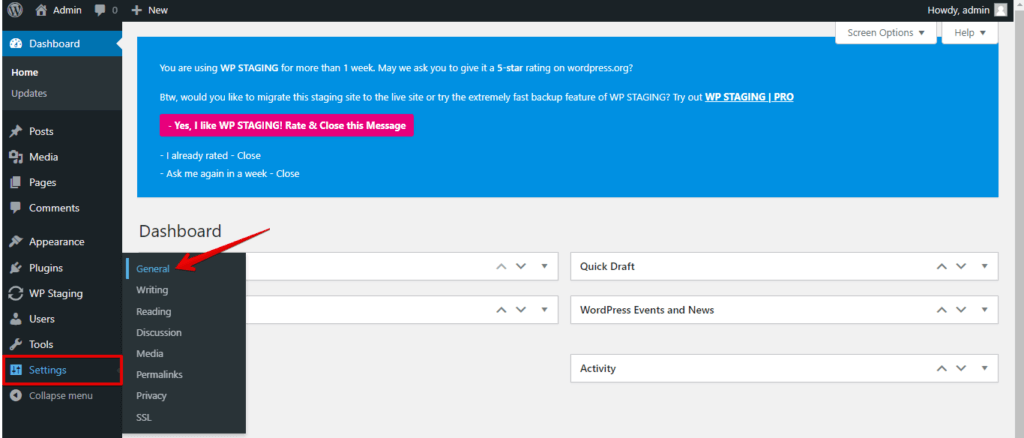
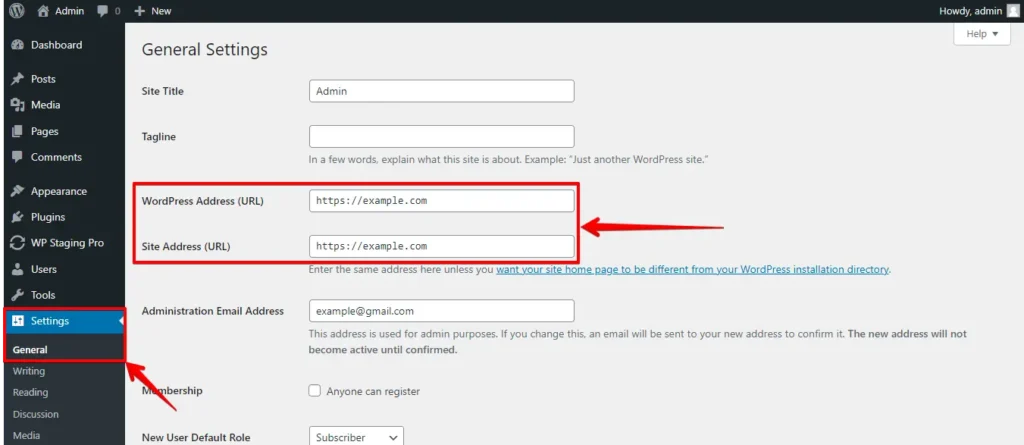
- Once logged in, click “Settings” in the left-hand menu and select “General” from the submenu.
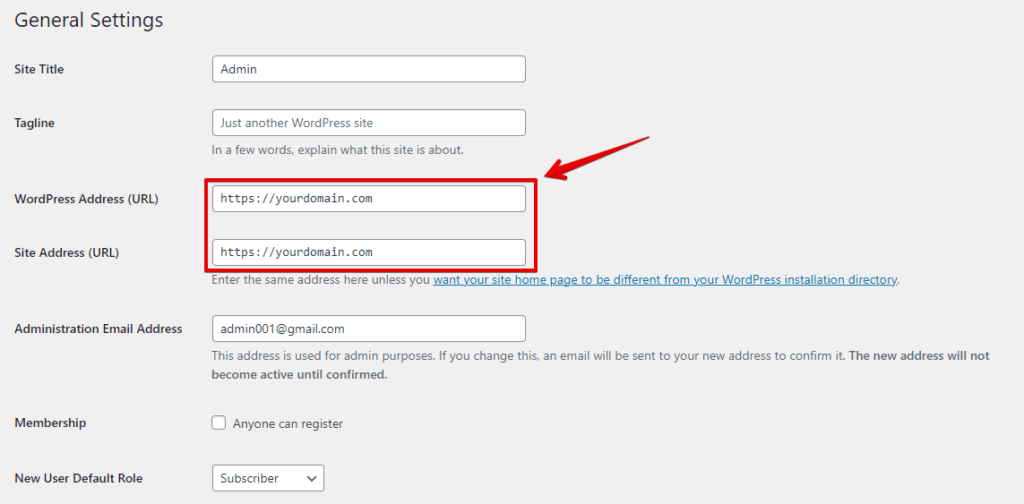
- In General Settings, check “WordPress Address (URL)” and “Site Address (URL).” Start both URLs with “https://” instead of “http://” and update if needed.
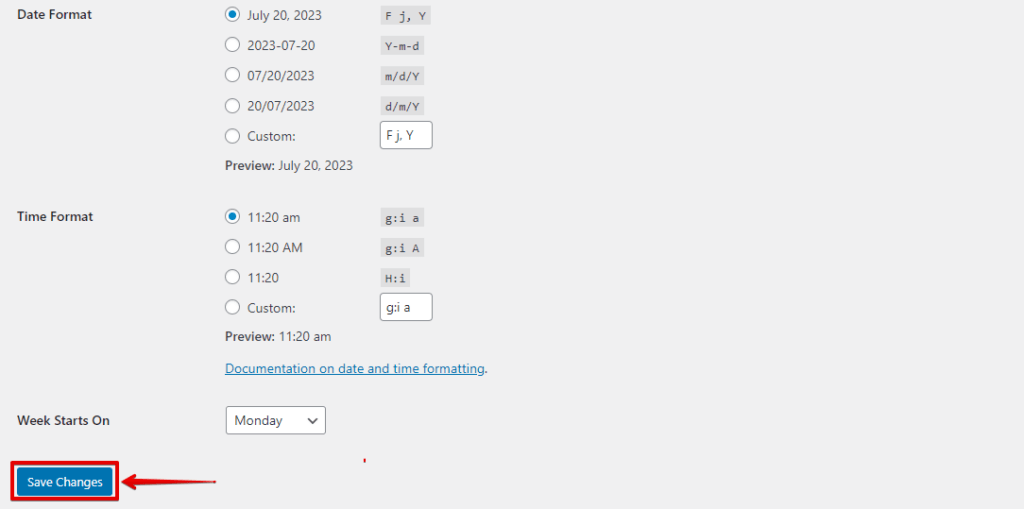
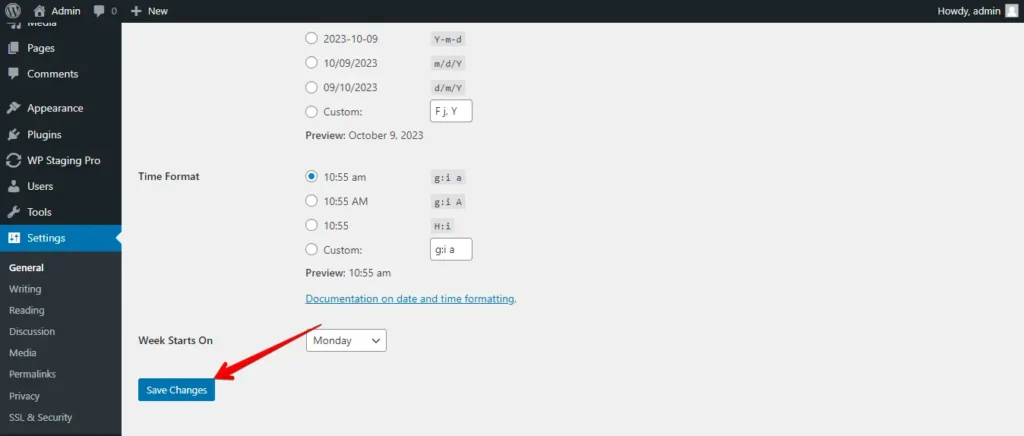
- If you need to change the URLs to use HTTPS, modify the URLs in the respective fields and then click the “Save Changes” button at the bottom of the page.
By following these steps, you can verify and set up SSL settings in WordPress, ensuring that your website securely uses HTTPS and provides a safe browsing experience for your visitors.
Manually resolved Mixed Content issue.
- Access your WordPress dashboard.
- Navigate to Settings » General and ensure that both the ‘WordPress Address’ and ‘Site Address’ options contain HTTPS URLs.
- When you find ‘http’ URLs, switch them to ‘https’ and click ‘Save Changes’ to save your settings.
Afterward, locate the outdated HTTP URLs in your WordPress database and substitute them with the updated HTTPS URLs. Install and activate the Better Search Replace plugin to effortlessly do this.
Once activated, navigate to the Tools » Better Search Replace page. In the ‘Search’ field, input your website URL with HTTP, and in the ‘Replace’ field, enter your website URL with ‘https.’

The plugin will proceed to modify URLs within your WordPress database.
Follow these steps to fix mixed content errors, enhance your WordPress site’s security, and avoid browser security warnings. Maintain HTTPS for a secure visitor experience.
Check TLS/SSL protocol support.
The “Not Secure” warning can occur if your browser or server uses incorrect TLS/SSL protocols. TLS, the updated version of SSL, secures connections. Here’s how to verify and enable the correct protocols:
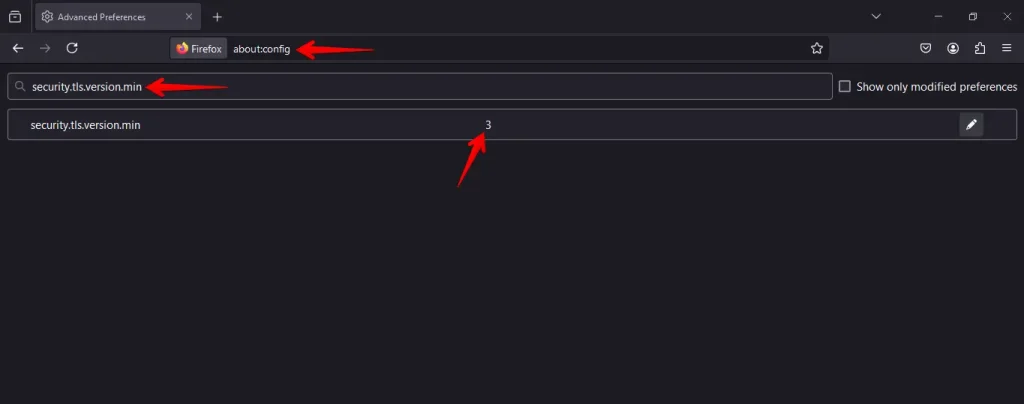
Most modern browsers automatically support the latest TLS protocols. However, if you’re using an older browser, you might need to enable them manually.
Type "about:config” in the browser address bar, search for “security.tls.version.min“and ensure the value is set to 3 (which corresponds to TLS 1.2).
If you manage your server, ensure it supports the latest TLS protocols in the SSL/TLS settings. Ask your hosting provider to verify and enable the correct protocols if unsure.
Disable Browser Extensions
Sometimes, the “Not Secure” warning is triggered by browser extensions that interfere with secure connections, particularly those related to security or privacy. Here’s how to check if the extensions are causing the problem:
Go to your browser’s settings and navigate to the extensions or add-ons section.
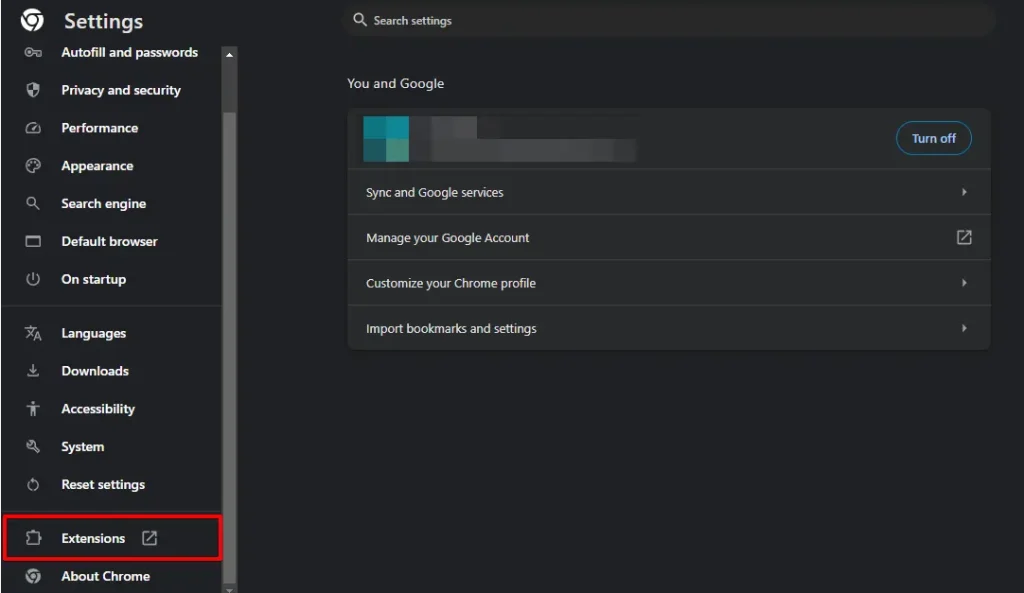
Temporarily disable all extensions by toggling them off.
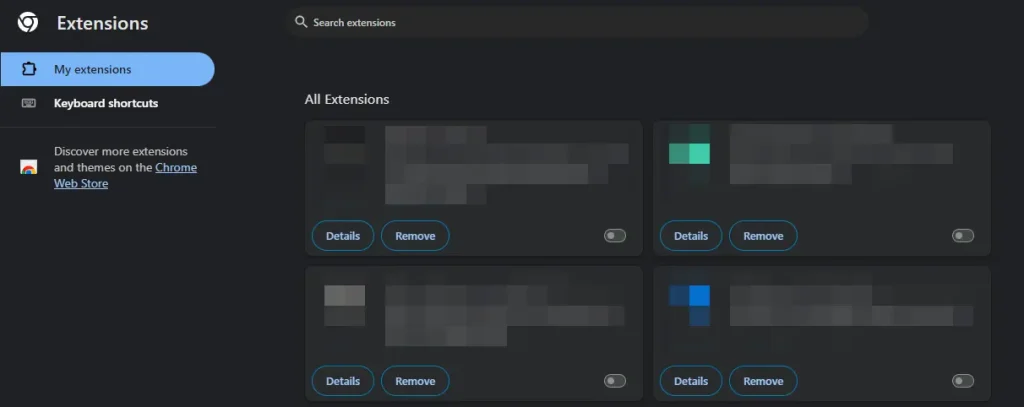
After disabling extensions, check the website. If the error is gone, re-enable extensions one by one, testing after each to identify which extension is causing the problem.
By disabling and selectively re-enabling your browser extensions, you can determine if one of them is causing the “Not Secure” warning and fix the issue.
Conclusion
By adding an SSL certificate to your WordPress site, you’ve made a big step toward protecting it. But that’s just the beginning.
Take these extra steps to keep your site safe and running without issues.
Related Articles
- How to Fix 429 Too Many Requests Error in WordPress?
- How to Fix the HTTP Error During Image Upload on WordPress
- How to fix the “Sorry, You Are Not Allowed to Access This Page” Error in WordPress?
- How to Fix WordPress Login Page Refreshing & Redirecting Issues?
- Reduce HTTP Requests for a WordPress Site