Your MySQL database is important for storing and managing data. If it starts having issues like errors or corrupted tables, it can affect your website or application. Thankfully, tools like phpMyAdmin and Adminer make it easy to repair databases. This guide explains how to fix your MySQL database step by step using these tools.
Contents
REPAIRING MYSQL DATABASES WITH PHPMYADMIN
If your website behaves strangely, like throwing unknown errors, or cannot save settings permanently, then it is likely that your database has become corrupted.
When this happens, you can try to repair database tables using one of the most popular database administration tools, phpMyAdmin or adminer.
To repair MySQL database tables with phpMyAdmin, follow these:
Log in to cPanel or open phpMyAdmin directly if you already know how.
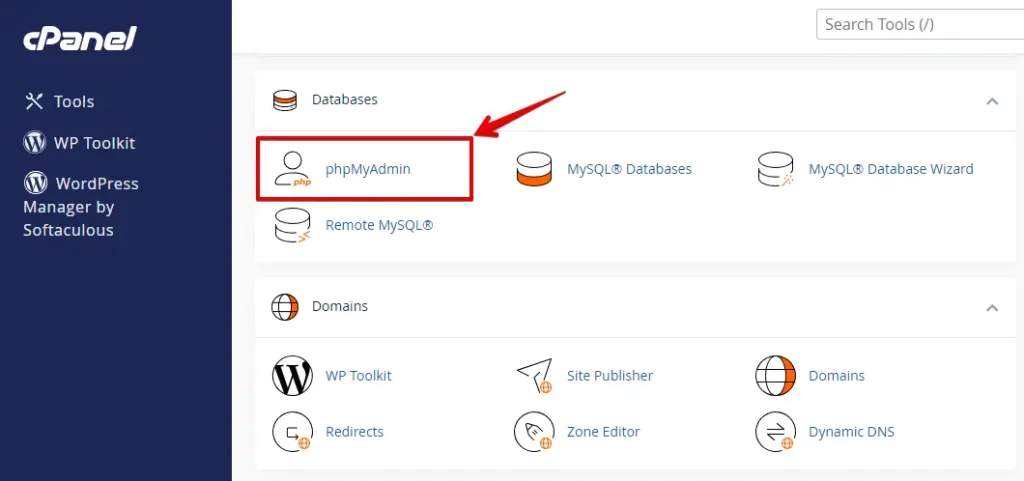
In the DATABASES section of the cPanel home screen, click phpMyAdmin:
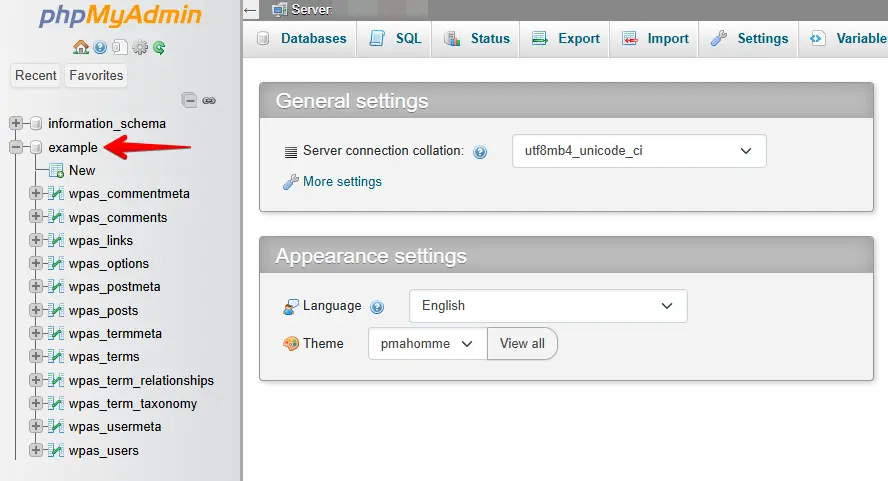
The phpMyAdmin administration page will open in a new window. Click the database name you want to work within the left sidebar. For instance, the image below shows the selected database named example_wordpress:
In the right main window, select the checkboxes for the tables in the database that you like to repair.
To select all of the tables at once, select the checkbox Check All.
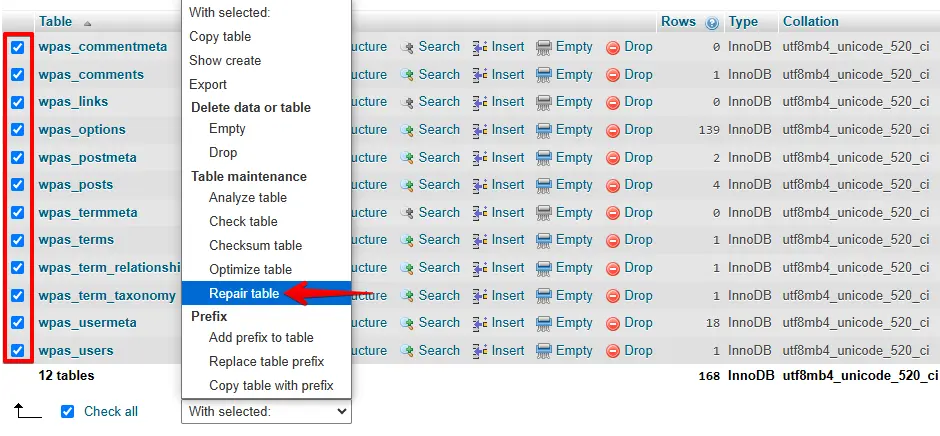
In the drop-down menu, select "With selected: Repair table." phpMyAdmin then starts the repairing process and will let you know whether the repair process is successful.
REPAIRING MYSQL DATABASES WITH ADMINER
Adminer is a mighty small database administration software with nearly the same features as PHPMyAdmin. The significant advantage is that this tool consists of only one file, making installing and using this tool extremely simple.
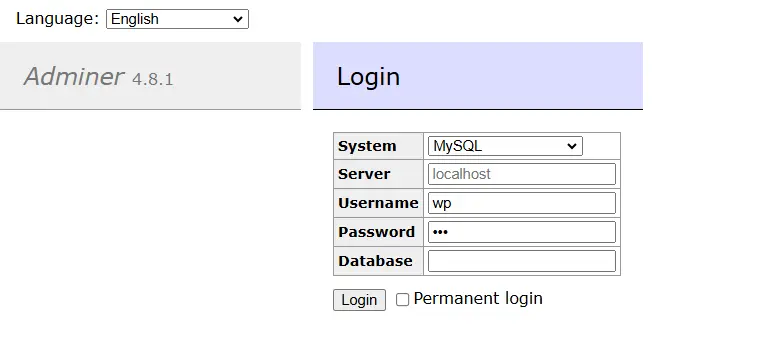
After uploading the adminer file to the website, you can immediately start using the adminer. Open it up in your web browser and log in to your database:
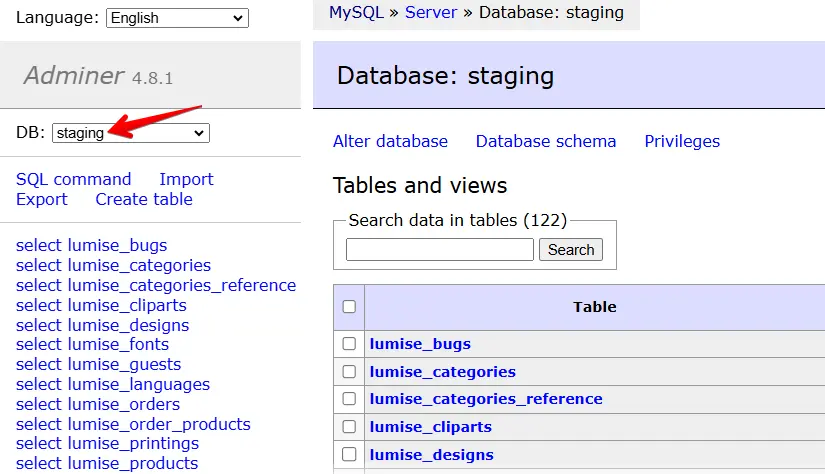
After logging in, select the database you want to repair in the left pane:
In the main window, select all database tables and then start the repairing process:
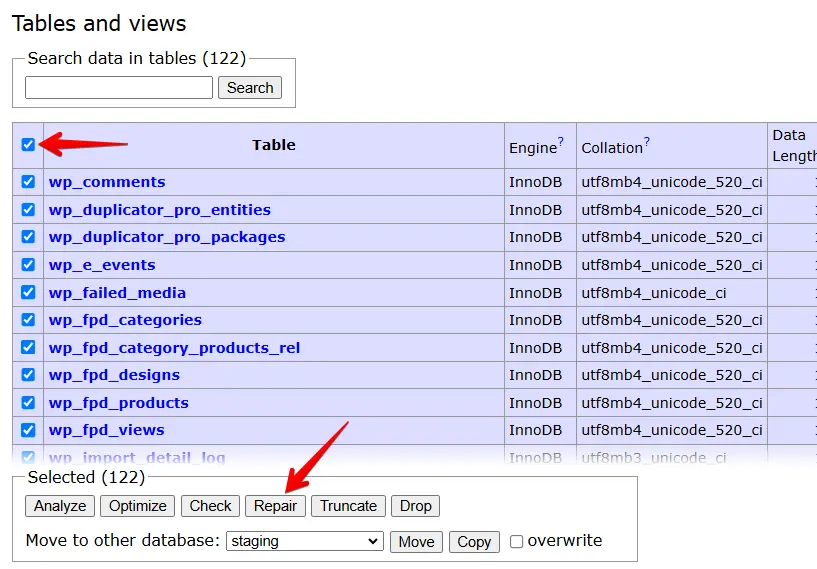
The Adminer tool may say repairing is impossible if your database engine is InnoDB. In that case, select all database tables again and click on optimize.
That will recreate all database tables and is as helpful as repairing!
Related Articles
- How to Backup a WordPress Website Manually Using cPanel
- How to Restore Permanently Deleted Pages in WordPress?
- phpMyAdmin Repair and Optimize Database Tables Tutorial
- How to Disable a WordPress Plugin From the Database?