Navigating the world of WordPress can sometimes feel like a journey through a maze filled with unexpected turns and dead ends. One such unexpected error is the "401 Unauthorized" error that prevents you from logging into the admin dashboard.
It’s not just an error; it’s a stumbling block that can halt your progress, leaving you frustrated and seeking a way back in.
This comprehensive guide will guide you step-by-step toward accessing your WordPress backend.
Contents
- Incorrect Credentials – Mistyped or outdated login credentials can trigger the error.
- Failed Authentication – An unauthorized access attempt occurs if the server can’t verify the user’s identity.
- File Permissions – Inadequate file permissions might prevent access to crucial files required for authentication.
- Plugin/Theme Conflict – Certain plugins or themes might conflict with your site’s authentication process, leading to the error.
- Corrupted .htaccess File – An issue with the .htaccess file can disrupt proper authentication.
- Security Plugins – Overzealous security plugins might mistakenly block valid login attempts.
- Expired Cookies – Outdated or expired cookies can lead to failed authentication attempts.
Remember, each WordPress site is unique, so it’s essential to investigate these potential causes to pinpoint and resolve the specific issue affecting your site.
- Check Login Credentials
- Test Different Browsers
- Reset Password
- Verify URL
- Clear Browser Cache
- Deactivate Plugins
- Switch to the Default Theme
Method 1: Check Login Credentials
Here’s a step-by-step explanation of the method "Check Login Credentials" to troubleshoot the "401 Unauthorized" WordPress login issue:
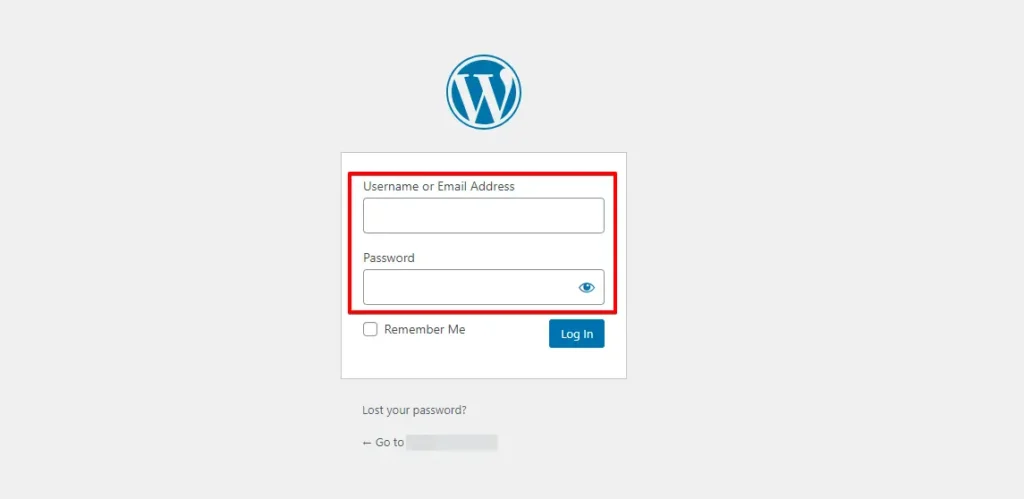
- Launch your web browser and type in the URL of your WordPress admin login page. This is typically something like "https://yourdomain.com/wp-admin."

- In the designated username field, enter the username associated with your WordPress admin account.
- Input your password into the corresponding password field. Please pay close attention to the characters you’re entering, ensuring they match your password. One wide error is a copy-and-paste error where the password is selected, including white spaces at the end or beginning of a password. Ensure you only select the password and no white space when using CTRL + C!
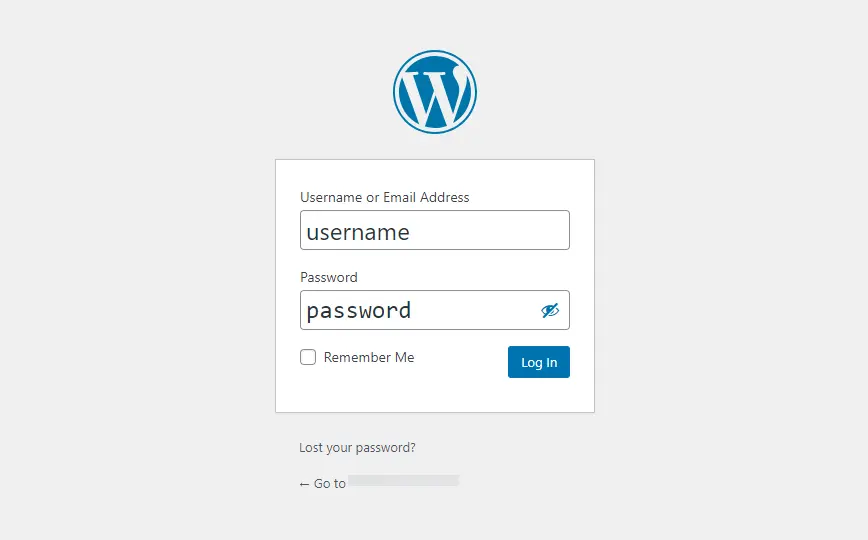
- Carefully review both the username and password fields for any typos or mistakes.
- Be mindful of uppercase and lowercase letters. WordPress passwords are case-sensitive, so "Password123" differs from "password123".
- Click the "Login" button once you know your username and password are correct.
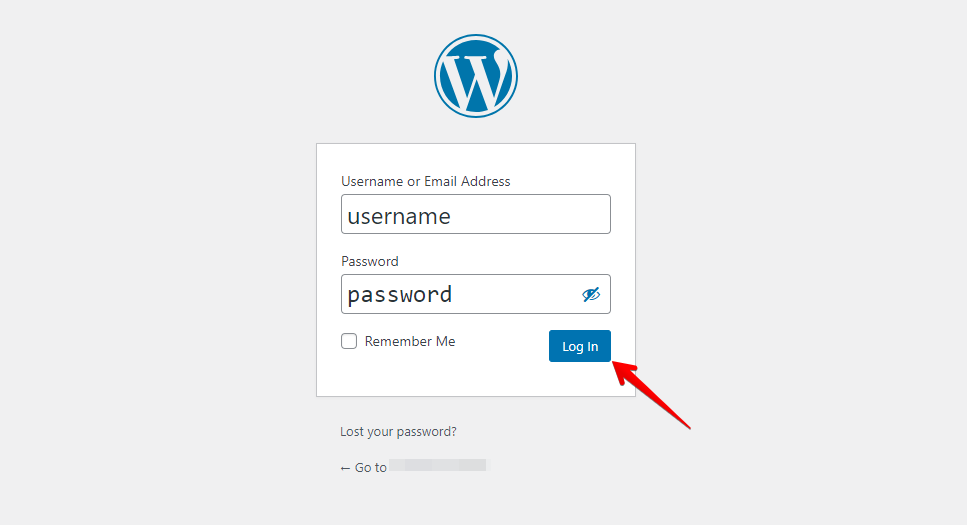
Following these steps diligently ensures accurate login credentials entry, minimizing the risk of encountering the "401 Unauthorized" error due to typing or typo-related problems.
If you still encounter the "401 Unauthorized" error, explore more troubleshooting methods.
Method 2: Test Different Browsers
Testing Different Browsers involves using various web browsers to access your WordPress website and check if the 401 Unauthorized login issue persists. This helps identify if the problem is browser-specific or related to your site, guiding you toward a suitable solution.
Method 3: Reset Password
Resetting your password is a go-to solution for regaining entry to your WordPress account when facing login problems like the "401 Unauthorized" error. Here’s how it’s done:
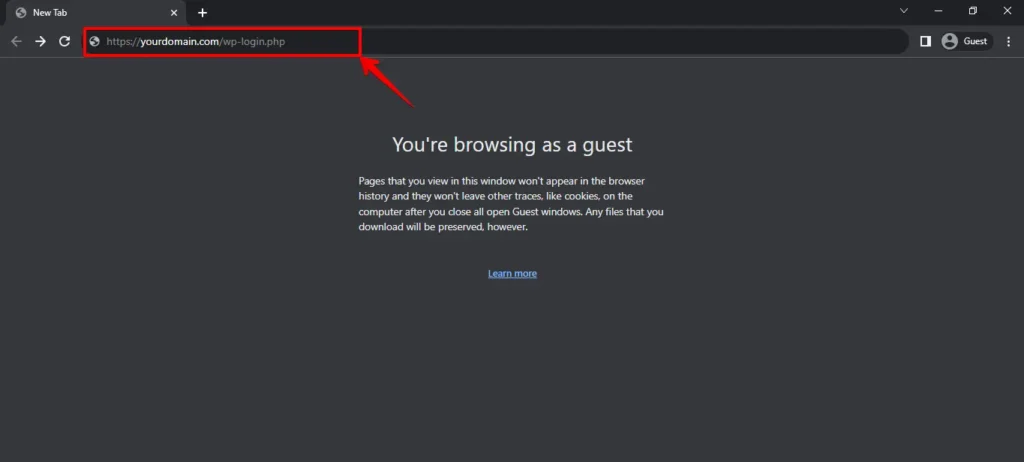
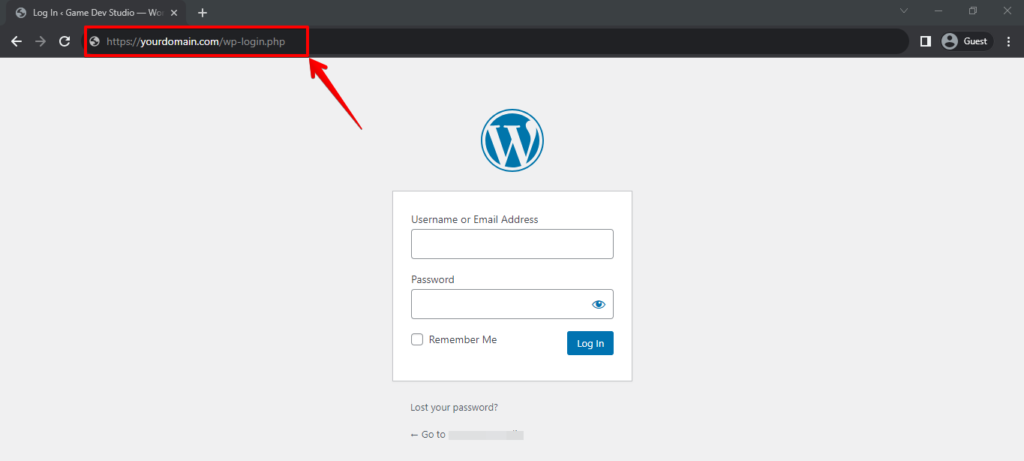
- Start by navigating to your WordPress login page. Usually, this is located at "https://yourdomain.com/wp-login.php" or "https://yourdomain.com/wp-admin."
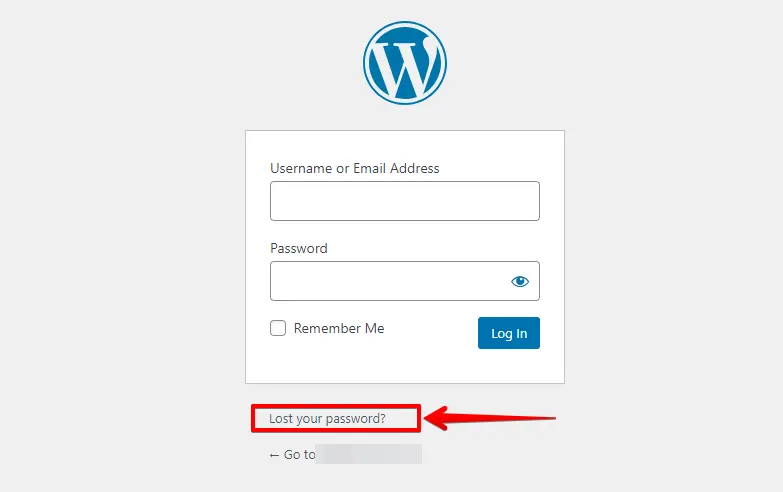
- Look for the "Lost your password?" link near the login form and click the "Lost your password?" link to initiate the password reset process.
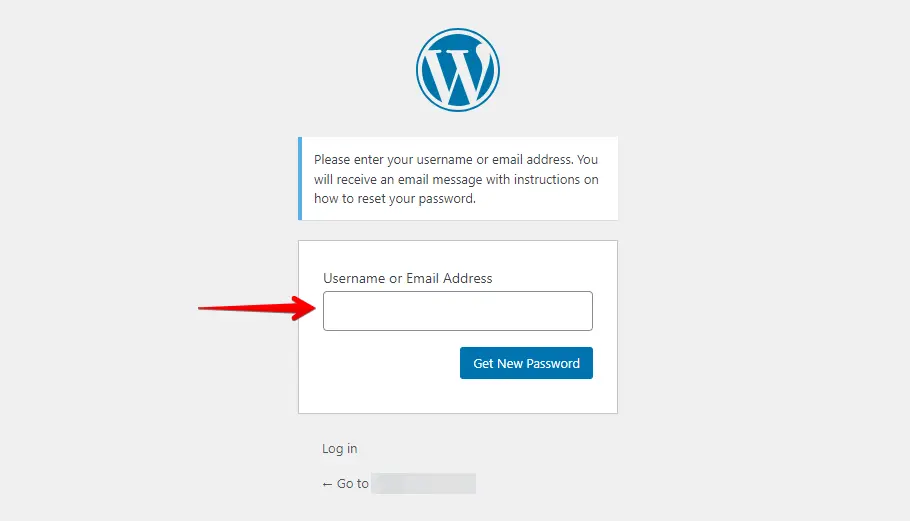
- On the password reset page, input your username or the linked email address. This confirms your identity.
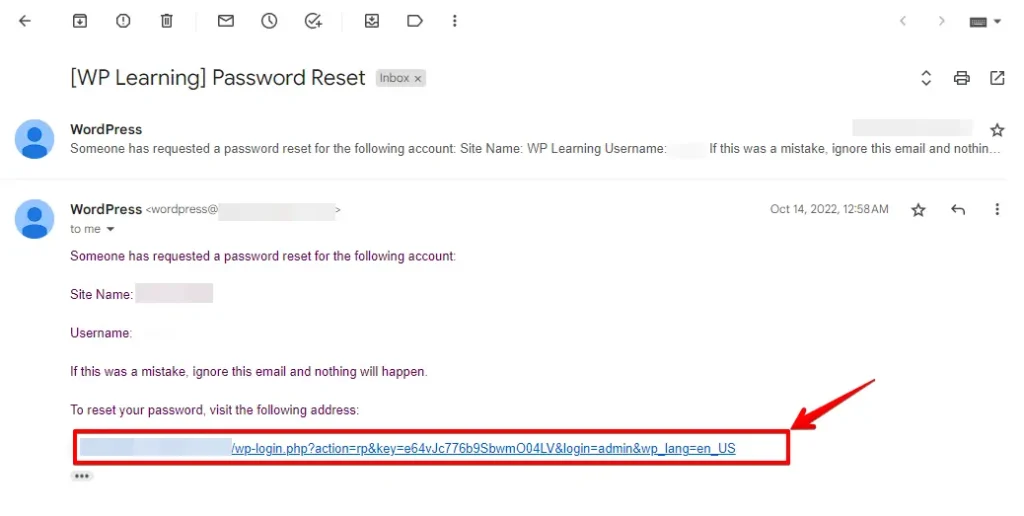
- After submitting the required details, WordPress will send a password reset email to your linked account. If the email doesn’t appear in your inbox, check your spam or junk folder, as it might be there.
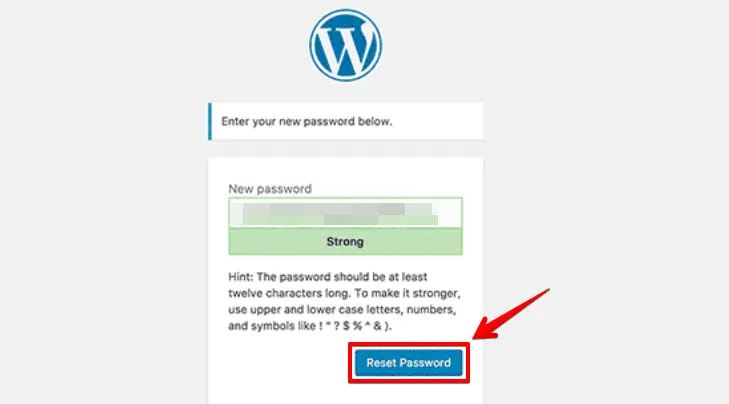
- Click on the provided link. This link will take you to a page where you can enter a new password.
- On the password reset page, enter your new password. Ensure it’s strong and secure, and click the Reset Password button.
Following these steps, you can successfully reset your password and regain access to your WordPress account, resolving login issues like the "401 Unauthorized" error.
Method 4: Verify login page URL
Verifying the URL involves using the correct web address to access your WordPress login page. Here’s how to go about it:
- Open your browser and ensure the correct URL format (starting with "https://" or "http://").
- Type in the complete URL for your WordPress admin login page. It’s usually in the format "https://yourdomain.com/wp-admin" or "http://yourdomain.com/wp-login.php."
- Ensure there are no additional characters, spaces, or special characters in the URL that could alter its correctness.
- Confirm that the domain name in the URL is spelled correctly and matches your WordPress site’s domain.
Thoroughly verifying and entering the accurate URL can resolve URL-related problems, preventing issues like the "401 Unauthorized" error when logging into your WordPress site.
Method 5: Clear Browser Cache
Clearing browser cache deletes stored data, speeds up browsing, fixes issues, and ensures you see the latest website versions—a fresh start for your browser.
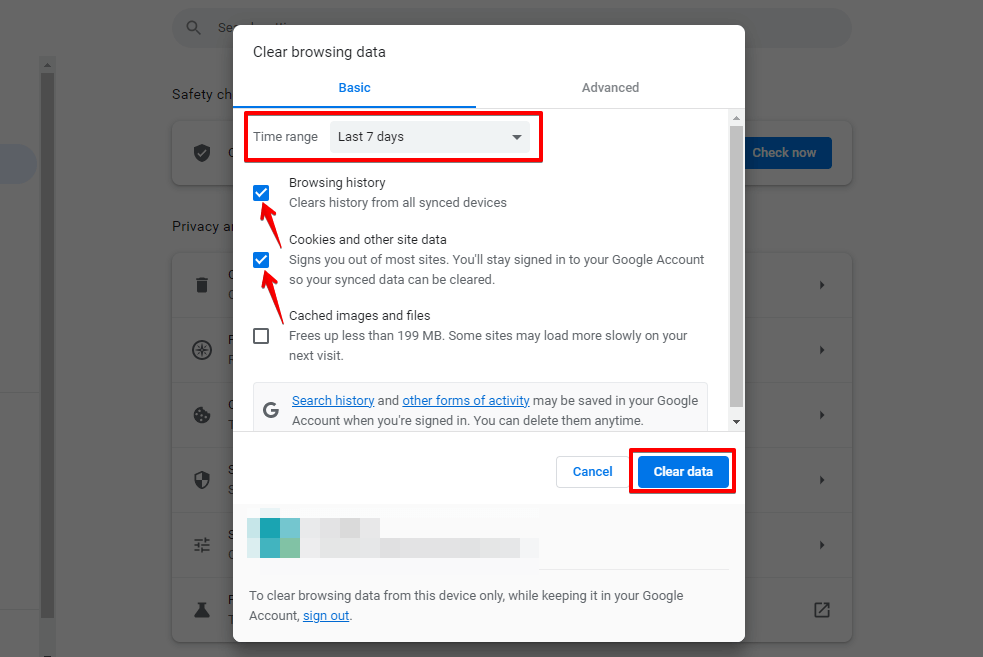
- Open your web browser and access the settings menu.
- Navigate to the browsing history or privacy settings option.
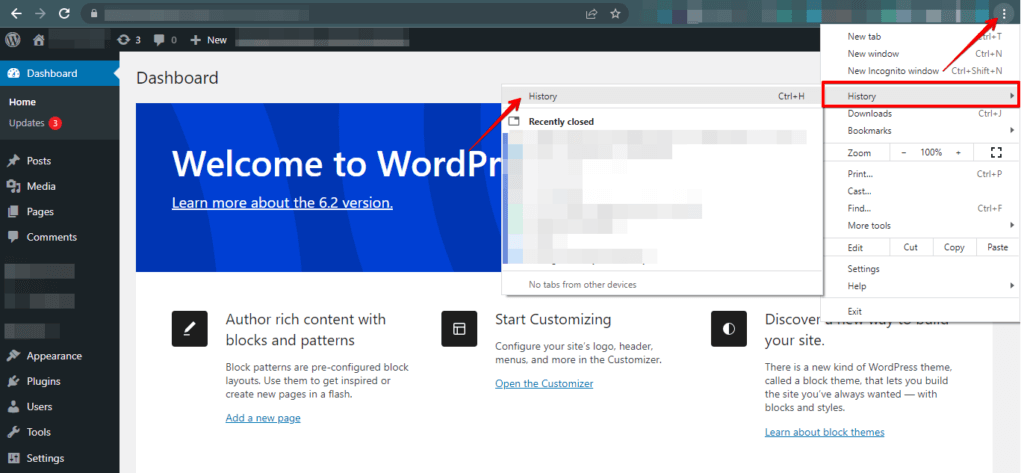
- Search for a clear browsing data option and click on it.
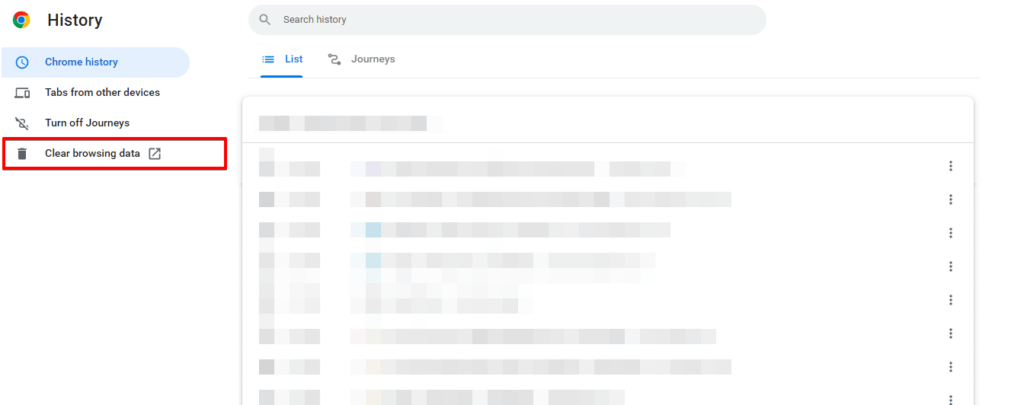
- Select the time range for which you want to clear the cache.
- Choose the cache type you want to clear, such as cookies or browsing history.
- Click the "Clear data" or "Clear cache" button to remove the selected data.
Clearing the browser cache gives you a fresh start with browsing data, fixing issues like 401 Unauthorized login errors by preventing outdated or corrupted data from affecting site access.
Method 6: Deactivate Plugins
Here’s a step-by-step explanation of how to deactivate plugins via cPanel:
- Log in to your hosting account’s cPanel.
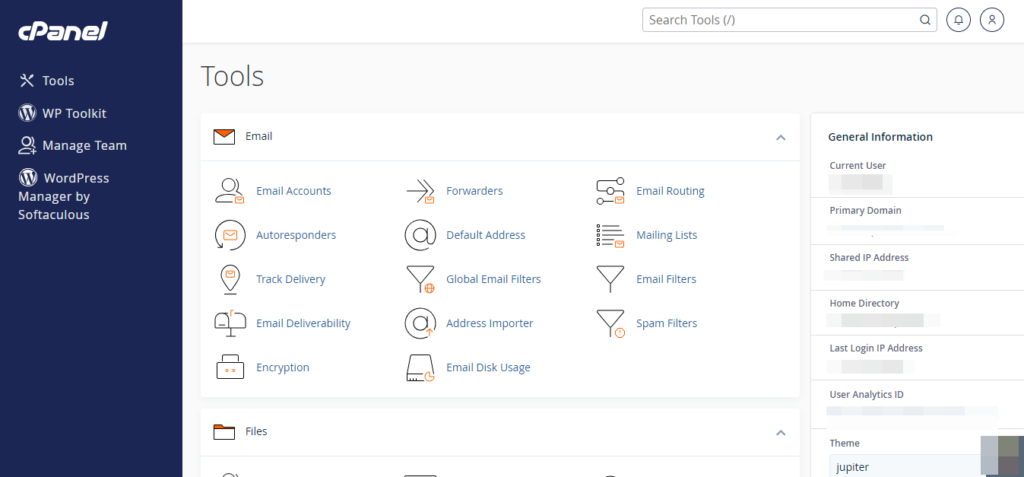
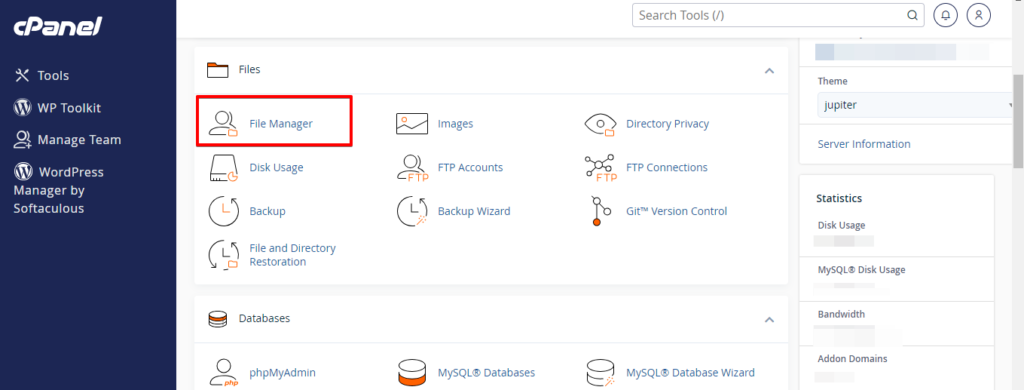
- In the cPanel dashboard, look for the "File Manager" icon or option.
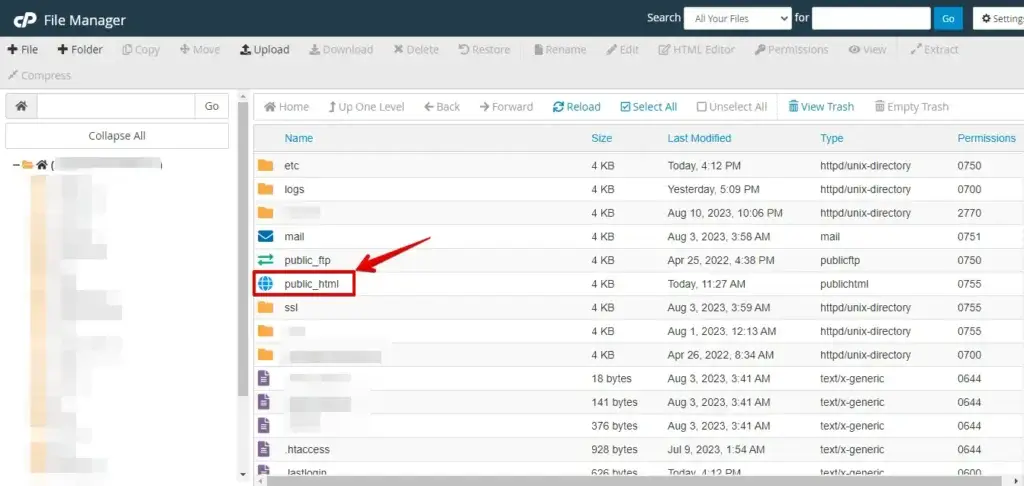
- Navigate to the directory where your WordPress website is installed. This is typically located in the "public_html" folder.
- Within your WordPress directory, locate the "wp-content" folder and click on it.
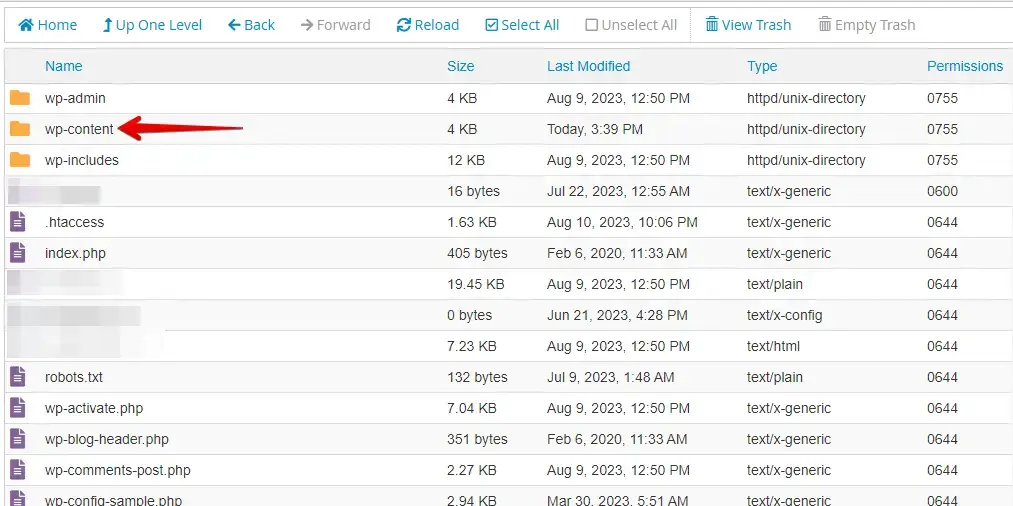
- Inside the "wp-content" folder, you’ll find a "plugins" subfolder.
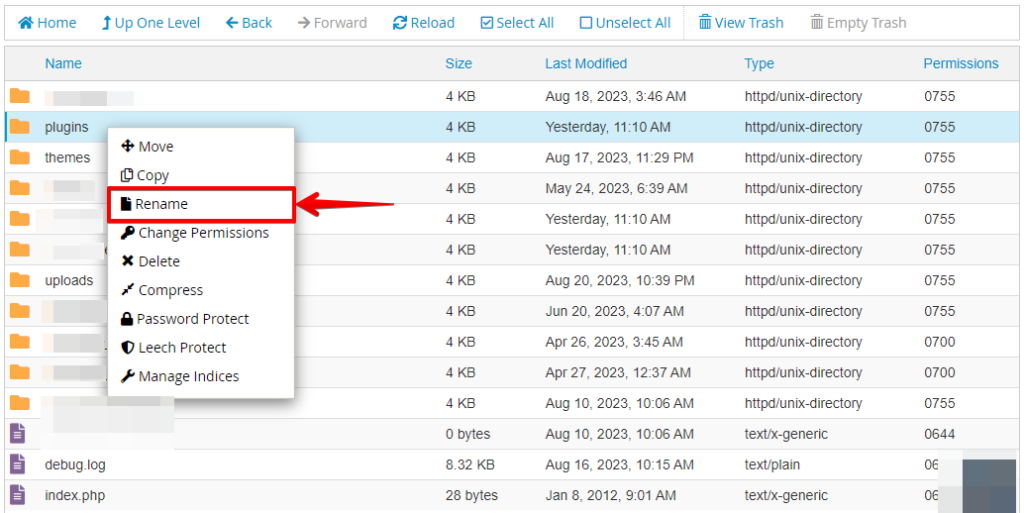
- Right-click on the "plugins" folder, and from the context menu, choose "Rename.
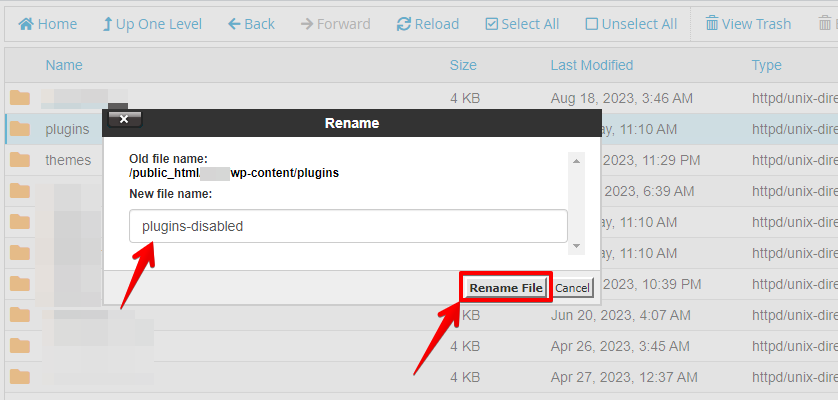
- You can add "-disabled" or something similar to the folder name and click the Rename File button.
- After deactivating the plugin by renaming its folder, visit your website to see if the issue is resolved.
If the issue is resolved, To identify the problematic plugin, deactivate plugins one by one, checking your website after each deactivation. This will help you isolate the plugin causing the issue.
If you find a problematic plugin, consider contacting the plugin’s support forum or developer for assistance or updates.
🔥PLAY SAFE:GET STARTED WITH WP STAGING TO EFFICIENTLY MANAGE BACKUPS & CREATING STAGING ENVIRONMENTS.
Method 7: Switch to Default Theme
Using cPanel, Theme Conflict Troubleshooting deals with WordPress theme conflicts. You can concisely explain this process by renaming the theme folder to diagnose issues.
- Log in to your hosting account’s cPanel.
- Within cPanel, find and open the "File Manager" tool.
- Go to the directory where your WordPress is installed. This is often the "public_html" folder or a subdirectory if you’ve installed WordPress in one.
- Within your WordPress directory, locate the "wp-content" folder.
- Inside the "wp-content" folder, you’ll find a "Themes" subfolder.

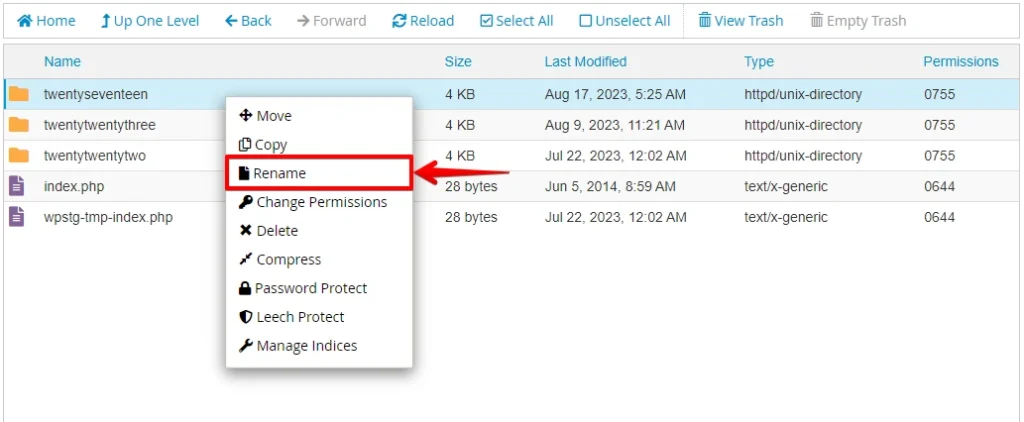
- Inside the "themes" folder, Find the folder for your current theme. Right-click and select "Rename." Add "-disabled" or something similar to the folder name.
- Now, visit your website with the default theme activated. If the issue is resolved, it’s likely a theme conflict.
- If reactivating the original theme brings back the issue, it might be incompatible. In case of problems, verify updates or contact theme support for help.
Always make backups before making any changes via the cPanel file manager, and proceed carefully to avoid accidental errors. If you’re unsure, seek help from professionals or support resources.
Conclusion
A systematic approach is vital to address the 401 Unauthorized WordPress login issue. Techniques including verifying credentials, clearing cache, deactivating plugins, investigating theme conflicts, and testing various browsers can effectively identify and resolve the problem.
This systematic approach ensures users regain secure access and a seamless login experience to their WordPress sites.
DO YOU KNOW? WP Staging can automate the whole process for you. CLICK HERE TO DOWNLOAD IT FOR FREE!