Do you encounter delays in showing your updates appearing on your WordPress website?
For example, you make a change on your website, like creating a new blog post or widget settings, and that change does not appear right away on the public-facing front end.
This guide is about why your WordPress website is not updating right away. From caching mechanisms to server configurations, we’ll explore the technical aspects that can cause delays in making updates available on your website or not showing.
Additionally, we’ll provide practical tips and solutions to help you troubleshoot and resolve this issue efficiently.
Contents
Common Causes
- Plugin Conflicts – While useful, Plugins can sometimes clash with each other or the WordPress core, causing update delays.
- Cache Issues – Caching mechanisms designed to improve website performance can inadvertently hold onto outdated versions of pages and assets.
- Theme Problems – Themes, especially poorly coded or not updated regularly, can interfere with the update process.
- Server Configuration Issues – Server settings or restrictions can hinder updates, like file permissions or resource limitations.
- Network Connectivity Problems – Poor internet connection can disrupt communication between the website and server.
How to Solve WordPress Website Not Updating Right Away
- Clear your Browser Cache
- Clear WordPress Cache
- Check your CDN Settings
- Check for Plugin Conflicts
- Check for Theme Issues
- Update WordPress and Plugins
- Inspect Browser Developer Tools
1. Clear your Browser Cache
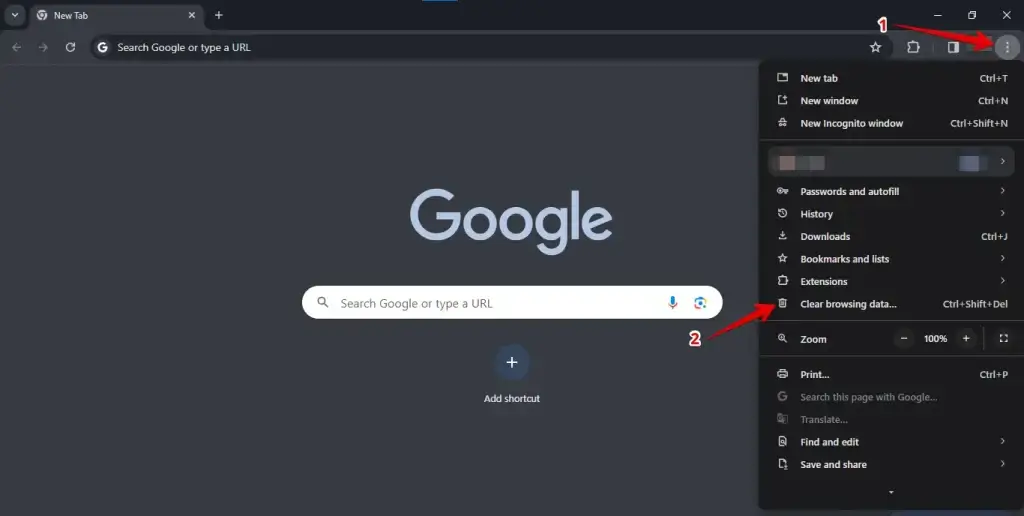
Sometimes, your browser may show you a cached version of the website rather than the updated one. Clearing your browser cache can force it to load the most recent version. Here’s how:
- Open your web browser, click the three-dot icon, and select the "Clear browsing data" option.
- Select timeframe, choose cache type, then clear data.
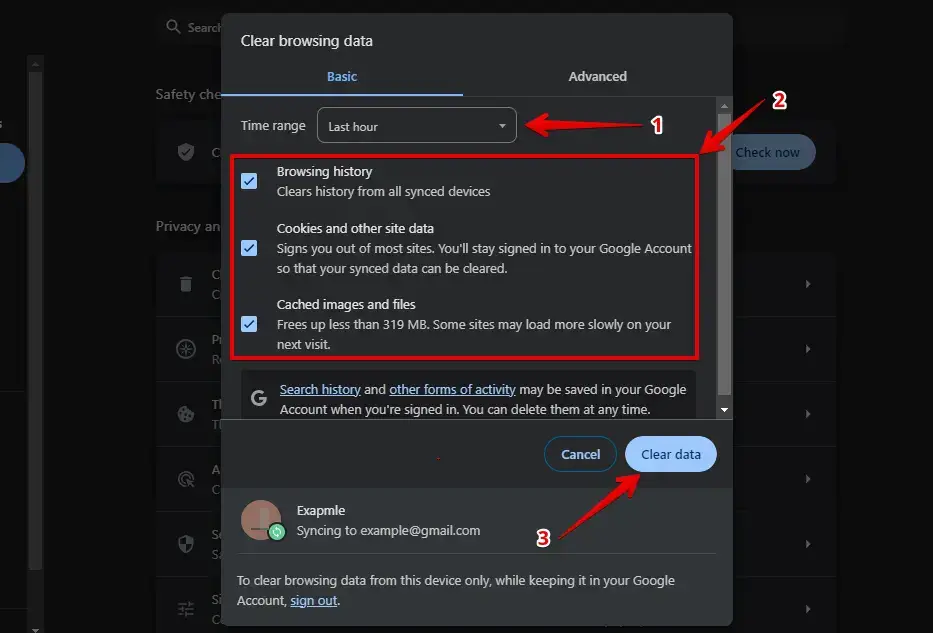
This action ensures that your browser fetches the most recent version of web pages instead of displaying outdated ones stored in the cache.
2. Clear WordPress Cache
Try clearing the cache from the plugin settings if you’re using a caching plugin like WP Rocket, WP Super Cache, or W3 Total Cache. Cached versions of your pages could be causing delays in updates. Here’s how to do it:
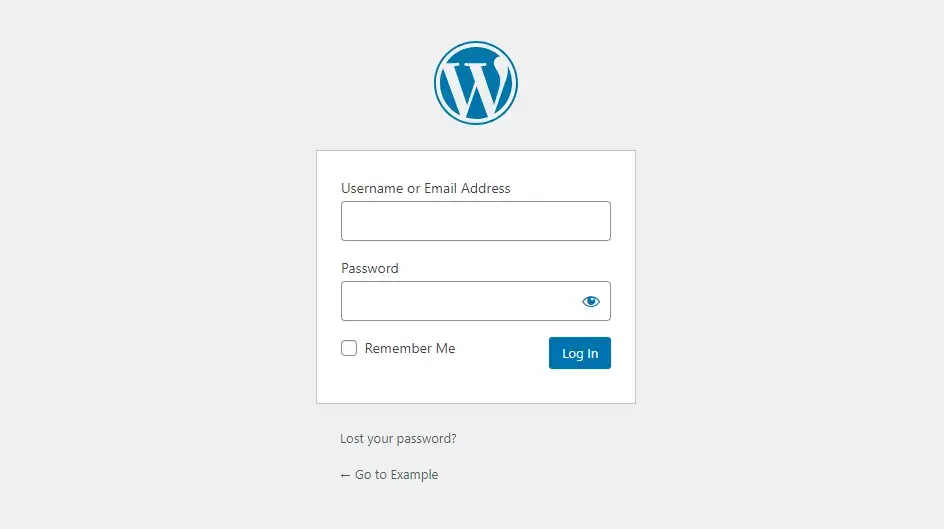
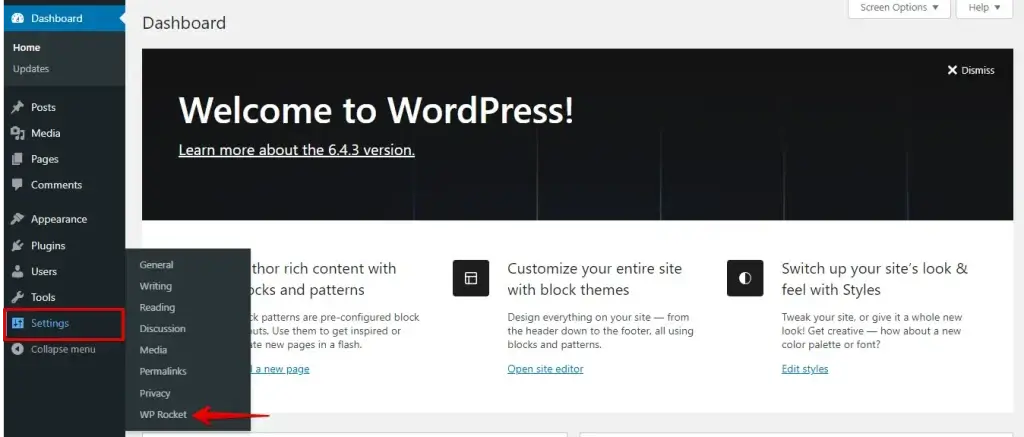
- Enter your credentials and access the admin panel of your WordPress website.
- Look for the settings of the caching plugin you’re using. This is usually located in the "Settings" or "Performance" section of the WordPress dashboard.
- Within the plugin settings, find the option related to cache management. It may be labeled as "Cache," "Performance," or have the plugin’s name.
- Click the cache-clearing button. You might need to confirm the action. If prompted, confirm to proceed.
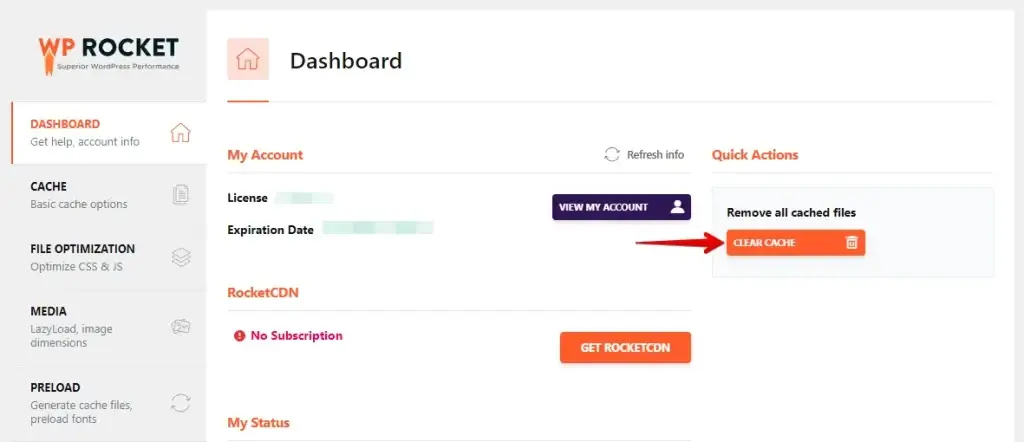
By following these steps, you can effectively clear the cache using caching plugins like WP Rocket or W3 Total Cache, which may help resolve issues with delayed updates on your WordPress website.
IMPORTANT: Before updating anything on the live website, we recommend taking a full site backup to avoid losing user experience. Find a complete guide to create a full website backup with WP Staging.
3. Check your CDN Settings
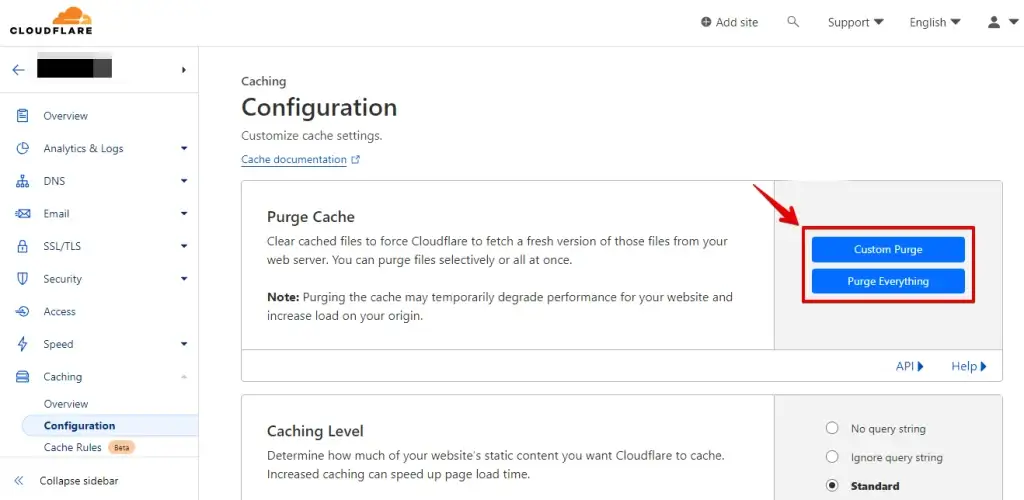
If you’re using a Content Delivery Network (CDN) like Cloudflare, ensure it’s configured to purge the cache when updates are made to your site. Some CDNs may cache your website content, which can cause delays in updates being reflected.
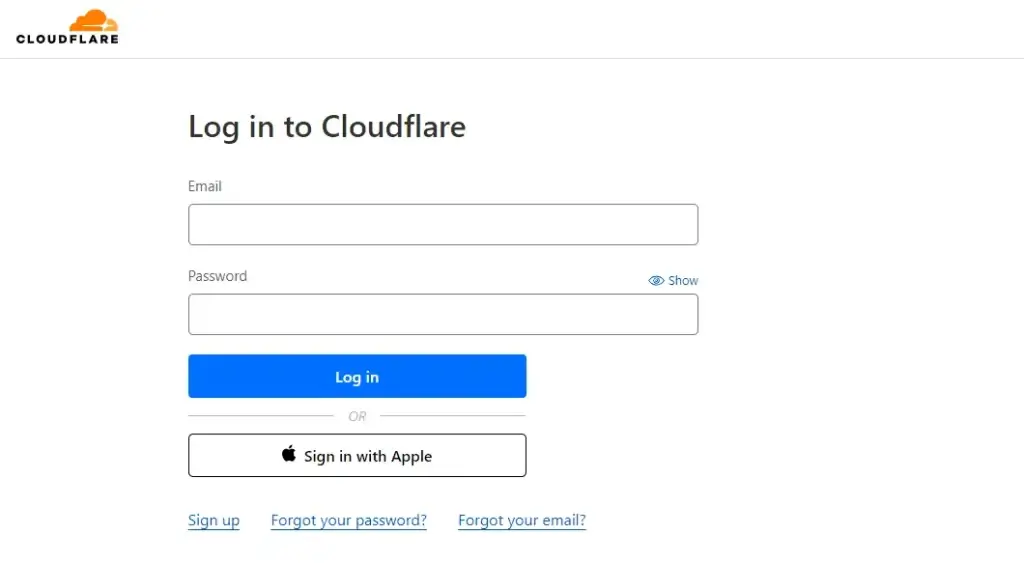
- Access your Content Delivery Network (CDN) settings, such as Cloudflare.
- On the left sidebar, click "Caching" to reveal additional options, then choose "Configuration."
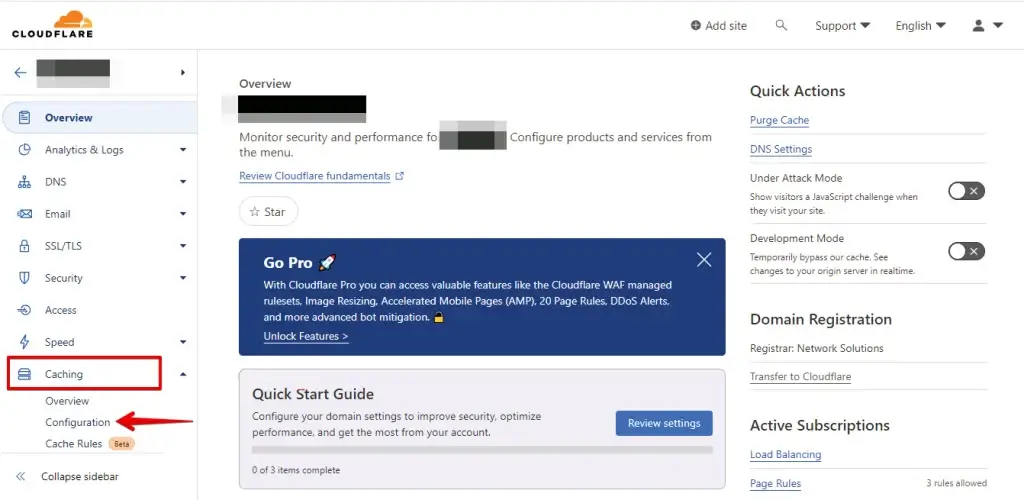
- Click the "Purge Everything" button to clear the CDN cache.
Following these steps should help you pinpoint and fix the issue of your WordPress website not updating immediately.
4. Check for Plugin Conflicts
Sometimes, plugins can interfere with the update process. Temporarily deactivate all plugins and see if the updates appear immediately. Here are the steps to do it:
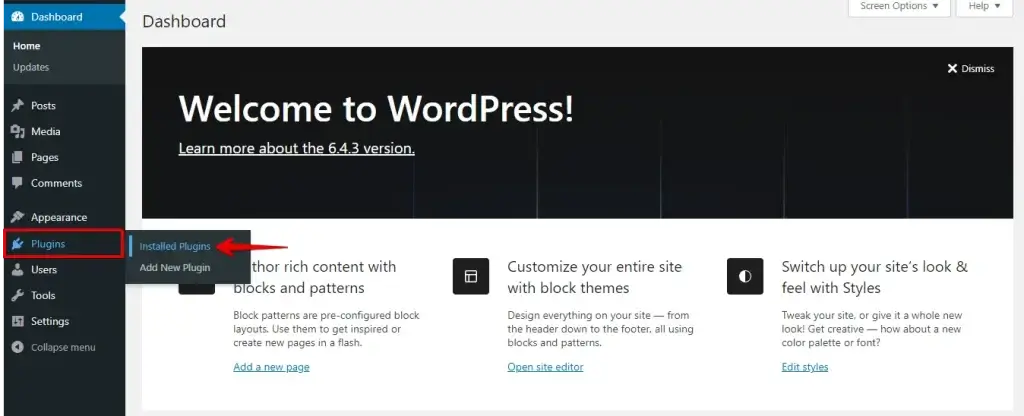
- Access your WordPress dashboard and navigate to the "Plugins" section.
- Select "Installed Plugins" to view all installed plugins.
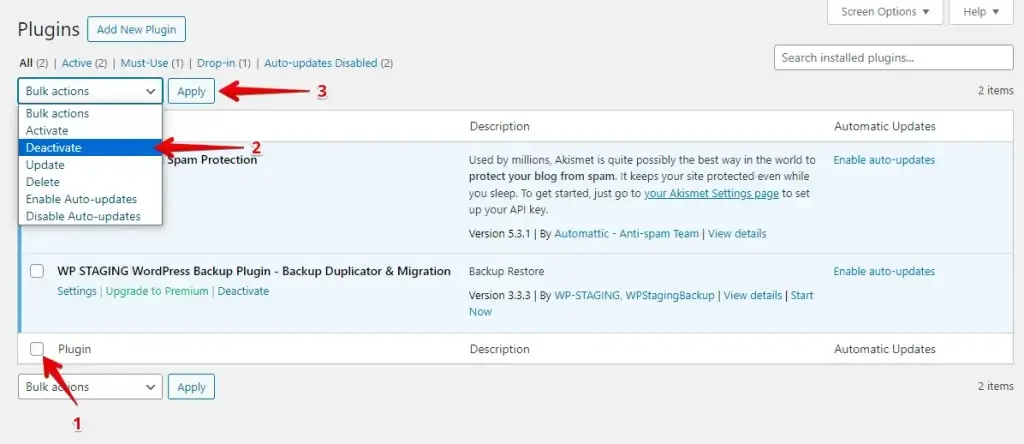
- Check the box next to each plugin to select all.
- From the "Bulk Actions" dropdown menu, choose "Deactivate."
- Click the "Apply" button to deactivate all selected plugins.
After deactivating plugins, refresh your website to see if updates instantly appear. Then, reactivate plugins one by one, refreshing your site each time to pinpoint the problematic one. Repeat this process until you find the culprit, and consider updating, replacing, or contacting the plugin developer for help.
5. Check for Theme Issues
Another way to troubleshoot why the WordPress website is not updating right away is to switch to the default WordPress theme like Twenty Twenty-Four to check if updates show immediately. If they do, your theme may be causing the issue.
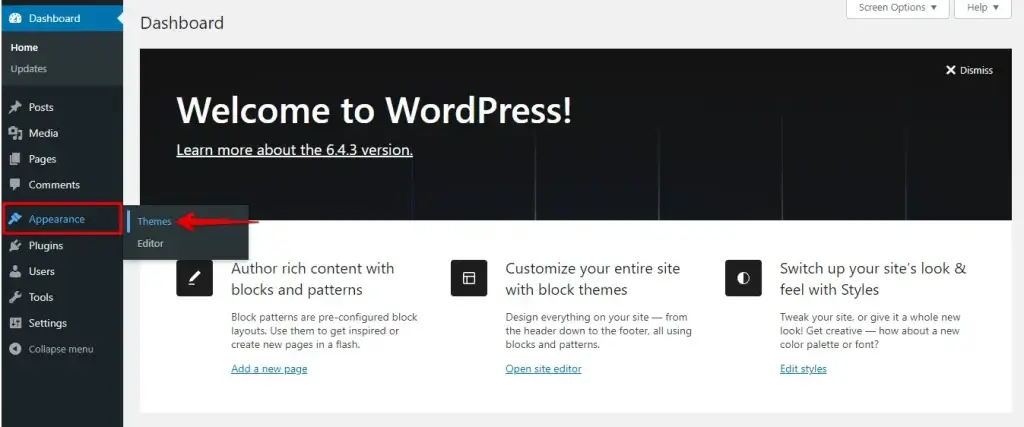
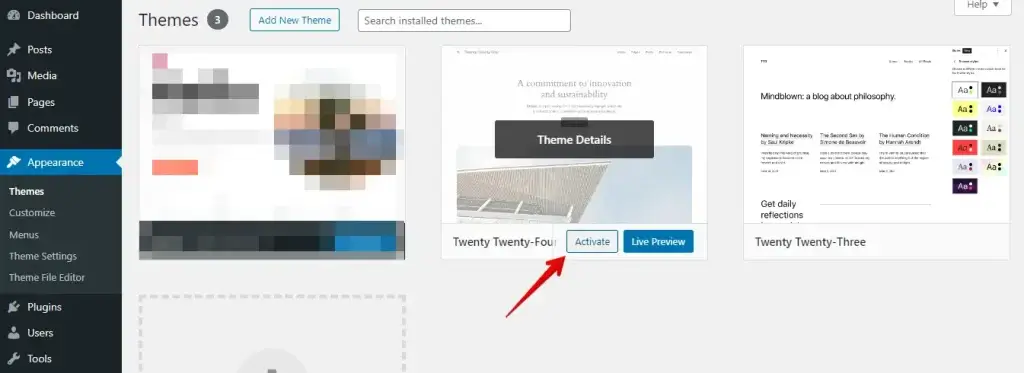
- Access your WordPress dashboard and navigate to the "Appearance" section.
- Select "Themes" to view available themes.
- Activate the default WordPress theme, such as Twenty Twenty-Four.
After refreshing your website to check for immediate updates, if they are visible with the default theme, it suggests a potential issue with your current theme.
In such cases, it’s advisable to troubleshoot the theme or contact the theme developer for assistance in resolving the problem.
6. Update WordPress and Plugins
Ensure that both WordPress core and all plugins are up to date. Outdated software can sometimes cause compatibility issues, leading to delays in updates.
- Access your WordPress dashboard and navigate to the "Updates" section.
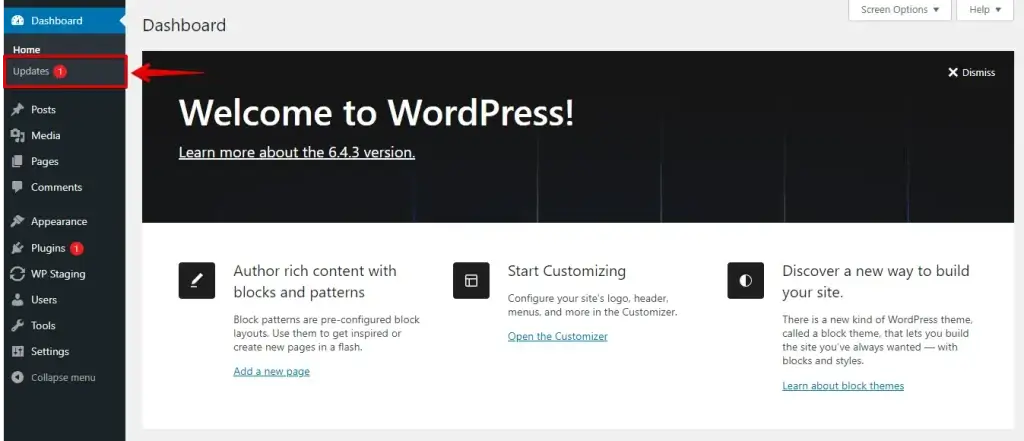
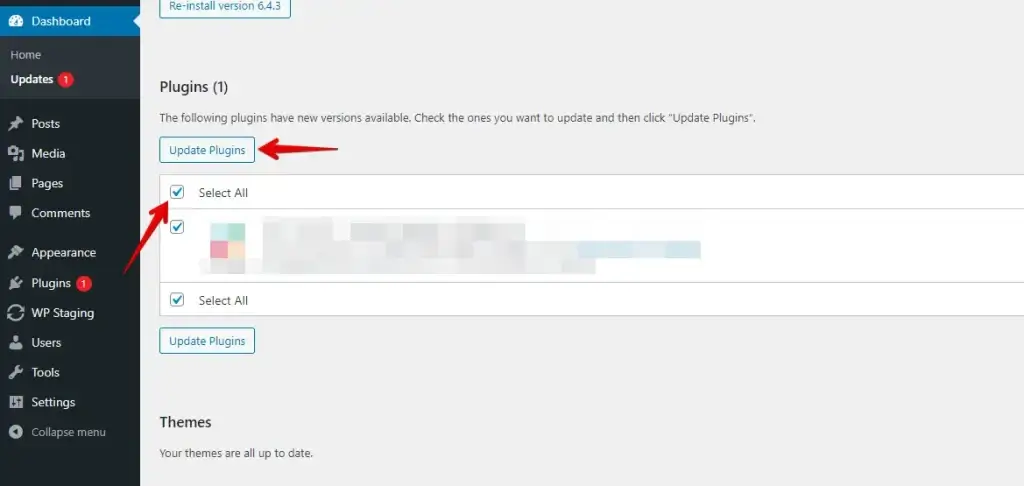
- Check for available updates for WordPress core and plugins.
- Select "Update Now" for WordPress core updates and individually update each plugin if updates are available.
After updating, refresh your website to ensure all changes take effect. Also, regularly check for updates to maintain compatibility and prevent delays.
7. Inspect Browser Developer Tools
Use your browser’s developer tools to inspect network activity and check if the updated content is being loaded or if any errors prevent it.
- Open your web browser and navigate to the webpage you want to inspect.
- Right-click on the webpage, select "Inspect," or press Ctrl+Shift+I (Cmd+Option+I on Mac) to open the browser’s developer tools.
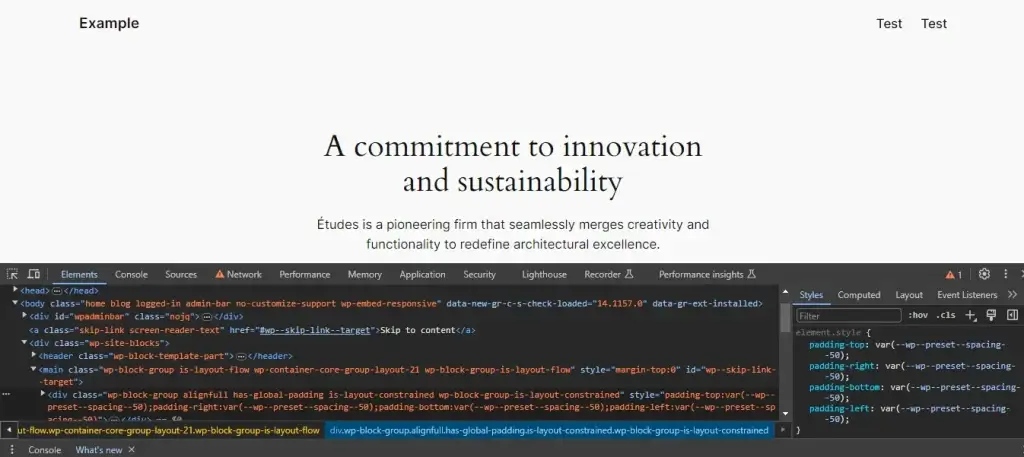
- In the developer tools window, navigate to the "Network" tab.
- Refresh the webpage to capture the network activity.
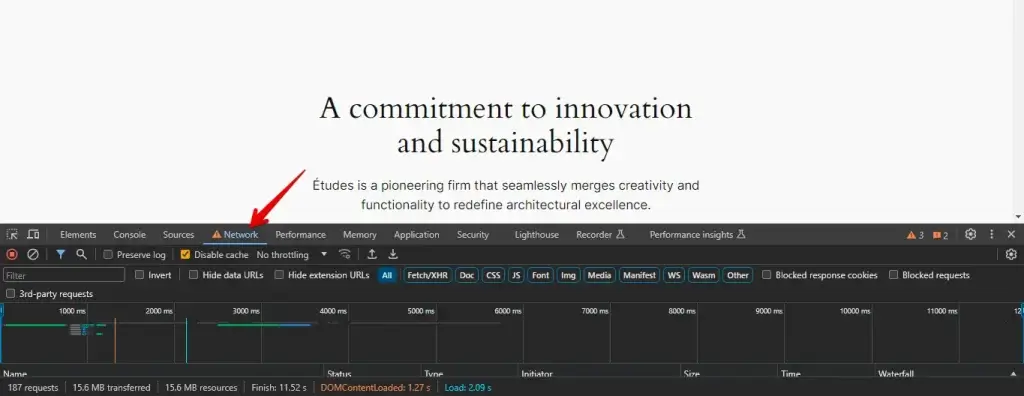
Review network activity to ensure updated content loads are correct. Check for errors or failed requests and troubleshoot to ensure proper loading.
Conclusion
In the end, dealing with a WordPress site that doesn’t update immediately can be annoying, but it’s fixable.
Once you grasp the usual suspects causing the problem and apply the right fixes, you can keep your site fresh and running smoothly, giving visitors a hassle-free experience.