TL;DR: The "failed to open stream" error means PHP couldn’t read or open a file it expected to find. The most common causes are wrong file permissions, a missing or deleted file, an
open_basedirrestriction on your host, or a hardcoded absolute path left over from a site migration. Use the decision table below to jump straight to the fix for your exact error message.
The WordPress "Failed to Open Stream" error appears when PHP cannot open a file your site expects to find. It surfaces as a PHP warning in your error log and can prevent pages, plugins, or themes from loading correctly.
Contents
Understanding The Error "WordPress Failed To Open Stream"
When WordPress or a plugin calls PHP’s fopen(), include(), or require() on a file path, PHP returns this error if it cannot complete the operation. In WordPress 6.7 and later, the error is usually accompanied by a stack trace in wp-content/debug.log when WP_DEBUG_LOG is enabled.
The exact wording of the error varies by cause, and the suffix tells you exactly what went wrong:
failed to open stream: No such file or directory— the file doesn’t exist at that path.failed to open stream: Permission denied— the file exists but PHP lacks read access.failed to open stream: Operation not permitted— a server-levelopen_basedirrestriction is blocking access.
What Causes The Failed To Open Stream Error In WordPress?
Use this table to match your exact error suffix to the right fix:
| Error suffix | Root cause | Jump to |
|---|---|---|
No such file or directory |
Missing or deleted file; absolute path hardcoded from old server | Method 4 or Method 6 |
Permission denied |
File or directory permissions too restrictive | Method 1 |
Operation not permitted |
open_basedir restriction on your host |
Method 5 |
| No clear suffix / generic | Plugin or theme conflict | Method 2 or Method 3 |
Common root causes:
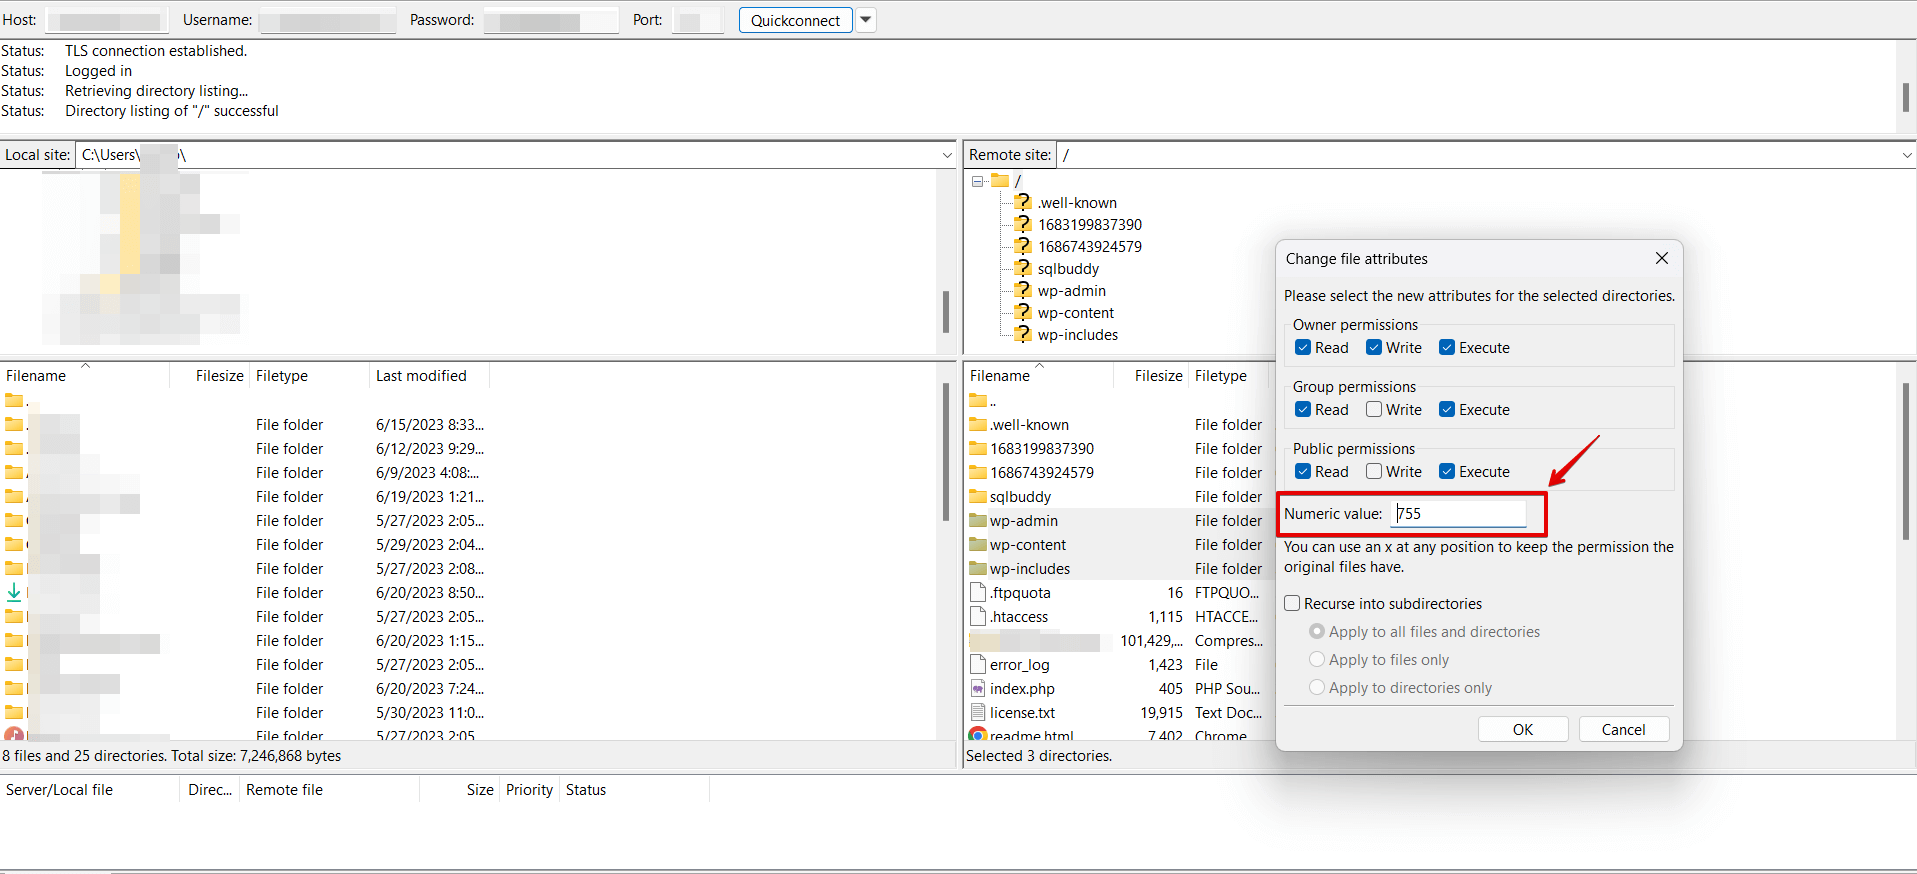
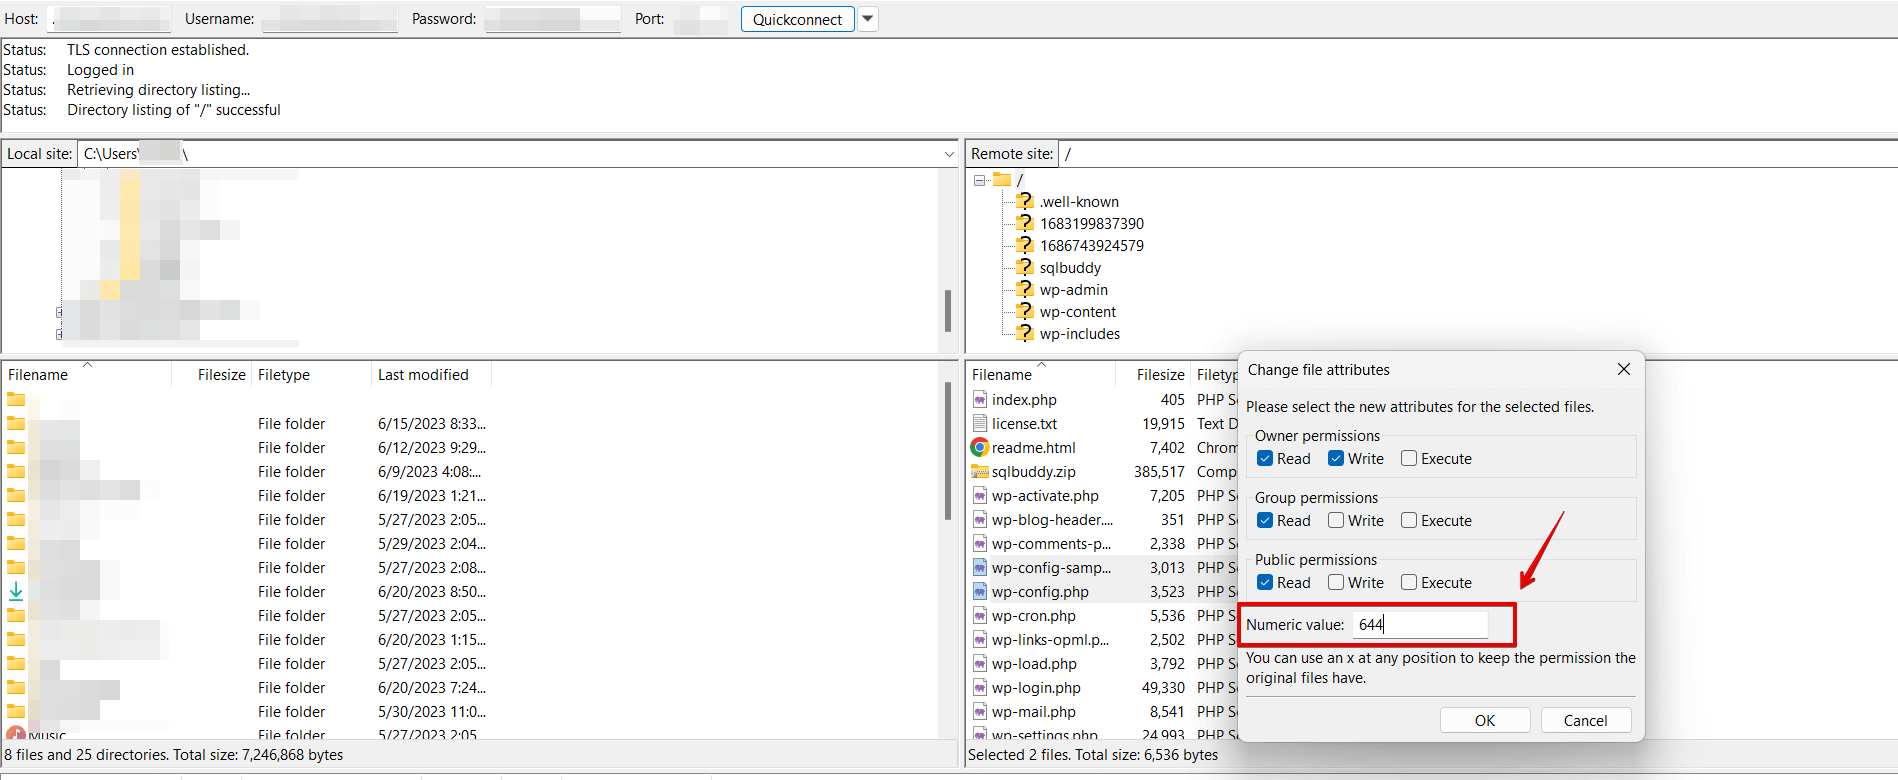
- Incorrect file permissions: Files should be
644and directories755. More restrictive settings block PHP from reading the files it needs. - Plugin or theme conflicts: A plugin or theme referencing a path that no longer exists, or two plugins calling the same file in incompatible ways.
- Missing or corrupted files: Files deleted during an update or broken by a partial upload.
open_basedirrestrictions: Some hosts restrict which directories PHP can access. Anyfopen()orinclude()call outside the allowed path fails immediately.- Absolute path mismatch after migration: If your site was migrated to a new server, old absolute paths stored in the database (for example, a plugin option containing
/var/www/old-host/wp-content/...) cause everyrequire()pointing to them to fail on the new server.
6 Effective Solutions To Overcome The Error
In WP STAGING support, the most common trigger we see is incorrect file permissions or a plugin holding a stale file path after a migration. Start with the method that matches your error suffix above and work from there.
Method 1: Check File Permissions
Files in your WordPress installation should be 644 and directories 755. You can verify and adjust permissions using an FTP client or your host’s File Manager. In WordPress 6.7+, you can also use the Site Health screen (Tools → Site Health → Info → Filesystem Permissions) to spot directories with unexpected modes.
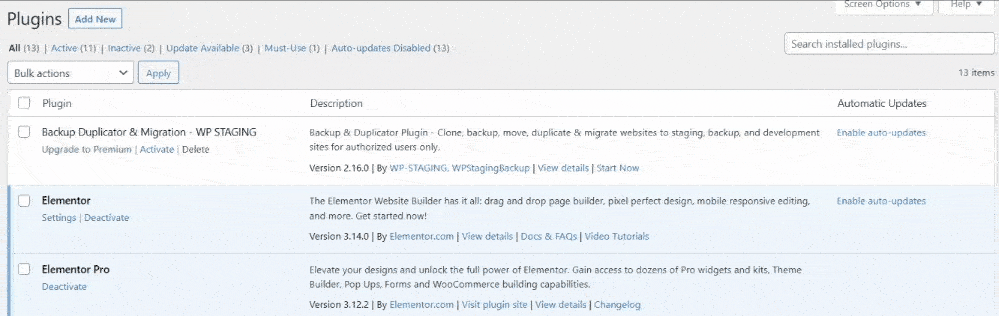
Method 2: Disabling Plugins
When encountering issues with specific plugins, deactivate them one at a time to isolate the conflict. Deactivating plugins lets you identify the problematic one without affecting the rest of your site.
Here’s how you can disable plugins:
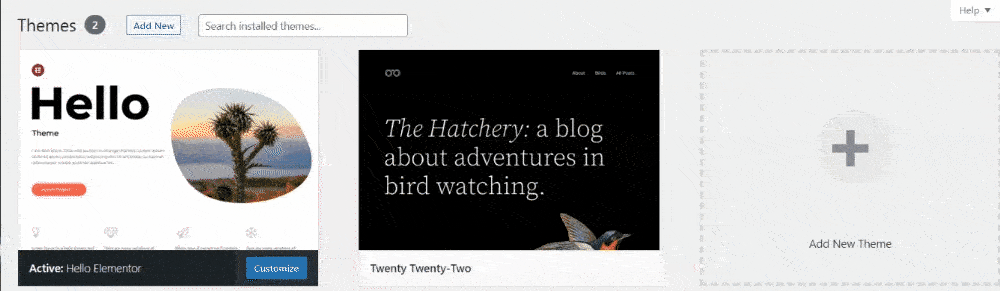
Method 3: Switching To The Default Theme
Switch to a default WordPress theme (such as Twenty Twenty-Five) to rule out a theme-specific path error. If the error disappears after switching, your active theme is the source of the problem.
Here’s how to do it:
Method 4: Reinstall WordPress Core Files
If missing or corrupted core files are the cause, reinstalling WordPress core replaces them cleanly. Back up your site first, then follow the steps below.
Remember, Before proceeding with any modifications, it is crucial to create a complete backup of your WordPress website. This backup ensures that you have a copy of all your files and databases, providing a safety net in case anything goes wrong during the reinstallation process.
Vital Preparations For Reinstall WordPress Core Files
- Creating a Full Site Backup Before Rolling Back WordPress
- Creating a Staging Site for WordPress Downgrade
Follow these detailed steps to reinstall the WordPress core files and regain control over your website:
Step 1: Download The Latest WordPress Version
Visit the official WordPress website (https://wordpress.org) and download the latest version of WordPress. Save the installation package to your local computer.
Step 2: Extract The WordPress Installation Package
Once the download is complete, extract the contents of the WordPress installation package on your computer using an archiving tool like WinRAR or 7-Zip. You will now have a folder containing the extracted files.
Step 3: Connect To Your Website Via FTP
To proceed with the reinstallation, you need to connect to your website’s server using FTP (File Transfer Protocol). You can use an FTP client like FileZilla to establish the connection. If you don’t have your FTP login credentials readily available, retrieve them from your hosting provider.
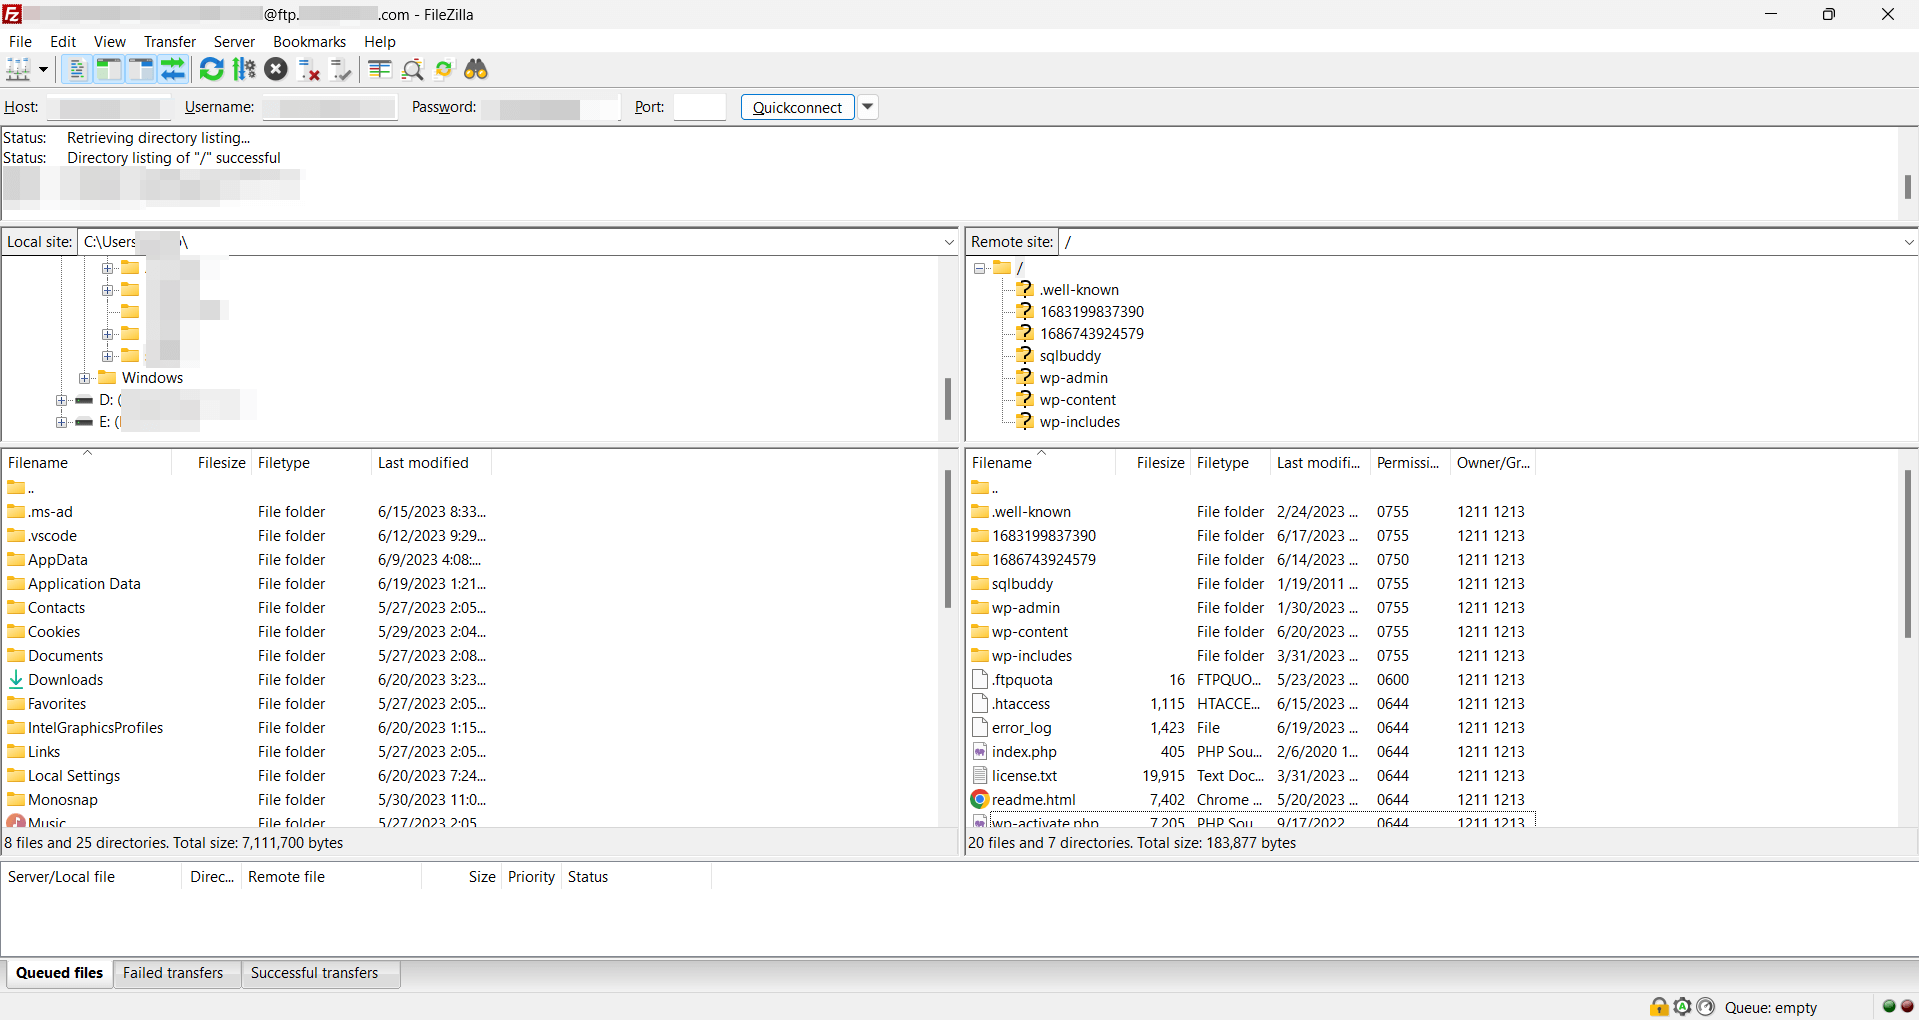
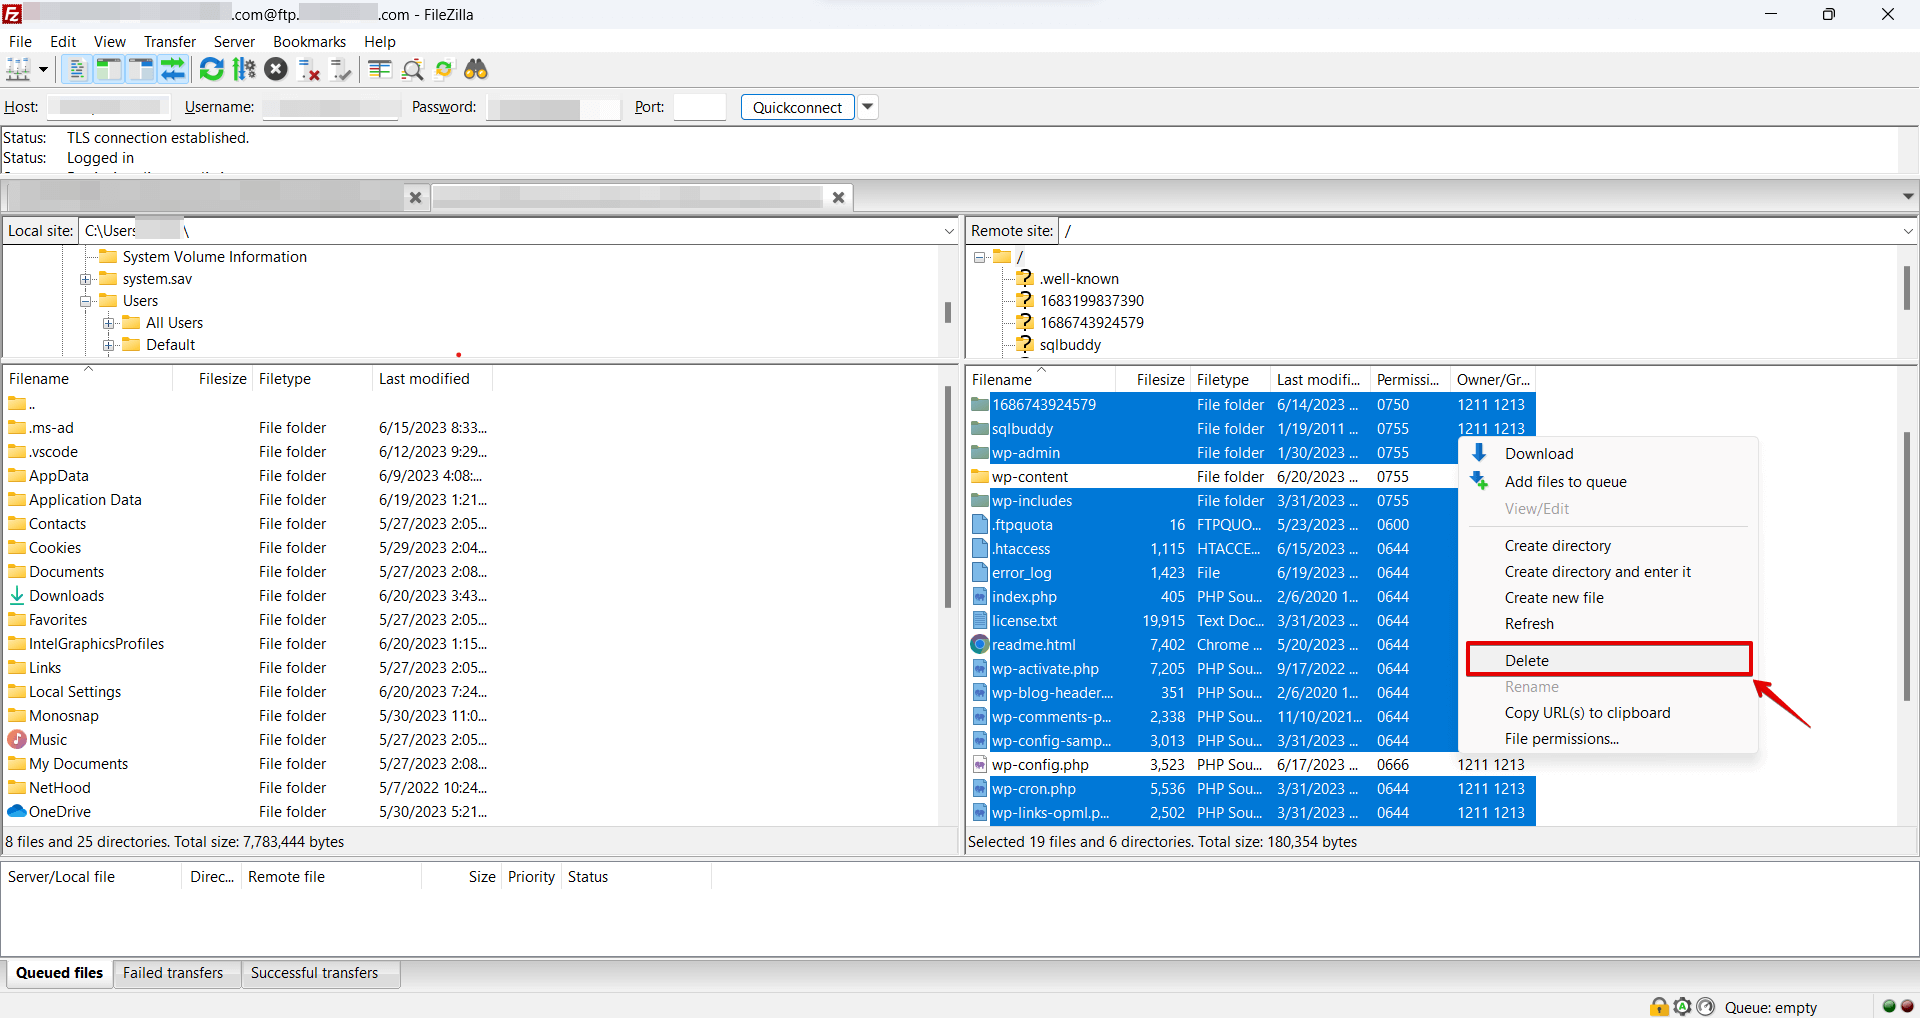
Step 4: Delete Existing WordPress Files
In the remote server view of your FTP client, navigate to the root directory of your WordPress installation. Delete all the files and folders except for the "wp-content folder" and the "wp-config.php" file. This step ensures a clean slate for the reinstallation process.
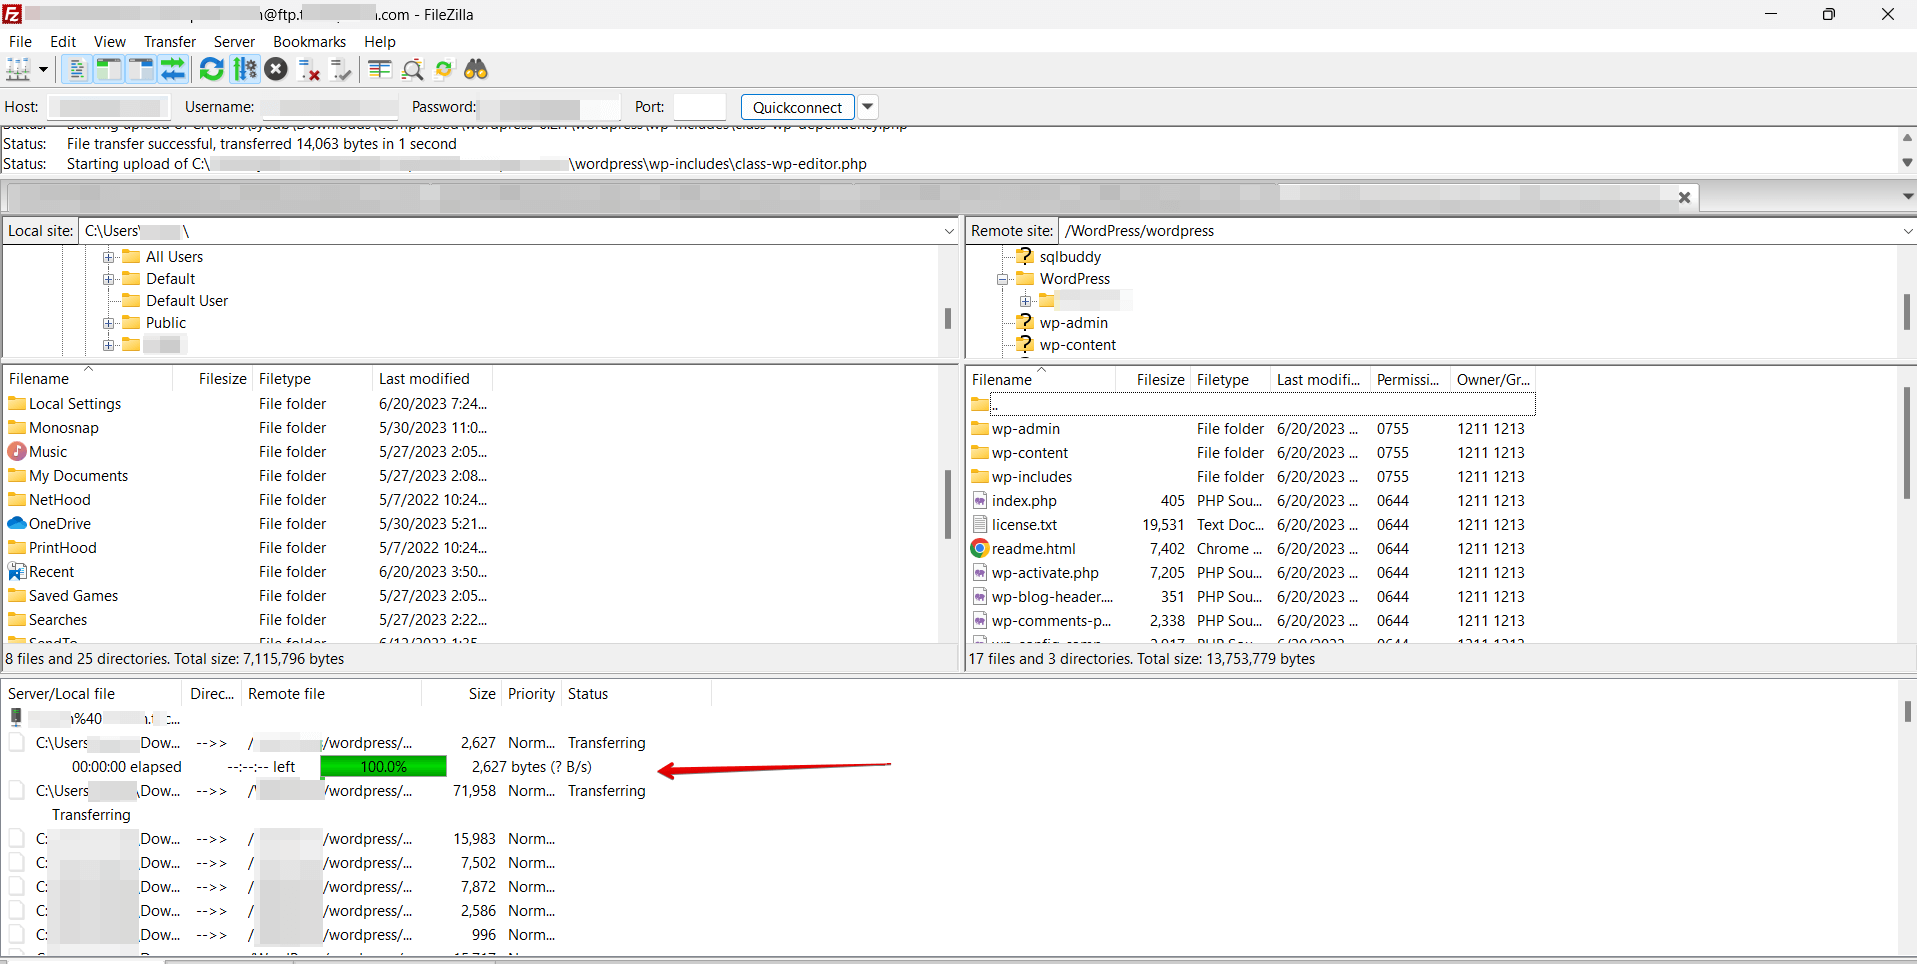
Step 5: Upload The New WordPress Files
In the local view of your FTP client, navigate to the extracted WordPress files from Step 2. Select all the files and folders within the extracted folder and upload them to the root directory of your WordPress installation on the server. This process may take some time, depending on your internet connection speed.
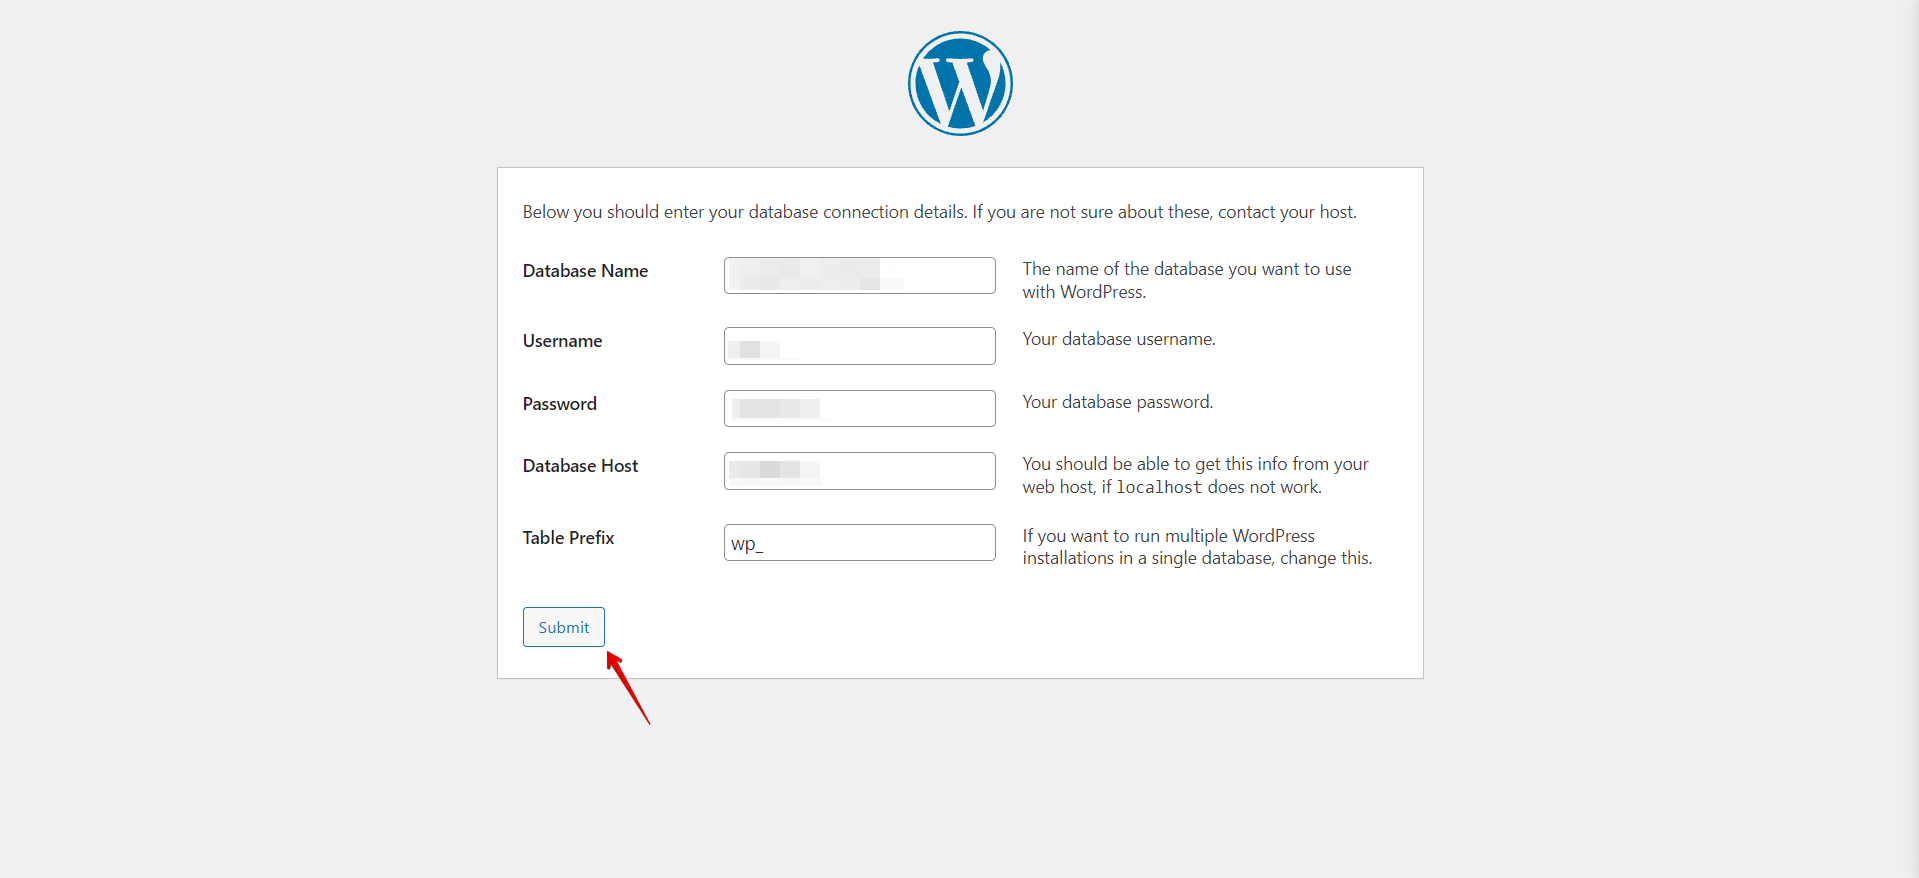
Step 6: Run The WordPress Installation Script
Once the file transfer is complete, open a web browser and visit your WordPress website. You will be prompted with the WordPress installation script. Follow the instructions to configure your database settings, create an admin account, and complete the installation process.
Step 7: Verify and Test
After the installation, log in to your WordPress dashboard and verify that all your website’s content, themes, and plugins are intact. Test various functionalities to ensure everything is working smoothly.
Method 5: Resolve open_basedir Restrictions
Some web hosts restrict which filesystem directories PHP can access using the open_basedir directive. When a plugin or WordPress core tries to open a file outside the allowed path, PHP raises failed to open stream: Operation not permitted, regardless of whether the file permissions are correct.
How to fix it:
- Contact your host and ask them to widen the
open_basedirsetting to include the path PHP is trying to reach. Provide the exact path from your error log. - Move the file inside a path that
open_basediralready permits — for example, move custom scripts intowp-content/instead of a directory above the web root. - If you manage your own server, edit the
open_basedirdirective inphp.inior your per-vhost config and restart PHP-FPM.
Method 6: Fix Absolute Path Mismatches After Site Migration
If you recently migrated your WordPress site to a new server or hosting provider, old absolute paths stored in the database can cause this error. A plugin may have saved its file path at install time — for example, /var/www/old-host/wp-content/... — and every require() or fopen() pointing to that path fails on the new server because the directory no longer exists there.
How to fix it:
- Enable debug logging: add
define('WP_DEBUG', true); define('WP_DEBUG_LOG', true);towp-config.php. Readwp-content/debug.logto find the exact stale path PHP is trying to open. - Use a search-and-replace tool to update the stored path across your database. With WP-CLI (available on most managed hosts) you can run:
wp search-replace '/old/absolute/path' '/new/absolute/path' --all-tables. Run this on a staging copy first. - Flush any object cache after the replacement so cached values containing the old path are cleared.
What To Do If None of the Fixes Work
If you have tried all six methods and the error persists, work through this checklist:
- Read the full error line in
debug.log— the path PHP tried to open tells you which method to retry. A path insidewp-content/plugins/points to Method 2; a path pointing to a non-existent directory points to Method 6. - Deactivate all plugins at once — not just one at a time. If the error stops, reactivate them in pairs to narrow down the conflict faster.
- Switch to a default theme — if you haven’t already, swap to Twenty Twenty-Five to eliminate the theme as a source.
- Ask your host — provide the exact error line from
debug.log. Hosts can confirm whether anopen_basedirpolicy or a server-side permissions change is the cause. - Restore from a backup — if the error started after an update or a configuration change, use WP STAGING’s restore workflow to roll back to the last working state while you investigate the root cause.
Conclusion
To solve the "WordPress Failed to Open Stream Error," identify the error suffix in wp-content/debug.log, then apply the corresponding fix: check file permissions (Method 1), disable conflicting plugins (Method 2), switch themes (Method 3), reinstall core files (Method 4), resolve open_basedir restrictions (Method 5), or correct absolute path mismatches after migration (Method 6). Always create a backup before making changes. TRY WP STAGING FOR FREE