Migrating from WordPress.com to InMotion Hosting is a strategic move that can significantly enhance your site’s speed, security, and overall user experience.
In this comprehensive guide, we will walk you through the step-by-step process of seamlessly migrating your WordPress site to InMotion Hosting.
But, before starting the process, we would like to discuss a few reasons why you might consider a WordPress.com to InMotion migration:
- Robust Performance – InMotion Hosting offers reliable and high-performance hosting solutions.
- Stellar Customer Support – Benefit from responsive and knowledgeable customer support.
- Competitive Pricing – Enjoy cost-effective hosting plans without compromising on quality.
- Secure Hosting Environment – InMotion Hosting prioritizes your website’s and data’s security.
- User-Friendly Control Panel – Easily manage your hosting with a user-friendly control panel.
Contents
STEP 01: Before you Begin
Before making any changes, it’s crucial to back up your existing content on WordPress.com. This step ensures the safety of your data throughout the migration process. Here’s a guide on how to complete this process:
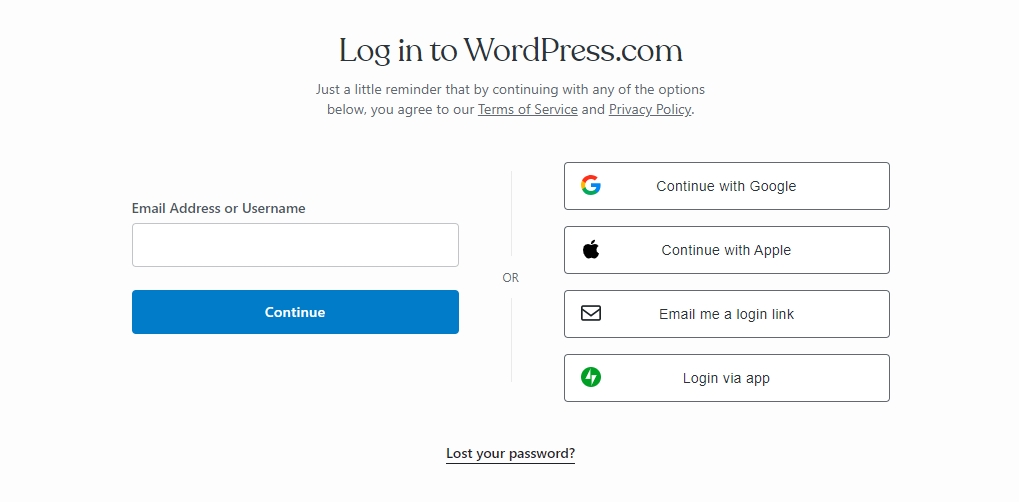
- Log into your WordPress.com account.
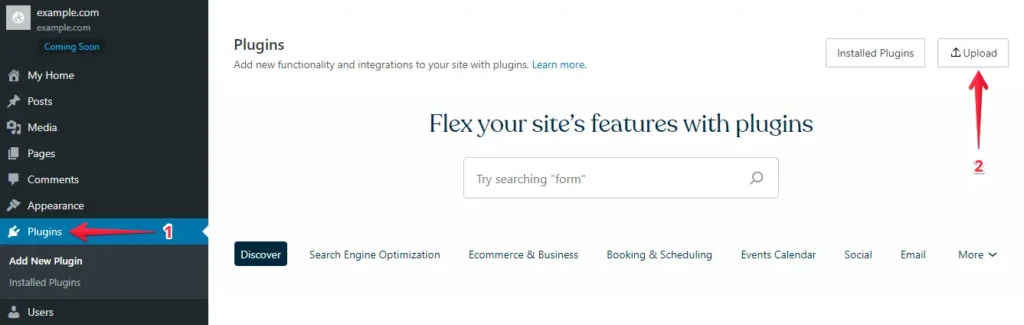
- Go to the "Plugins" section in the WordPress dashboard and click the "Upload" button.
- Afterward, proceed to upload your WP Staging | Pro.

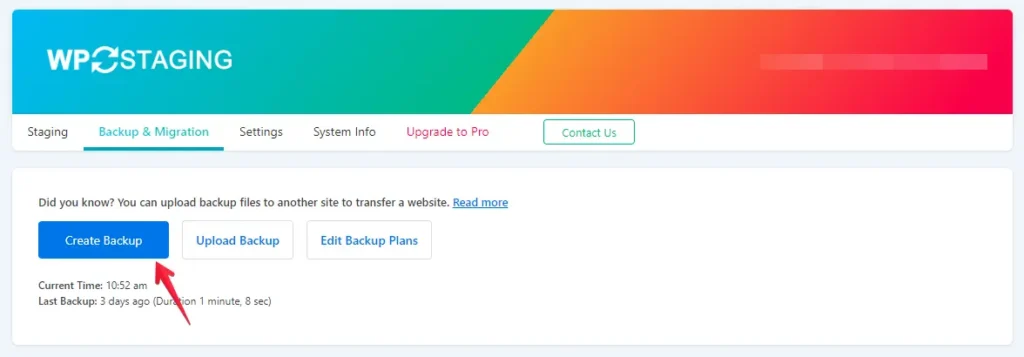
- After installing and activating it, go to the "Backup & Migration" section in the WordPress dashboard under "WP Staging | Pro."
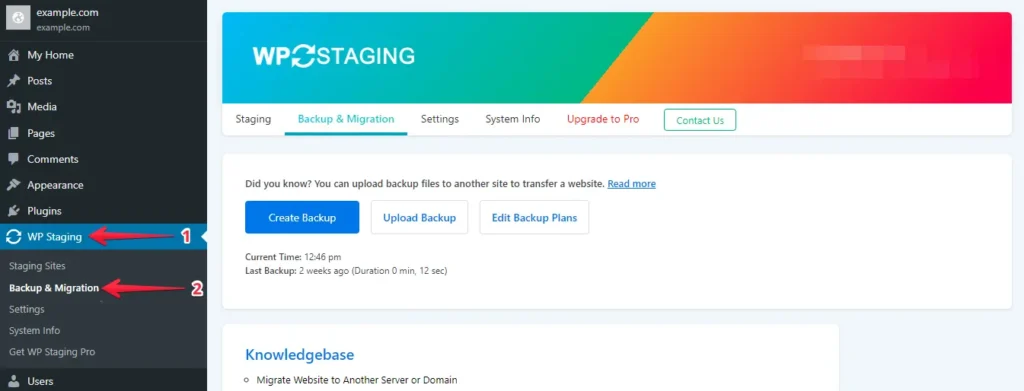
- If you already have an existing backup, that’s great. Otherwise, click the "Create Backup" button to create a new backup.
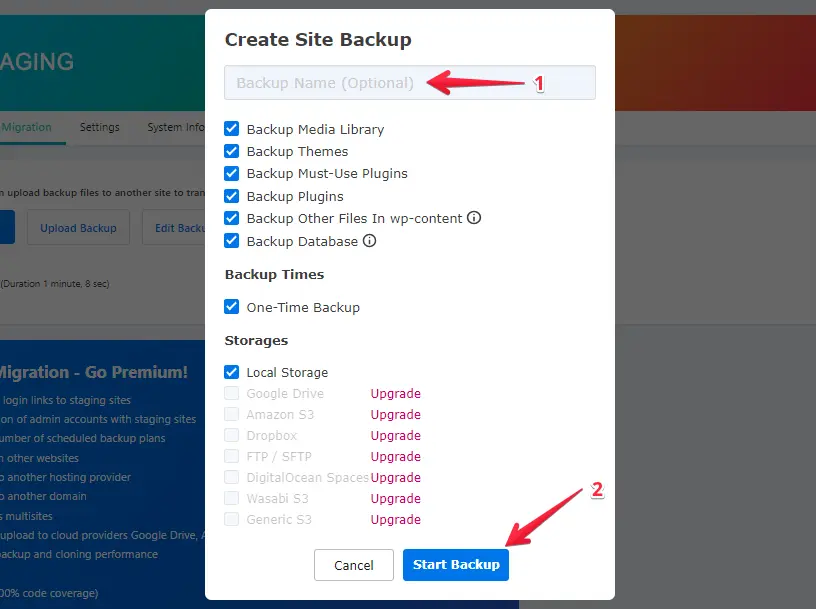
- Enter a name for your backup, and then click the "Start Backup" button.
- The backup process has been completed successfully.
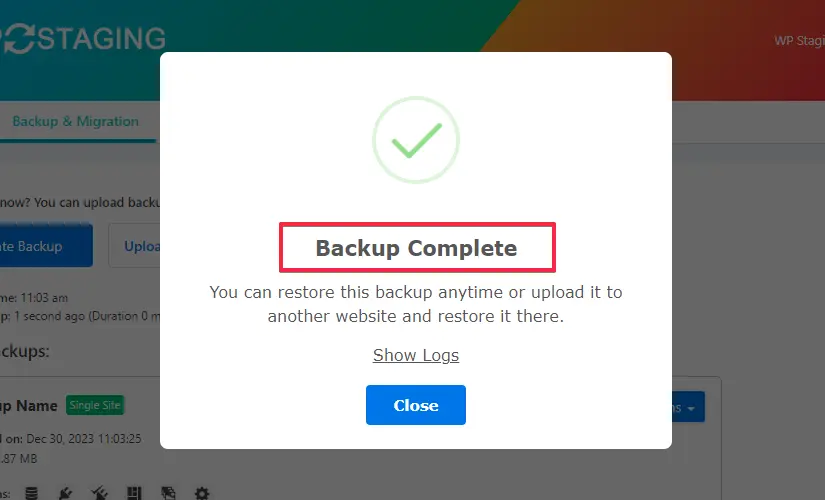
- After the backup process, you typically find a "Download" option under the "Action" button. Make sure to save this backup file on your computer securely.

STEP 02: The Migration Process
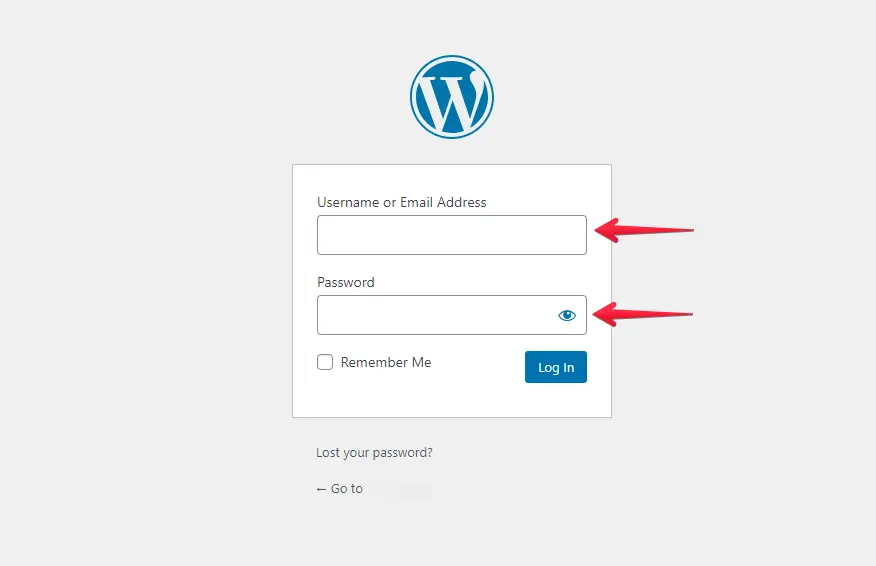
- Log in to your InMotion Hosting WordPress website by entering your username and password.
- Navigate to the menu on the left, click "Plugins," and click "Add New."
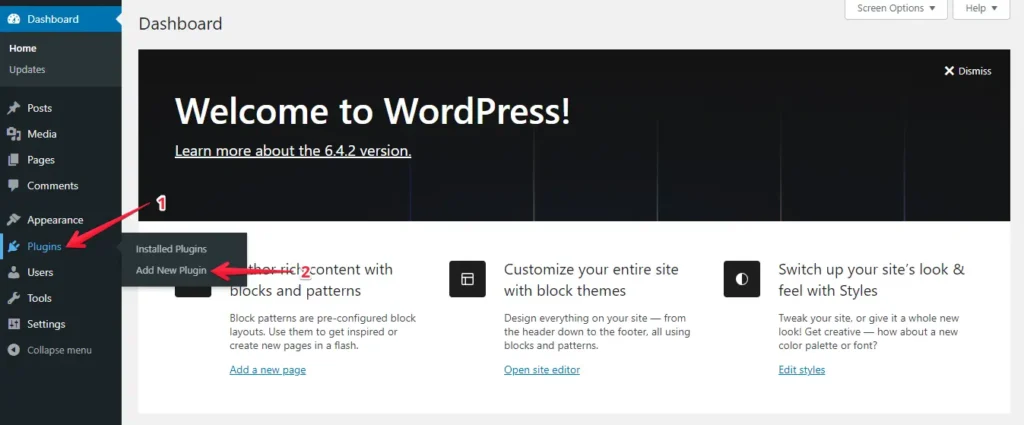
- Press the "Upload Plugin" button and click "Choose File" to upload the WP Staging Pro plugin.
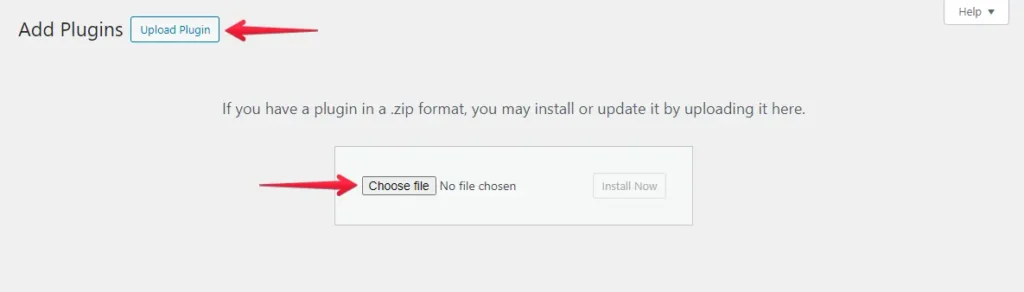
- Afterward, click the ‘Install Now’ button.

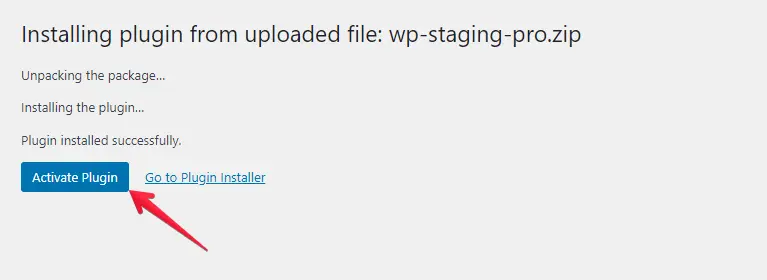
- After installing the plugin, proceed to activate it.
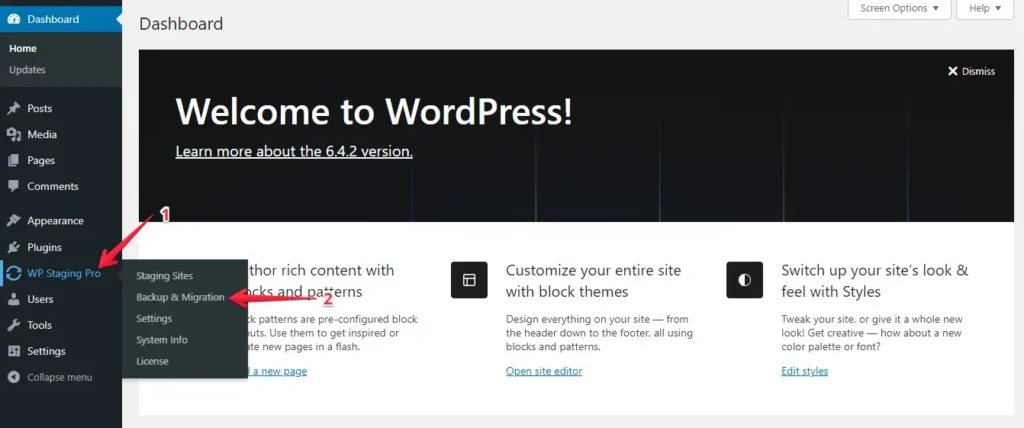
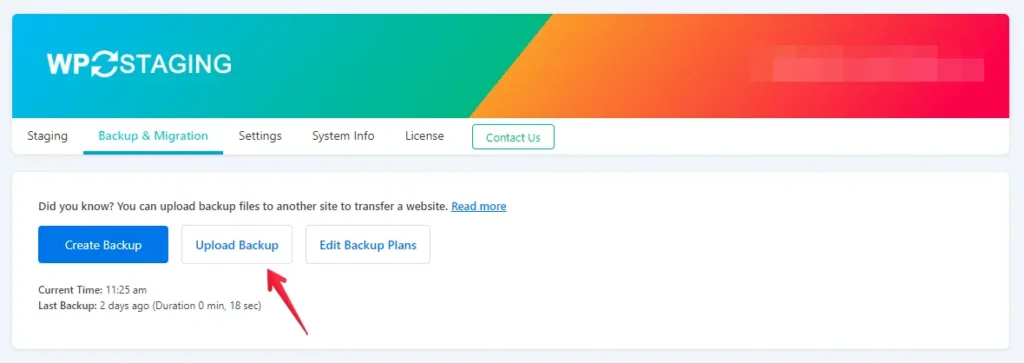
- Navigate to the left-hand menu, locate ‘WP Staging Pro,’ and select the ‘Backup & Migration’ option.
- Next, click the ‘Upload Backup’ button.
- Upload the backup file you exported from your WordPress.com website.

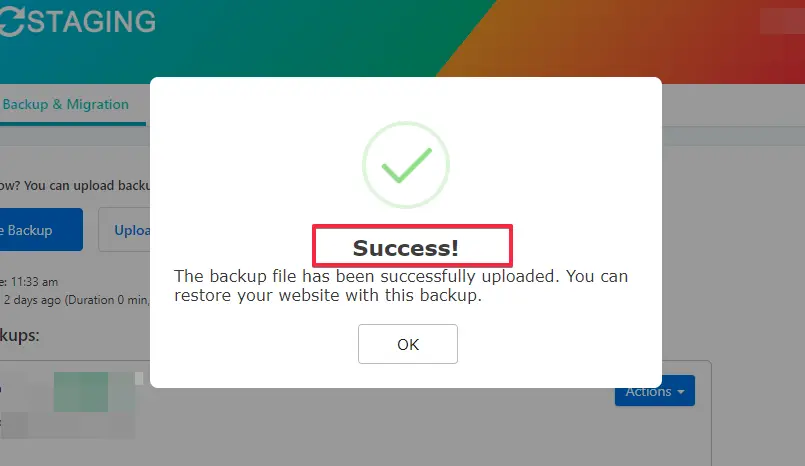
- The backup has been successfully uploaded.
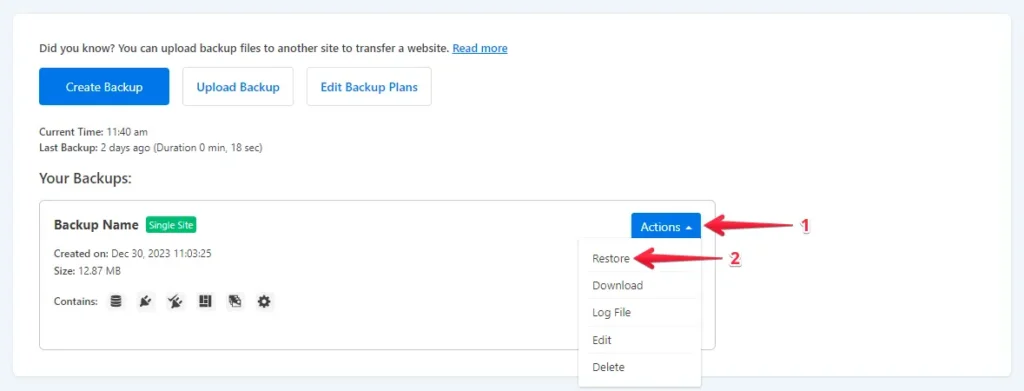
- After that, click the ‘Action’ button, and then click on the ‘Restore’ option.
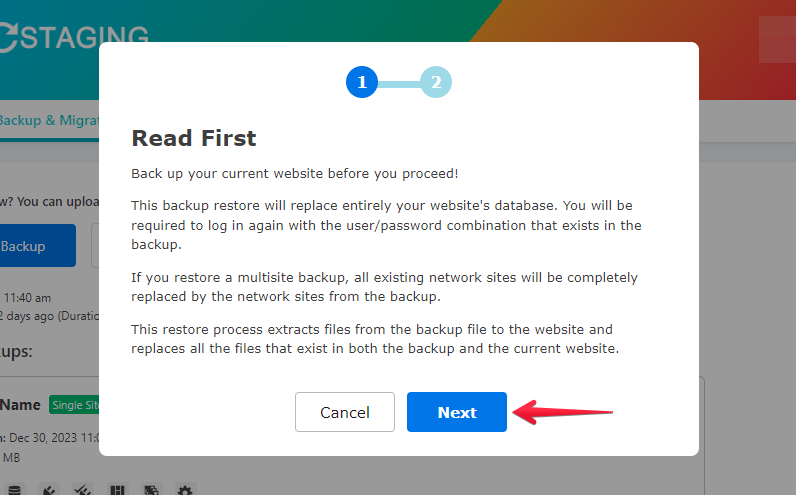
- Press the ‘Next’ button.
- Subsequently, click the ‘Restore’ button.
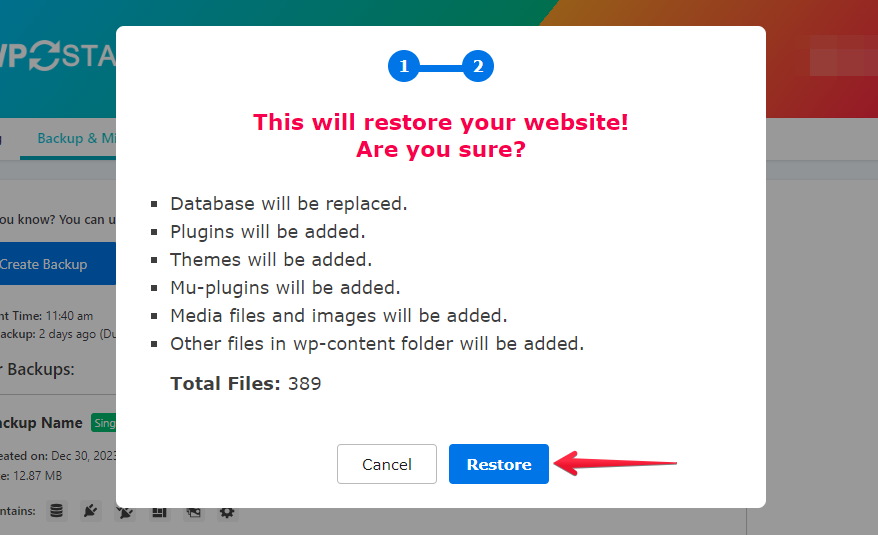
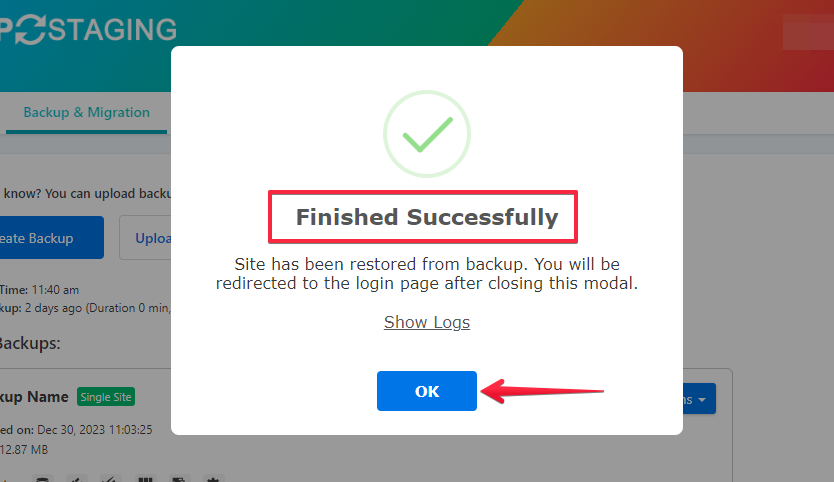
- The restoration process is complete.
- Click the "OK" button.
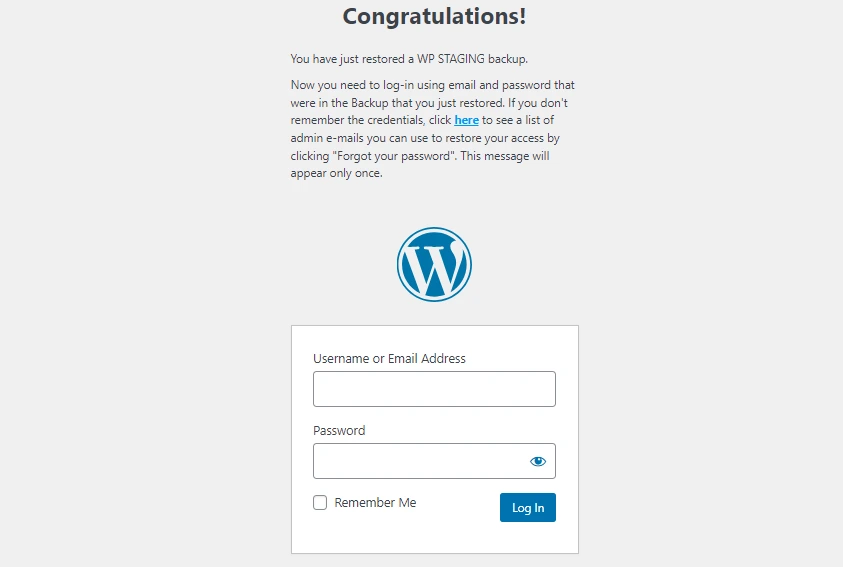
- Access your WordPress website again.
Perform a thorough website test on InMotion Hosting to verify that all components function correctly. Additionally, review all content for accuracy and formatting.
What are the Next Steps?
1. Set Permalinks and Redirections
- Go to "Settings" -> "Permalinks" and configure your preferred permalink structure. This should match your old WordPress.com structure, if possible.
- If you had a custom domain on WordPress.com, set up 301 redirects from your old WordPress.com URLs to your new self-hosted site. You may need to contact WordPress.com support for this step.
2. Check and Update Links and Media
- After importing, check your posts and pages for broken links or missing media. You may need to manually update links and re-upload media that didn’t transfer correctly.
3. Reconfigure Your Theme and Plugins
- Install and configure the theme and plugins you want to use on your new self-hosted WordPress site. You’ll likely need to reinstall and configure these from scratch.
4. Test Your Website
Thoroughly test your new website to ensure everything works as expected. Check your content, navigation, forms, and functionality.
5. Update DNS Settings
If using a custom domain, update your domain’s DNS settings to point to your InMotion Hosting server. This step may take some time to propagate globally.
6. Backup and Secure Your New Website
Regularly back up your new self-hosted website and implement security measures to protect it. Try WP Staging for FREE!
7. Cancel Your WordPress.com Plan
Once you’ve confirmed everything is working correctly on your self-hosted site, you can consider canceling your WordPress.com plan if you no longer need it.
Conclusion
It’s essential to take your time with each step and carefully review your new website to ensure everything has transferred correctly and is functioning as expected.
Depending on the complexity of your website, you may want to consult with a professional or consider using a migration service to simplify the process.